Building a stylish coffee table by hand can feel intimidating if your workspace is cluttered or your tools are scattered. For urban DIY enthusiasts looking to sharpen woodworking skills, setting up an organized area and choosing quality materials is the critical first step. By focusing on thoughtful preparation, you set yourself up for a smooth build and a result you can proudly display in any living space. Collecting all supplies before starting keeps your project efficient and frustration-free.
Table of Contents
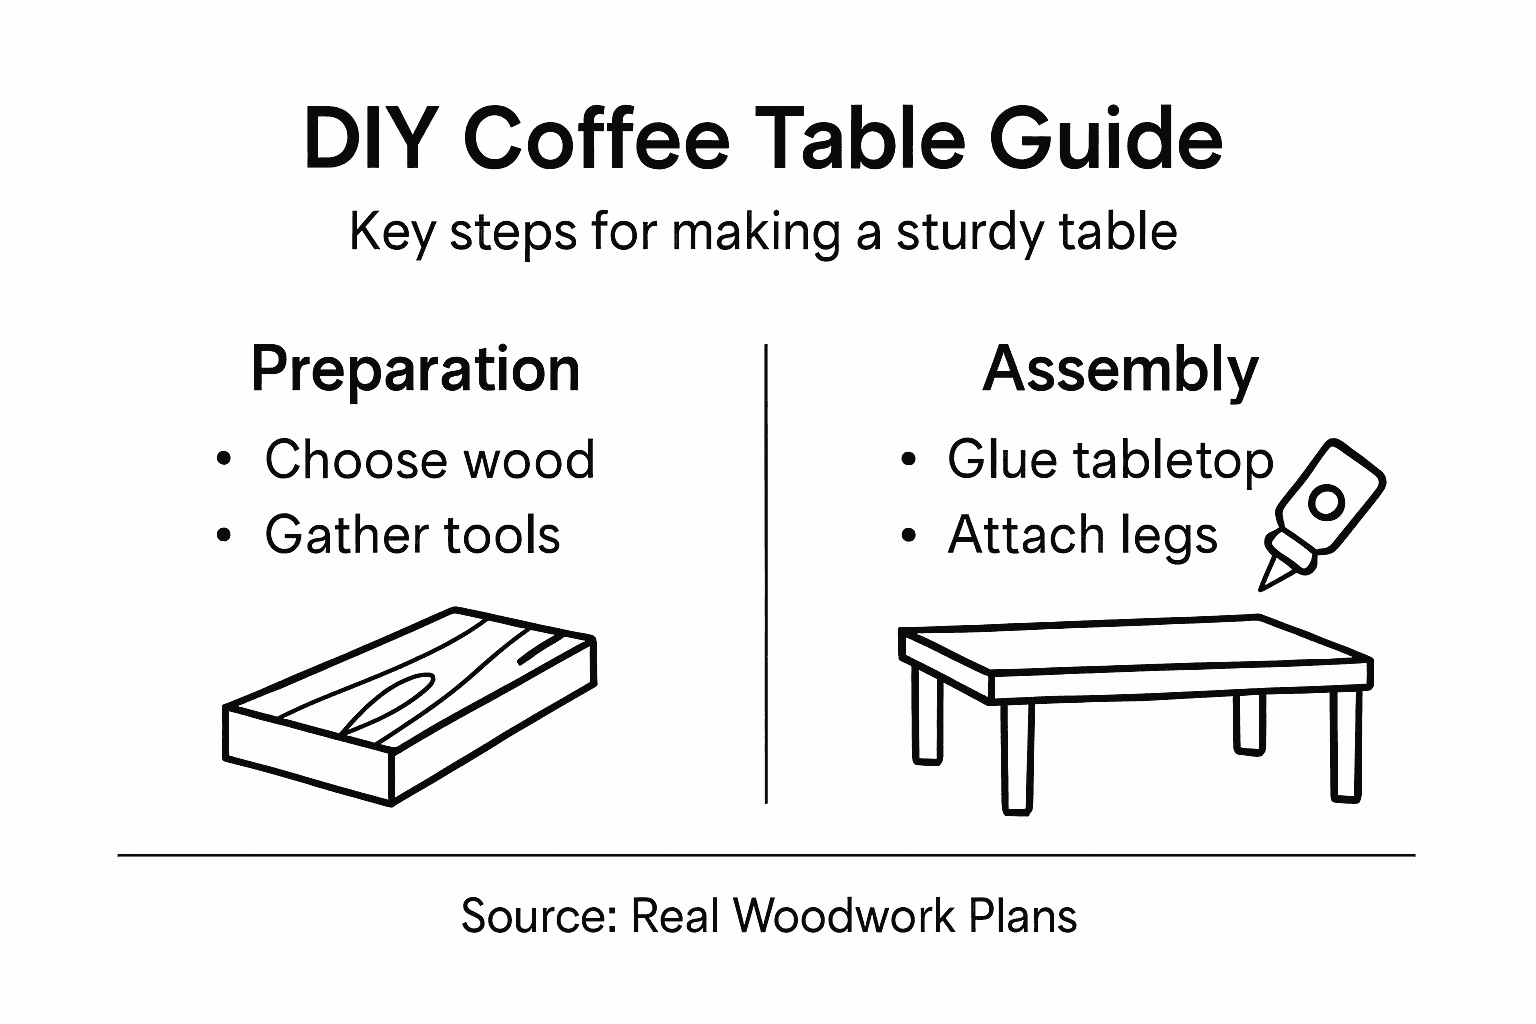
- Step 1: Gather and Prepare Materials
- Step 2: Cut and Assemble the Tabletop
- Step 3: Construct and Attach the Legs
- Step 4: Sand and Finish All Surfaces
- Step 5: Inspect and Test Table Stability
Quick Summary
| Key Point | Explanation |
|---|---|
| 1. Gather essential materials carefully | Collect solid wood, screws, glue, and tools before starting to ensure a smooth build process. |
| 2. Measure accurately before cutting | Using precise measurements prevents mistakes and ensures a perfect fit for your tabletop pieces. |
| 3. Choose the right leg attachment method | Select an appropriate attachment method for legs to guarantee stability and style in your coffee table design. |
| 4. Sand thoroughly for a professional finish | Sand surfaces progressively and clean between stages to achieve a smooth, attractive finish on your table. |
| 5. Test stability before finalizing | Conduct thorough stability tests and minor adjustments to ensure your table stands firm without wobbling. |
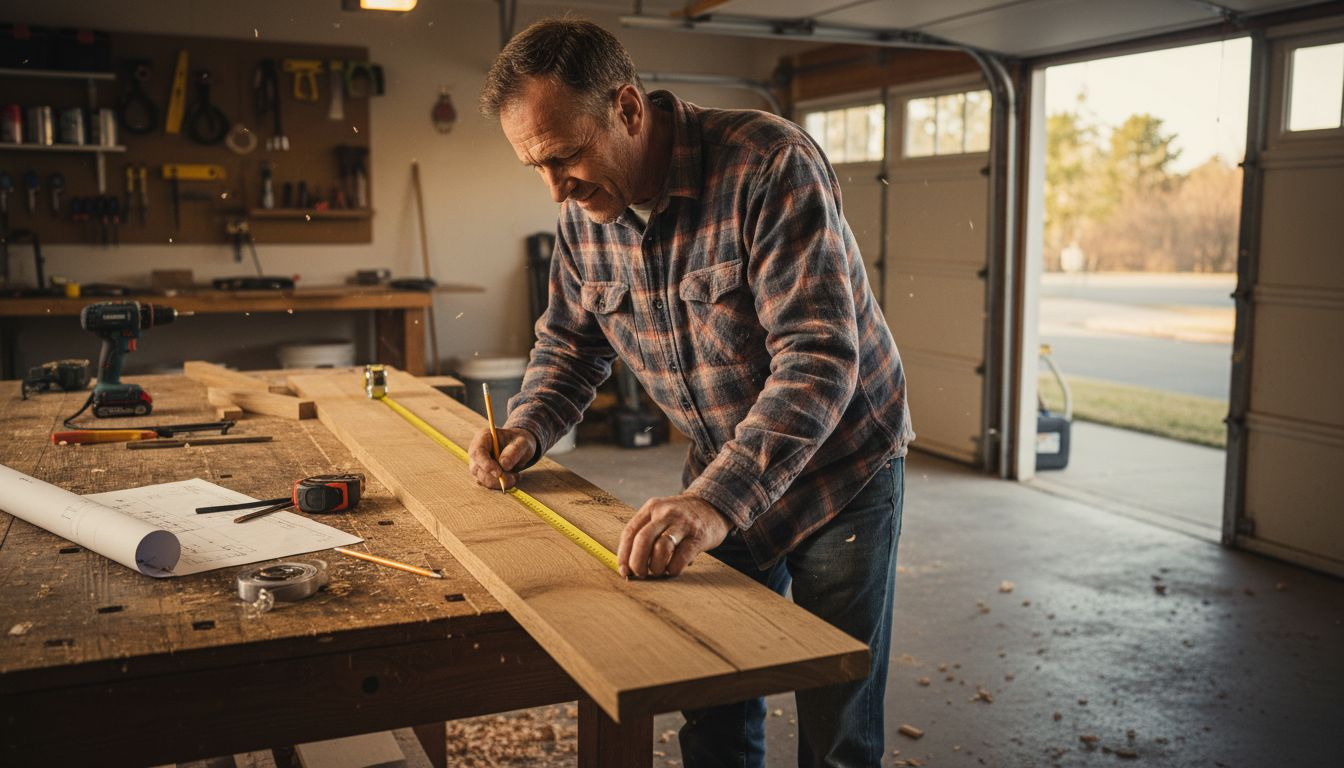
Step 1: Gather and Prepare Materials
Before starting your coffee table woodworking project, you’ll need to collect all necessary materials and tools. Proper preparation ensures a smooth, efficient build process and helps prevent frustrating interruptions.
To begin, gather your essential woodworking supplies by creating a comprehensive checklist. This will help you stay organized and ensure you have everything needed for a successful project. Here are the key materials you’ll want to collect:
- Solid wood lumber for tabletop and legs (hardwoods like oak, maple, or walnut recommended)
- Wood screws in appropriate lengths
- Wood glue for strong joint connections
- Sandpaper in multiple grits (60, 120, and 220-grit)
- Measuring tape
- Carpenter’s square
- Drill and drill bits
- Clamps for holding pieces during assembly
When selecting your wood, pay close attention to material preparation guidelines to ensure quality and durability. Look for boards that are straight, free of major knots, and have minimal warping. Check each piece carefully, examining the grain pattern and overall quality.
Pro tip: Always purchase about 10-15% more wood than your project calculations suggest to account for potential mistakes or imperfections.
Pro tip: Store your wood in a dry, temperature-controlled environment for at least 48 hours before starting your project to allow it to acclimate and prevent warping.
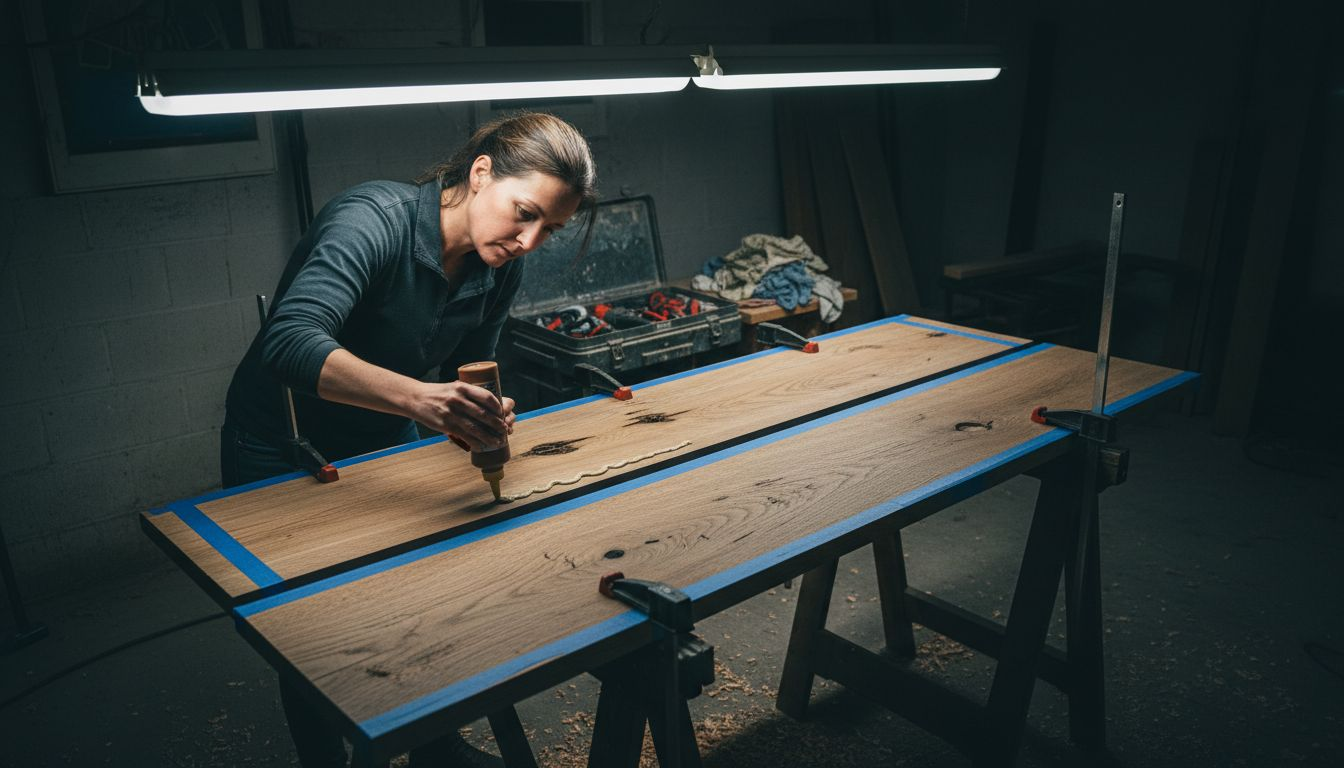
Step 2: Cut and Assemble the Tabletop
In this critical stage of your coffee table project, you’ll transform raw lumber into a beautiful tabletop by carefully cutting and joining wood pieces. Precision and patience are your most important tools during this process.
Begin by selecting precise woodworking techniques to ensure a smooth and professional result. Lay out your chosen boards on a flat surface, carefully aligning the grain patterns for visual harmony and structural integrity. Here are the key steps for cutting and assembling your tabletop:
- Measure twice, cut once: Use your carpenter’s square and measuring tape to mark exact cutting lines
- Cut lumber to your predetermined tabletop dimensions using a circular saw or table saw
- Arrange board pieces to create an aesthetically pleasing grain pattern
- Apply wood glue along board edges where they will connect
- Clamp boards tightly to ensure a secure, seamless joint
When joining the boards, consider using wood biscuits or dowel joints for added strength. These techniques help align the boards and create a more robust connection beyond simple glue.
Professional woodworkers know that the key to a perfect tabletop is patience and meticulous alignment.
Pro tip: Use painter’s tape along glue joints to minimize glue squeeze-out and make cleanup easier during the assembly process.
Step 3: Construct and Attach the Legs
With your tabletop complete, it’s time to turn your attention to constructing and attaching the legs that will support your coffee table. This critical step determines the stability and overall aesthetic of your finished piece.
Begin by exploring precise woodworking leg techniques to ensure a strong and visually appealing foundation. The legs you choose will dramatically impact your coffee table’s style and structural integrity. Here are some key considerations for leg construction:
- Wood selection matching your tabletop material
- Leg style (tapered, straight, or angled)
- Leg thickness appropriate for table size
- Attachment method for maximum stability
You have several options for leg attachment, including mortise and tenon joints, metal brackets, or sturdy wood screws. Each method offers unique benefits:
Here’s a quick comparison of common coffee table leg attachment methods and their benefits:
| Attachment Method | Strength Level | Ease of Installation | Typical Use Case |
|---|---|---|---|
| Mortise and Tenon | Very high | Challenging | Traditional furniture making |
| Metal Brackets | Moderate to high | Easy | Modern or quick-build tables |
| Wood Screws | Moderate | Simple | DIY and casual woodworking |
| Dowel/Biscuit Joints | High | Moderate | Added strength for DIY pieces |
- Mortise and tenon: Provides strongest traditional woodworking connection
- Metal brackets: Offers quick and reliable attachment
- Wood screws: Simple and effective for most DIY projects
Precision in leg alignment is the difference between a professional-looking piece and an amateur project.
Pro tip: Always test leg stability by gently rocking the table on a flat surface before final attachment to ensure perfect balance and alignment.
Step 4: Sand and Finish All Surfaces
With the structural elements of your coffee table complete, it’s time to transform your raw woodwork into a smooth, professional-looking piece. Sanding and finishing are crucial steps that will protect your wood and showcase its natural beauty.
Begin by exploring professional wood finishing techniques to achieve a flawless surface. The sanding process requires patience and a systematic approach. Here’s your comprehensive sanding and finishing strategy:
- Start with coarse-grit sandpaper (60-80 grit) to remove major imperfections
- Progress to medium-grit sandpaper (120 grit) for smoothing
- Finish with fine-grit sandpaper (220 grit) for a polished surface
- Clean surface thoroughly between each sanding stage
When choosing a wood finish, you have several excellent options:
Below is a summary of popular wood finishes for coffee tables and their distinct features:
| Finish Type | Durability | Appearance Enhancement | Application Complexity |
|---|---|---|---|
| Oil-Based Finish | Excellent | Deep grain enhancement | Moderate |
| Water-Based Polyurethane | Good | Clear, minimal color change | Easy |
| Tung Oil | Good | Rich, natural look | Moderate |
| Lacquer | Very high | Smooth, glossy surface | Challenging |
- Oil-based finish: Enhances wood grain and provides deep protection
- Water-based polyurethane: Quick-drying and low odor
- Tung oil: Natural finish that penetrates wood deeply
- Lacquer: Provides a hard, durable surface
Patience during sanding makes the difference between an amateur and a professional-looking woodworking project.
Pro tip: Always sand with the wood grain and use a tack cloth to remove dust between sanding stages for the smoothest possible finish.
Step 5: Inspect and Test Table Stability
With your coffee table nearly complete, the final crucial step is ensuring it stands strong and stable. A perfectly crafted table means nothing if it wobbles or feels unreliable when you place items on it.
Scientific testing methods can help you systematically verify your table’s structural integrity. Here’s a comprehensive approach to checking stability:
- Rotate table on different floor surfaces
- Apply weight gradually to test strength
- Check leg alignment carefully
- Test for wobbling on multiple surfaces
Carry out these specific stability tests:
- Floor rotation test: Slowly rotate table to find potential uneven points
- Weight distribution test: Place progressively heavier objects
- Corner pressure test: Apply gentle pressure to each table corner
- Surface rocking test: Check table’s balance on various floor types
Precision in construction determines the difference between a professional piece and an amateur project.
Pro tip: Keep wood shims handy to make minor leg adjustments and ensure perfect stability on uneven surfaces.
Master Your Coffee Table Project with Expert Woodworking Plans
Building a sturdy and beautiful coffee table can be challenging without precise guidance on selecting wood, joining techniques, and finishing methods. This article highlights common pain points like accurate measurements, strong leg attachments, and achieving a flawless finish. If you find yourself wanting clear, detailed instructions that walk you through each step—from material preparation to stability testing—there is a solution designed just for you.
Discover how Real Woodwork Plans can help transform your DIY woodworking experience. Our site offers carefully crafted coffee table plans that incorporate proven joinery techniques such as mortise and tenon, detailed sanding and finishing guidelines, and tips to ensure perfect table stability. Whether you are a beginner eager to learn or an experienced woodworker looking for fresh ideas, our step-by-step plans will save time and prevent costly mistakes. Start your project confidently today by exploring our expert plans and uncover the joy of creating handmade furniture with precision.
Visit Real Woodwork Plans now to access detailed woodworking tutorials and bring your handcrafted coffee table vision to life.
Frequently Asked Questions
What materials do I need to build a coffee table?
To build a coffee table, you will need solid wood lumber for the tabletop and legs, wood screws, wood glue, sandpaper, a measuring tape, a carpenter’s square, a drill, and clamps. Gather all these materials before you start to ensure a smooth build process.
How do I prepare the wood before assembling the coffee table?
Prepare the wood by selecting straight pieces with minimal knots and warping. Store the lumber in a dry, temperature-controlled environment for at least 48 hours to allow it to acclimate before starting your project.
What cutting techniques should I use for the tabletop?
Use a circular saw or table saw for cutting the lumber to the desired dimensions. Measure meticulously, using a carpenter’s square to mark your cutting lines, and always measure twice before cutting.
How can I ensure my coffee table has stable legs?
To ensure stable legs, choose a leg attachment method that offers good strength, such as mortise and tenon joints or metal brackets. Test the stability by applying weight and checking for wobbling on different surfaces.
What sanding and finishing techniques should I apply?
Start with coarse-grit sandpaper to remove imperfections, then progress to medium and fine-grit sandpapers for a smooth finish. Consider using an oil-based finish or water-based polyurethane to enhance the wood’s appearance and protect it.
How do I test the stability of my completed coffee table?
Test the stability by gently rocking the table on a flat surface, applying weight progressively, and checking leg alignment. Make minor adjustments with wood shims if needed to ensure perfect stability on uneven surfaces.
DIY projects:
DIY Wooden Coffee Table
DIY Shoe Rack
Recommended

“DIY woodworking enthusiast who started with zero experience and a YouTube tutorial.
I build simple, practical projects for my home and share free plans
so other beginners can skip the guesswork.If I can build it, you can too.”