Choosing the right approach to shaping raw timber can make the difference between a shaky project and a sturdy, beautiful piece of furniture. For every woodworker, understanding wood milling means gaining control over the quality, fit, and finish of every board used. Whether you are just starting with your own shop or looking to upgrade your existing skills, learning how milling transforms logs into reliable materials equips you to tackle new projects with confidence and precision.
Table of Contents
- What Is Wood Milling And Why It Matters
- Main Types Of Wood Milling Methods
- Step-By-Step Wood Milling Process Explained
- Essential Tools And Safety Practices
- Common Wood Milling Mistakes To Avoid
Key Takeaways
| Point | Details |
|---|---|
| Importance of Wood Milling | Wood milling transforms raw timber into functional materials, directly affecting quality, strength, and usability. |
| Milling Techniques | Various milling methods, such as Climb and Conventional, have distinct applications and impacts on the final product’s quality. |
| Systematic Process | A structured approach in wood milling is critical for achieving precise results, from wood preparation to machine setup. |
| Safety Practices | Implementing comprehensive safety protocols and using proper protective equipment are vital for preventing accidents and ensuring project success. |
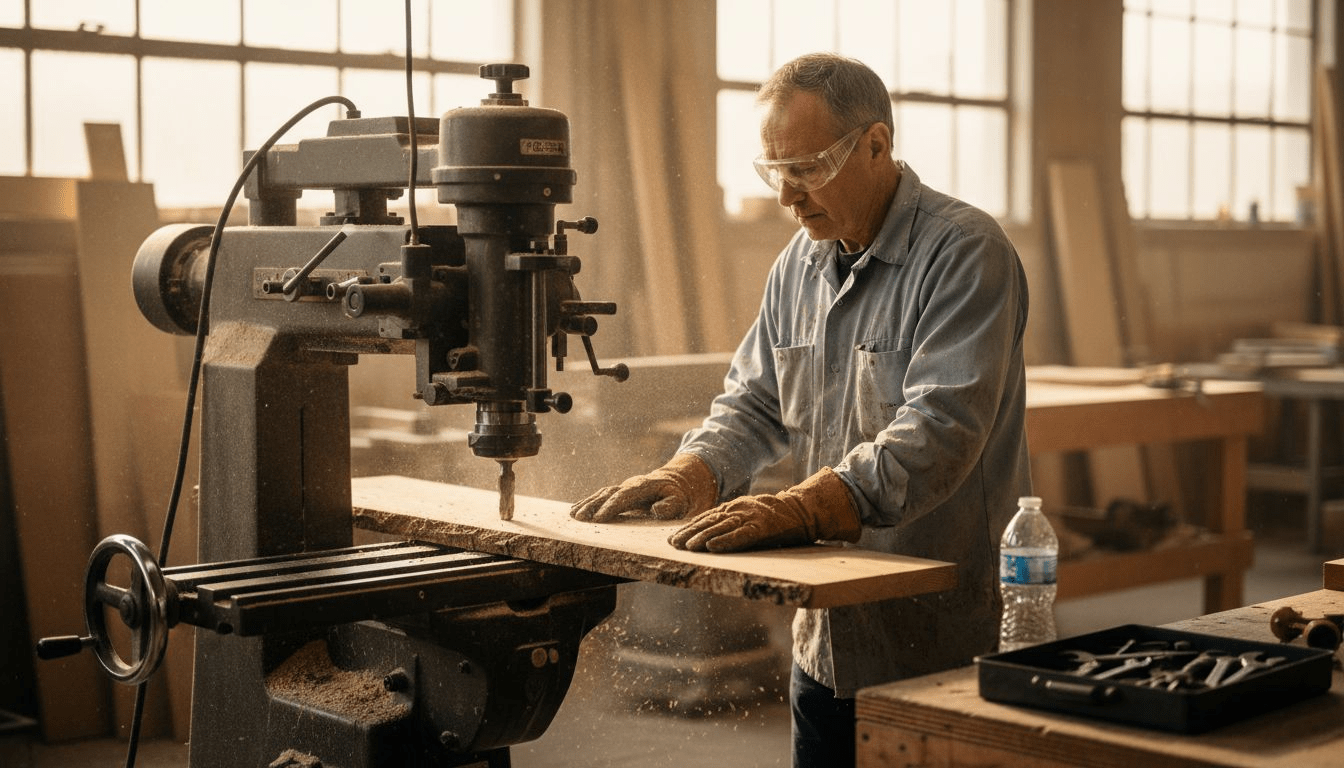
What Is Wood Milling and Why It Matters
Wood milling represents a fundamental transformation process where raw timber becomes functional materials through precise mechanical techniques. Essential wood processing methods involve strategically removing portions of wood to create standardized lumber suitable for diverse applications ranging from construction to fine furniture making.
At its core, wood milling transforms unprocessed logs into usable wooden pieces through systematic cutting and shaping procedures. These techniques have dramatically evolved from manual sawing to sophisticated mechanized operations that deliver incredible precision. Modern wood milling enables woodworkers and manufacturers to:
- Create uniform lumber dimensions
- Achieve precise geometric shapes
- Optimize wood material properties
- Reduce waste during material processing
- Standardize wood products for industrial use
Wood milling matters because it directly influences the quality, strength, and ultimate functionality of wood materials. Sawmill technologies have revolutionized how we convert raw timber into structured, predictable materials that can withstand specific environmental and structural demands.
The process involves multiple sophisticated techniques, including bandsaw cutting, circular saw operations, and computer-controlled milling machines that can produce incredibly intricate wood components. Professional woodworkers understand that proper milling determines not just the shape of the wood, but also its structural integrity, aesthetic potential, and long-term performance.
Pro tip: Always inspect wood grain direction and moisture content before beginning any milling project to ensure optimal results and minimize material waste.
Main Types of Wood Milling Methods
Wood milling encompasses several sophisticated techniques designed to transform raw timber into precise, functional components. Milling operations and techniques reveal a complex world of strategic material removal that enables woodworkers to create everything from intricate furniture pieces to structural building elements.
The primary wood milling methods can be categorized based on two fundamental approaches: cutting direction and machine orientation. These approaches dramatically influence the final product’s quality, precision, and surface finish:
- Climb Milling: Cutting tool rotates in same direction as workpiece movement
- Conventional Milling: Cutting tool rotates opposite to workpiece travel
- Horizontal Milling: Spindle positioned horizontally, ideal for broad cuts
- Vertical Milling: Spindle positioned vertically, perfect for detailed work
Machining techniques) reveal nuanced differences between these methods. Horizontal milling typically handles larger workpieces and creates broader cuts, while vertical milling offers exceptional versatility for managing various wood sizes and executing complex design details.
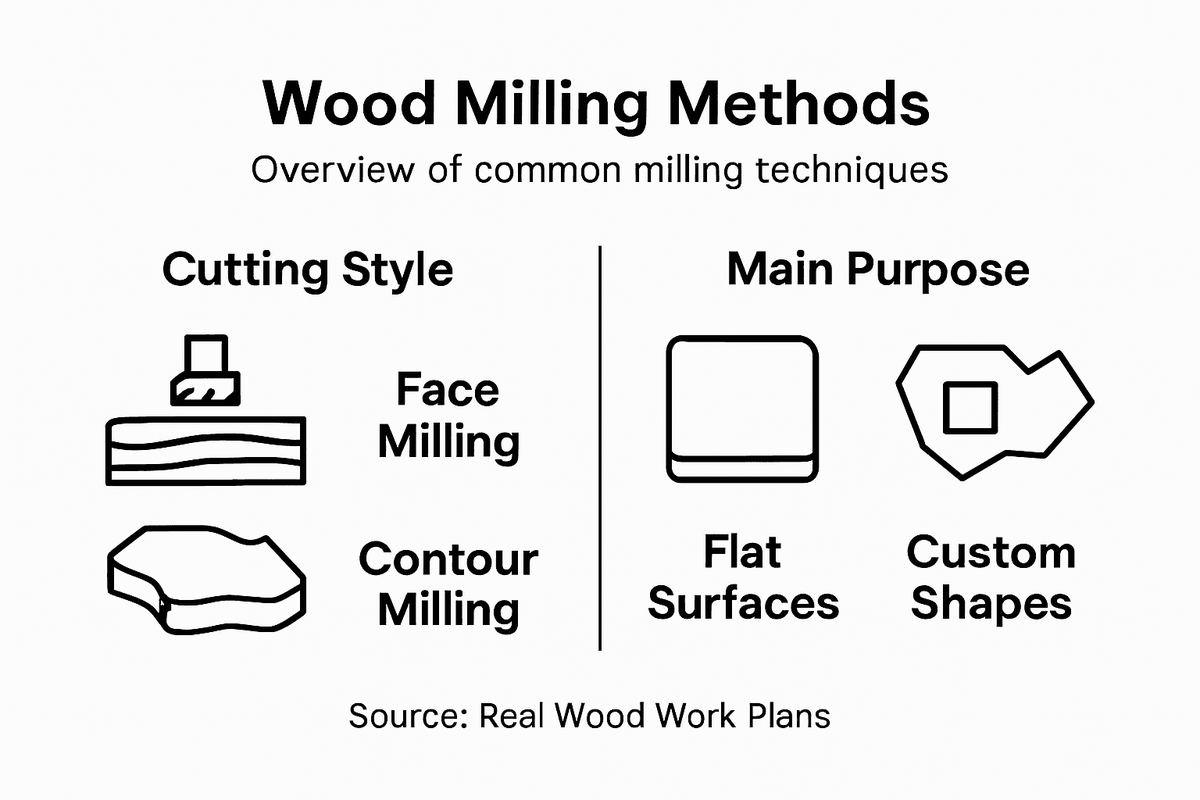
Each milling technique serves unique purposes in woodworking. Face milling creates flat surfaces, contour milling shapes intricate curves, and side milling removes material along edges. Professional woodworkers select specific methods based on project requirements, understanding that technique selection directly impacts material quality, waste reduction, and final product precision.
Here is a comparison of main wood milling methods and their ideal uses:
| Method Type | Cutting Direction | Best For | Typical Outcome |
|---|---|---|---|
| Climb Milling | Tool moves with material | High precision, smooth surface | Reduced chip buildup |
| Conventional Milling | Tool moves against material | Durable cuts, tougher materials | Increased tool wear |
| Horizontal Milling | Spindle is horizontal | Large surfaces, broad cuts | Efficient bulk material removal |
| Vertical Milling | Spindle is vertical | Detail work, complex shapes | Fine finishes, intricate design |
Pro tip: Match your milling technique to your specific wood type and project requirements to maximize precision and minimize material waste.
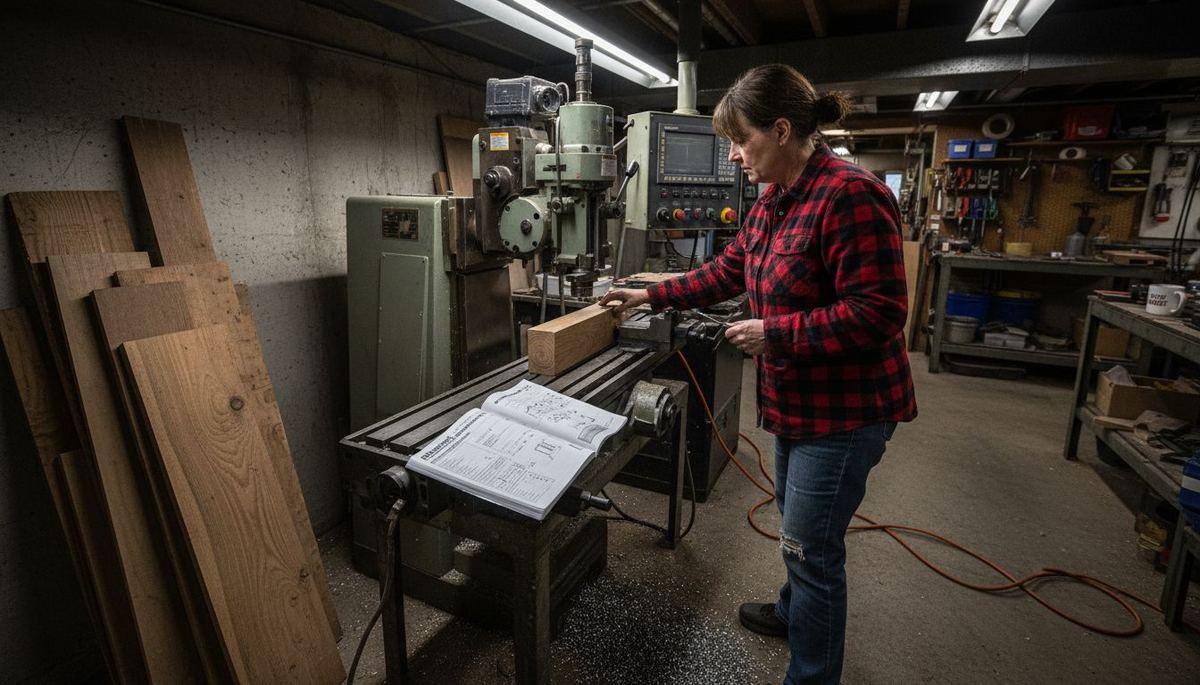
Step-by-Step Wood Milling Process Explained
Wood milling operations involve a systematic approach that transforms raw wood into precisely crafted components. The process requires careful planning, specialized equipment, and meticulous attention to detail to achieve professional-grade results.
The wood milling process typically follows these essential steps:
-
Wood Stock Preparation
- Select appropriate wood material
- Inspect for defects or irregularities
- Ensure wood is properly dried and stabilized
-
Machine and Tool Setup
- Choose correct milling machine
- Select appropriate cutting tools
- Calibrate machine settings
-
Workpiece Positioning
- Secure wood blank on machine platform
- Align with precision using clamps or vises
- Verify stability before cutting
-
Cutting Parameter Configuration
- Determine optimal spindle speed
- Set feed rate and cutting depth
- Adjust for wood type and desired finish
Machining processes require strategic material removal through incremental cutting. Woodworkers must continuously monitor the milling operation, making real-time adjustments to maintain precision and achieve the desired surface quality.
Advanced milling techniques involve understanding wood grain, tool wear, and machine capabilities. Professionals develop an intuitive sense of how different wood species respond to various cutting strategies, allowing them to optimize each step of the milling process for maximum efficiency and quality.
Pro tip: Always perform a test cut on scrap material to validate machine settings and tool performance before milling your primary workpiece.
Essential Tools and Safety Practices
Hand and power tool safety represents a critical foundation for successful wood milling operations. Professional woodworkers understand that proper equipment and safety protocols are just as important as the technical skills required to complete a project.
Essential wood milling tools include:
-
Cutting Tools:
- End mills
- Face mills
- Boring heads
- Specialized rotary cutters
-
Measurement Equipment:
- Precision calipers
- Digital micrometers
- Angle gauges
- Depth measurement tools
-
Safety Equipment:
- Safety glasses
- Hearing protection
- Work gloves
- Dust masks
Milling machine operation strategies emphasize the importance of comprehensive safety practices. This includes understanding machine guards, maintaining proper workspace organization, and following strict operational protocols to minimize potential accidents.
Professional woodworkers must develop a safety-first mindset. This means consistently wearing appropriate personal protective equipment, performing regular machine maintenance, and creating a disciplined approach to workspace management. Understanding potential hazards and proactively preventing them separates skilled professionals from amateur enthusiasts.
This summary lists essential wood milling tools and their primary purpose:
| Tool Category | Example Tools | Primary Purpose |
|---|---|---|
| Cutting | End mills, face mills | Shape and remove wood material |
| Measurement | Calipers, micrometers | Ensure dimensional accuracy |
| Safety | Glasses, masks, gloves | Protect operator from hazards |
Pro tip: Always conduct a comprehensive safety check of your equipment and personal protective gear before starting any wood milling project.
Common Wood Milling Mistakes to Avoid
Machine operation safety protocols reveal critical errors that can compromise both project quality and personal safety during wood milling. Understanding these common mistakes helps woodworkers develop more sophisticated and reliable techniques.
Top wood milling mistakes include:
-
Workpiece Preparation Errors
- Failing to properly inspect wood for defects
- Using unstabilized or improperly dried lumber
- Neglecting to secure workpiece adequately
-
Machine Operation Mistakes
- Operating at incorrect spindle speeds
- Using inappropriate feed rates
- Ignoring machine maintenance requirements
-
Safety Negligence
- Skipping personal protective equipment
- Bypassing machine safety guards
- Working without proper training
Cutting speed and precision techniques%20-%201.pdf) highlight how seemingly minor errors can dramatically impact wood milling outcomes. Incorrect cutting parameters can lead to accelerated tool wear, poor surface quality, and potential equipment damage.
Professional woodworkers recognize that mistake prevention requires continuous learning and meticulous attention to detail. Every error represents an opportunity to refine technique, improve safety protocols, and develop a more sophisticated understanding of wood milling’s complex dynamics.
Pro tip: Maintain a detailed log of your milling projects to track performance, identify recurring mistakes, and systematically improve your woodworking skills.
Master Wood Milling with Expert Plans Designed for Your Success
Wood milling is a vital skill that transforms raw timber into beautiful, functional pieces with precision and quality. Yet mastering cutting techniques, machine setups, and safety practices can feel overwhelming. If you want to avoid common mistakes and enhance your craftsmanship with confidence this is your chance to take control of your woodworking projects.
Discover detailed, easy-to-follow woodworking plans at Real Wood Work Plans tailored for hobbyists and professionals alike. Whether you are refining your milling techniques or aiming to create stunning furniture like handcrafted coffee tables you will find step-by-step tutorials, expert tips, and project ideas that simplify complex processes. Visit Real Wood Work Plans now and turn your wood milling knowledge into beautiful, lasting creations.
Frequently Asked Questions
What is wood milling?
Wood milling is the process of transforming raw timber into usable wooden pieces through mechanical techniques such as cutting and shaping. It allows for the creation of standardized lumber suitable for various applications, from construction to fine furniture making.
What are the main types of wood milling methods?
The primary wood milling methods include climb milling, conventional milling, horizontal milling, and vertical milling. Each method serves unique purposes, influencing the final product’s quality, precision, and surface finish.
What tools are essential for wood milling?
Essential tools for wood milling include cutting tools (end mills and face mills), measurement equipment (calipers and micrometers), and safety equipment (safety glasses and gloves). Proper tools are crucial for achieving accuracy and ensuring safety during the milling process.
What common mistakes should I avoid during wood milling?
Common mistakes in wood milling include failing to inspect the wood for defects, operating machinery at incorrect spindle speeds, and neglecting personal protective equipment. Awareness of these errors can help improve both project quality and operator safety.
Recommended

“DIY woodworking enthusiast who started with zero experience and a YouTube tutorial.
I build simple, practical projects for my home and share free plans
so other beginners can skip the guesswork.If I can build it, you can too.”