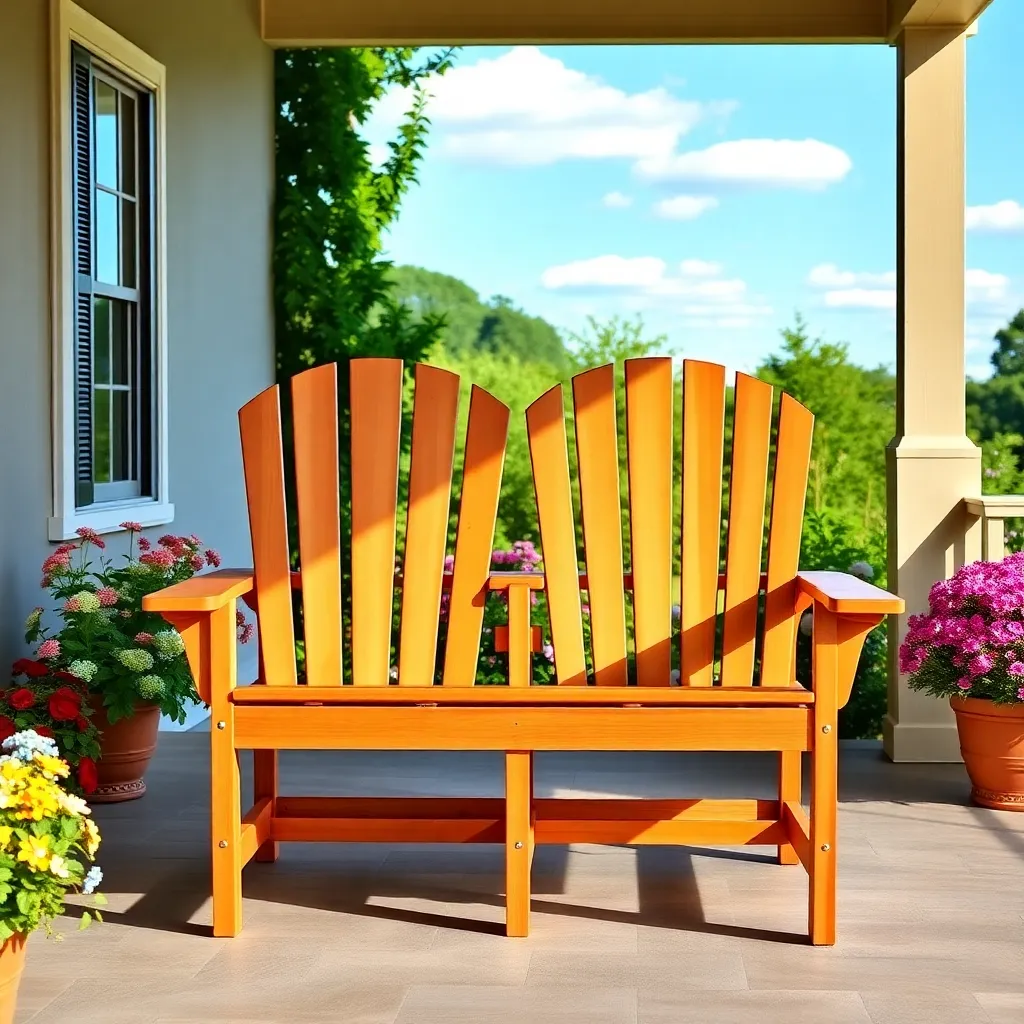
An Adirondack loveseat is a double-wide Adirondack that seats two adults side by side. It uses the same fan-back design, the same seat angle, and the same armrests as a classic single Adirondack chair — everything is just wider. The seat spans 46–50 inches instead of 21 inches, the back fan has more slats to fill the wider width, and a center support leg prevents the longer seat boards from flexing at midspan.
These Adirondack loveseat plans build a 48-inch-wide seat from cedar 1×6 and 1×4 boards. It seats two adults comfortably with a total width of approximately 54 inches including armrests. Build time is 7–9 hours — slightly longer than a single chair because there are more slats and more seat boards to cut.
Want 16,000+ step-by-step woodworking plans?
Ted’s Woodworking has plans for every skill level — from simple shelves to full bedroom sets. Each plan includes a cut list, material list, and detailed diagrams. Browse Ted’s plans →
Step 1: Plan the Wider Geometry
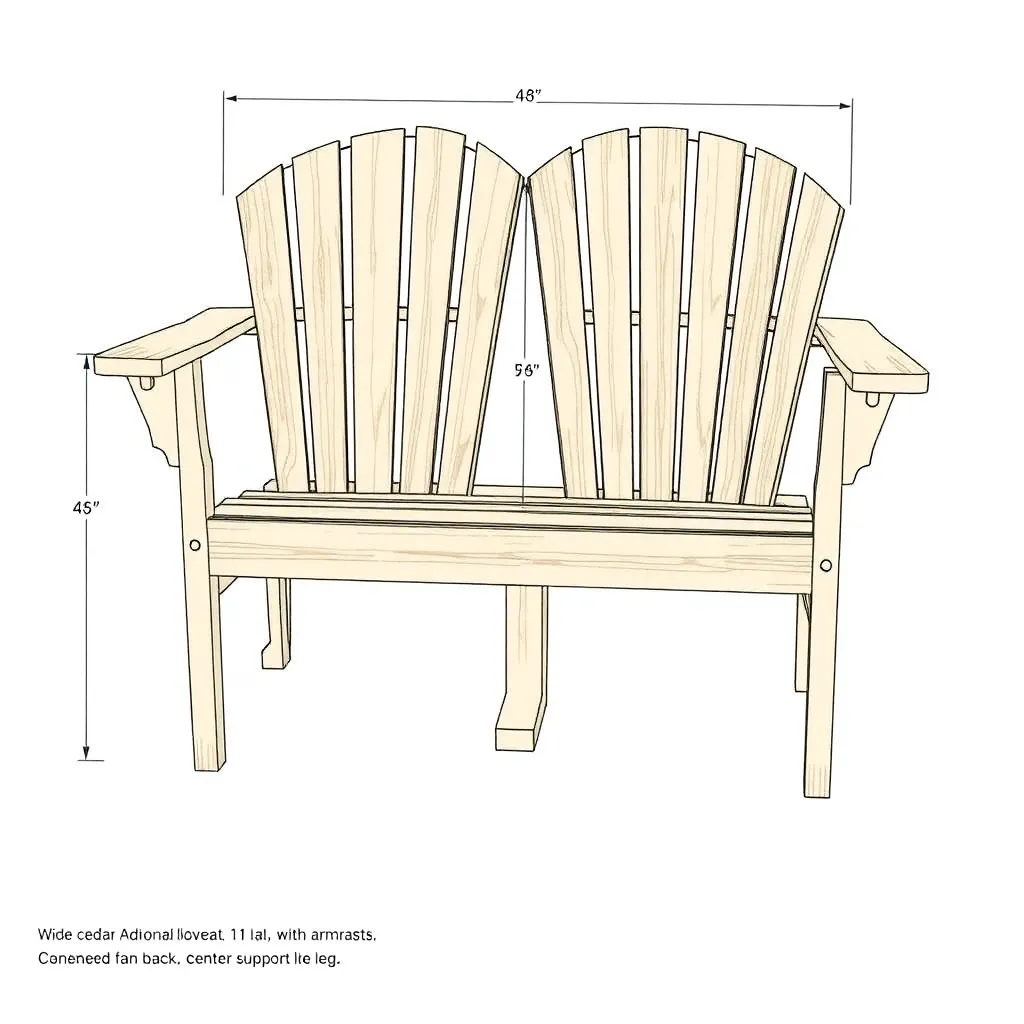
A loveseat uses the same angles as a single chair (15° seat, 25–30° back) but the wider span introduces structural issues that don’t exist in a narrower chair.
Key dimensions:
- Total width (including armrests): 54 inches
- Seat width (between rear legs): 48 inches
- Seat depth: 22 inches
- Back height (above seat): 36 inches
- Seat height (front): 14 inches
- Back slat count: 11 slats (wider fan)
- Center support leg: required (prevents midspan seat board sag)
Structural considerations for a wide span. Five 1×4 × 48″ boards spanning unsupported will sag noticeably when two adults are seated — 48 inches is too far for a ¾”-thick board to span without a center support. A center leg (or center support block attached to a mid-seat stretcher) prevents this. Position the center support at 24 inches from each rear leg.
Back fan for wider format. An 11-slat fan fills the 48-inch width more evenly than the 7-slat fan used on a 21-inch chair. The center slat remains the tallest; the outermost two slats (on each side) are the shortest. The angle between adjacent slats is approximately the same as in the single chair (4–5° per slat step).
Step 2: Materials and Cut List
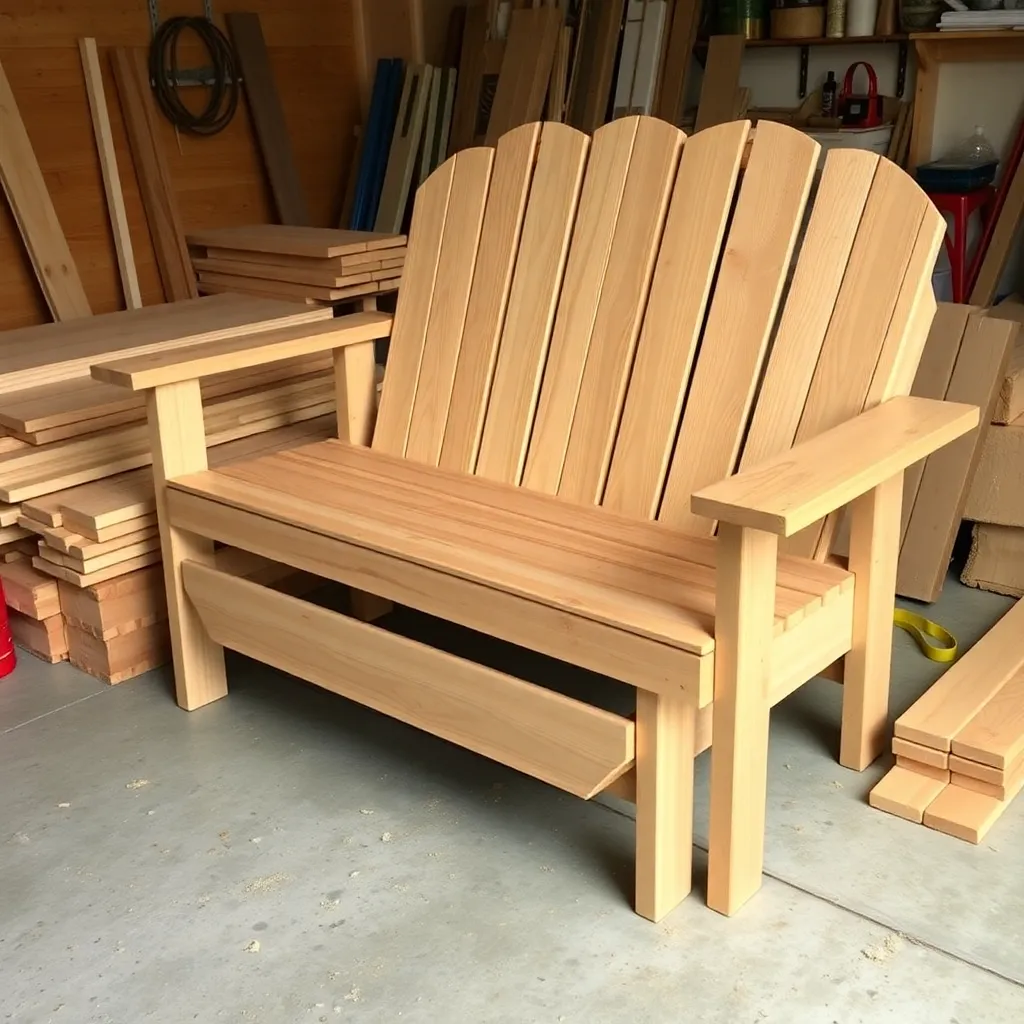
| Part | Qty | Length | Board Size | Notes |
|---|---|---|---|---|
| Rear legs | 2 | 36″ | 1×6 cedar | Identical to single chair, 48″ apart |
| Front legs | 2 | 21″ | 1×4 cedar | At each outer end |
| Center support leg | 1 | 14″ | 1×4 cedar | At seat midpoint |
| Armrests | 2 | 28″ | 1×6 cedar | Same profile as single chair |
| Armrest supports | 2 | 10″ | 1×4 cedar | Front leg to armrest gussets |
| Seat boards | 5 | 48″ | 1×4 cedar | Full-width, supported at center |
| Front stretcher | 1 | 48″ | 1×4 cedar | Between rear legs at front |
| Center stretcher | 1 | 48″ | 1×4 cedar | Between rear legs at seat level |
| Back bottom rail | 1 | 48″ | 1×4 cedar | Wider than single chair |
| Back center slat | 1 | 38″ | 1×4 cedar | Tallest |
| Back inner slats | 8 | 36″/33″/30″/27″ | 1×4 cedar | Two of each height per side |
| Back outer slats | 2 | 24″ | 1×4 cedar | Shortest, outermost |
| Back top rail | 1 | 46″ | 1×4 cedar | Arc cut, wider than single |
| Exterior screws | 2 boxes | 1½” and 2½” | — | More fasteners than single chair |
Total estimated cost: $90–130 for cedar, $15–20 for hardware.
Step 3: Build the Wider Rear Leg Assembly
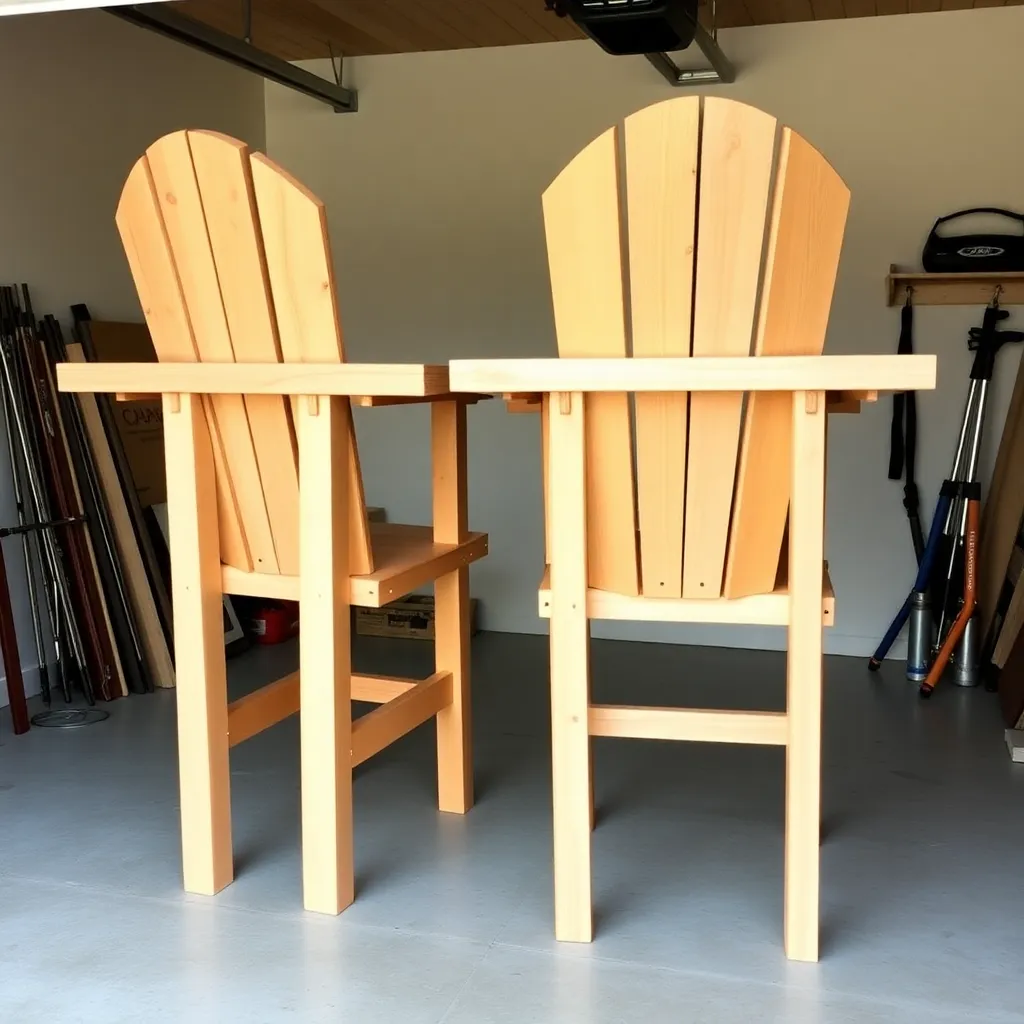
The rear legs are identical to those in the single chair — same profile, same notch, same angles. The difference is their spacing: 48 inches apart (outside to outside) instead of 21 inches.
Cut and notch the rear legs. Follow the same procedure as the classic chair: 15° bottom cut, seat notch at 14″ height, 30° top cut. Both legs are identical — cut one and use it as a template for the second.
Connect the rear legs. The front stretcher (48″ 1×4) connects the two rear legs at the front seat edge level. The center stretcher (48″ 1×4) connects them at the back of the seat. Both stretchers span the full 48 inches between legs. Fasten with two 2½” screws per end. These two stretchers form the long base of the loveseat structure.
Add the center support leg. The center support leg is a 1×4 × 14″ piece that stands vertically at the midpoint of the front stretcher, supporting the seat boards from below. Fasten the support leg to the front stretcher with two screws from below; the top of the support leg will bear against the underside of the seat boards.
Step 4: Install the Seat Boards
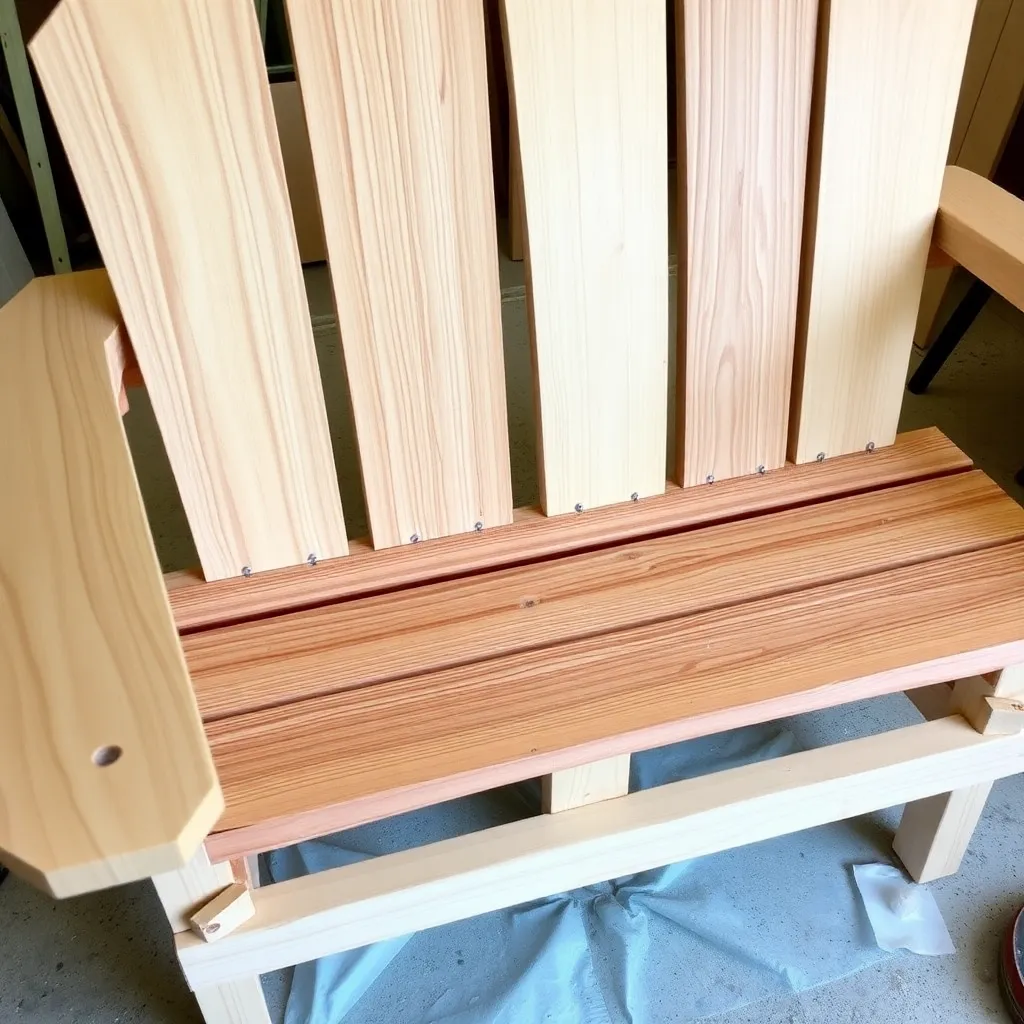
Five 1×4 × 48″ cedar boards span the full seat width. At 48 inches of unsupported span, ¾”-thick 1×4 boards flex under load — the center support leg prevents this.
Lay the seat boards. Place the five boards across the rear legs in the notches, evenly spaced with ¼” gaps. The front seat board is flush with the front edge of the seat notches; the rear seat board is near the back leg face.
Check center support contact. All five seat boards should rest on the center support leg at their midpoints. If any board bows away from the center support, the support is too short — add a shim under the support leg base to bring it into contact with every board.
Fasten the seat boards. Two 1½” screws per board per leg (four per board into legs) plus two 1½” screws per board into the center support leg. That’s six screws per seat board — more than a single chair, but the wider span warrants the additional fastening.
Step 5: Build the 11-Slat Fan Back
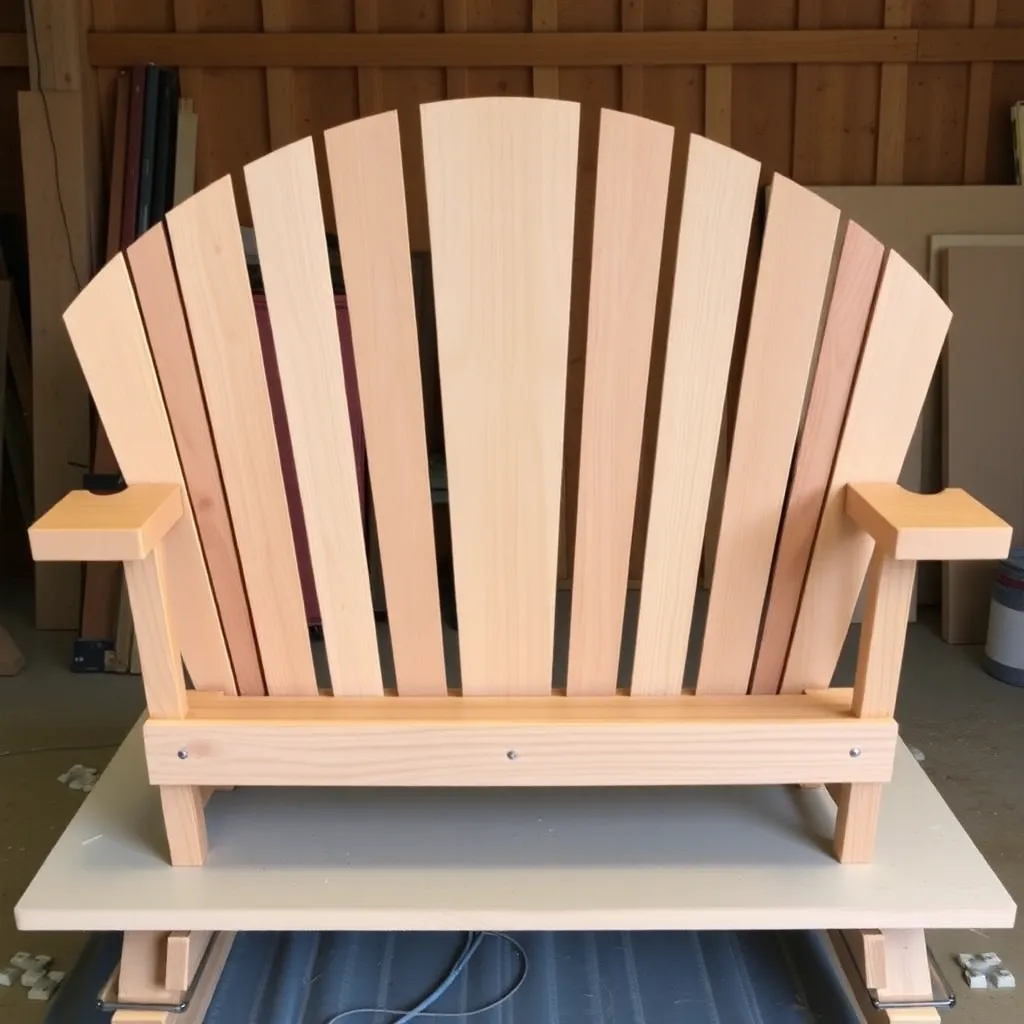
The loveseat back uses 11 slats instead of 7, filling a 48-inch width with the same fan geometry.
Build the back fan on a flat surface. Lay the back bottom rail (48″ 1×4) flat. Position the center slat (38″) vertically at the center. Fan two inner slats on each side at approximately 4–5° per step. Continue outward with two more slats per side at each step. The outermost slats (24″ height) are at the widest fan angle (approximately 18–20° from vertical).
Keep the fan symmetric. Mark the center of the bottom rail before placing slats. Work outward from the center, adding one slat to each side alternately — this keeps the fan symmetric rather than drifting to one side.
Fasten and add top rail. Fasten each slat to the bottom rail with two 1½” screws. Lay the top rail (46″ 1×4, arc cut to match the natural fan curve) across the slat tops and fasten with one screw per slat. The assembled fan is a wide, stable unit.
Attach to rear legs. Prop the fan back against the rear legs at 25–30° recline. The back bottom rail rests on the rear seat board. Fasten the bottom rail to both rear legs with two 2½” screws per side. Fasten the outer back slats to the rear legs near the top to lock the angle.
Step 6: Install Front Legs, Armrests, and Finish
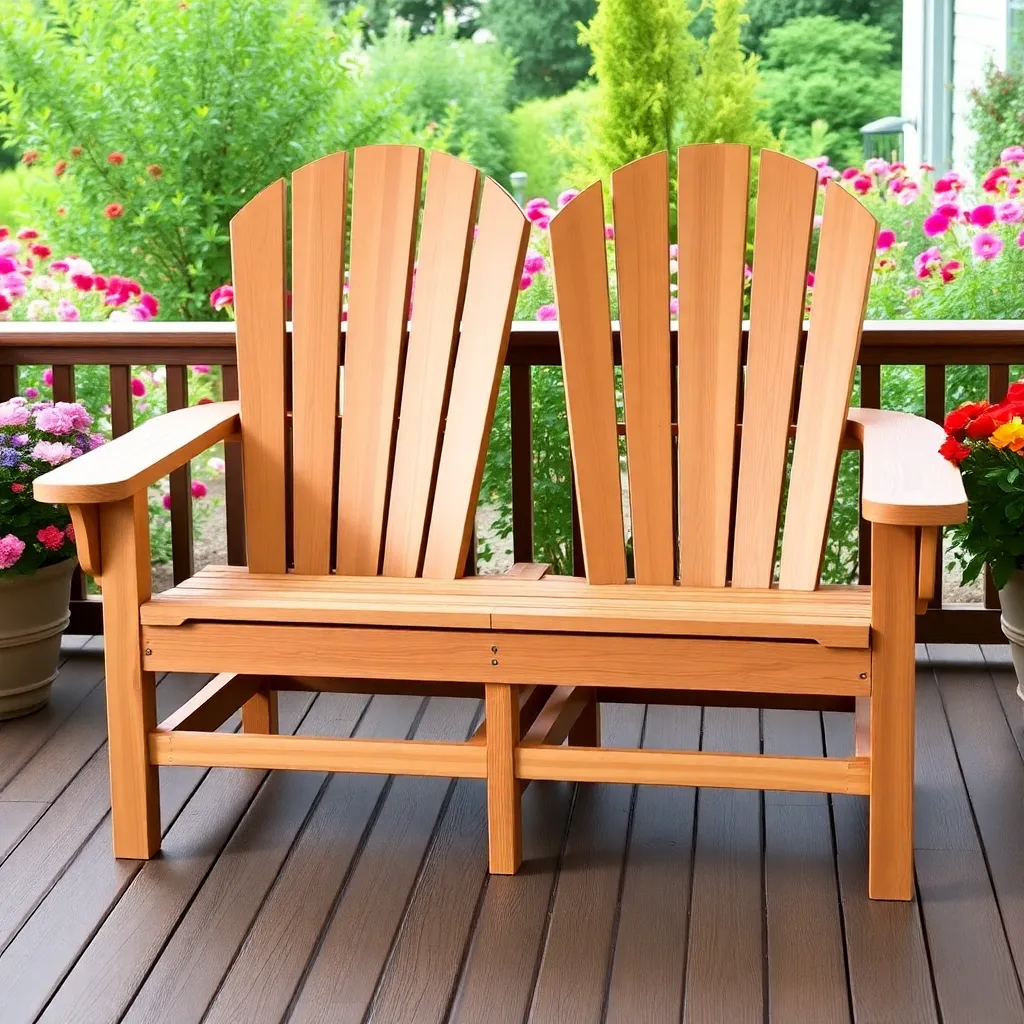
Front legs and armrests. Install identically to a single chair — front leg at each outer corner, armrest spanning from rear leg top to front leg top. The center of the loveseat has no front leg — the center support leg handles the midspan seat load, not the armrest load.
Sand and finish. Sand all surfaces as with a single chair — 80-grit then 120-grit. The loveseat has significantly more surface area than a single chair: budget 50% more sanding and finishing time. Apply two coats of semi-transparent exterior stain to all surfaces.
For more Adirondack designs, visit our Adirondack chair plans hub.
Want 16,000+ step-by-step woodworking plans?
Ted’s Woodworking has plans for every skill level — from simple shelves to full bedroom sets. Each plan includes a cut list, material list, and detailed diagrams. Browse Ted’s plans →
Adirondack Loveseat Plans FAQ
How wide should an Adirondack loveseat be?
46–50 inches of seat width (between rear legs) is the standard range — wide enough for two adults to sit without touching elbows but narrow enough to fit on most porches. The total width including armrests is 52–56 inches. Less than 44 inches of seat width feels cramped for two; more than 52 inches starts to look disproportionate and requires a longer, heavier back fan.
Does an Adirondack loveseat need a center leg?
Yes, for any seat width over 36 inches. Without a center support, 1×4 cedar boards spanning 48 inches will deflect visibly when two adults sit near the center — not a safety failure, but the sag is uncomfortable and fatigues the wood over time. The center leg is a simple addition that eliminates the problem entirely.
Can I add a center armrest to an Adirondack loveseat?
Yes — a center armrest divides the loveseat into two defined zones and gives both occupants somewhere to rest their inside arms. It requires a center support post (same height as the front legs, approximately 21 inches) positioned at the midpoint of the seat, with a short armrest board spanning from the back fan to the center post. Add this post at the same time as the front legs during assembly.
How heavy is a cedar Adirondack loveseat?
A completed cedar loveseat weighs 35–45 pounds — roughly twice the weight of a single Adirondack chair. It’s manageable for one person to carry but awkward due to the width (54 inches). Moving a loveseat seasonally is a two-person job. If frequent moving is expected, build with lighter wood (eastern white cedar rather than western red cedar) or consider a folding loveseat design.
What’s the difference between an Adirondack loveseat and an Adirondack bench?
Design and profile. An Adirondack loveseat has the full Adirondack geometry — reclined seat, fan back, wide armrests at the outer ends — and seats exactly two. An Adirondack bench is often wider (60–72 inches), may have a more upright back, and may have no armrests at all. The loveseat is designed as outdoor lounge seating; the bench is designed as versatile seating that can accommodate more people or double as a garden bench.

“DIY woodworking enthusiast who started with zero experience and a YouTube tutorial.
I build simple, practical projects for my home and share free plans
so other beginners can skip the guesswork.If I can build it, you can too.”