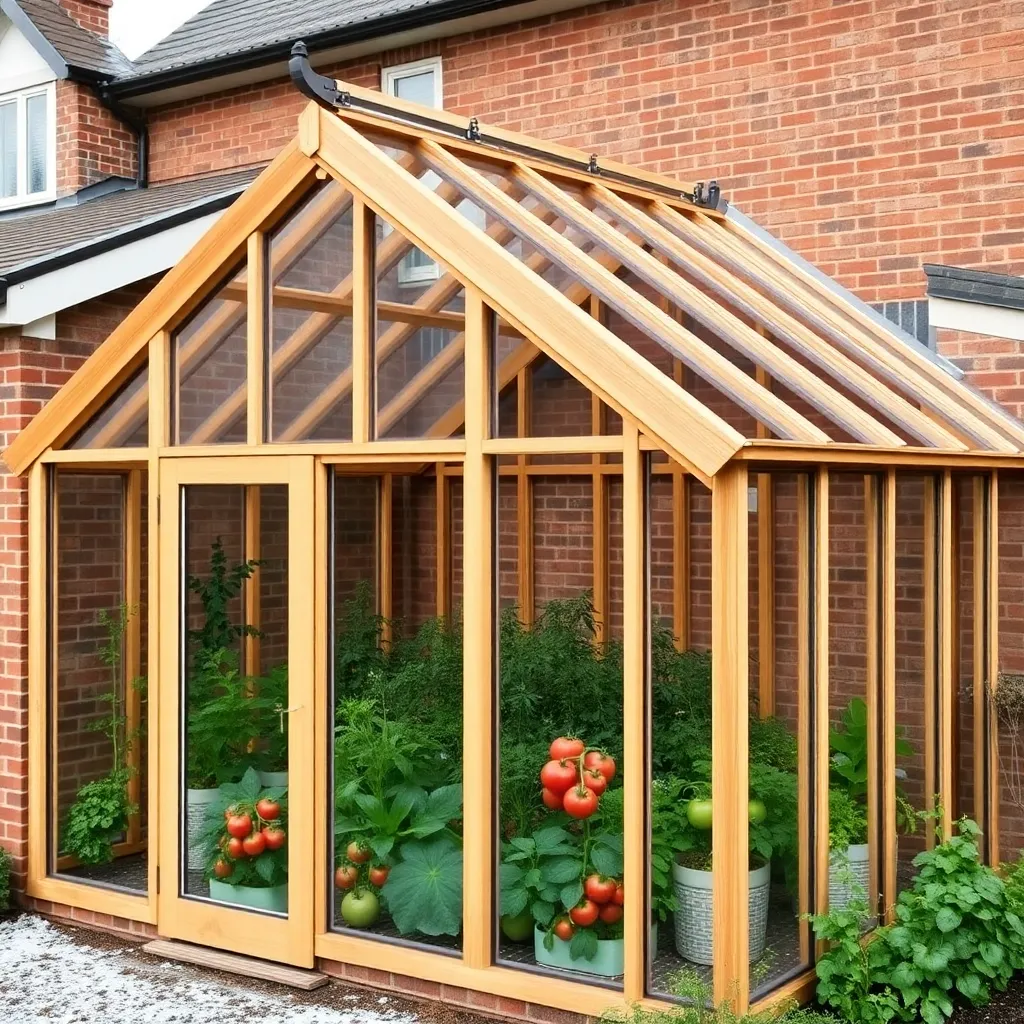
An attached greenhouse is the most capable structure in these plans — full stud framing, a concrete stem wall, ridge vent, and enough interior volume to grow year-round without supplemental lighting. At 10×14 feet, you have 140 square feet of growing space, two full-length bench runs, a potting area, and room for a small grow light rack for propagation.
Unlike a lean-to, this design shares a full gable wall with the main structure and has its own gable at the far end. The roof spans 10 feet at a 6:12 pitch (9-foot peak), and twin-wall polycarbonate covers both roof slopes and all three non-shared walls.
Want 16,000+ step-by-step woodworking plans?
Ted’s Woodworking has plans for every skill level — from simple shelves to full bedroom sets. Each plan includes a cut list, material list, and detailed diagrams. Browse Ted’s plans →
Step 1: Plan the Attachment Wall and Pour the Stem Wall
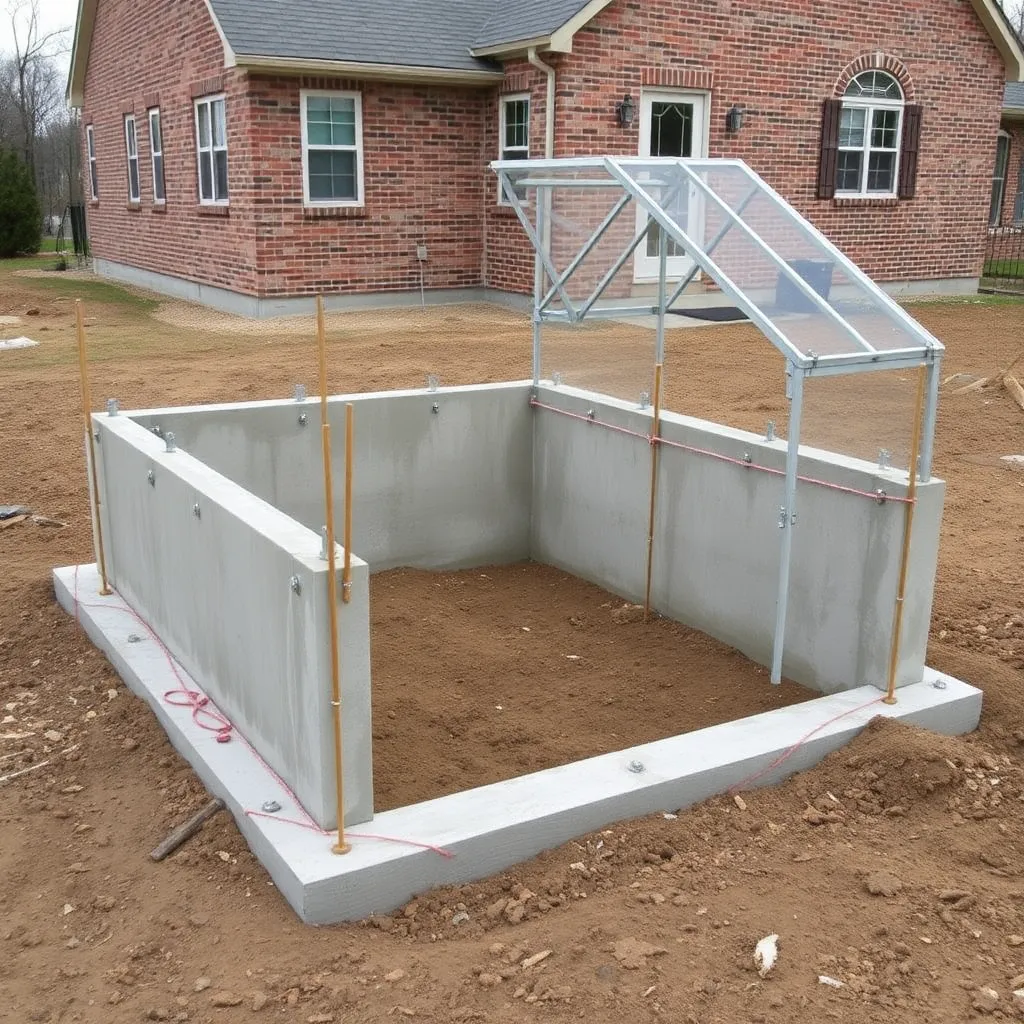
Locate the attachment wall on your house or garage. The greenhouse attaches through the existing siding — you’ll remove siding in the footprint, add a ledger, and flash the joint. Confirm there are no windows, doors, or utility penetrations in the footprint zone.
Pour a concrete stem wall (also called a knee wall or foundation wall) around the three non-attached sides of the greenhouse footprint. The stem wall is typically 8 inches wide, 8–12 inches tall above grade, and extends below the local frost depth. Use 2000-psi concrete and set 1/2-inch J-bolts for the sill plates while the concrete is wet. A concrete stem wall prevents frost heave, keeps the sill plate off the ground, and gives you a flat reference plane for framing.
Material overview for 10×14 attached greenhouse:
| System | Material |
|---|---|
| Stem wall | Poured concrete, 8 in wide |
| Sill plates | 2×6 PT anchored to J-bolts |
| Wall framing | 2×4 cedar, 16 in OC |
| Roof framing | 2×6 cedar rafters, 24 in OC |
| Glazing | 8mm twin-wall polycarbonate |
| Ventilation | 2 automatic ridge vents per slope |
| Door | 32×80 insulated pre-hung |
Step 2: Frame the Shared Wall and Side Walls
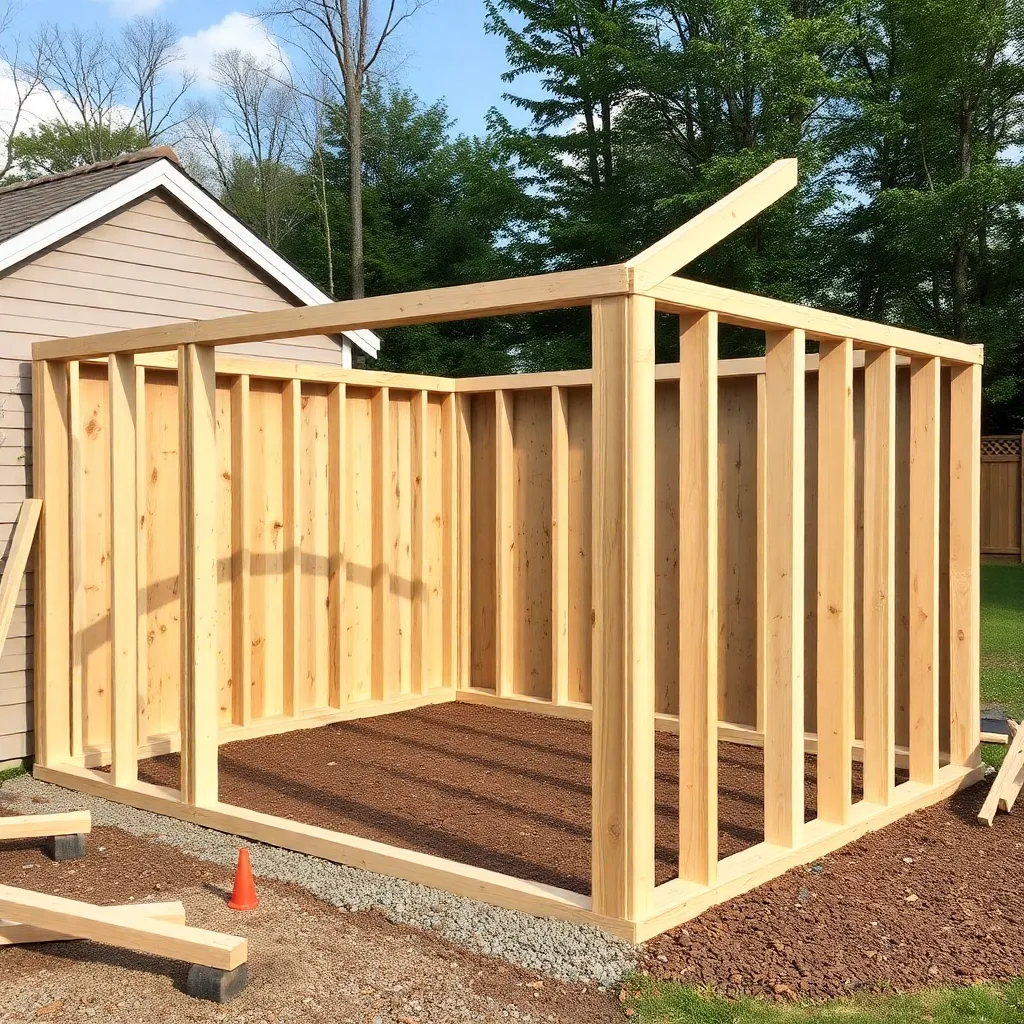
Before framing the greenhouse, open up the shared wall: remove siding, locate studs, and install a temporary header if any studs will be removed for a pass-through door between the house and greenhouse. Frame the pass-through opening with a doubled 2×6 header sized for the span.
Frame the two side walls (14 feet long) from the sill plate up to the top plate at 6 feet. Studs on 16-inch centers; double top plate. The side walls carry the rafters, so don’t skip the second top plate — it distributes the rafter load across multiple studs.
Step 3: Frame the Far Gable End Wall
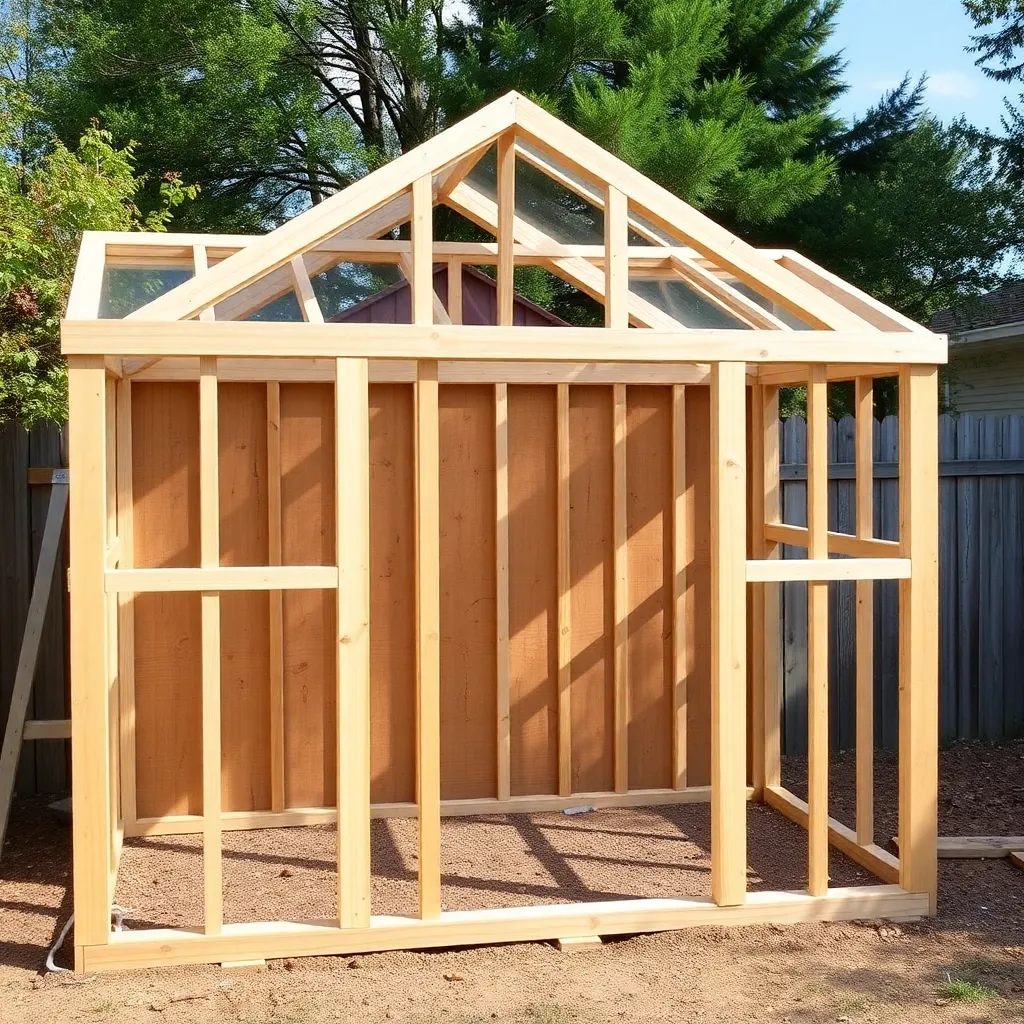
The far gable end wall consists of the rectangular wall from the sill to the top plate (6 feet) plus the triangular gable above. At 6:12 pitch over a 10-foot-wide structure (5-foot half-span), the ridge sits 2.5 feet above the top plate — so 8.5 feet total wall height at the peak. Include a door (32×80) centered in this end wall.
Frame the gable triangle with a center stud at the ridge height and two diagonal top plates following the roof slope. The gable studs between the top plate and the diagonal top plates are vertical, cut to different lengths to follow the slope profile.
Step 4: Install Rafters and Ridge Board
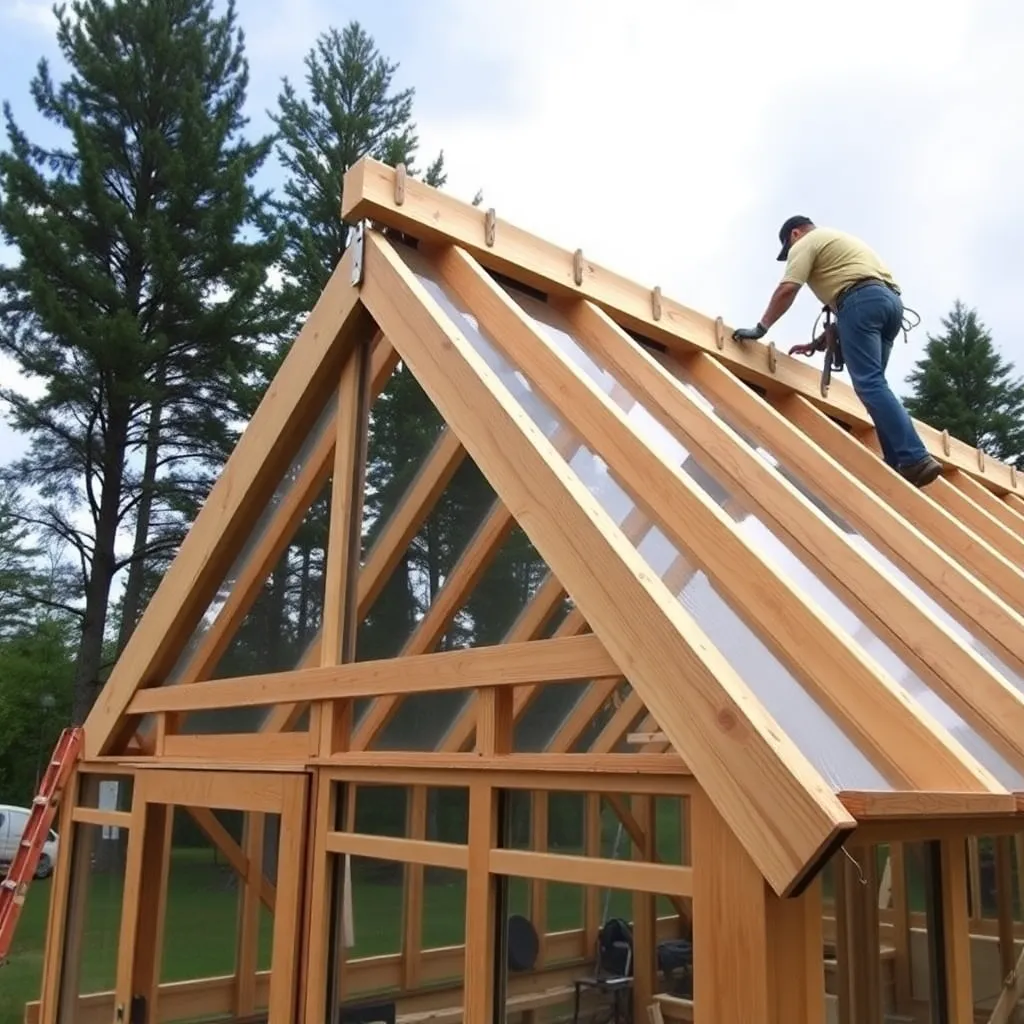
Set the ridge board at 8.5 feet at each end, supported temporarily by studs off the shared wall and the far gable. The ridge board is 2×8 to provide full bearing for the rafter plumb cuts on both sides.
Cut rafters from 2×6 cedar with a plumb cut at the ridge and a bird’s mouth at the top plate. At 6:12 pitch with a 5-foot run, rafter length is approximately 67 inches along the slope. Install rafters on 24-inch centers with hurricane ties at the top plate and rafter hangers at the ridge.
Add collar ties (horizontal 2×4s connecting opposing rafters at the upper third of the roof space) every other rafter pair to resist outward thrust on the side walls.
Step 5: Glaze Walls and Roof With Twin-Wall Polycarbonate
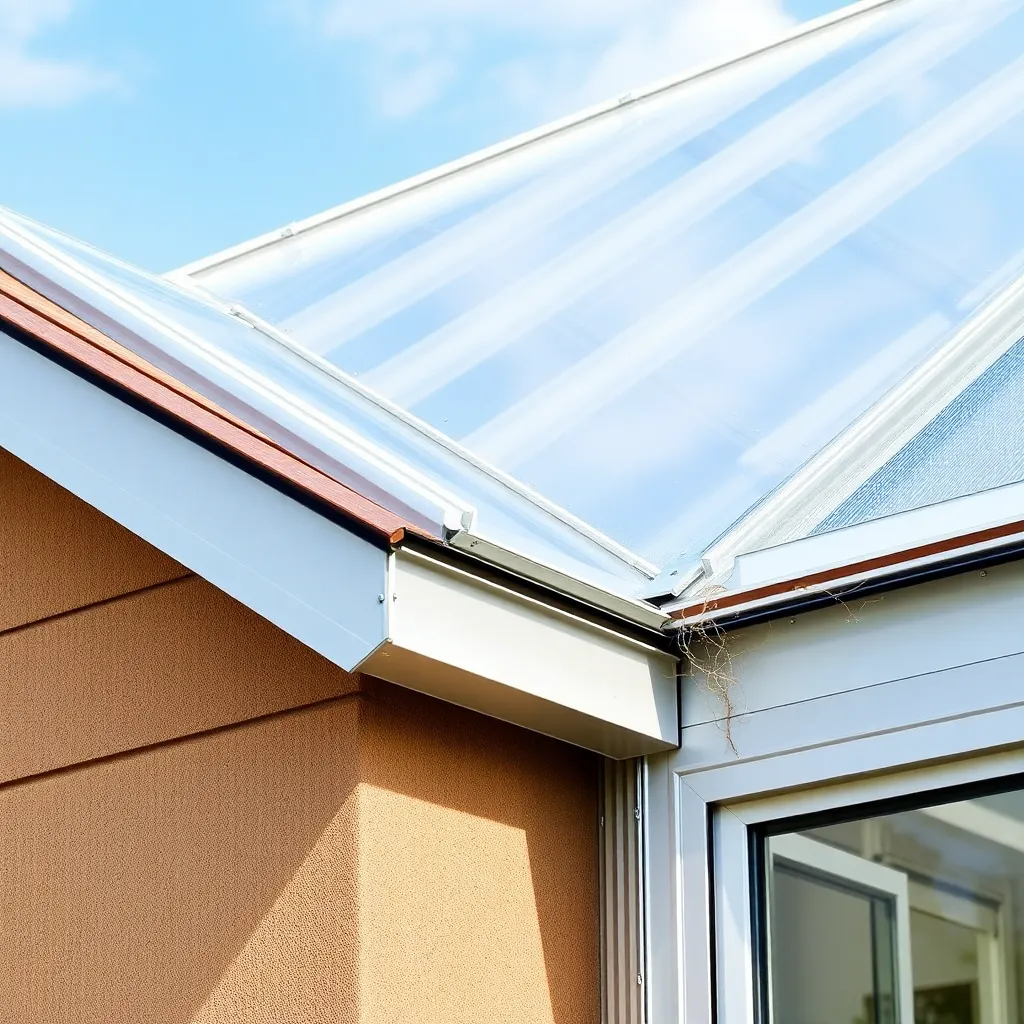
Use 8mm twin-wall polycarbonate for an attached four-season greenhouse — the extra thickness (vs. standard 6mm) provides R-1.89 instead of R-1.54, a meaningful difference in cold climates. Channels run vertically on walls and perpendicular to the ridge on roof panels.
Flash the joint where the roof panels meet the shared wall carefully. Install a piece of aluminum step flashing under the first course of siding above the greenhouse roof line, lapping it over the top edge of the polycarbonate with a generous bead of UV-stable caulk. This joint is the most common leak point in attached greenhouse construction.
Install aluminum H-channels between all panel joints, solid closure strips at panel tops, and vented closure strips at panel bottoms. Allow 1/4-inch expansion gaps at all panel edges.
Step 6: Install Ventilation, Electrical, and Finish Details
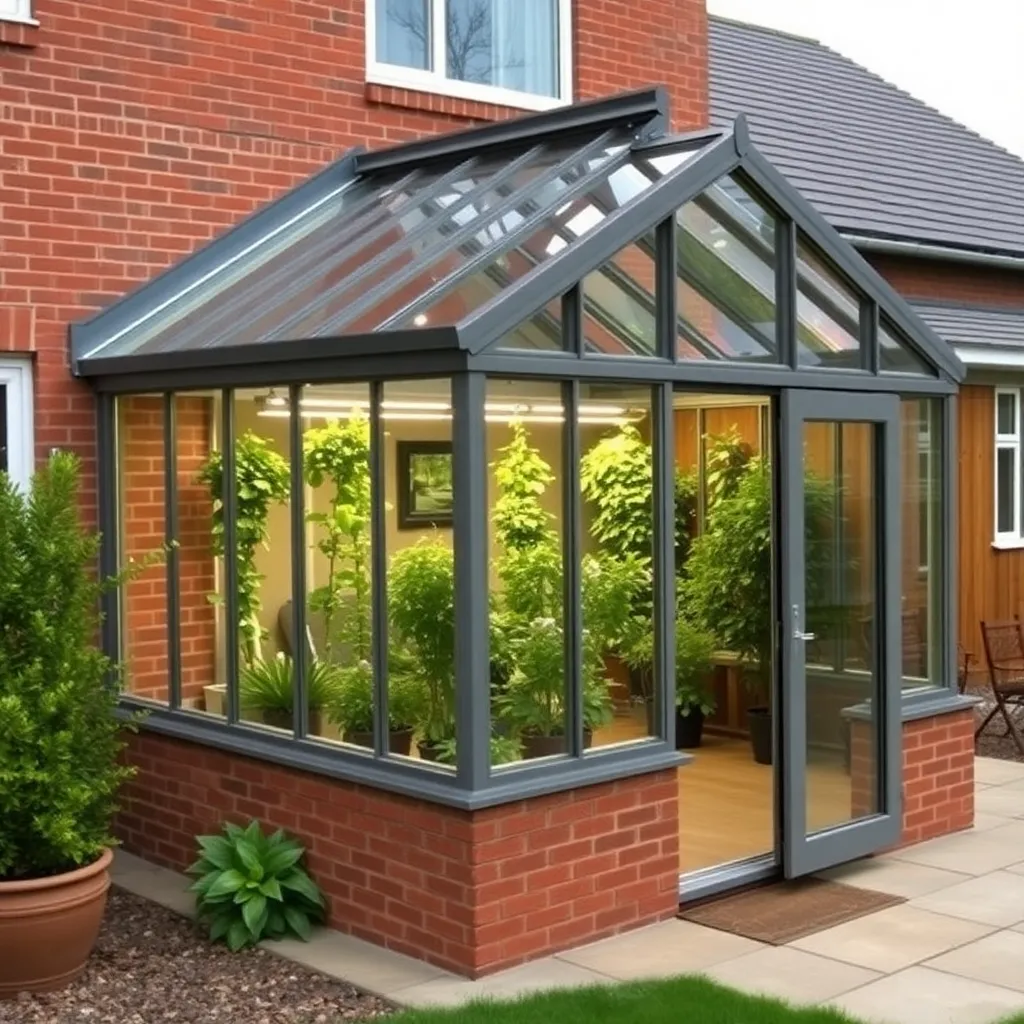
Install two automatic ridge vents on each roof slope near the peak — at least 4 square feet of ridge vent area total for a 10×14 structure. Add louvered vents low on the far end wall for cross-flow. Automatic wax-cylinder openers on all vents eliminate the need to visit the greenhouse multiple times per day.
Run a single 20-amp 120V circuit from the main panel to a weatherproof outlet box inside the greenhouse. This powers a space heater, grow lights, and a circulating fan — all of which significantly improve growing results. A circulating fan reduces humidity, prevents mold, and strengthens plant stems.
Finish the interior with pressure-treated or cedar bench frames at 32-inch height (comfortable working height). Install a potting sink if plumbing is feasible — a cold water line to a simple utility sink is worth the effort for seed-starting and irrigation.
Want 16,000+ step-by-step woodworking plans?
Ted’s Woodworking has plans for every skill level — from simple shelves to full bedroom sets. Each plan includes a cut list, material list, and detailed diagrams. Browse Ted’s plans →
Attached Greenhouse Plans FAQ
Do I need a building permit for an attached greenhouse?
Almost certainly yes. An attached greenhouse that connects to your home’s foundation or framing is considered an addition in most jurisdictions, regardless of size. Expect to submit framing plans, a foundation plan, and a site plan. The permitting process typically adds 4–8 weeks to the project but is required.
How do I prevent condensation problems in an attached greenhouse?
Condensation is inevitable in a greenhouse. Design for drainage: slope the floor away from the shared wall by 1/8 inch per foot, install a drain in the low corner, and use open-mesh or slatted bench tops so water drains through rather than pooling. A small circulating fan running continuously keeps air moving and dramatically reduces fungal problems caused by stagnant humid air.
Can I access the greenhouse from inside the house?
Yes, and it’s one of the major advantages of an attached design. Frame a pass-through door in the shared wall (typically 32×80 inches). The shared wall becomes an interior wall between conditioned spaces — frame it with insulation on the house side to prevent heat loss from the house into the greenhouse, and consider a weatherstripped solid-core door.
What is the best glazing for a four-season attached greenhouse?
8mm twin-wall polycarbonate is the best single-glazing choice for a four-season greenhouse. Its R-1.89 value and UV-stable coating provide good insulation and 20+ year service life. For the most demanding cold climates (Zone 5 and colder), consider triple-wall polycarbonate (R-2.5) or a double-glazing system.
How do I heat an attached greenhouse cost-effectively?
An attached greenhouse borrows heat from the main dwelling through the shared wall when the house is warmer than the greenhouse. In mild weather this is sufficient. For cold nights, a small electric space heater on a thermostat (set to 40–45°F for frost protection) is the simplest supplement. In-floor radiant heat (tubing in the concrete slab) is the most efficient permanent option for a well-built attached greenhouse.

“DIY woodworking enthusiast who started with zero experience and a YouTube tutorial.
I build simple, practical projects for my home and share free plans
so other beginners can skip the guesswork.If I can build it, you can too.”