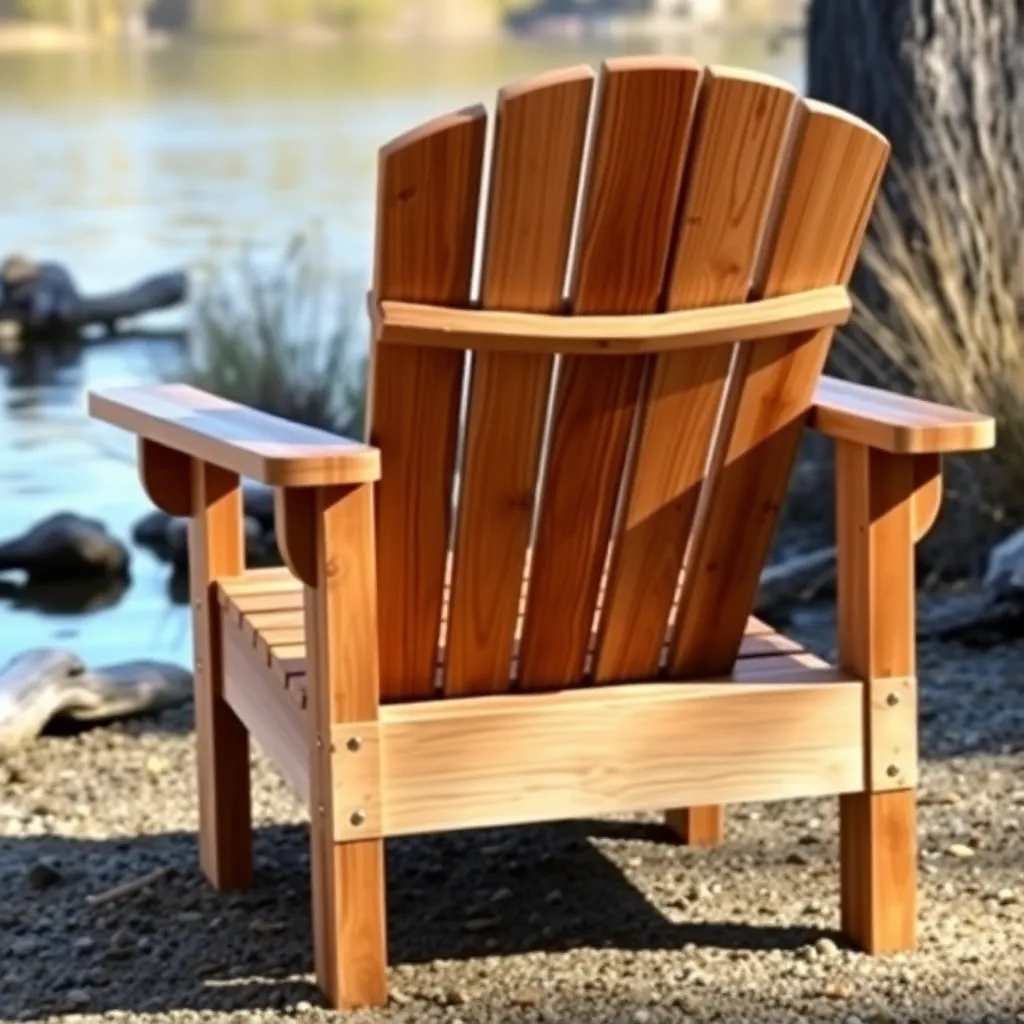
A 2×4 Adirondack chair uses only one board size for every component — seat boards, back slats, legs, armrests, and rails all come from the same standard 2×4 lumber. No specialty boards, no multiple widths to track, no searching for clear 1×6 stock. Walk into any home center, pull eight to ten straight 8-foot 2×4s, and you have everything needed for a complete chair.
The 2×4 profile produces a chunkier, more solid-looking chair than a traditional 1×6 build — the seat boards and back slats are noticeably thicker (1½” vs ¾”), which gives the chair a heavier presence suited to farmhouse and rustic settings. Weight increases slightly (20–25 lbs vs 15–20 lbs for a standard cedar chair), but the structural advantage is real: 2×4 components are stronger and more dent-resistant than 1×4 boards.
These 2×4 Adirondack chair plans use the same geometry as a classic Adirondack — 15° seat angle, 25–30° back angle, fan-back slats, wide flat armrests.
Want 16,000+ step-by-step woodworking plans?
Ted’s Woodworking has plans for every skill level — from simple shelves to full bedroom sets. Each plan includes a cut list, material list, and detailed diagrams. Browse Ted’s plans →
Step 1: Plan the 2×4 Geometry
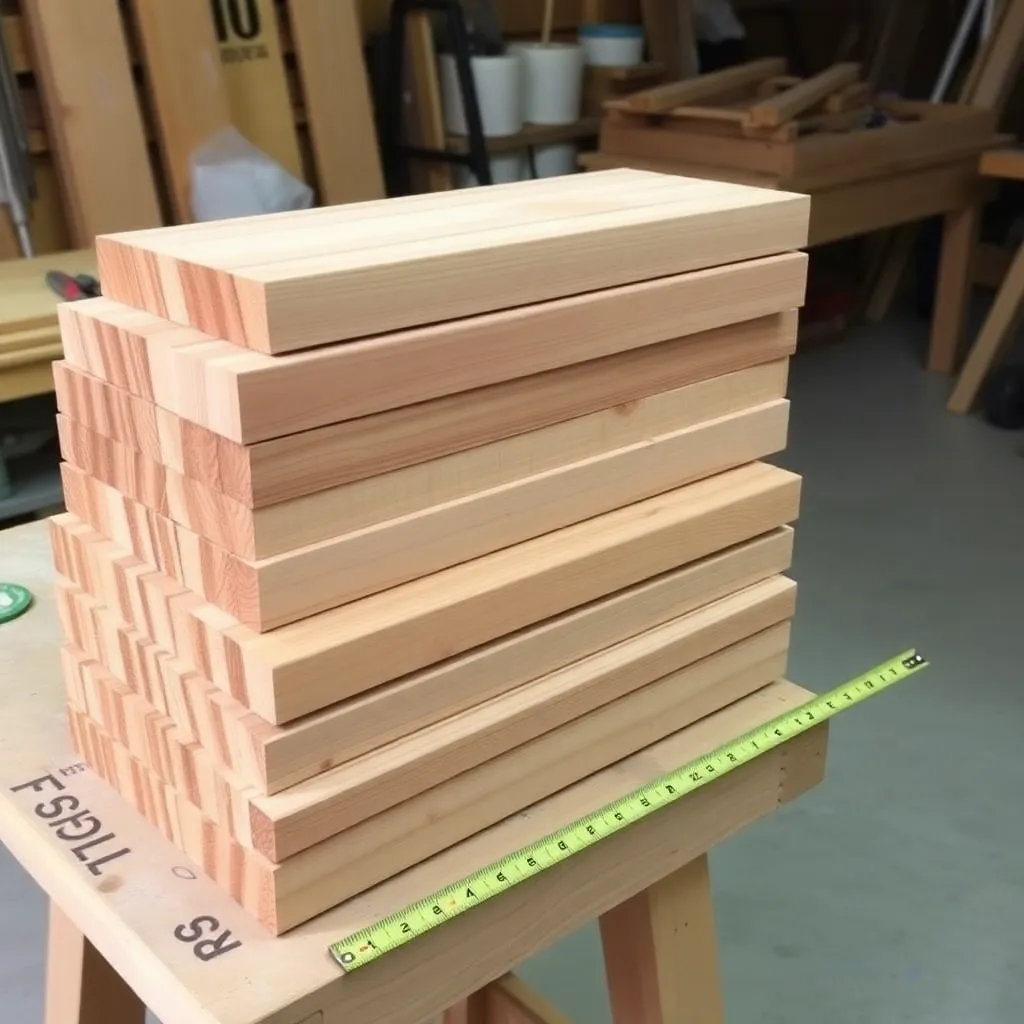
The main difference between a 2×4 build and a standard 1×6 build is proportion: with 3½”-wide boards instead of 5½”-wide boards, you need different quantities and spacings.
Key dimensions (2×4 version):
- Seat width: 21 inches (five 2×4 boards at 3½” = 17½” plus spacing, or four boards with wider gaps)
- Seat boards: 4 boards (not 5) — four 2×4s at 3½” = 14″ + 7″ of spacing across 5 gaps = 1.4″ per gap
- Back slats: 5 slats (not 7) — fewer slats because each 2×4 slat is wider
- Armrest width: 3½” (single 2×4, narrower than a 1×6 build)
- All angles: identical to classic chair (15° seat, 30° back top cut, 5° front leg lean)
Note on armrests. The 2×4 armrest (3½” wide) is narrower than the traditional 1×6 armrest (5½” wide). This is an acceptable trade-off for the all-2×4 simplicity, but if you want wider armrests, substitute 2×6 boards for the armrests only.
Step 2: Materials and Cut List
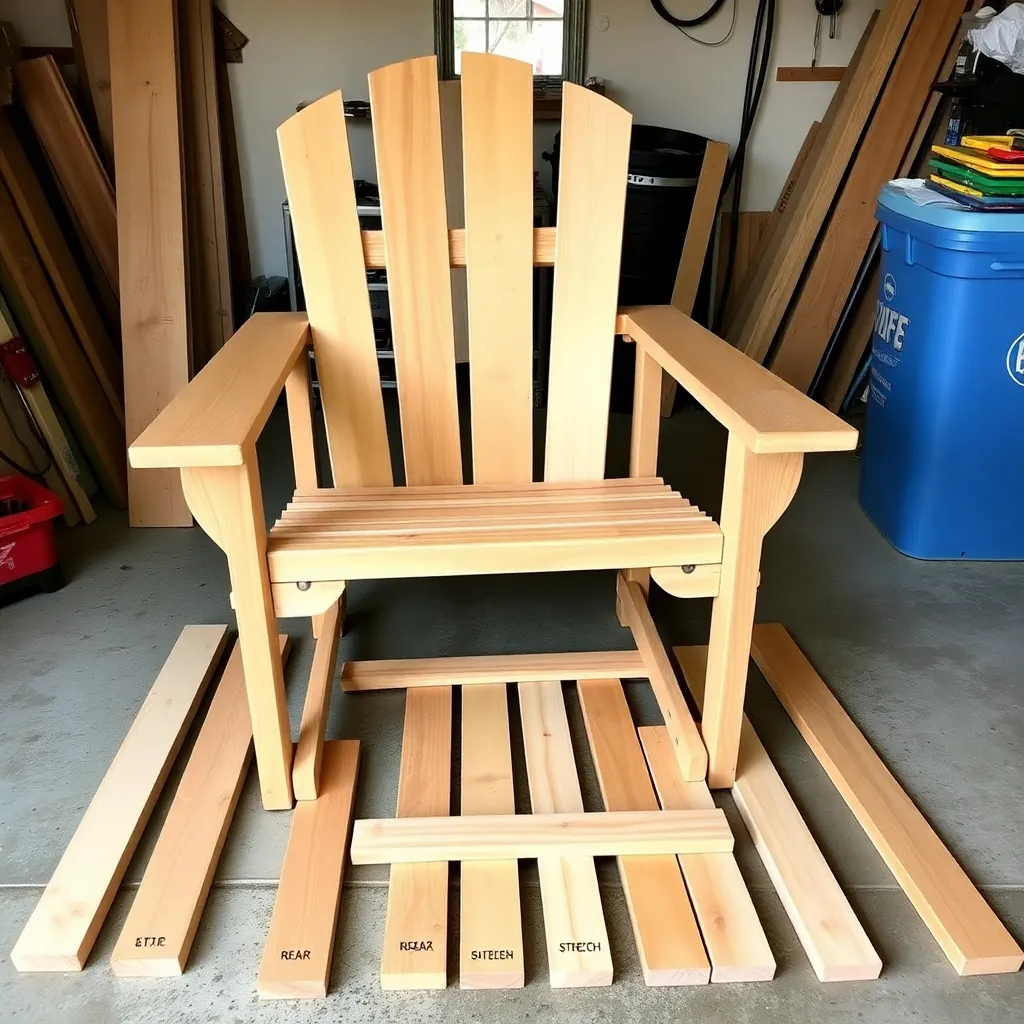
| Part | Qty | Length | Board Size | Notes |
|---|---|---|---|---|
| Rear legs | 2 | 36″ | 2×4 cedar | 15° bottom, seat notch, 30° top cut |
| Front legs | 2 | 21″ | 2×4 cedar | 5° angle top and bottom |
| Armrests | 2 | 28″ | 2×4 cedar | Narrow profile, rounded front |
| Armrest supports | 2 | 10″ | 2×4 cedar | Front leg to armrest gusset |
| Seat boards | 4 | 21″ | 2×4 cedar | Evenly spaced, 1.4″ gaps |
| Front stretcher | 1 | 21″ | 2×4 cedar | Between rear legs |
| Rear stretcher | 1 | 21″ | 2×4 cedar | Between rear legs at seat level |
| Back bottom rail | 1 | 21″ | 2×4 cedar | Base of fan back |
| Back center slat | 1 | 34″ | 2×4 cedar | Tallest, center |
| Back inner slats | 2 | 30″ | 2×4 cedar | One per side |
| Back outer slats | 2 | 25″ | 2×4 cedar | Shortest, outermost |
| Back top rail | 1 | 21″ | 2×4 cedar | Flat or slight arc cut |
| Exterior screws | 1 box | 2″ and 3″ | — | Larger screws for thicker lumber |
Total estimated cost: $30–50 for cedar 2×4s, $10–15 for hardware.
Step 3: Cut the Rear Legs
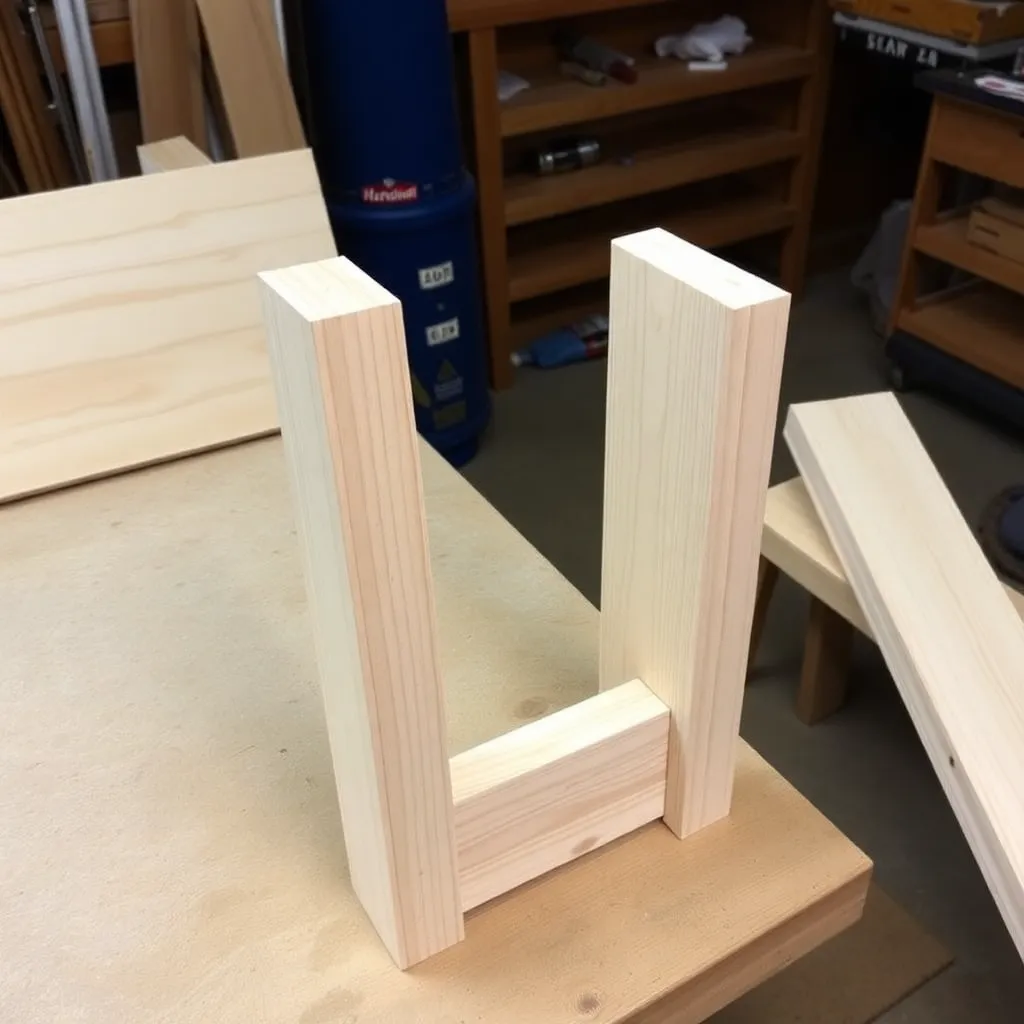
The 2×4 rear legs follow the same geometry as the 1×6 classic chair — the only difference is that you’re working with a narrower (3½” vs 5½”) board.
Mark and cut. 15° angle at the bottom. Seat notch: 1½” deep × 1½” wide (the seat boards are 1½” thick, so the notch is deeper than in a 1×4 build) at 14″ from the bottom. 30° angle cut at the top. The deeper seat notch accommodates the thicker 2×4 seat boards — don’t use ¾” notch dimensions from a 1×4 plan.
Note on rear leg strength. A 2×4 rear leg (1½” thick) is stronger than a 1×6 rear leg (¾” thick) at the seat notch location — the notch removes less proportional material from the thicker board. The 2×4 version is structurally more robust at this critical joint.
Step 4: Build the 5-Slat Fan Back
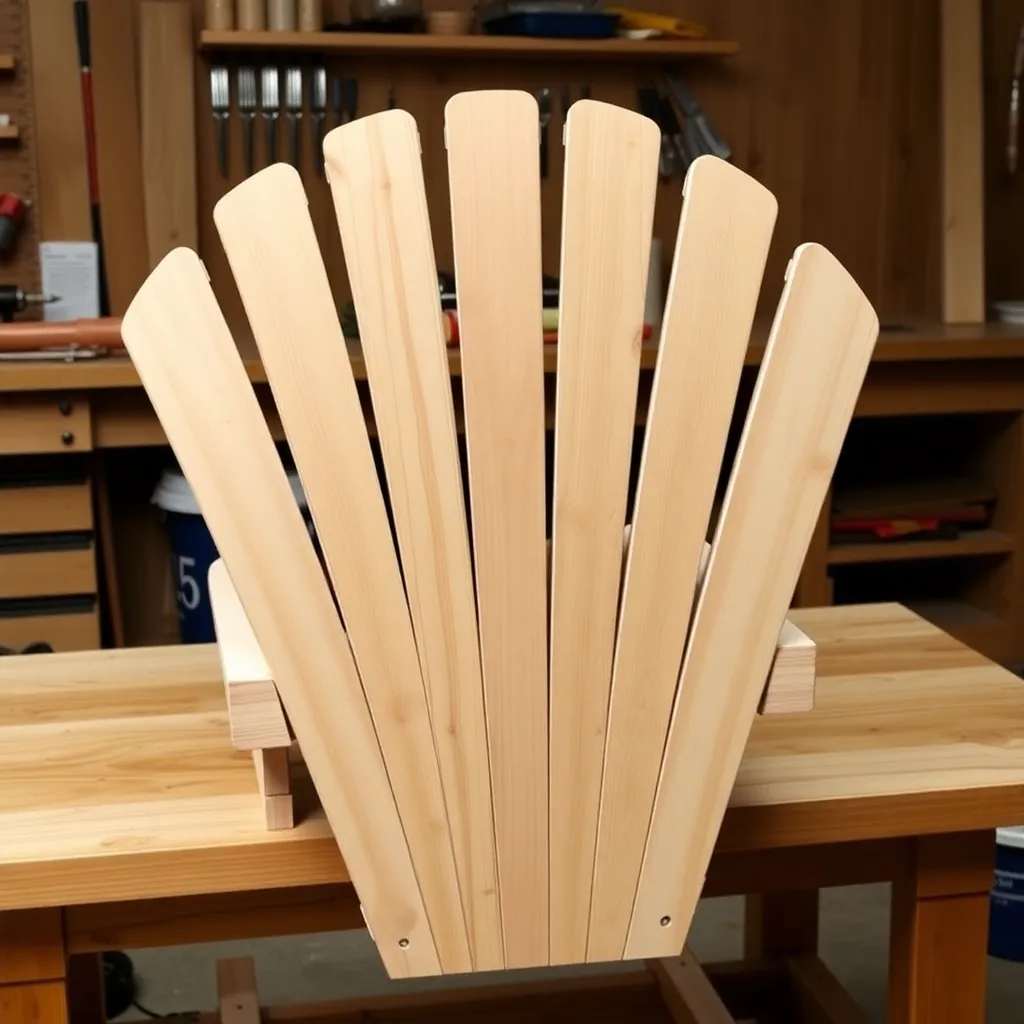
The 2×4 fan back uses 5 slats instead of 7 because each slat is wider (3½” vs 3½” — same actual width, but fewer slats because the wider fan uses 2×4 proportions at closer intervals).
Cut the back slats. Center slat: 34″. Inner slats: 30″ each. Outer slats: 25″ each. All straight 90° crosscuts.
Assemble the fan. Lay the back bottom rail (21″ 2×4) flat. Center the 34″ center slat vertically. Fan one inner slat on each side at approximately 8° from vertical. Fan the outer slats at approximately 16° from center. Fasten each slat to the bottom rail with two 3″ screws from below — the thicker 2×4 rail needs longer screws than a 1×4 build.
Add the top rail. The 21″ 2×4 top rail spans across all five slat tops. In a 5-slat design, the arc is more subtle — a slight crown of ½–1″ at the center is sufficient. Mark the arc freehand and cut with a jigsaw, or leave the top rail straight (it looks fine either way in the wider 2×4 profile).
Step 5: Assemble the Chair
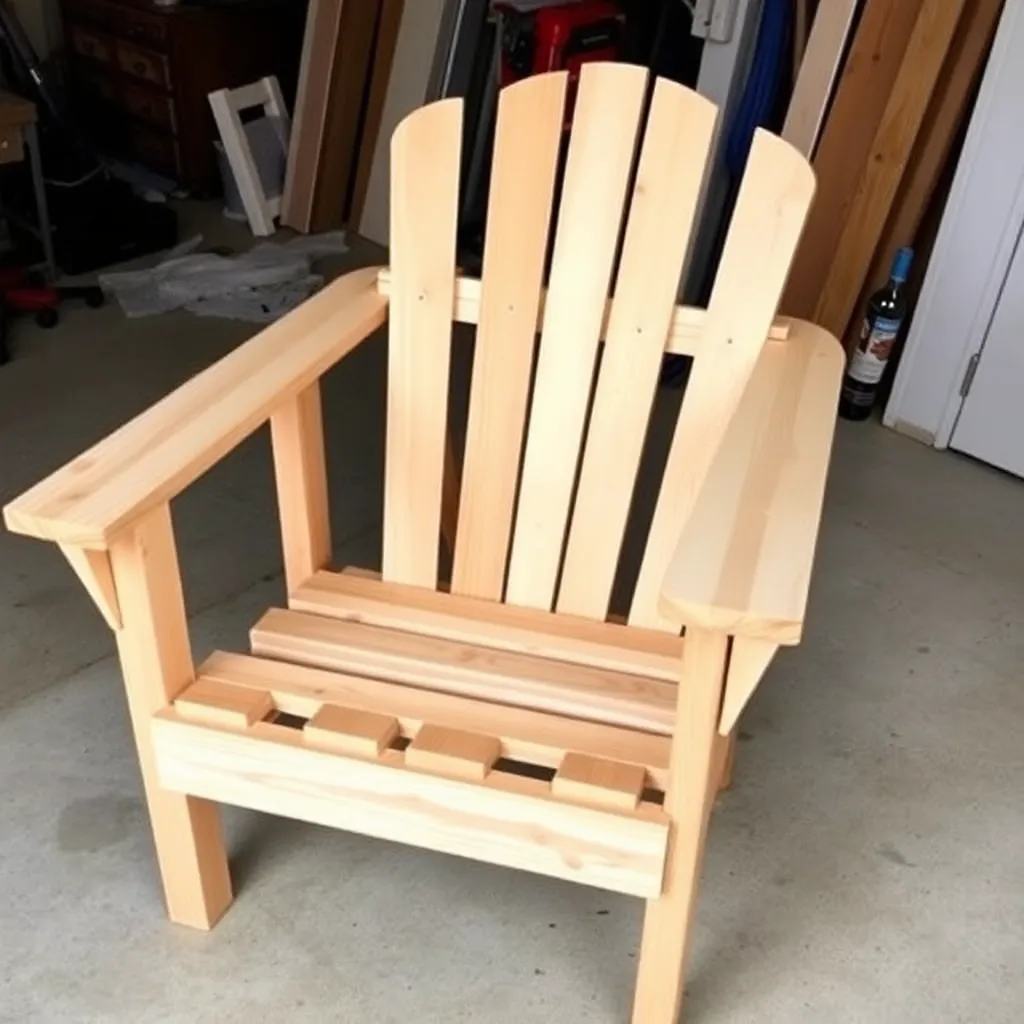
Assembly follows the same order as the classic chair: rear legs first, then seat boards, then back, then front legs and armrests.
Connect rear legs. 21 inches apart (outside to outside), connected by the front stretcher and rear stretcher. In the 2×4 build, the stretcher-to-leg connection uses 3″ screws driven through the stretcher face into the leg face — two screws per connection.
Install seat boards. Four 2×4 × 21″ seat boards, resting in the seat notches. Space them evenly — approximately 1.4″ gaps between boards. Fasten with two 3″ screws per board per leg (driven from below through the leg notch ledge up into the board).
Attach back fan. Position the fan back at 25–30° recline against the rear legs. Fasten the back bottom rail to both rear legs with two 3″ screws per side. Fasten the outer back slats to the rear legs near the top.
Install front legs. Each 2×4 × 21″ front leg stands at the front corner of the seat, connecting the armrest above to the ground below. Fasten through the stretchers and seat boards into the front leg with two 3″ screws per leg.
Attach armrests. The 2×4 × 28″ armrest boards span from the rear leg top to the front leg top. The narrow 3½” width looks proportional in an all-2×4 chair. Fasten the armrest to the rear leg top with two 3″ screws from above; fasten to the armrest support gusset with two screws at each end of the gusset.
Step 6: Sand, Finish, and Sit
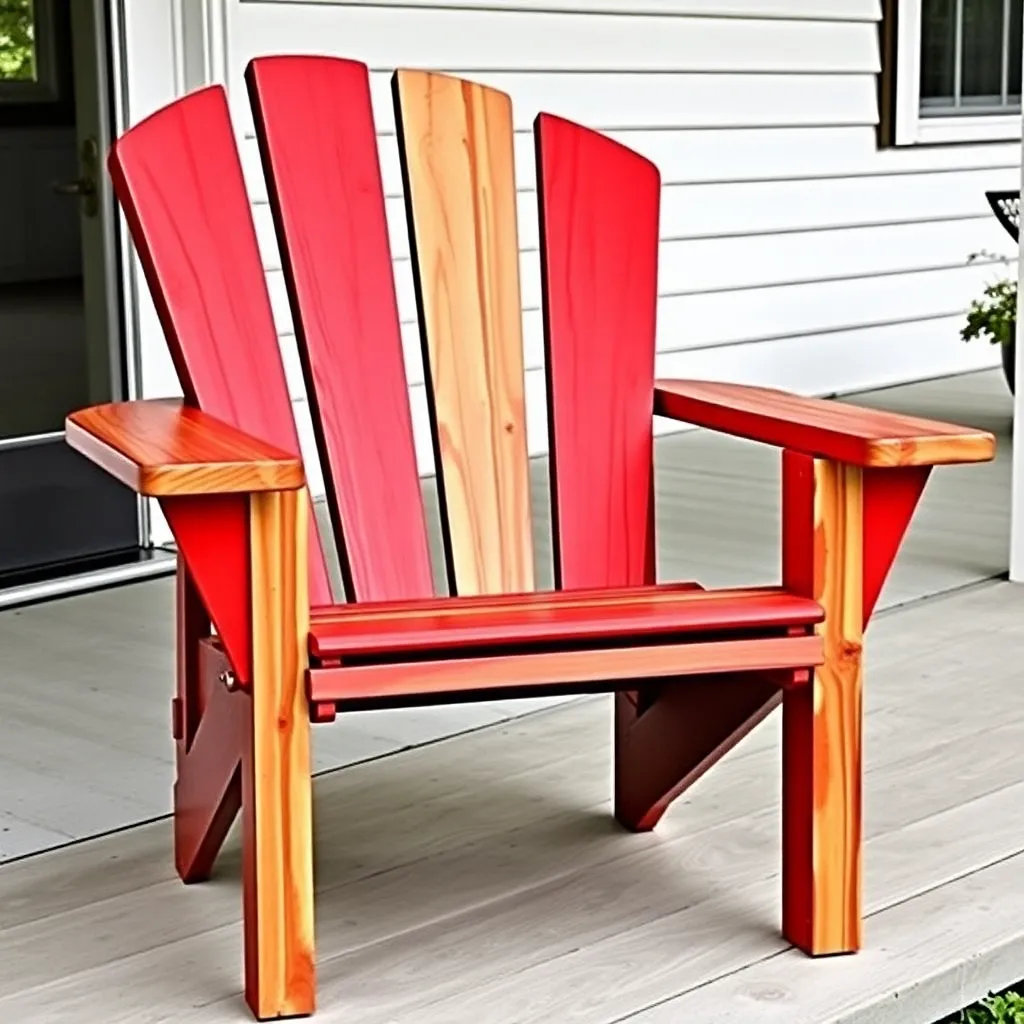
Sand. 80-grit on all faces to remove mill marks. 120-grit on seat surfaces, armrests, and back slat faces. The 2×4 profile has more wood mass than 1×4 slats — expect slightly longer sanding time. Round all edges generously; the 2×4 boards have sharper mill edges than 1×4 stock.
Finish. Same as classic cedar Adirondack: two coats of semi-transparent exterior oil stain on all surfaces. The 2×4 build has less total surface area than a 7-slat 1×4 design (fewer, wider slats instead of more, narrower), so finishing goes slightly faster.
For more Adirondack designs, visit our Adirondack chair plans hub.
Want 16,000+ step-by-step woodworking plans?
Ted’s Woodworking has plans for every skill level — from simple shelves to full bedroom sets. Each plan includes a cut list, material list, and detailed diagrams. Browse Ted’s plans →
2×4 Adirondack Chair Plans FAQ
Is a 2×4 Adirondack chair as comfortable as a 1×6 version?
Yes — the angles are identical, so the sitting geometry is the same. The difference is tactile: the 2×4 seat boards and armrests are thicker and have a more solid feel underfoot and underarm. Some people prefer the chunkier profile; others find the narrower (3½” vs 5½”) armrest less comfortable for extended arm resting. Building the chair with 2×6 armrests only resolves this if wider armrests matter to you.
How many 2×4 boards do I need for one Adirondack chair?
Eight to ten standard 8-foot 2×4 cedar boards. The exact count depends on how efficiently you nest the cuts — rear legs (two pieces from one board), front legs (two from one board), seat boards (four from three boards), back slats (five from three boards), armrests and stretchers (two boards). Buy ten boards to allow for a miscut or defective board; return the unused one.
Can I use pine 2×4s instead of cedar?
Yes, for the structural components — pine is structurally fine for an Adirondack chair. The difference is longevity outdoors: cedar is rot-resistant without any finish; pine will rot within a few seasons if the finish is neglected or damaged. If you build from pine, paint the chair with two coats of exterior primer and two coats of exterior paint, and inspect the finish annually. Pine 2×4s cost roughly half of cedar 2×4s, making a pine 2×4 Adirondack one of the most budget-friendly outdoor chairs you can build.
Why does the 2×4 back use 5 slats instead of 7?
Because each 2×4 slat is 3½” wide — three wider slats on each side of center fill the same visual space as four narrower 1×4 slats. A 5-slat 2×4 back and a 7-slat 1×4 back look similar from a distance; the 2×4 version just has fewer, broader boards. You can build a 7-slat 2×4 back if you prefer, but the gaps between slats become very narrow and the back looks heavy.
How long does a 2×4 Adirondack chair last outdoors?
Cedar 2×4 chairs, properly finished and re-coated every 1–2 years, last 20–30 years. The thicker boards (1½” vs ¾”) give the 2×4 version more structural reserve than a 1×4 slat design — when a 1×4 slat eventually cracks at a screw hole, the remaining cross-section is small; a 2×4 board has more material. The 2×4 Adirondack is arguably the most durable version of this design from a structural standpoint, even if it’s the simplest to build.

“DIY woodworking enthusiast who started with zero experience and a YouTube tutorial.
I build simple, practical projects for my home and share free plans
so other beginners can skip the guesswork.If I can build it, you can too.”