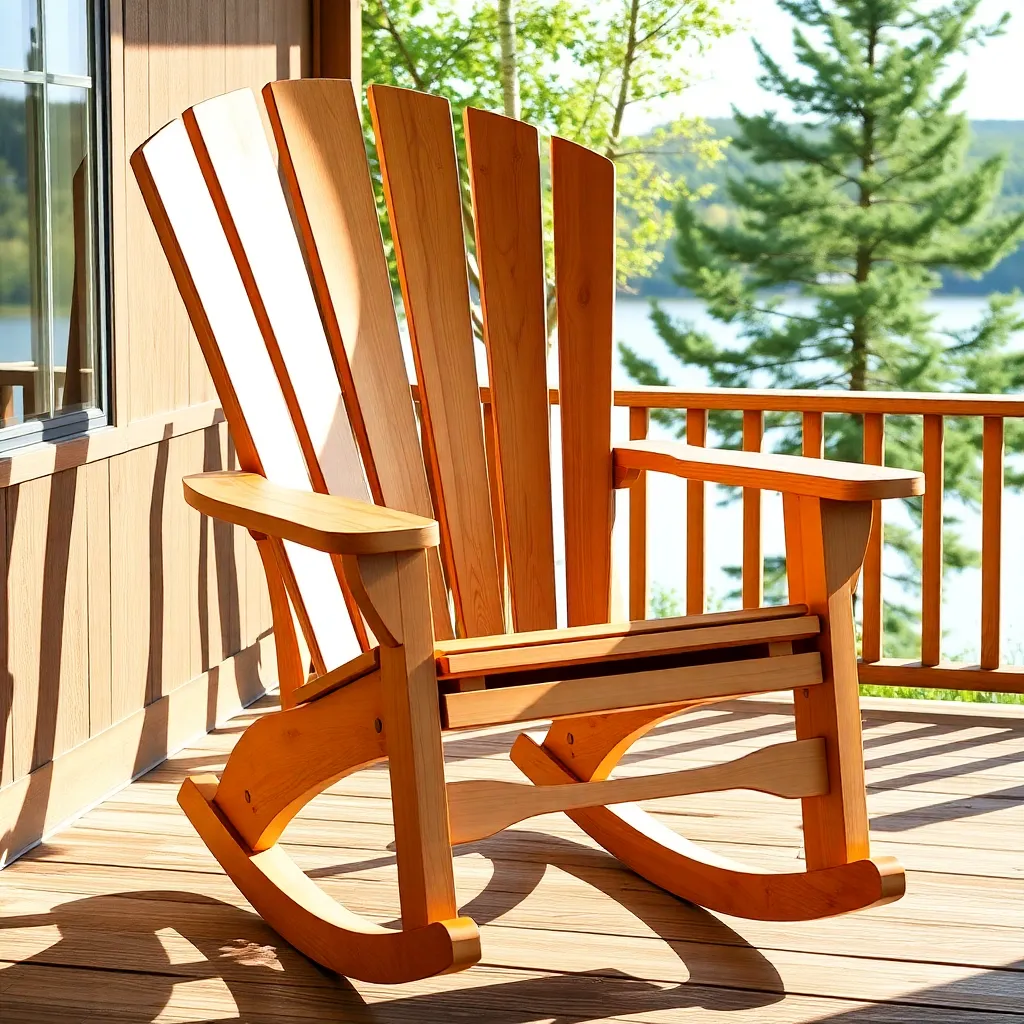
An Adirondack rocking chair is a classic Adirondack chair with curved rocker base runners added to the front and rear legs. The rockers convert the stationary chair into a gentle-motion porch rocker while keeping all the Adirondack design elements intact: the fan back, the reclined seat, the wide flat armrests. The rocking motion is shallow and controlled — the 36-inch rocker radius creates a slow, comfortable arc, not the aggressive rock of a nursery rocking chair.
These Adirondack rocking chair plans build the rocker version from cedar 1×6 and 1×4 boards plus 2×6 cedar rocker boards. The chair itself is identical to the classic Adirondack; the rockers attach to the leg bottoms as an add-on modification. Build time: 6–8 hours (slightly more than the classic due to rocker curve cutting).
Want 16,000+ step-by-step woodworking plans?
Ted’s Woodworking has plans for every skill level — from simple shelves to full bedroom sets. Each plan includes a cut list, material list, and detailed diagrams. Browse Ted’s plans →
Step 1: Understand the Rocker Geometry

The rocker radius determines how the chair moves. A shorter radius (24″) rocks quickly and actively. A longer radius (48″) rocks slowly and gently. A 36″ radius is the standard for a porch rocker — it rocks comfortably without feeling unstable, and the chair stays put when you stop rocking.
Key rocker dimensions:
- Rocker radius: 36 inches
- Rocker length: 36 inches (front to back)
- Rocker height (at center, tallest point): 3 inches above flat ground
- Rocker board size: 2×6 cedar (1½” × 5½” actual)
- Contact arc with ground: approximately 24 inches (the center section that actually touches the floor)
- Rocker overhang: 6 inches forward of front leg, 6 inches rearward of rear leg
Why rocker geometry matters. The rocker radius, leg position on the rocker, and the chair’s center of gravity all interact. If the legs are positioned too far forward on the rocker, the chair tips backward; too far rearward, it tips forward. The positioning in this plan (front leg 6 inches from the front of the rocker) keeps the chair balanced when seated.
Rocker attachment. Each rocker attaches to the bottom of one front leg and one rear leg on the same side. The rocker has a shallow dado notch where each leg base sits — the notch prevents the leg from sliding forward or backward on the rocker and transfers the load evenly into the rocker curve.
Step 2: Materials and Cut List
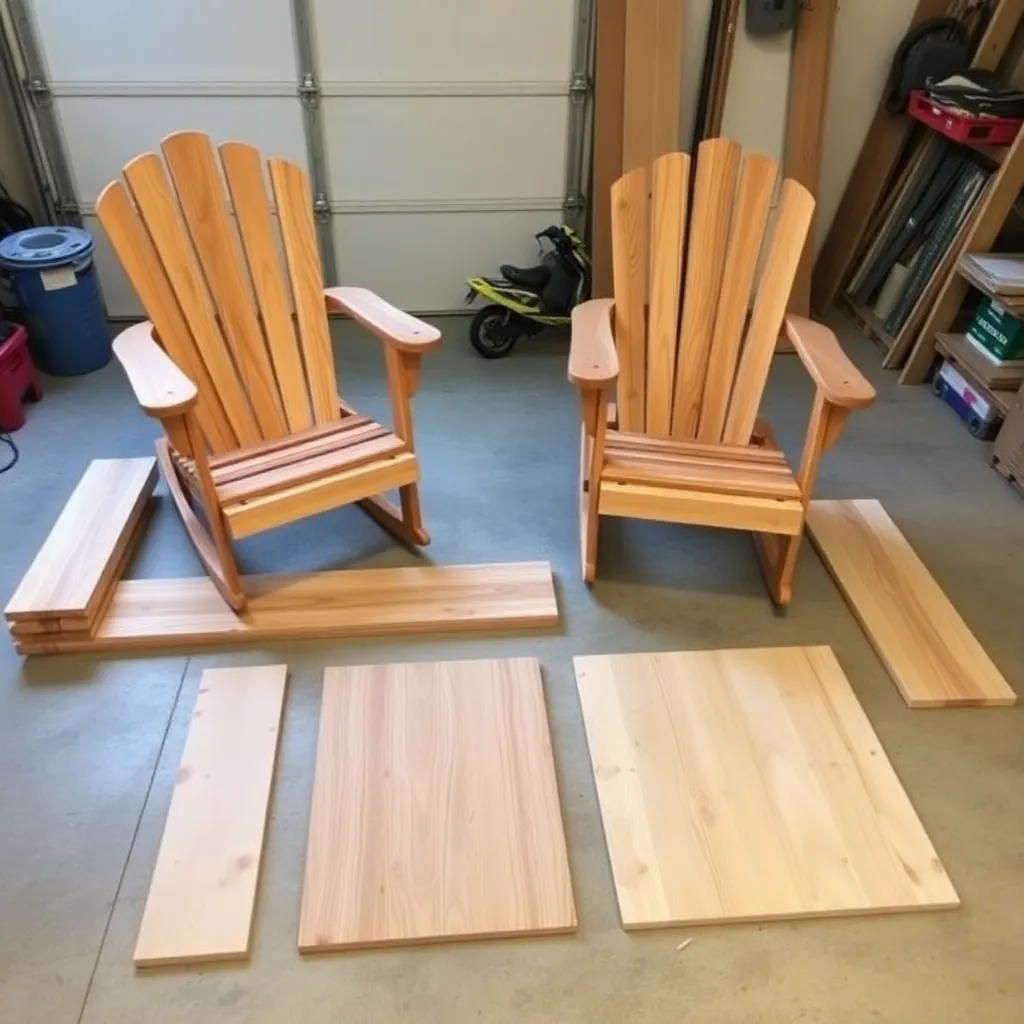
| Part | Qty | Length | Board Size | Notes |
|---|---|---|---|---|
| Rear legs | 2 | 36″ | 1×6 cedar | Same as classic chair |
| Front legs | 2 | 21″ | 1×4 cedar | Same as classic chair |
| Armrests | 2 | 28″ | 1×6 cedar | Same as classic chair |
| Armrest supports | 2 | 10″ | 1×4 cedar | Same as classic chair |
| Seat boards | 5 | 21″ | 1×4 cedar | Same as classic chair |
| Front stretcher | 1 | 21″ | 1×4 cedar | Same as classic chair |
| Back bottom rail | 1 | 21″ | 1×4 cedar | Same as classic chair |
| Back slats | 7 | 36″/34″/31″/27″ | 1×4 cedar | Same as classic chair |
| Back top rail | 1 | 24″ | 1×4 cedar | Same as classic chair |
| Rockers | 2 | 36″ | 2×6 cedar | Curved, one per side |
| Exterior screws | 1 box | 1½” and 2½” | — | Stainless or coated |
Total estimated cost: $55–80 for cedar, $10–15 for hardware.
Step 3: Cut the Rocker Curves
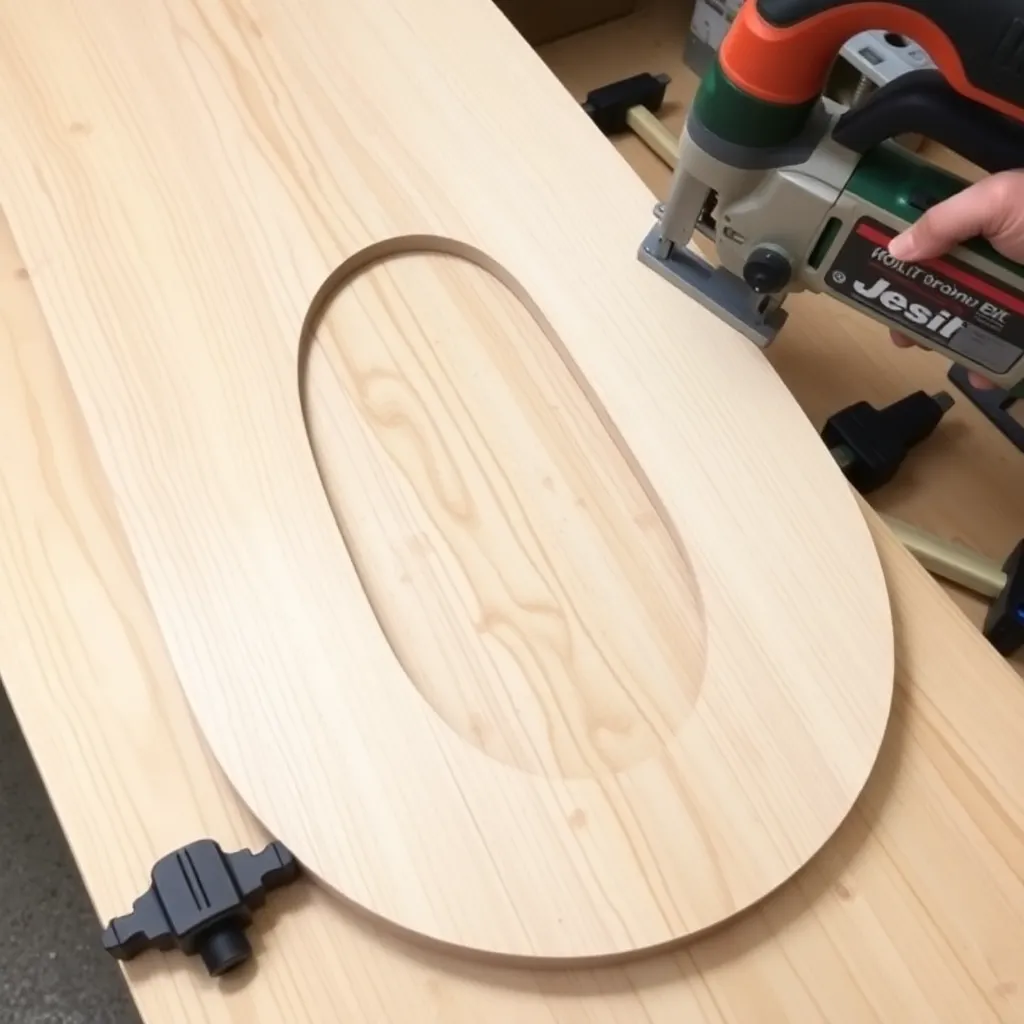
The rockers are the most distinctive component of this build. Each is a 2×6 × 36″ board with a long gentle curve cut from its underside — the curve becomes the rocking surface.
Mark the rocker curve. You need to draw a 36-inch radius arc on the bottom of a 2×6 × 36″ board. The simplest method: make a trammel (a strip of thin plywood or cardboard with a pin at one end and a pencil hole 36 inches away). Pin the center point to your work surface 36 inches from the board, and sweep the pencil in an arc across the board bottom face.
Alternatively: The 36-inch radius arc across a 36-inch board rises only about 4½ inches from end to end at the center (the chord height of a 36″ arc on a 36″ chord is approximately 4.5″). Mark 0 at both ends of the board and 4½” below the board centerline at the midpoint. Connect these three points with a smooth freehand curve and cut.
Cut the curve. Use a jigsaw with a fine-tooth blade. Cut just outside the line and sand to the line with a belt sander or hand sanding block. Both rockers must be identical — use the first as a template to trace and cut the second.
Mark leg notch positions. On the top (flat) face of each rocker, mark the front leg position (6 inches from the front end of the rocker) and the rear leg position (6 inches from the rear end). At each position, cut a shallow dado notch: 1½” wide × ¼” deep. These notches accept the leg bases and prevent lateral sliding.
Step 4: Build the Chair (Identical to Classic)
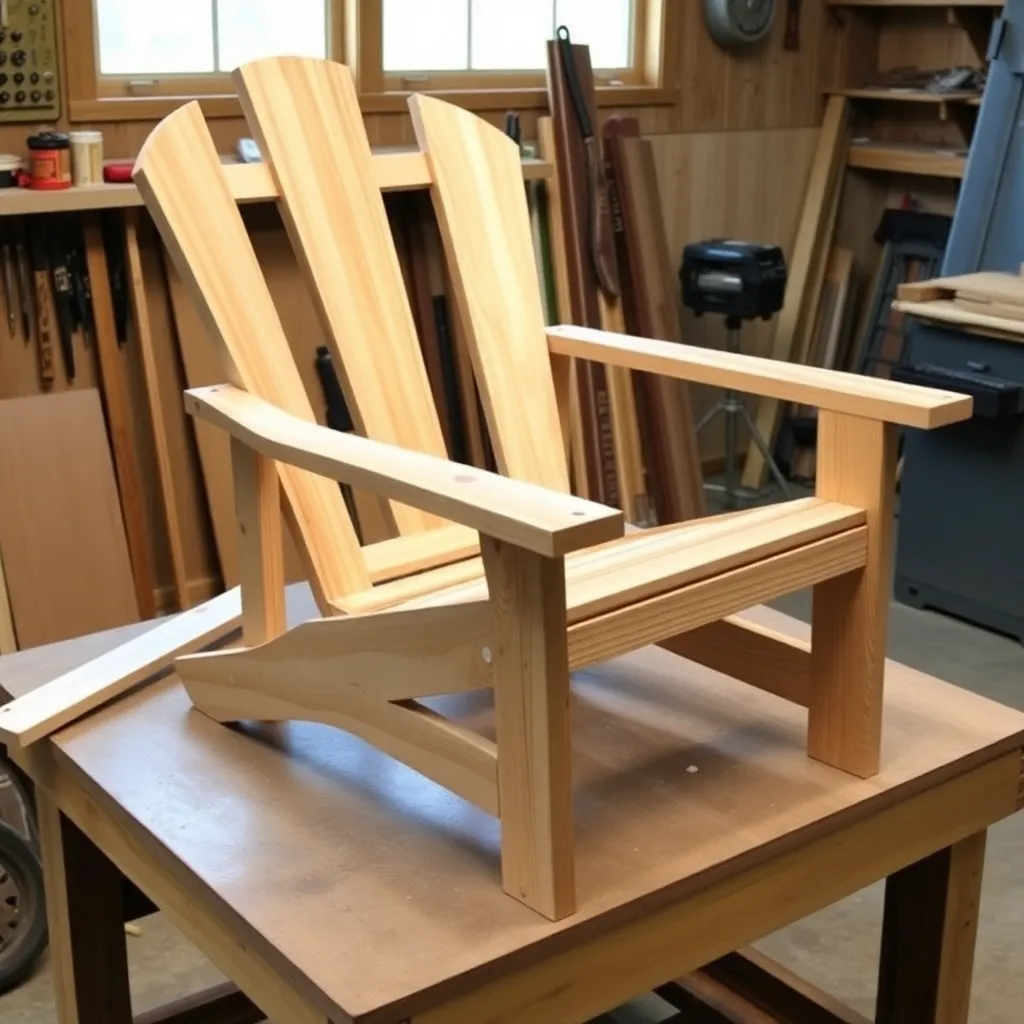
Build the Adirondack chair exactly as described in the classic Adirondack chair plans, with one modification: leave the front and rear leg bottoms uncut at 90° (no angle needed at the base — the rockers will handle the ground contact).
Front leg length adjustment. In a standard Adirondack, the front leg is shorter than the rear leg to accommodate the different heights created by the reclined seat. In a rocker, both legs sit on the same rocker surface — the rocker itself accommodates the height difference via the rocker curve profile. Adjust the front leg length as needed so the chair frame is level when both legs sit in their rocker notches.
Build and assemble all chair components — rear legs, seat boards, fan back, front legs, armrests — using the same procedures as the classic chair. Set the completed chair aside until the rockers are finished.
Step 5: Attach the Rockers
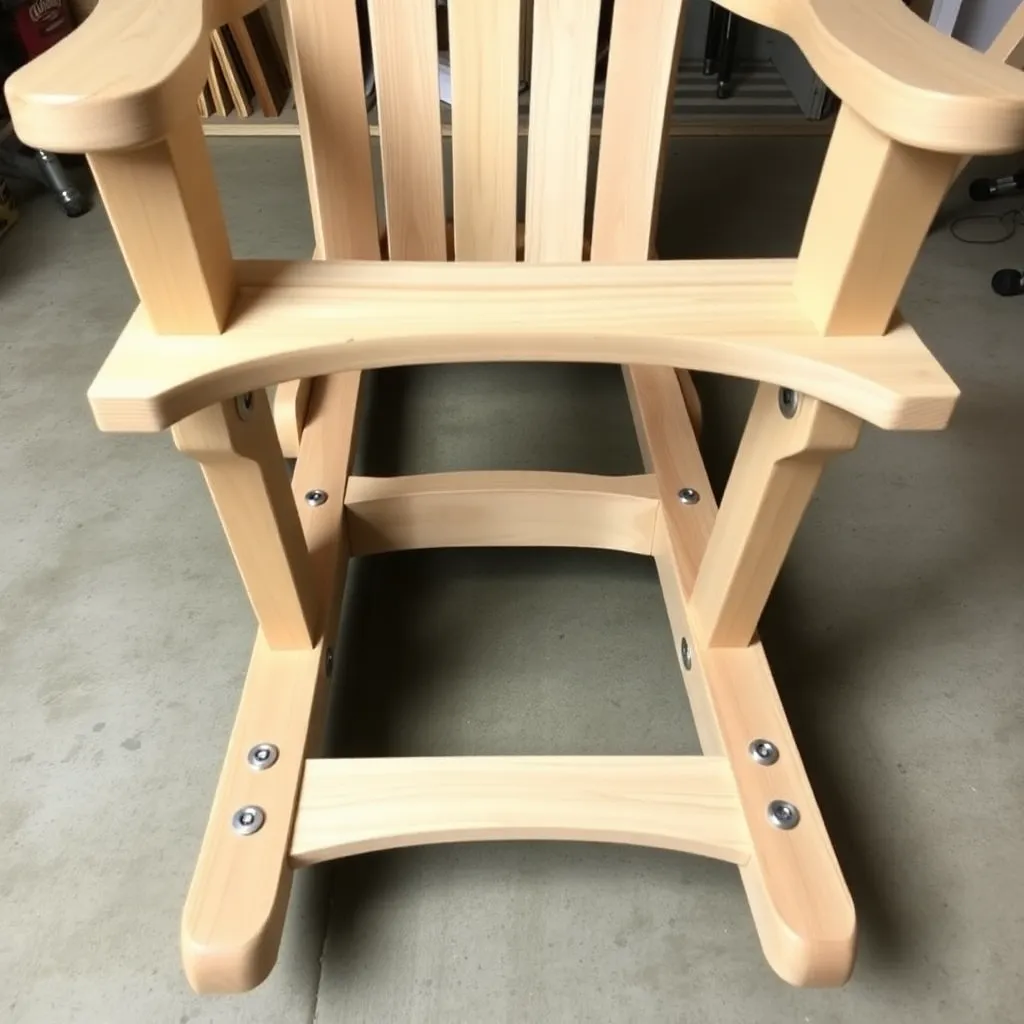
The rockers attach to the leg bases after the chair is fully assembled.
Test fit the rockers. Set the completed chair on a flat floor. Hold one rocker under the left front and left rear legs, fitting the leg bases into the notches on the rocker top. The chair should sit level when the rocker is resting on its curved base. Repeat on the right side.
Check balance. Sit in the chair with both rockers in position (unattached, just resting). The chair should rock without tipping forward or backward when you’re seated — if it tips backward when you sit, the rear leg position on the rocker needs to move forward (toward the center of the rocker); if it tips forward, the front leg position needs to move rearward.
Fasten the rockers. Drive two 2½” screws through each rocker notch into the leg base — two screws per leg, four screws per rocker, eight total. Pre-drill through the rocker into the leg base to prevent splitting. Add a bead of exterior construction adhesive in each notch before fastening for additional bond strength.
Test the completed rocking chair. Rock gently in both directions — the motion should be smooth and consistent, the chair stable. A slight squeak from the rocker-leg joints is normal for the first few weeks of use and usually quiets as the wood settles.
Step 6: Sand, Finish, and Rock
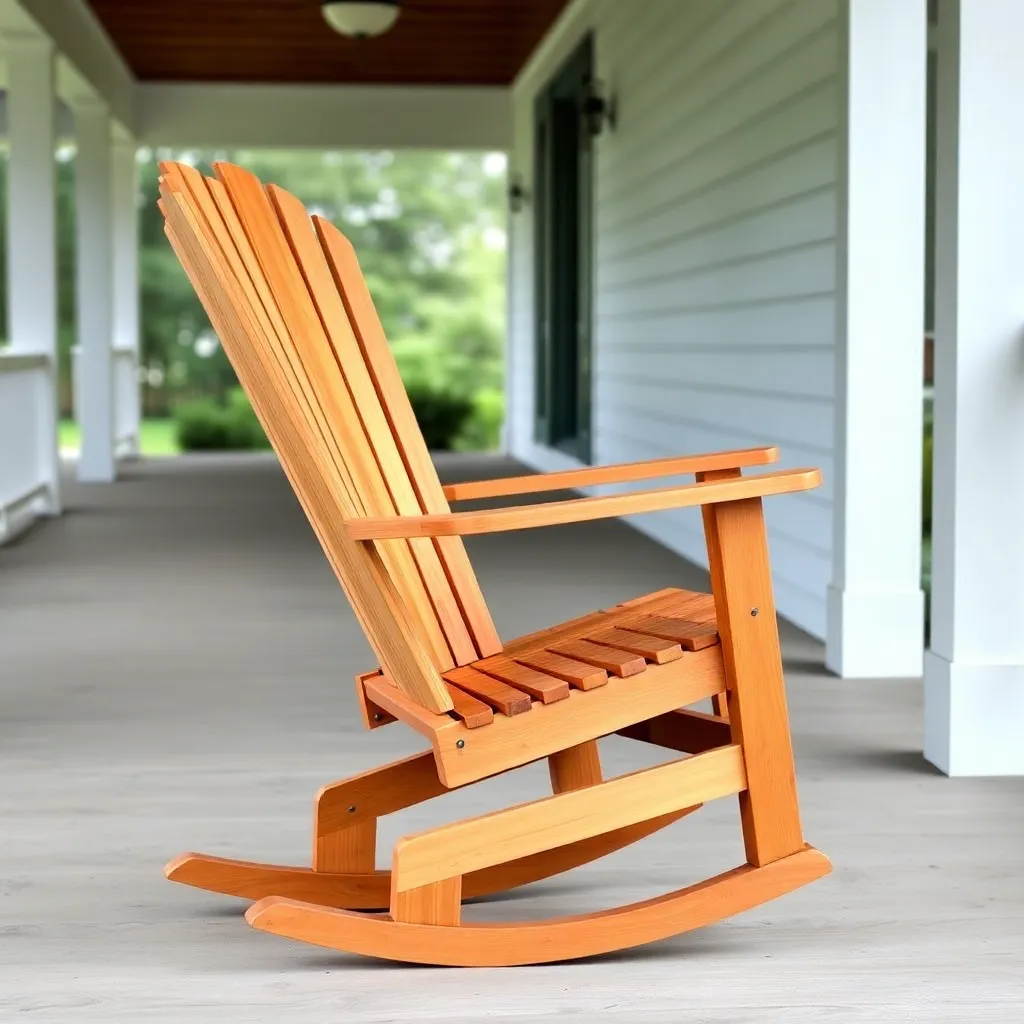
Sand. 80-grit then 120-grit on all surfaces. Pay special attention to the rocker bottom surface (the curved ground-contact face) — sand it smooth and round both curved ends so the rocking motion doesn’t catch or skip. A smooth rocker bottom produces the most comfortable rocking motion.
Finish. Two coats of semi-transparent exterior stain on all surfaces. The rocker bottom takes additional wear from contact with deck boards or patio surfaces — apply three coats on the rocker bottom face specifically.
Protective pads (optional). Stick-on felt or rubber pads on the rocker ends and at the highest-contact points of the rocker curve protect the deck surface from rocker scuffing. These are especially worthwhile on painted or finished wood decks.
For more Adirondack designs, visit our Adirondack chair plans hub.
Want 16,000+ step-by-step woodworking plans?
Ted’s Woodworking has plans for every skill level — from simple shelves to full bedroom sets. Each plan includes a cut list, material list, and detailed diagrams. Browse Ted’s plans →
Adirondack Rocking Chair Plans FAQ
What rocker radius should I use for an Adirondack rocking chair?
36 inches is the standard for outdoor porch rockers — it provides a comfortable, moderate rock pace and the chair stays reasonably stationary when you stop rocking. A 30-inch radius rocks faster and more actively; a 42-inch radius rocks more slowly and gently. If you’ve sat in traditional porch rockers and found them too fast or too slow, adjust the radius accordingly. Each additional 6 inches of radius slows the rock by approximately 15–20%.
Can I add rockers to an existing Adirondack chair?
Yes — the rockers are add-on components that fasten to the existing leg bases. The main challenge is that most existing Adirondack chairs have angled leg bases (cut to sit flat on the ground at the chair’s angle), which creates a non-flat mating surface for the rocker notch. If your chair’s leg bases are already angled, cut the rocker notches at the corresponding angle, or flatten the leg bases with a hand plane before attaching the rockers.
Will an Adirondack rocker work on a wood deck?
Yes, with caveats. The rocker motion on a wood deck gradually wears shallow grooves in the decking over years of use. Rubber pads on the high-contact zones of the rocker reduce this wear significantly. On painted or stained decks, the rocker also scuffs the finish at the contact arc — this is cosmetic, not structural, but worth noting. On concrete or brick patios, the rocker causes no surface damage.
Is an Adirondack rocker safe for children?
Children’s fingers can be caught between the rocker and the floor when the chair is in motion — the pinch point at the front and rear of the rocker arc. Supervise young children around any rocking chair. The rocker overhang (6 inches beyond the front leg) creates a trip hazard in tight spaces. For households with young children, the stationary classic Adirondack may be a more practical choice.
How do I stop an Adirondack rocker from walking across the deck?
Some rocking chairs gradually “walk” across the floor during use — typically walking forward. This happens when the chair’s center of gravity is slightly forward of the rocker’s center arc. Shifting the chair’s leg position 1–2 inches rearward on the rockers (remounting the legs further back on the rocker) resolves the issue. Alternatively, short rubber grips on the rocker ends grip the deck surface and reduce walking significantly without changing the chair balance.

“DIY woodworking enthusiast who started with zero experience and a YouTube tutorial.
I build simple, practical projects for my home and share free plans
so other beginners can skip the guesswork.If I can build it, you can too.”