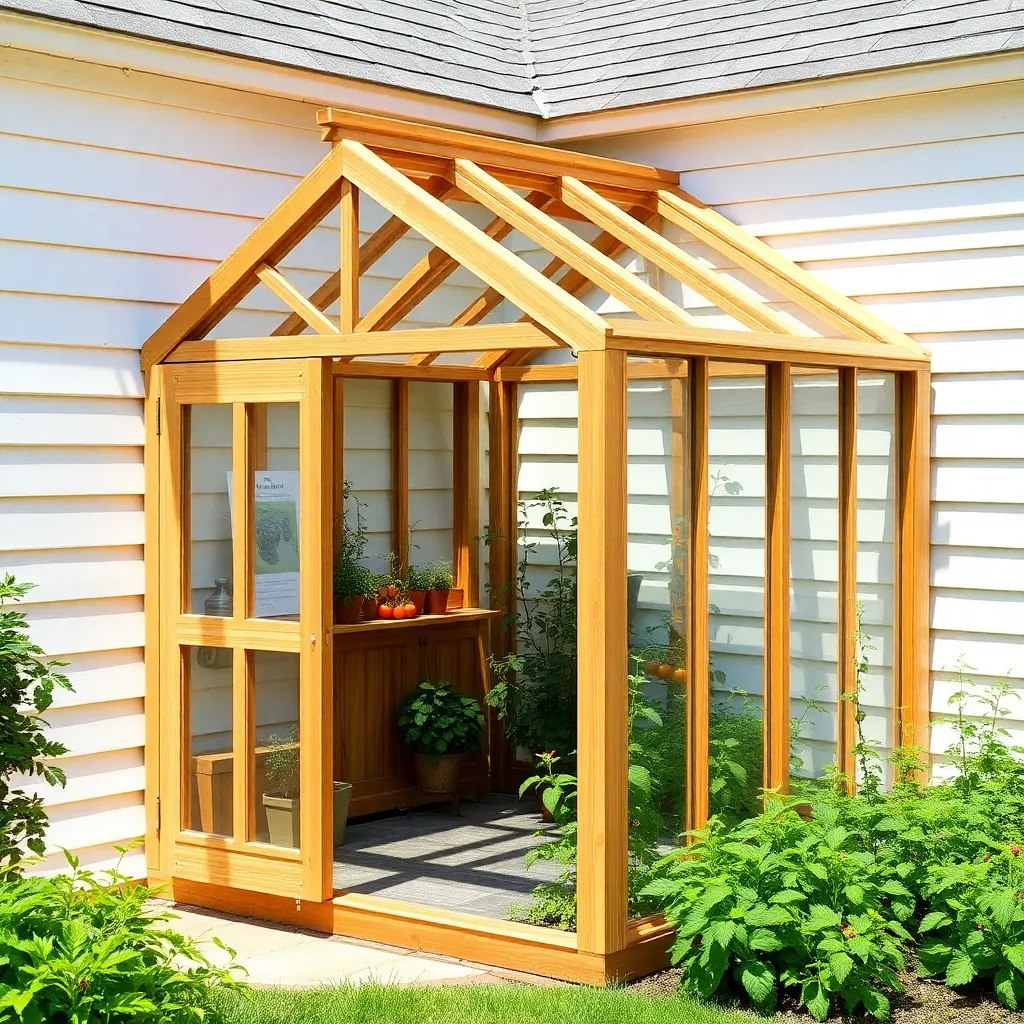
A lean-to greenhouse is the smartest use of an existing wall. You skip one full wall of framing, borrow the thermal mass of your house or garage for passive heat, and end up with a structure that costs 30–40% less than a freestanding design of the same interior volume. A 6×10-foot lean-to gives you two full growing benches — enough to start flats of transplants, overwinter tender perennials, and extend your tomato season by six weeks on each end.
These plans cover a cedar-framed lean-to with a single-pitch roof, 6mm twin-wall polycarbonate glazing, a pressure-treated sill plate, and a hinged access door. The design attaches to a standard wood-framed wall or masonry block foundation.
Want 16,000+ step-by-step woodworking plans?
Ted’s Woodworking has plans for every skill level — from simple shelves to full bedroom sets. Each plan includes a cut list, material list, and detailed diagrams. Browse Ted’s plans →
Step 1: Plan the Attachment Wall and Footprint
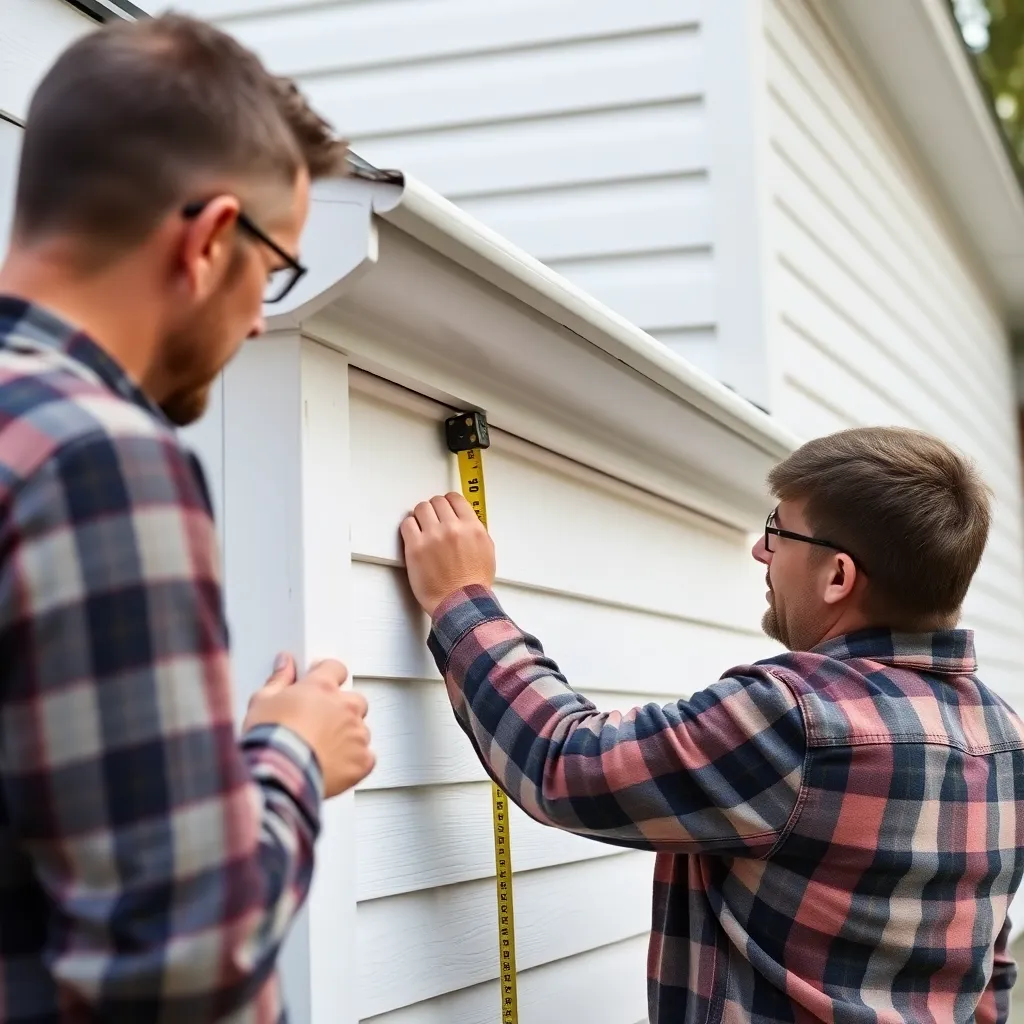
Decide which wall the lean-to will attach to and measure the available run. The lean-to in these plans is 6 feet deep × 10 feet wide, but the width scales easily — just add or remove stud bays. The roof pitch is 4:12 (4 inches of rise per 12 inches of run), which sheds rain and light snow without being too steep to glaze efficiently.
Mark the ledger height on the attachment wall: the top of the ledger board is the point where your roof panels will meet the wall. At 4:12 over a 6-foot depth, a ledger at 8 feet high gives you a low eave at roughly 7 feet — comfortable headroom throughout. If attaching to masonry, plan on wedge anchors spaced 24 inches on center.
Cut list for 6×10 lean-to:
| Part | Material | Size | Qty |
|---|---|---|---|
| Ledger board | 2×6 cedar | 10 ft | 1 |
| Wall studs | 2×4 cedar | 8 ft | 8 |
| Top plates | 2×4 cedar | 10 ft | 2 |
| Sill plate | 2×4 PT | 10 ft | 1 |
| End rafters | 2×6 cedar | 8 ft | 2 |
| Interior rafters | 2×4 cedar | 8 ft | 4 |
| Polycarbonate panels | 6mm twin-wall | 4×8 ft | 6 |
| Door frame | 2×4 cedar | various | — |
Step 2: Install the Ledger Board and Sill Plate
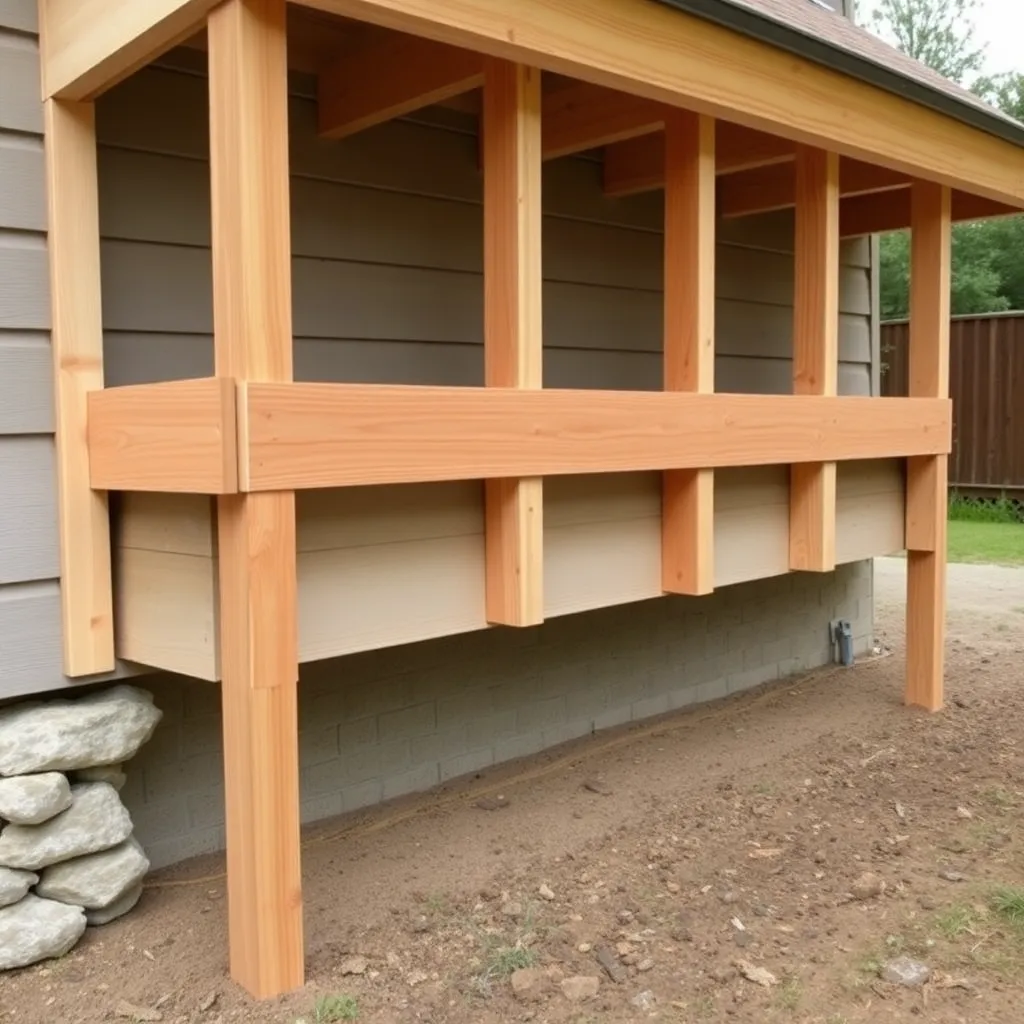
Snap a chalk line at ledger height across the attachment wall. For a wood-framed wall, locate studs and drive 3-inch structural screws through the ledger into each stud — minimum two screws per stud. For masonry, drill 1/2-inch holes and set wedge anchors.
Set the pressure-treated sill plate on the ground at the front of the greenhouse footprint — 6 feet out from the attachment wall, parallel to it. Level the sill plate and anchor it to concrete footings or drive rebar stakes through pre-drilled holes into firm soil. The sill plate is the base of your front wall framing.
Step 3: Frame the Front Wall and End Walls
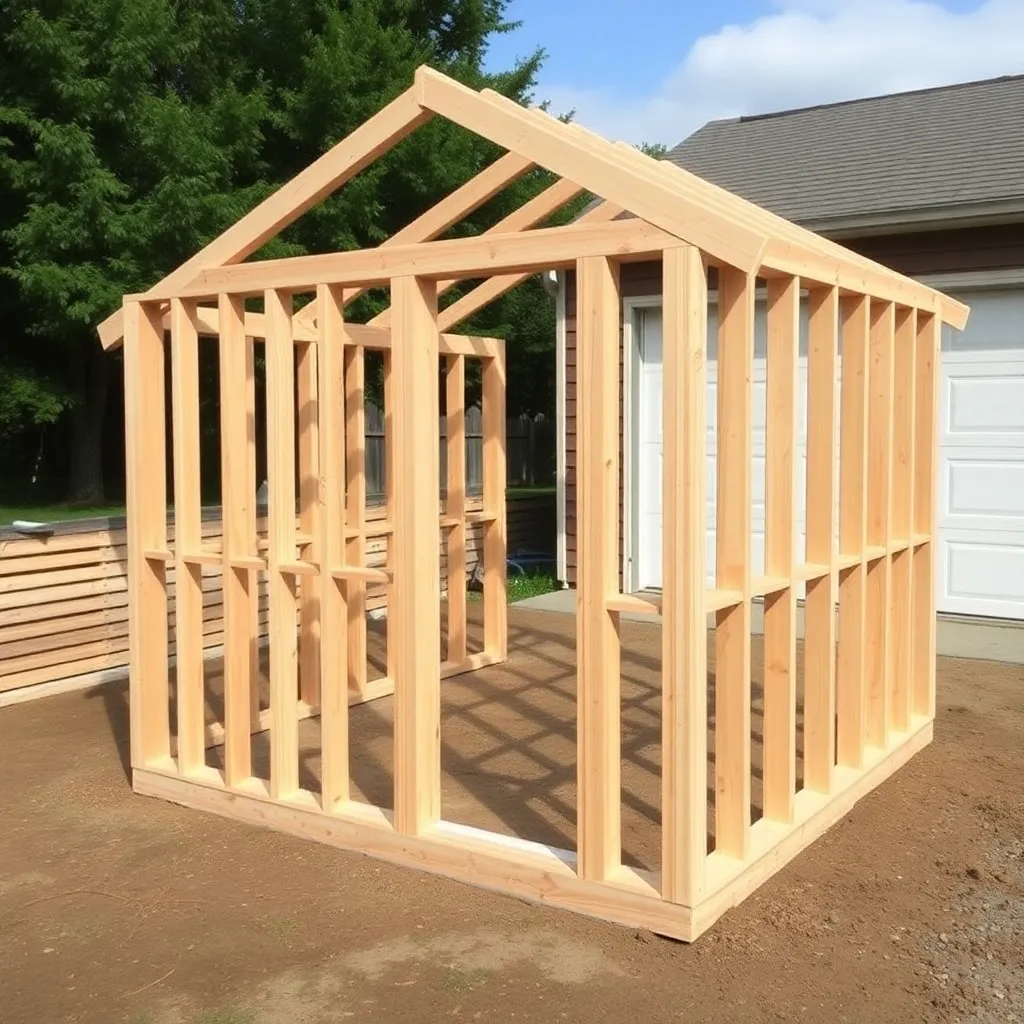
Frame the front wall between the sill plate and top plate. Studs are 2×4 cedar on 24-inch centers. Include a rough opening for the door (standard 32×80 inches) on one end of the front wall. The top plate runs along the top of the front wall studs at the low eave height.
The two end walls are triangular to follow the roof slope. Frame each end wall with a single corner post at the front, a diagonal top plate that follows the roof angle from low eave to the ledger, and one intermediate stud if the end wall is 6 feet deep. Toenail everything into the sill plate and ledger.
Step 4: Install Rafters and Roof Framing
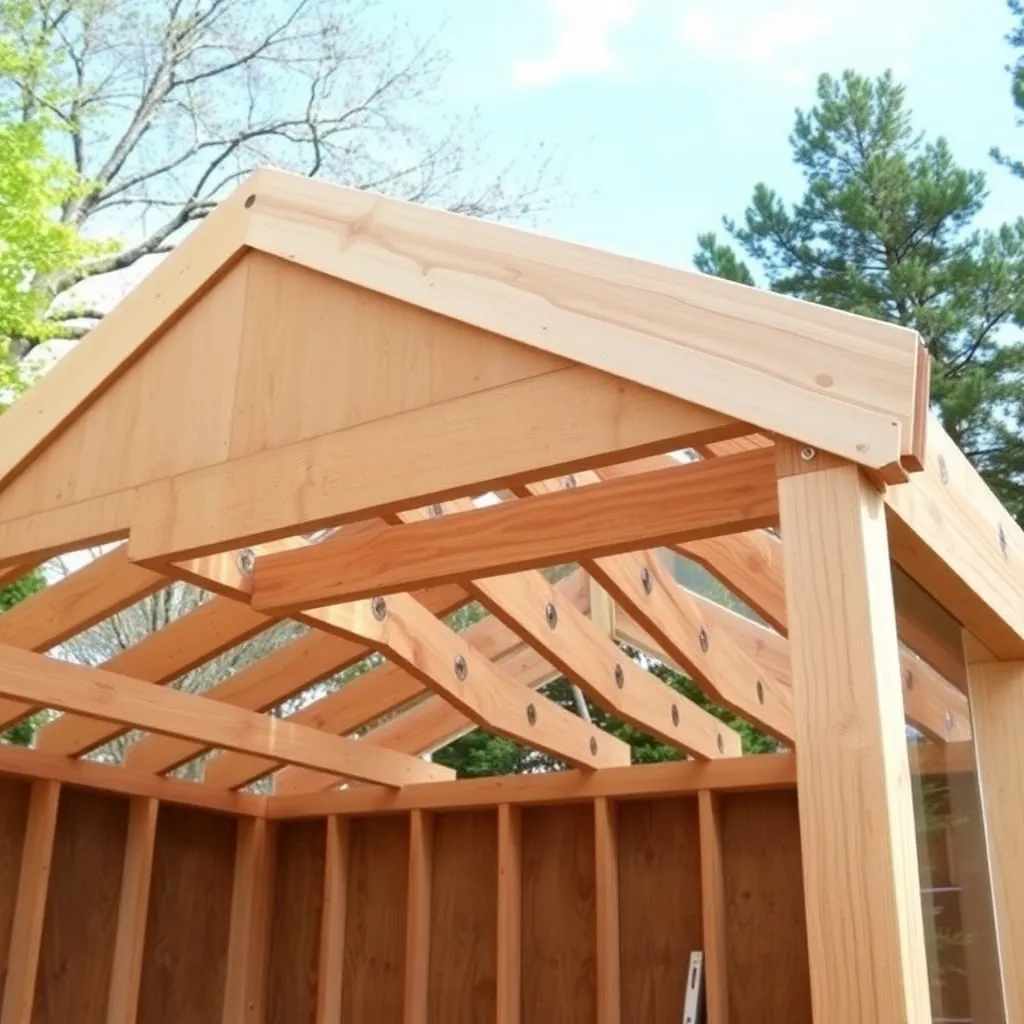
Cut rafters from 2×4 or 2×6 cedar depending on your span. At 6 feet, 2×4 rafters on 24-inch centers are structurally adequate for most snow loads; use 2×6 if you expect more than 30 psf ground snow load.
Rafters run from the ledger board down to the top plate of the front wall at the 4:12 pitch. Use a rafter square to cut the plumb cut at the ledger and the seat cut at the top plate. Install the two end rafters first, then snap a line between them to align the intermediate rafters. Toenail each rafter into the ledger with two 3-inch screws and into the top plate with a hurricane tie.
Step 5: Glaze the Roof and Walls
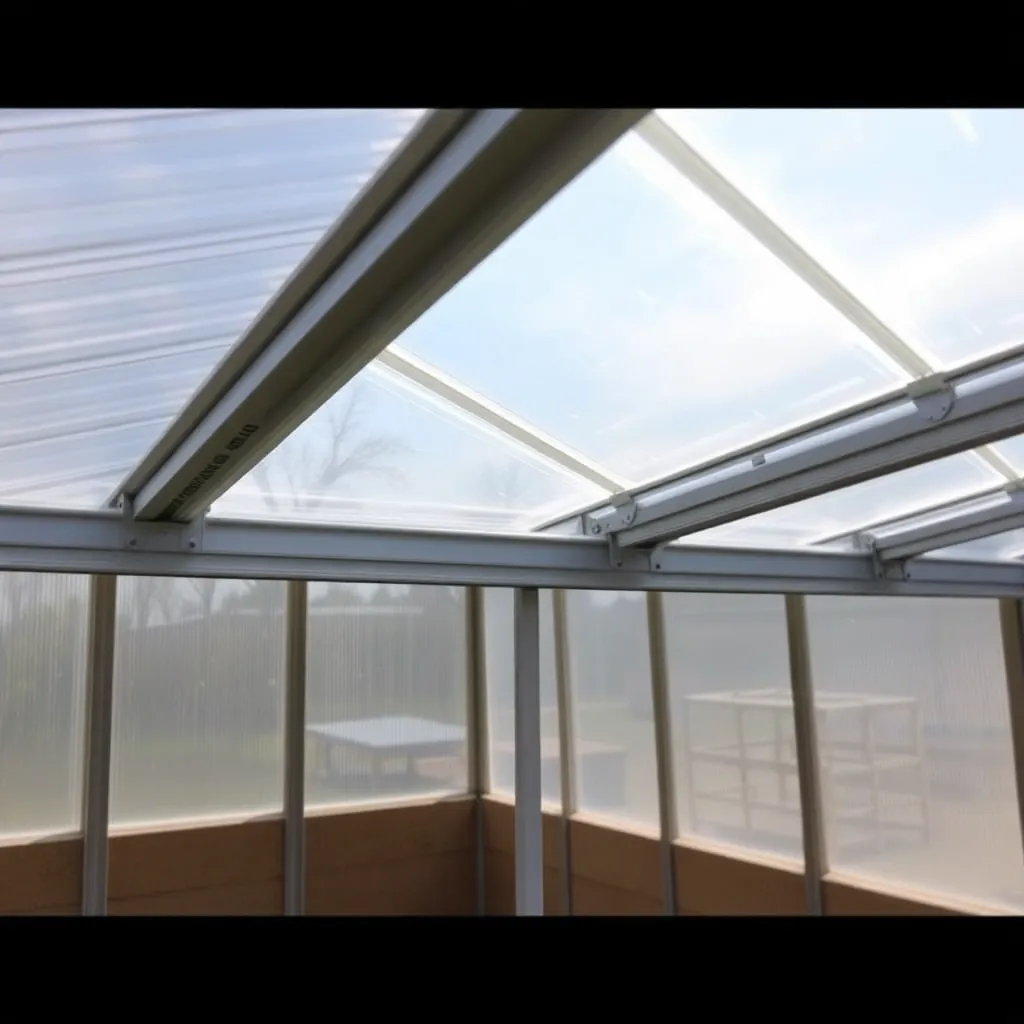
Twin-wall polycarbonate panels run vertically — channels oriented top-to-bottom so condensation drains out. Install aluminum H-profile connecting channels between panels and cap the top and bottom edges with solid aluminum closure strips (this blocks insects and seals the channels). Use purpose-made polycarbonate screws with neoprene washers; never overtighten — the panels expand and contract significantly.
Glaze the roof panels first, lapping upper panels over lower ones by at least 2 inches if your roof is short enough to require two rows. Glaze the front and end walls next using the same system. Leave 1/4-inch expansion gaps between panels and the frame.
Step 6: Hang the Door and Add Ventilation
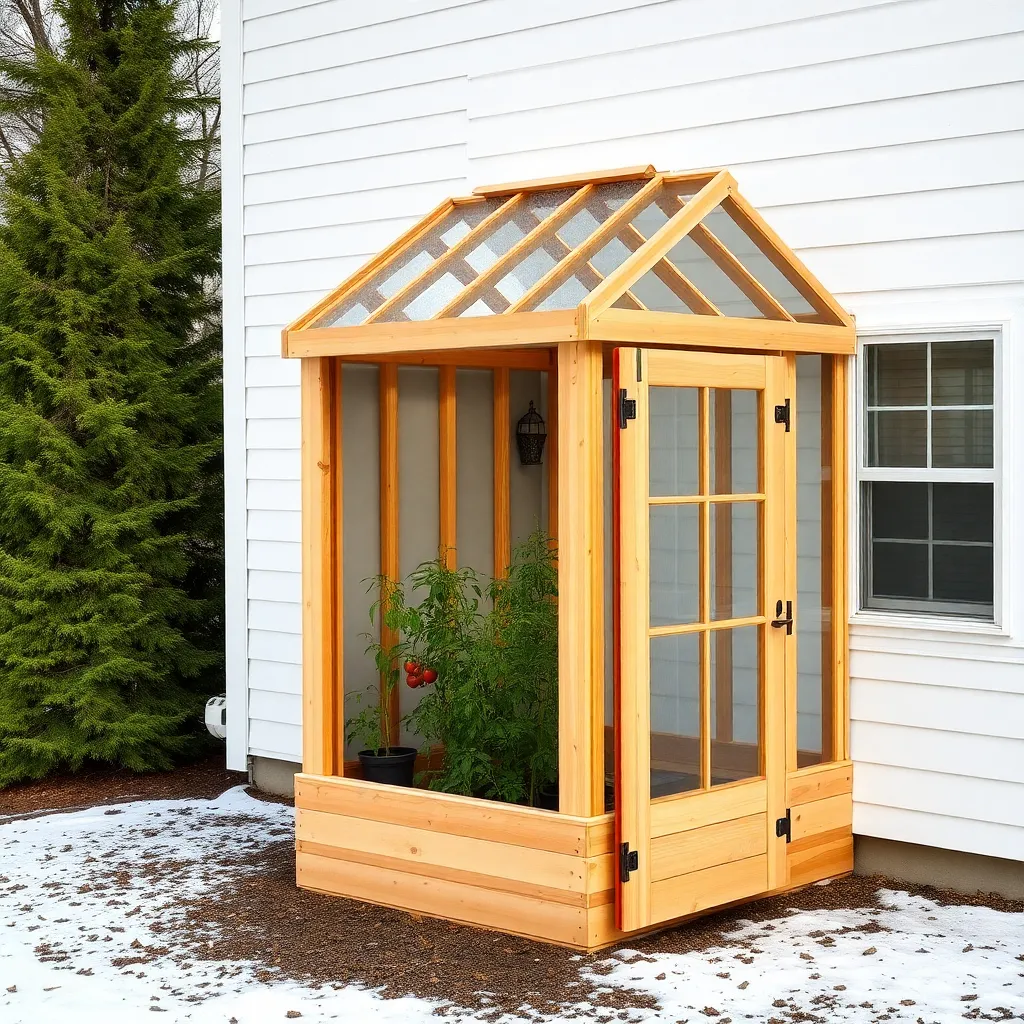
Frame the door opening with a rough sill, king studs, and jack studs. Build a simple Z-brace door from 2×3 cedar with 1/4-inch corrugated polycarbonate infill, or hang a salvaged exterior door if dimensions match. Use stainless or galvanized hardware — interior greenhouse humidity will rust standard steel hinges within a year.
Ventilation is critical: a lean-to without venting will cook plants on any sunny day above 45°F. Install at least one roof vent near the ridge (the top of the polycarbonate nearest the ledger) using a friction-hinge vent opener. Add louvered side vents low on the front wall for cross-flow. Automatic vent openers that respond to temperature (wax-cylinder type) cost under $30 and require no electricity.
Want 16,000+ step-by-step woodworking plans?
Ted’s Woodworking has plans for every skill level — from simple shelves to full bedroom sets. Each plan includes a cut list, material list, and detailed diagrams. Browse Ted’s plans →
Lean-To Greenhouse Plans FAQ
How deep should a lean-to greenhouse be?
Six feet is the practical minimum for a comfortable work aisle with benches on both sides. Eight to ten feet gives you more growing area and makes it easier to install a potting bench at the far end. Deeper than 10 feet can reduce light penetration to the back of the greenhouse unless you have a south-facing attachment wall.
Can a lean-to greenhouse attach to a vinyl-sided house?
Yes, but you need to flash the ledger properly to prevent water infiltration. Remove a course of siding above the ledger location, install a continuous piece of flashing that tucks behind the remaining siding and laps over the ledger, then caulk with a UV-stable sealant. This is the most critical detail in a lean-to build.
What is the best roof pitch for a lean-to greenhouse?
A 4:12 pitch (about 18 degrees) is the minimum for adequate water runoff and reasonable snow shedding. Steeper pitches (6:12 or 8:12) shed snow better and admit more light in winter when the sun is low, but they raise the ledger height requirement and require longer rafters. For most climates, 4:12 to 6:12 is the right range.
How do I heat a lean-to greenhouse in winter?
The attachment wall provides significant free heat — a heated interior wall will bleed warmth into the lean-to all night. For supplemental heat, a small 1,500-watt electric space heater on a thermostat (set to 40°F for frost protection, 50°F for active growing) handles a 6×10-foot lean-to down to about 15°F outside.
Does a lean-to greenhouse need a foundation?
A concrete footing under the sill plate is best for permanence, but a lean-to on pressure-treated lumber set on packed gravel or concrete deck blocks is acceptable in most areas and avoids a permit. Check your local code — structures attached to the main dwelling typically trigger a permit requirement regardless of size.

“DIY woodworking enthusiast who started with zero experience and a YouTube tutorial.
I build simple, practical projects for my home and share free plans
so other beginners can skip the guesswork.If I can build it, you can too.”