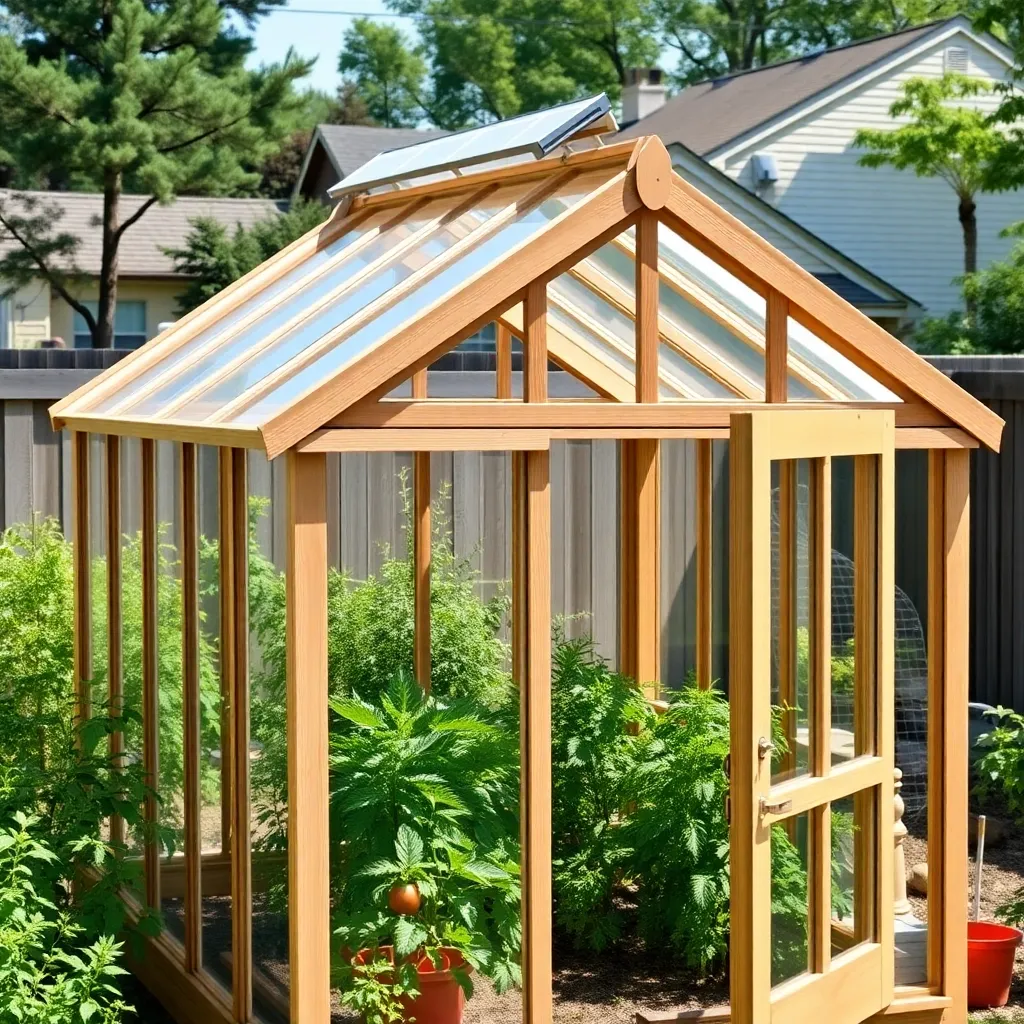
A 6×8-foot greenhouse gives you enough room for two growing benches, a small potting area, and a comfortable aisle — all in a footprint smaller than a parking space. This scale is ideal for suburban yards, raised bed gardens, and gardeners who want a permanent structure without a large investment or a permit-triggering floor area.
These plans use 2×4 cedar framing on concrete deck blocks, 6mm twin-wall polycarbonate panels on the walls and roof, and a pre-hung exterior door. The result is a solid, good-looking structure that will keep seeds germinating in February and tomatoes producing into November.
Want 16,000+ step-by-step woodworking plans?
Ted’s Woodworking has plans for every skill level — from simple shelves to full bedroom sets. Each plan includes a cut list, material list, and detailed diagrams. Browse Ted’s plans →
Step 1: Set the Foundation and Sill Plates
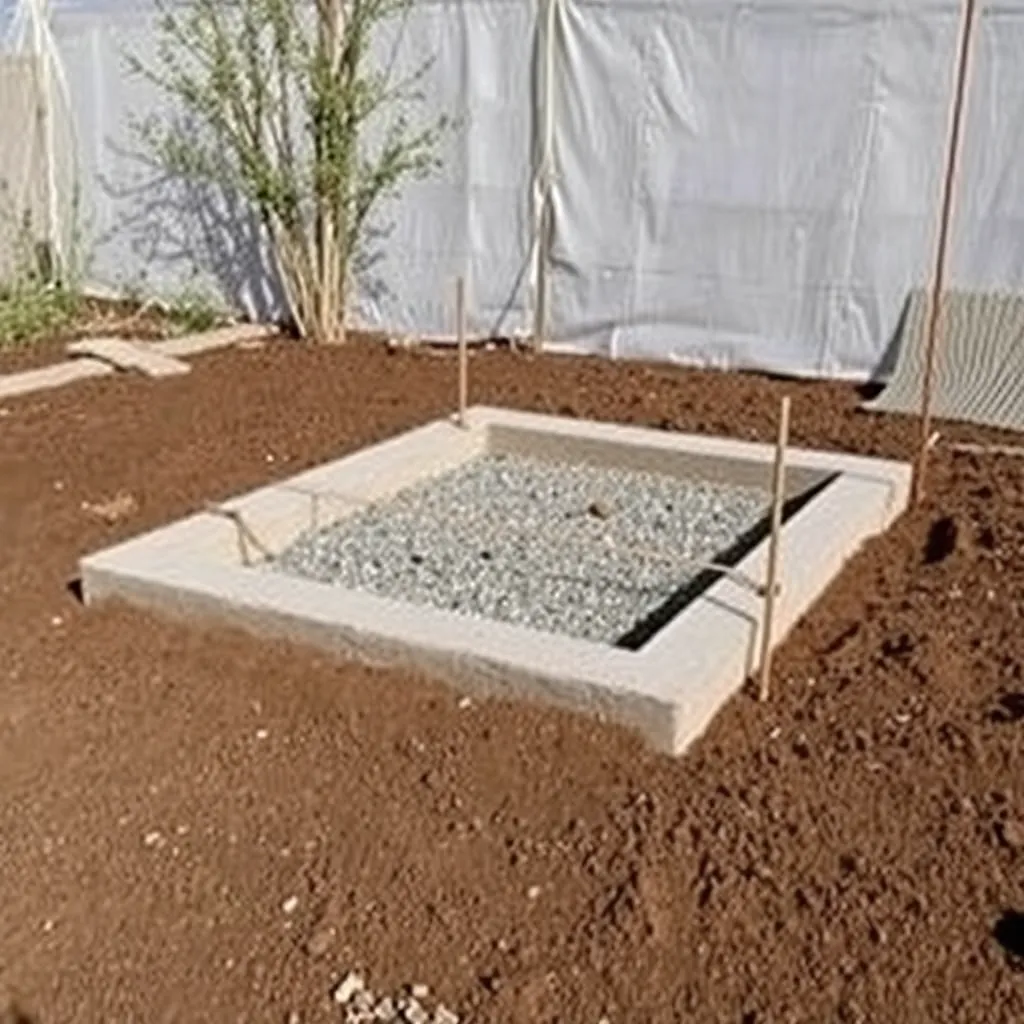
Mark the 6×8-foot footprint and set eight concrete deck blocks (two per corner, one under each long-side midpoint). Level the deck blocks so all top surfaces are in the same plane — use a long straight board and a 4-foot level, shimming blocks with pea gravel as needed. Levelness here matters: an out-of-level base will make every wall and door installation harder.
Cut pressure-treated 2×4 sill plates to form the perimeter rectangle: two 6-foot pieces for the ends, two 8-foot pieces for the sides. Set them on the deck blocks and check for square by measuring diagonals. Anchor the sill plates to the deck blocks with structural screws through pre-drilled holes.
Cut list for 6×8 small greenhouse:
| Part | Material | Size | Qty |
|---|---|---|---|
| Sill plates | 2×4 PT | 6 ft, 8 ft | 2 ea |
| Wall studs | 2×4 cedar | 8 ft | 20 |
| Top plates | 2×4 cedar | 6 ft, 8 ft | 4 |
| Rafters | 2×4 cedar | 7 ft | 7 |
| Ridge board | 2×6 cedar | 8 ft | 1 |
| Polycarbonate panels | 6mm twin-wall | 4×8 ft | 10 |
| Door (pre-hung) | — | 32×80 in | 1 |
Step 2: Frame the Side Walls
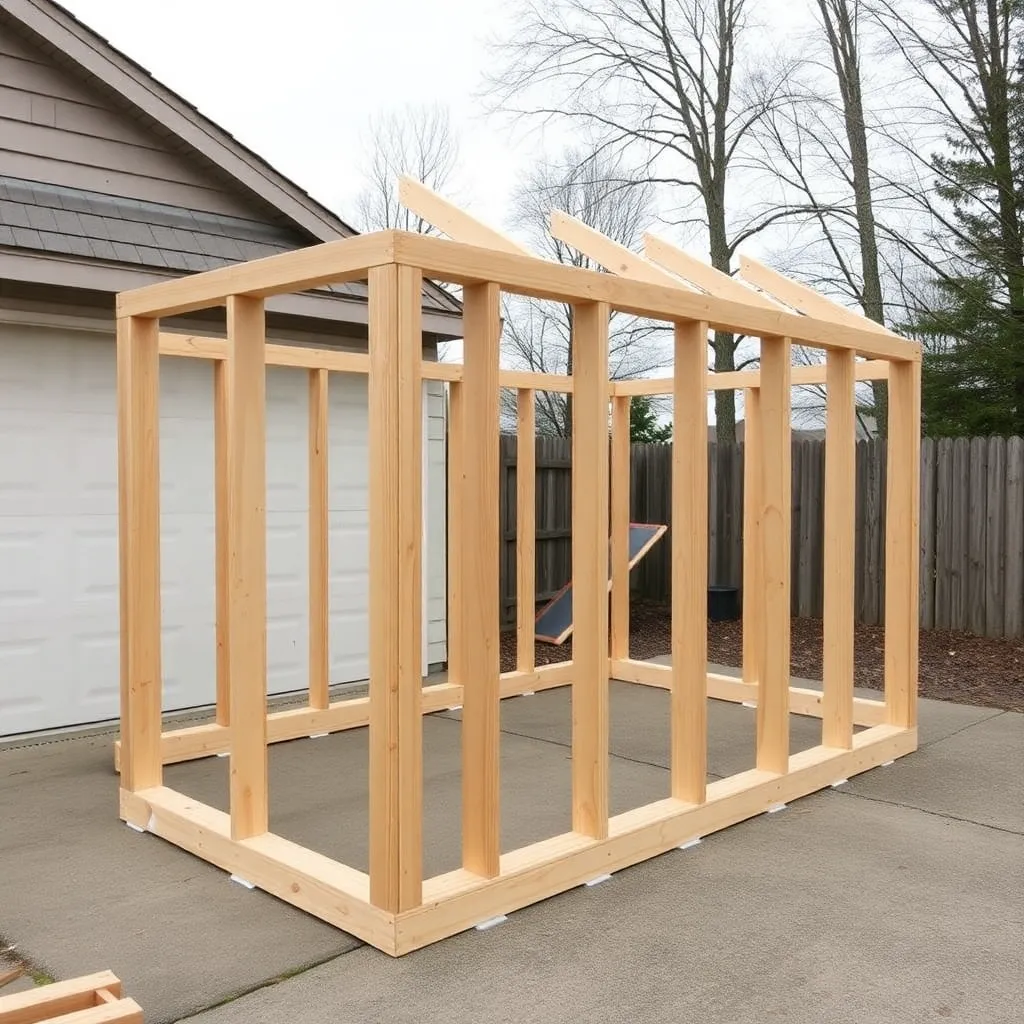
Both side walls (8-foot long) use the same layout: studs on 24-inch centers with double top plates. The wall height is 6 feet to the top of the top plate. Cut 8 studs to 68-1/2 inches (the remaining space between the sill and the top plate, accounting for plate thicknesses).
Frame each side wall flat on the ground: lay out the sill plate, top plates, and studs, then nail or screw together. Stand the wall, brace it temporarily, and toe-screw it to the sill plate. Add the second top plate (which will lap over the end wall top plates to tie the structure together) after the end walls are up.
Step 3: Frame the End Walls and Gables
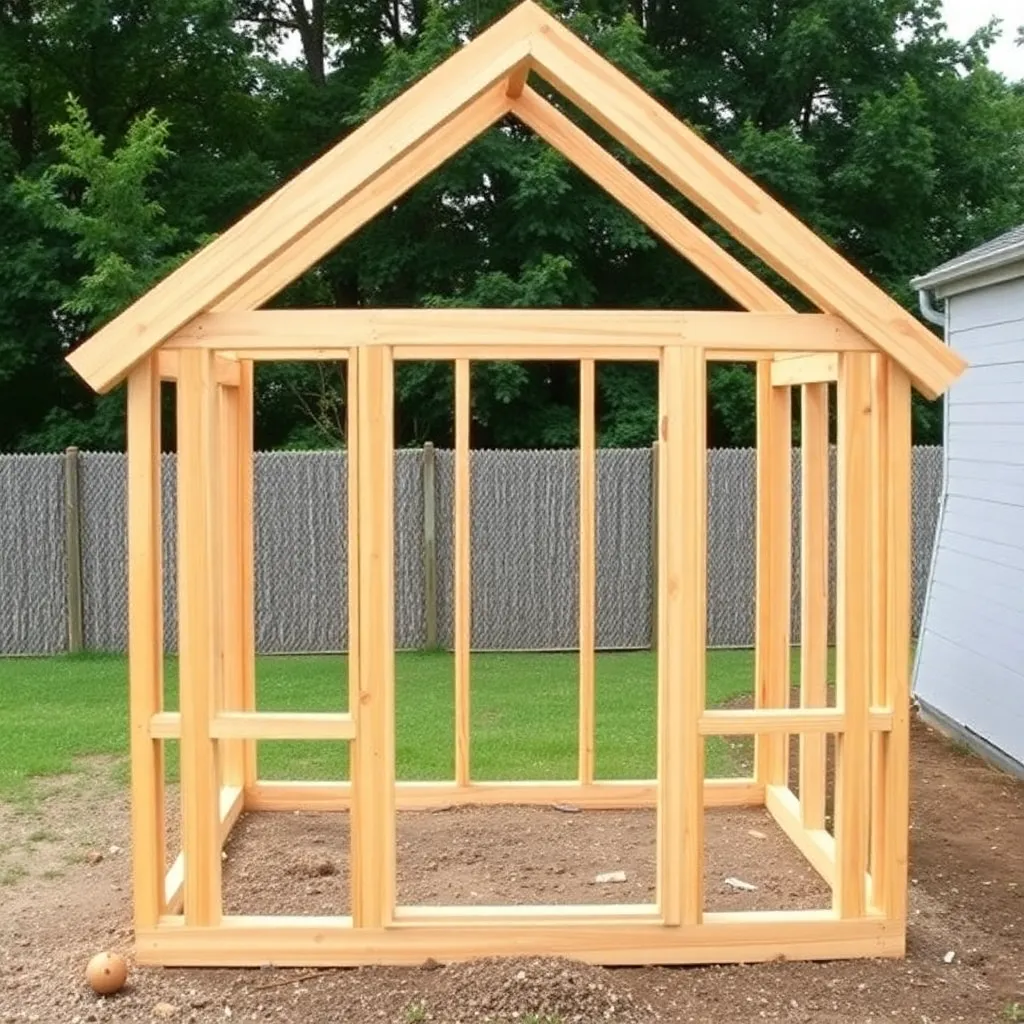
The two end walls include the gable framing that forms the peak of the roof. The wall is 6 feet wide. At each end, frame the rectangular portion of the wall from the sill to 6 feet (matching the side wall height), then add the gable triangle above. For a 4:12 roof pitch, the ridge rises 2 feet above the top plate over the 6-foot half-span — placing the ridge at 8 feet above the floor.
One end wall gets the door rough opening (34×82 inches for a 32×80 pre-hung door). Frame with king studs, jack studs, a doubled header, and a rough sill. The gable above the door has two short gable studs set on the header.
Step 4: Install the Ridge Board and Rafters
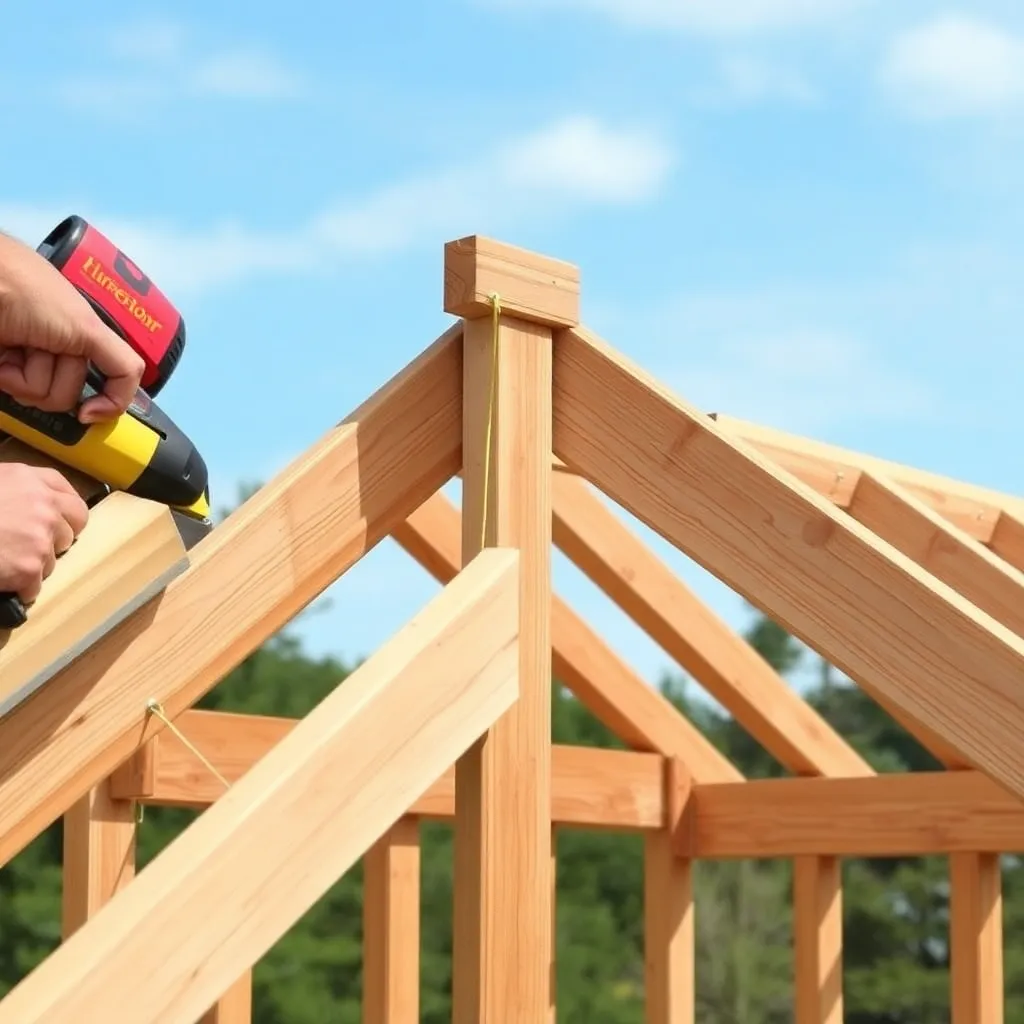
Set the ridge board on temporary supports at the correct height (8 feet at each peak). Cut rafters with a plumb cut at the ridge and a bird’s mouth cut (seat cut) where they land on the top plate. At 4:12 pitch with a 3-foot run per side, rafters are approximately 38 inches measured along the slope.
Install the two end rafters first, nailing them to the ridge board and tying them to the top plate with hurricane ties. Then fill in the intermediate rafters on 24-inch centers. Use metal rafter hangers at the ridge for a stronger connection in snow country.
Step 5: Glaze the Walls and Roof
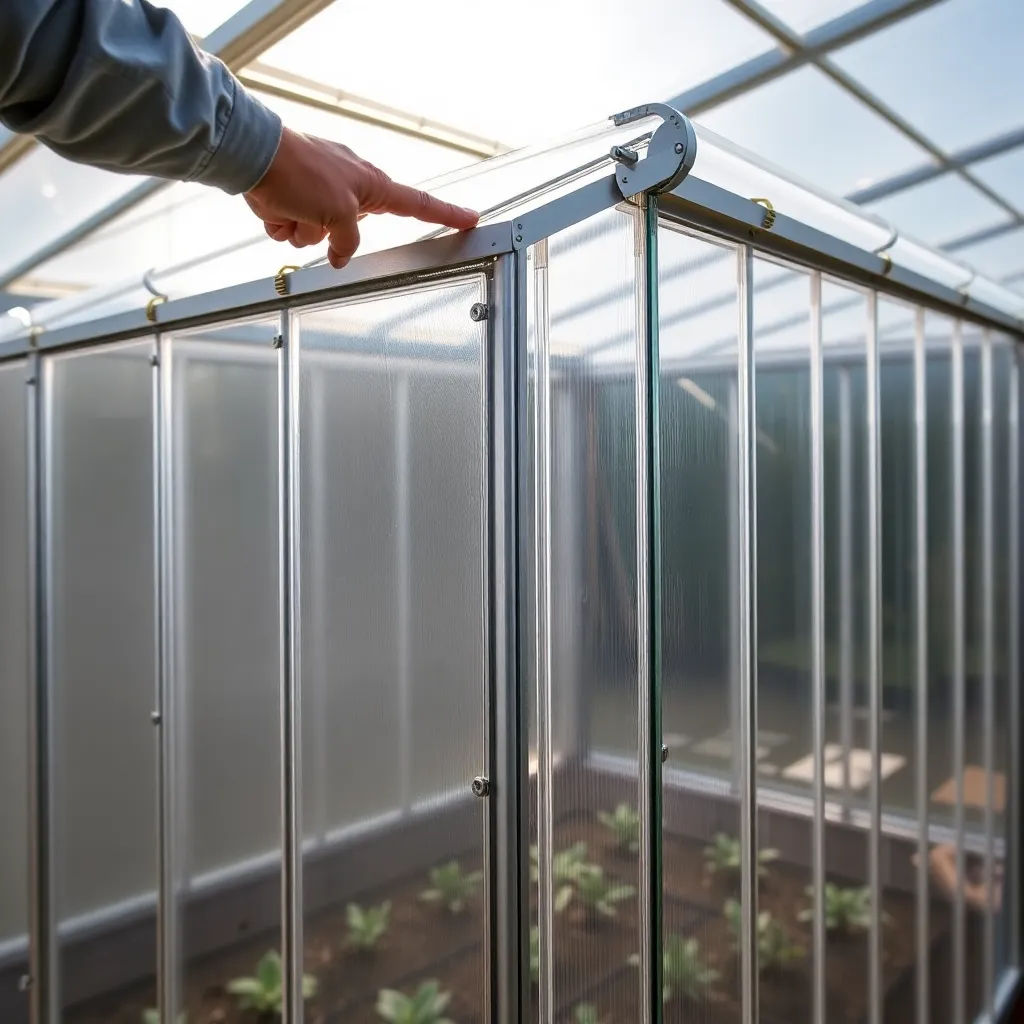
Cut twin-wall polycarbonate panels to fit each wall section and the roof. Always orient channels vertically so condensation drains out the bottom edge. Seal top edges of panels with solid aluminum closure strips and bottom edges with vented closure strips (which let condensation drain while blocking insects).
Use aluminum H-profile channels between panel joints. Fasten panels with special polycarbonate screws and neoprene washers — predrill slightly larger than the screw shank to allow for thermal expansion. Panels can move 3/8 inch per 8 feet of length between summer and winter, so tight fastening will buckle them.
Step 6: Hang the Door, Add Ventilation, and Finish
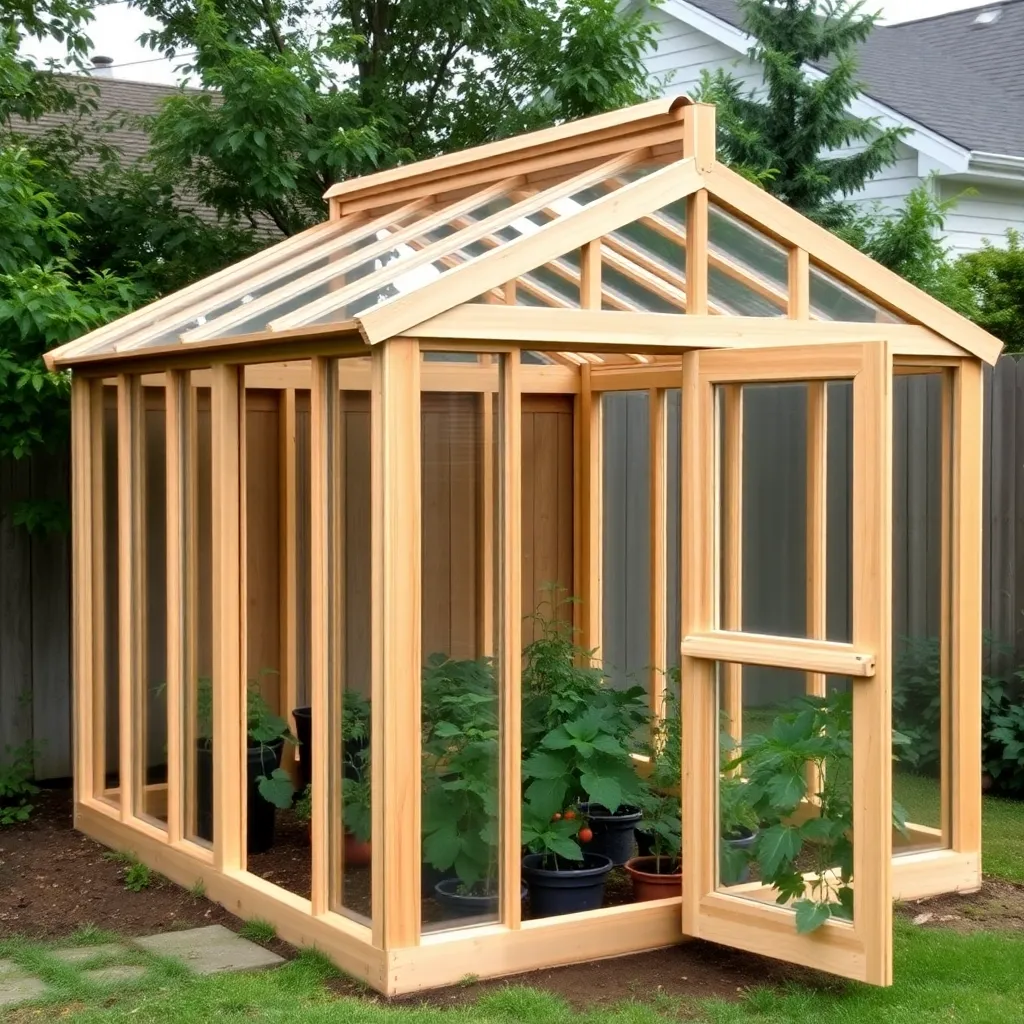
Set the pre-hung door in the rough opening. Check for plumb and square with shims, then fasten through the hinge side first. Install stainless hinges and a stainless door latch — standard steel hardware rusts fast in the constant humidity.
Add a roof vent on each side of the ridge: a 24×24-inch hinged vent panel on each roof slope, mounted near the ridge peak, provides essential convective cooling. Automatic wax-cylinder vent openers open the vents when interior temperature exceeds a set point and close them when it drops — no electricity, no wiring. Without adequate ventilation, a small greenhouse reaches 120°F on a clear 60°F day.
Want 16,000+ step-by-step woodworking plans?
Ted’s Woodworking has plans for every skill level — from simple shelves to full bedroom sets. Each plan includes a cut list, material list, and detailed diagrams. Browse Ted’s plans →
Small Greenhouse Plans FAQ
How do I keep a small greenhouse warm in winter?
Thermal mass helps most — line the north wall with black-painted gallon jugs filled with water. They absorb heat during the day and release it at night. For active heat, a 750-watt electric space heater on a frost-protection thermostat (set to 36°F) is enough to keep a 6×8 greenhouse above freezing down to about 0°F outside.
What is the best foundation for a small greenhouse?
Concrete deck blocks are the easiest option and avoid permit requirements in most areas. Gravel-filled tubes (Sonotubes) below frost line are better for permanence and are required in northern climates where frost heave is severe. A poured concrete perimeter footing is the most permanent option for a fixed structure.
Can I grow vegetables year-round in a 6×8 greenhouse?
Yes, in most climates, with supplemental lighting. In USDA Zone 6 and warmer, cool-season crops (lettuce, spinach, kale) grow through winter in an unheated or minimally heated 6×8 greenhouse. Warm-season crops (tomatoes, peppers, cucumbers) need supplemental heat to produce through winter in any zone.
How many plants can a 6×8 greenhouse hold?
With benches on both long walls (approximately 6×2 feet each), you have roughly 24 square feet of bench space. At standard spacing, that accommodates about 48 4-inch seedling cells, 30 6-inch pots, or 12 gallon containers. A lower shelf doubles the capacity for propagation trays.
What direction should a small greenhouse face?
Position the long axis east-west and glaze the south-facing long wall more heavily than the north. The south wall receives the most winter sun when the sun is low. If only one orientation is possible, south-facing is most important for winter light; east-facing is a good second choice.

“DIY woodworking enthusiast who started with zero experience and a YouTube tutorial.
I build simple, practical projects for my home and share free plans
so other beginners can skip the guesswork.If I can build it, you can too.”