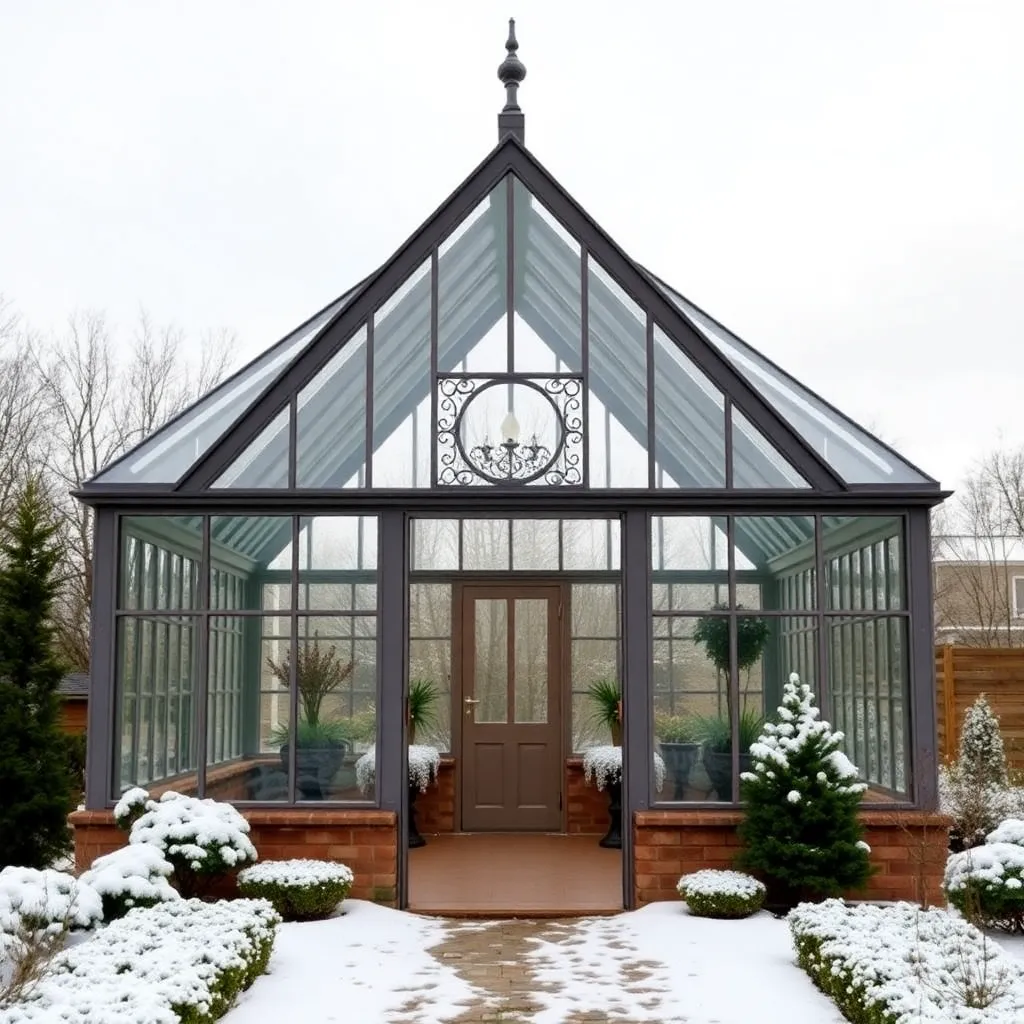
The gothic arch greenhouse has a pointed profile that sets it apart from every other greenhouse shape — and that shape is more than aesthetic. The pointed arch distributes snow loads better than a round hoop, sheds rain faster than a low-pitch roof, and creates maximum headroom at the center where you actually work. A 12×20-foot gothic arch greenhouse gives you 240 square feet of growing space, a 9-foot ceiling at the centerline, and a structure that handles heavy snow without the risk of flat-panel collapse.
These plans use site-laminated ribs: thin strips of wood bent over a form and glued into rigid arched ribs. The ribs are assembled on the ground, stood up, and connected by horizontal purlins. Polycarbonate or poly film covers the finished frame.
Want 16,000+ step-by-step woodworking plans?
Ted’s Woodworking has plans for every skill level — from simple shelves to full bedroom sets. Each plan includes a cut list, material list, and detailed diagrams. Browse Ted’s plans →
Step 1: Build the Lamination Form
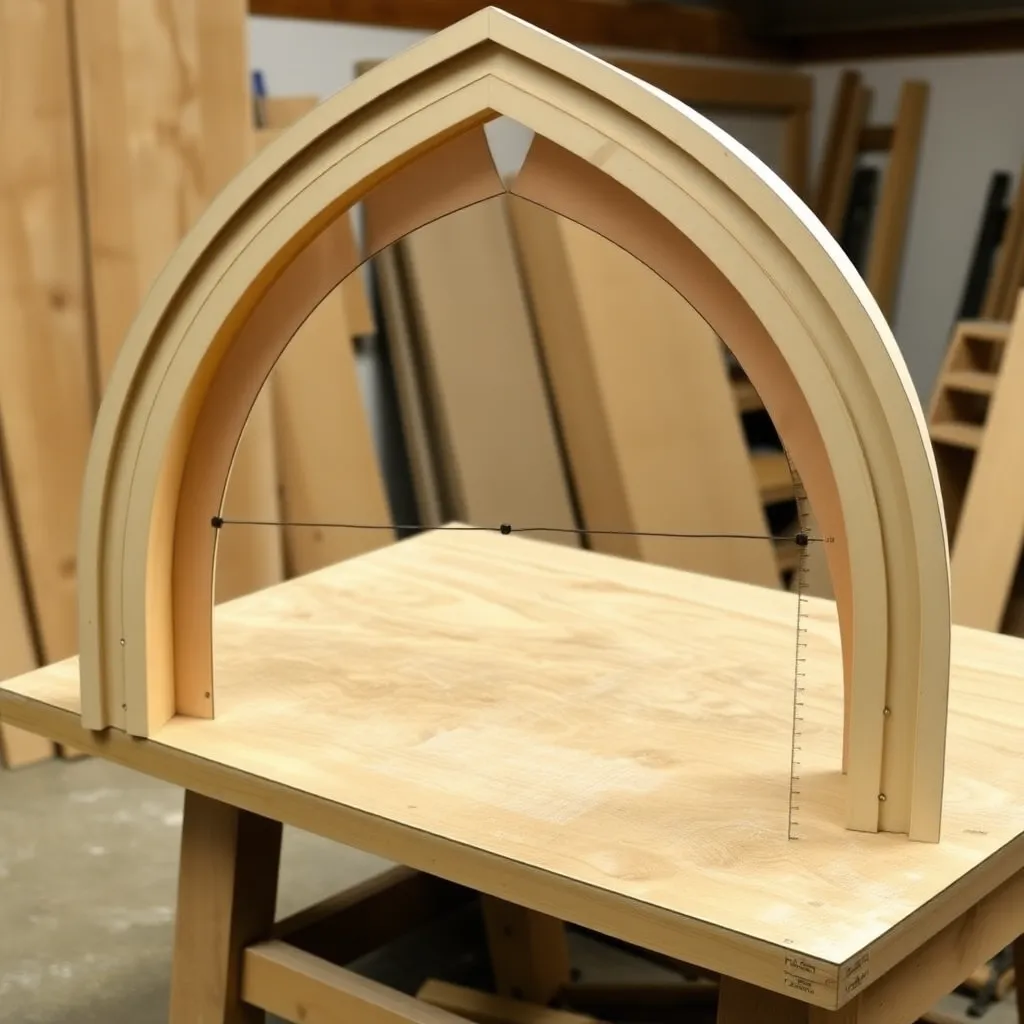
The lamination form determines the rib shape — get this right and every rib will be identical. Cut the gothic arch profile from 3/4-inch plywood: two matching pieces, each showing the full half-arch profile. The arch for a 12-foot-wide greenhouse has a 6-foot half-span at the base and a 9-foot rise to the peak. The distinctive “pointed” gothic shape comes from using a radius equal to the full span (12 feet) rather than the half-span — draw the arc with a 12-foot string pinned at the base of each side.
Screw the two plywood forms to a flat workbench surface with blocking between them to create a form just wide enough to laminate your strips inside. Cover the form with packing tape so the glue doesn’t bond to it.
Step 2: Prepare and Laminate the Ribs
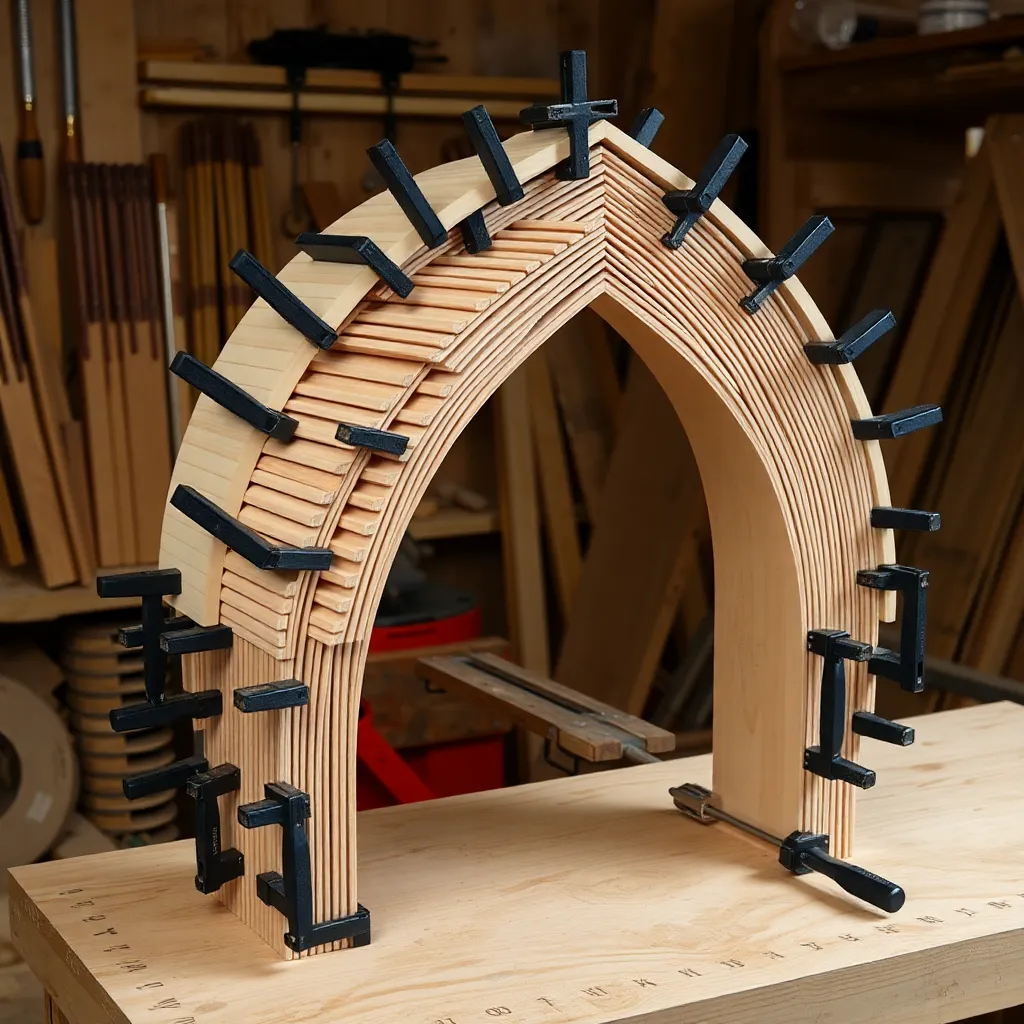
Each rib is built up from 1/4-inch × 1-1/2-inch strips of clear Douglas fir or cedar. You need 8 strips per rib and 11 ribs for the 20-foot length (ribs on 24-inch centers). Rip the strips on a table saw — consistent thickness is critical for even bending.
Apply waterproof PVA or epoxy glue to the mating faces of all 8 strips, stack them, and clamp the assembly into the form. Use at least one clamp per foot of arc length — 20 clamps per rib minimum. Let cure 24 hours. When released, the rib will hold the arch shape permanently.
Sand the laminated ribs smooth and apply an exterior primer before assembly. Painted ribs last significantly longer than bare wood under the constant humidity of a greenhouse interior.
Step 3: Set the Base Plates and Footings
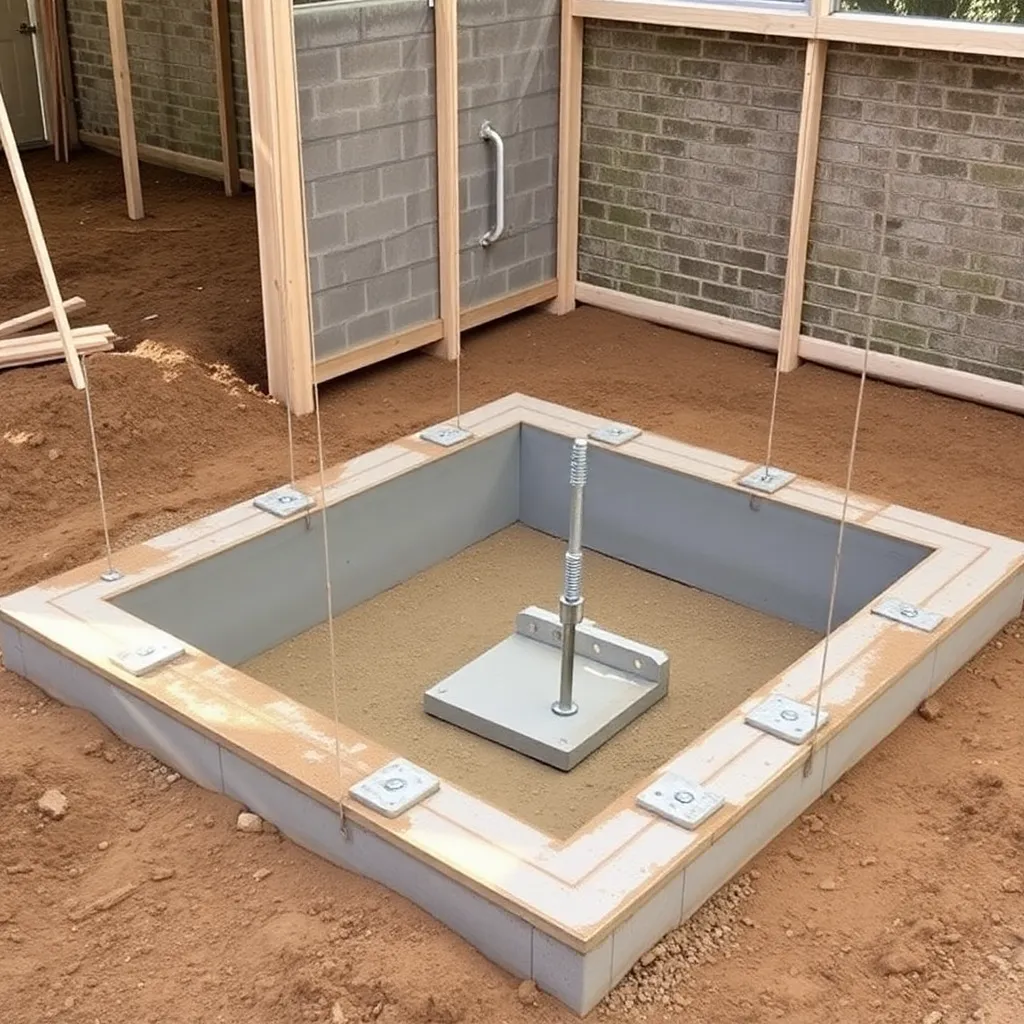
The base of each rib sits in a steel stake or a notch in a pressure-treated base plate. For a permanent structure, pour a concrete perimeter footing 8 inches wide × 16 inches deep (below frost line) and set anchor bolts to receive the base plates. For a semi-permanent structure, drive 24-inch lengths of 3/4-inch rebar into the ground at each rib base location and slip the rib end over the rebar.
The base plates define the 12-foot width and 20-foot length of the structure. Set them level, measure diagonals for square, and stake them firmly before standing any ribs.
Step 4: Stand the Ribs and Install Purlins
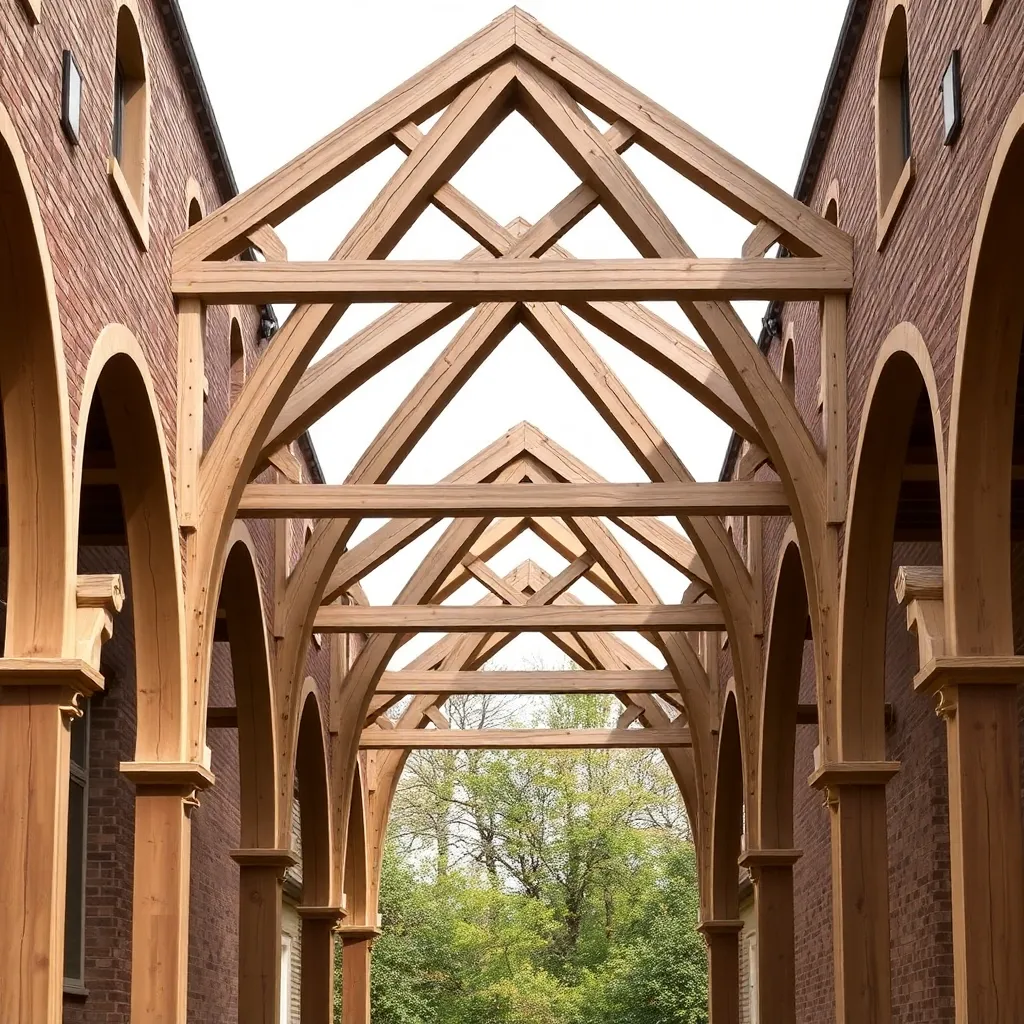
Standing the ribs requires two people. One person holds the rib upright while the other fastens the base. Drive screws through the rib into the base plate or slip the rib onto the rebar stakes. Brace each rib temporarily with a diagonal 2×4 staked into the ground.
Once all 11 ribs are standing, install the ridge purlin along the peak — a 2×4 running the full 20-foot length, fastened to the peak of each rib with a metal connector or a notch cut into the rib top. Then install two purlins on each side, spaced evenly between the ridge and the base, running the full length. These purlins stabilize the ribs and provide the nailing surface for the glazing material.
Step 5: Glaze the Frame
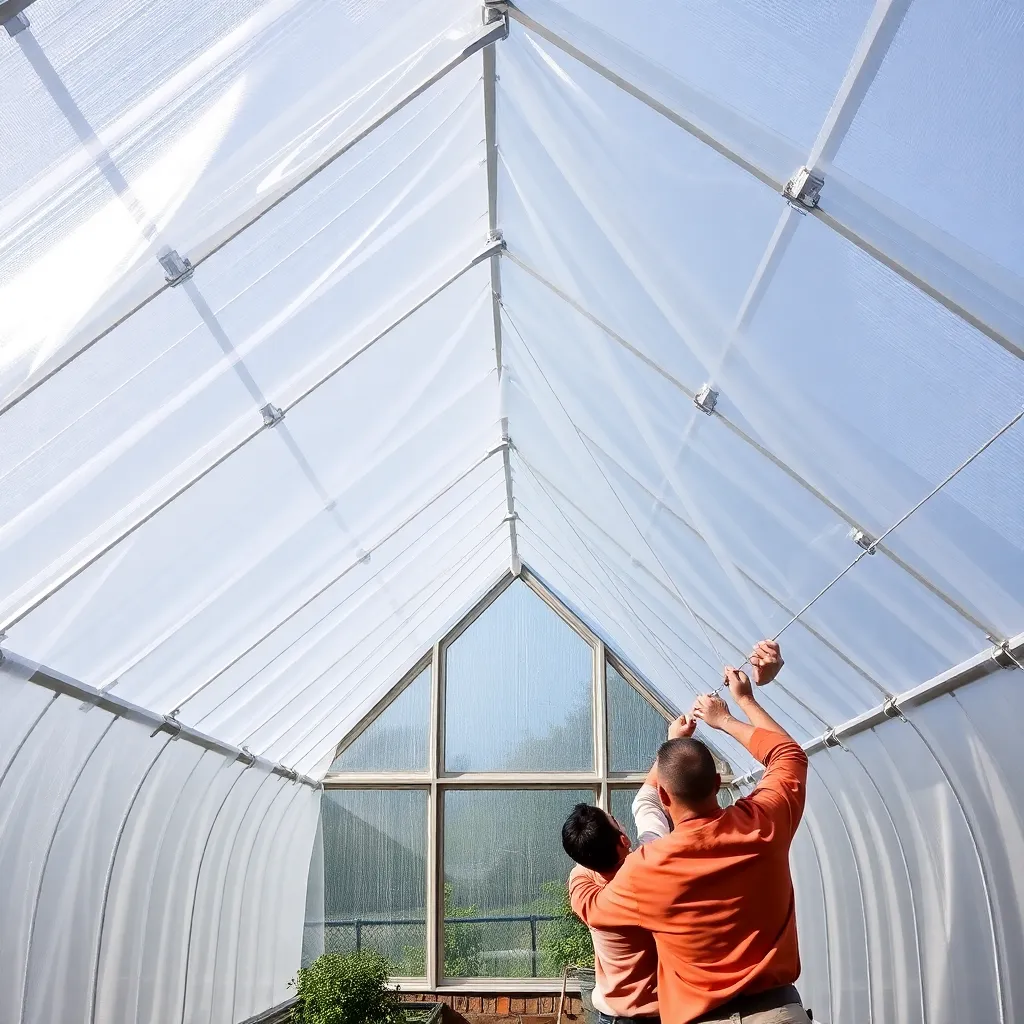
Gothic arch greenhouses can use either polycarbonate or poly film. Poly film is cheaper and conforms easily to the curved shape — use 6-mil UV-stabilized greenhouse poly, run it lengthwise, and secure it with wiggle wire in aluminum channels screwed to each rib. Pull the film tight from end to end before securing.
For polycarbonate, use flexible corrugated polycarbonate (not flat twin-wall, which won’t bend to the curve). Corrugated panels bend easily across the arch and fasten directly to the purlins with corrugated-specific screws and washer caps.
Step 6: Build the End Walls and Add Ventilation
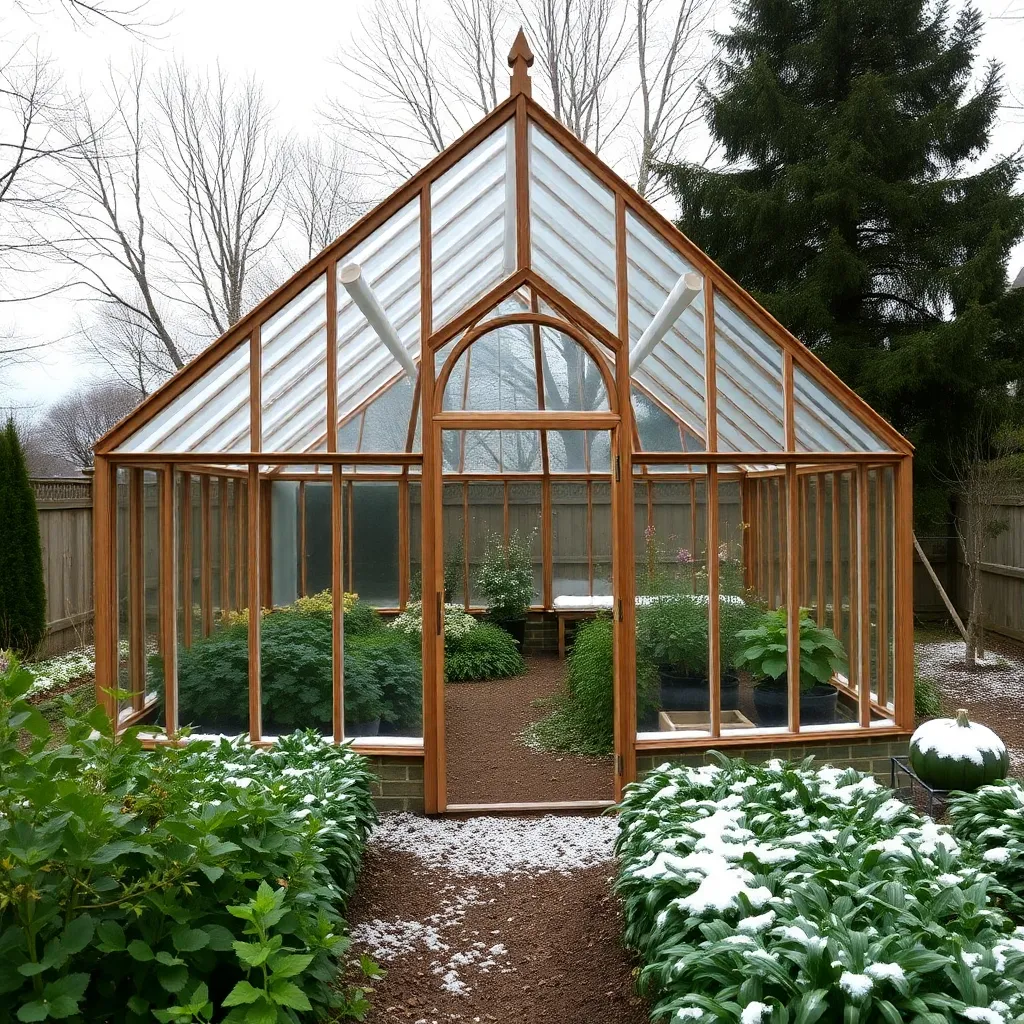
The pointed arch end walls are complex shapes to glaze. The easiest approach is to build square wooden frames inside the arch at each end, filling the triangular corners between the arch and the square frame with small polycarbonate triangles. Include a door (32×80 inches) in one end wall and a ventilation louvre in the other.
Add at least two roof vents near the ridge — hinged polycarbonate panels on each side of the ridge that open to release hot air. On a 12×20-foot structure, plan on 4 square feet of ridge vent area minimum. Automatic wax-cylinder openers work well here and require no power.
Want 16,000+ step-by-step woodworking plans?
Ted’s Woodworking has plans for every skill level — from simple shelves to full bedroom sets. Each plan includes a cut list, material list, and detailed diagrams. Browse Ted’s plans →
Gothic Arch Greenhouse Plans FAQ
Why is the gothic arch shape better than a round hoop?
The pointed arch concentrates stress along the arch curve rather than at a single crown point, making it significantly stronger per unit of material. It also sheds snow faster because the sides are steeper than a semicircular hoop of the same width. And the taller interior gives more usable headroom near the walls where benches sit.
How difficult is the lamination process?
Laminating ribs is straightforward but time-intensive — plan on 4–6 hours of active work per session (clamping 4–5 ribs at a time). The most common mistakes are using too few clamps (leading to voids in the glue joint) and not sanding the strips smooth before gluing (poor adhesion). Use waterproof glue — interior wood glue will fail within a season in greenhouse humidity.
What is the best glazing material for a gothic arch greenhouse?
6-mil greenhouse poly film is the most practical choice for the curved shape — it drapes over the ribs without needing to bend rigid panels. It costs less per square foot than any rigid glazing. Corrugated polycarbonate is the best rigid option: flexible enough to follow the curve, UV-stable for 10+ years, and a better insulator than poly film (roughly R-1.5 vs R-0.8 for single-layer poly).
How much does a gothic arch greenhouse cost to build?
A 12×20-foot gothic arch greenhouse using laminated fir ribs and 6-mil greenhouse poly costs approximately $600–$800 in materials. Using corrugated polycarbonate instead raises the material cost to $900–$1,200. Either way, it’s significantly less than a commercial kit greenhouse of comparable size.
Can a gothic arch greenhouse handle heavy snow?
Yes — it’s one of the primary reasons to choose the gothic arch profile. The steep sides shed snow before it can accumulate to damaging depths. The arch form also distributes load efficiently: a well-built gothic arch can handle 40+ psf snow loads that would buckle a flat-sided greenhouse. Use 1-1/4-inch-thick laminated ribs for heavy snow climates.

“DIY woodworking enthusiast who started with zero experience and a YouTube tutorial.
I build simple, practical projects for my home and share free plans
so other beginners can skip the guesswork.If I can build it, you can too.”