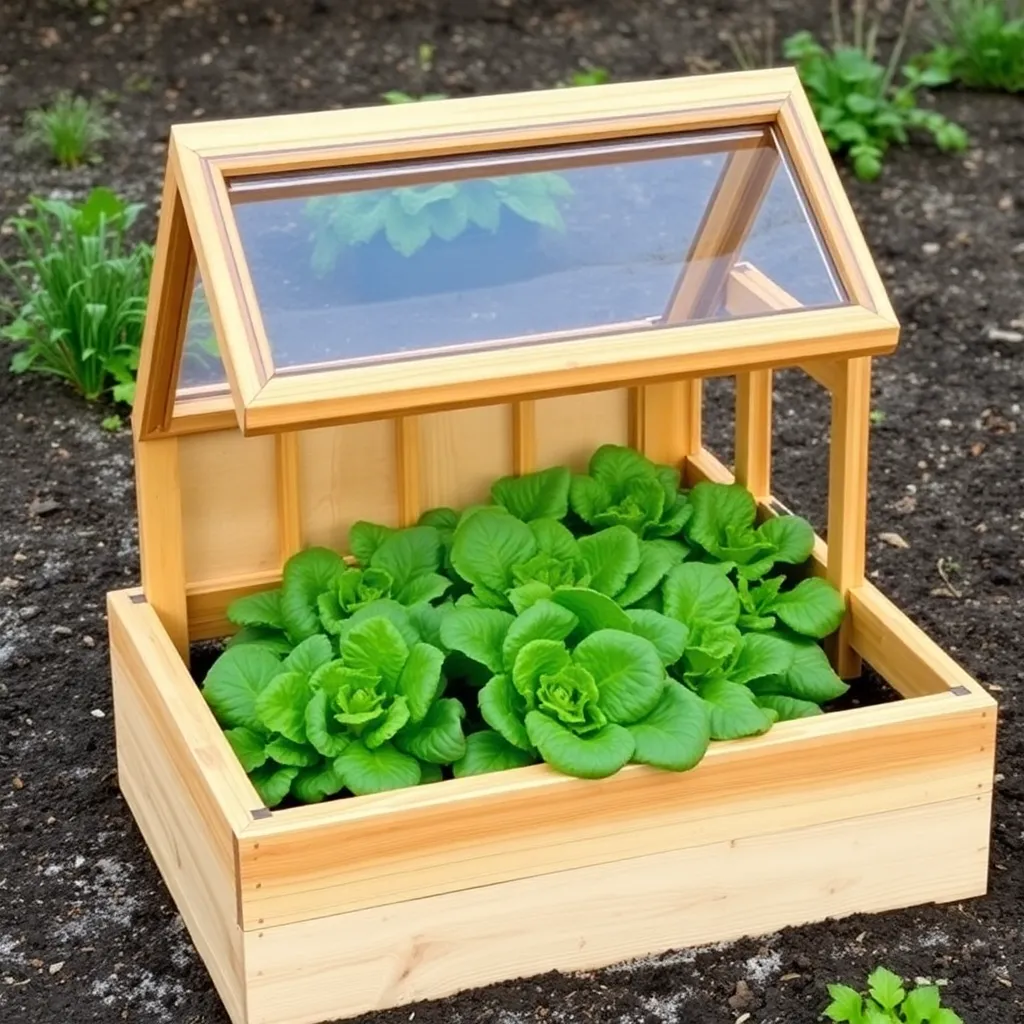
A cold frame is the simplest, cheapest season extender in gardening. Four boards, a hinged lid, and a garden bed — no foundation, no electricity, no permit. Set it over a raised bed in late August and you can harvest salad greens until Christmas. Set it out in early February and your transplants will be ready to go in the ground six weeks ahead of schedule.
These plans cover a standard 4×6-foot cedar cold frame with a recycled double-hung window for the lid, plus a deeper 18-inch-tall version that accommodates full-size transplants without pinching the foliage against the glass.
Want 16,000+ step-by-step woodworking plans?
Ted’s Woodworking has plans for every skill level — from simple shelves to full bedroom sets. Each plan includes a cut list, material list, and detailed diagrams. Browse Ted’s plans →
Step 1: Choose Your Lid and Size the Frame to Match
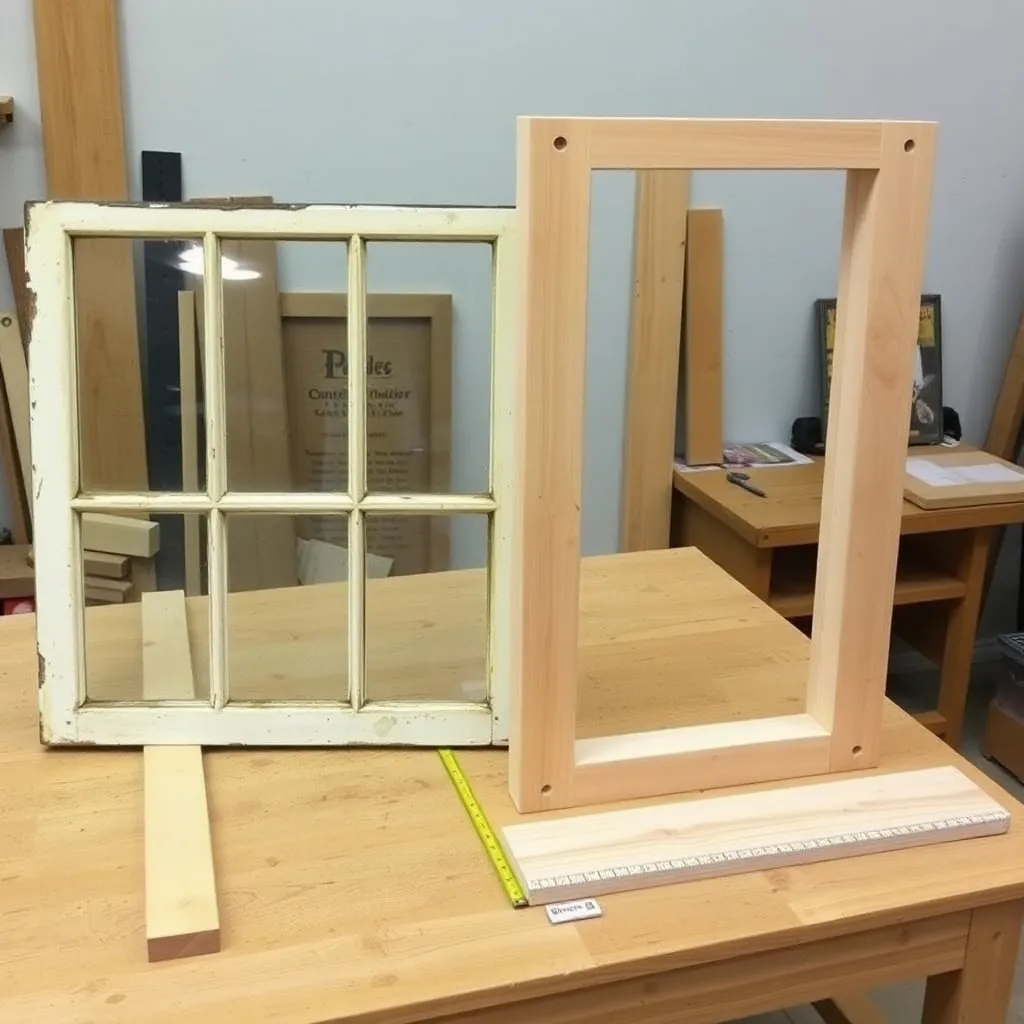
The easiest way to build a cold frame is to find a window first, then size the box to fit it. Old double-hung windows are ideal: they’re already glazed, weatherstripped, and have a handle built in. Check architectural salvage stores, Craigslist, or estate sales — a 36×48-inch window is a common size and makes a natural 3×4-foot cold frame.
If you’re buying a new polycarbonate panel for the lid, a 4×6-foot frame is a practical standard size. The lid angle should slope toward the south at 10–20 degrees (taller back wall, shorter front wall) to maximize winter sun exposure and shed rain off the front.
Cut list for 4×6 cold frame:
| Part | Material | Size | Qty |
|---|---|---|---|
| Back wall | 2×12 cedar | 6 ft | 1 |
| Front wall | 2×10 cedar | 6 ft | 1 |
| Side walls (trapezoid) | 2×12 cedar | 4 ft (cut to angle) | 2 |
| Lid frame | 1×3 cedar | various | — |
| Lid glazing | 6mm poly or salvage window | 4×6 ft | 1 |
| Piano hinge | galvanized | 72 in | 1 |
| Prop stick | 1×2 cedar | 24 in | 1 |
Step 2: Cut the Side Walls to the Sloped Profile
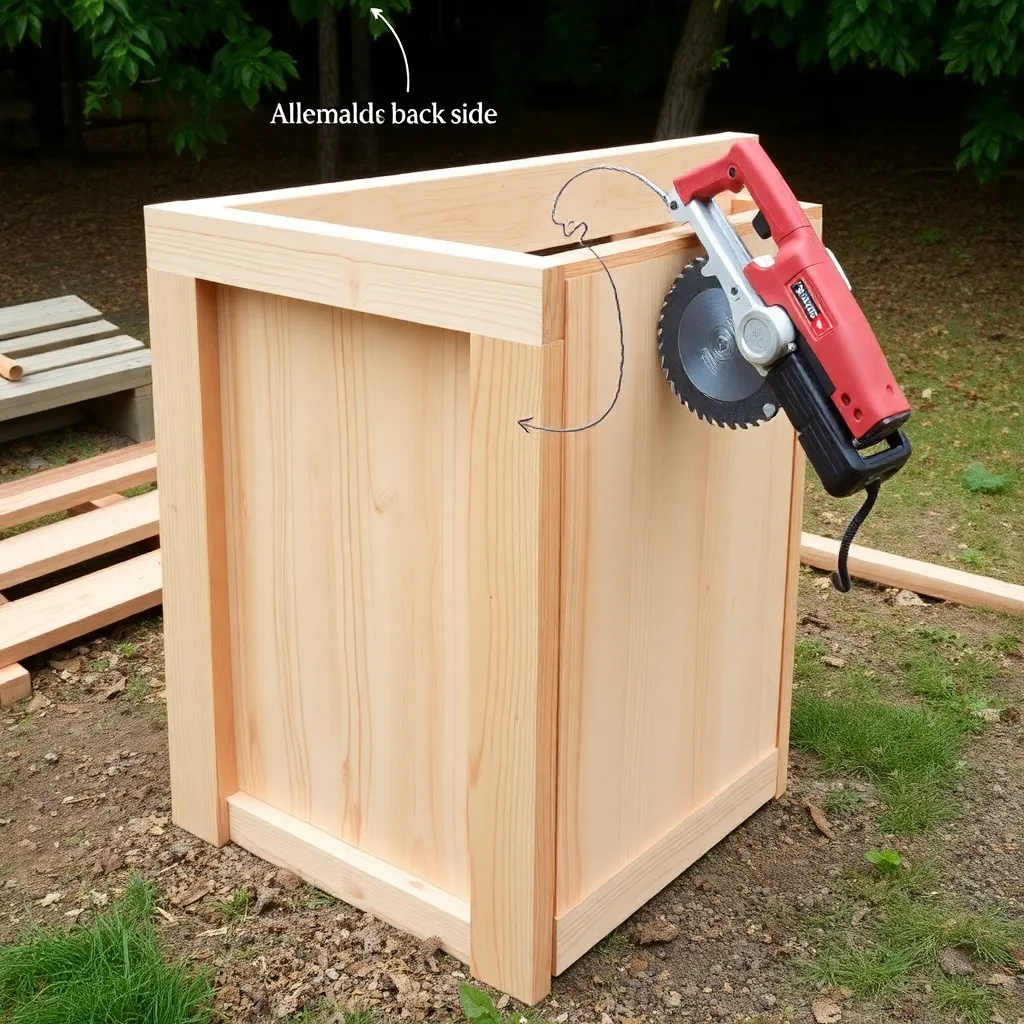
The side walls slope from the taller back wall height to the shorter front wall height. With a 12-inch-tall back wall (2×12) and a 10-inch-tall front wall (2×10), the side walls slope 2 inches over 4 feet — a very gentle pitch. Mark this slope on each side wall board and cut it with a circular saw or jigsaw.
If you want a steeper pitch for better sun angle in winter (recommended in northern climates), increase the back wall height to a 2×12 and reduce the front to a 2×6, giving you a 6-inch drop over 4 feet. A lid leaning at this angle catches nearly twice the winter sun as a nearly-flat lid.
Step 3: Assemble the Box
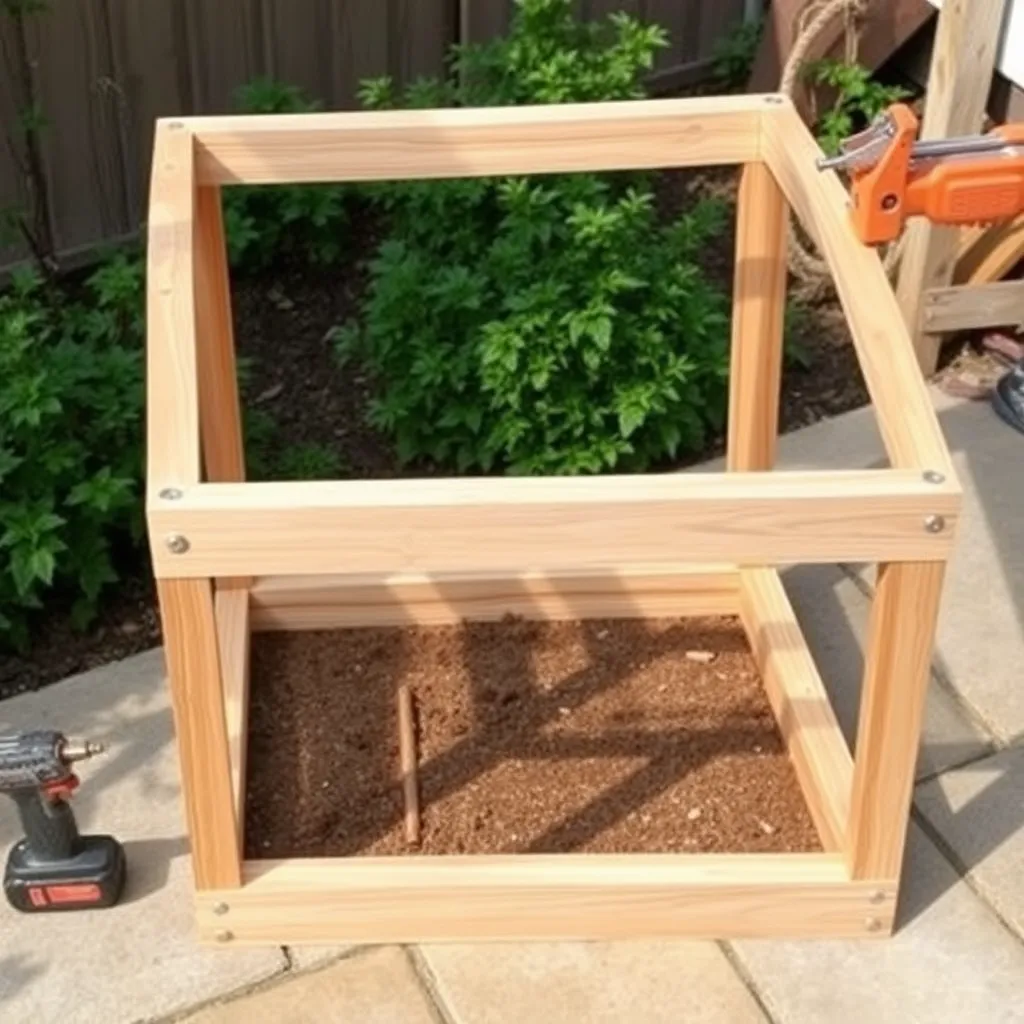
Assemble the four walls into a rectangular box. The side walls fit between the front and back walls, making the exterior dimensions 4×6 feet. Use 3-inch exterior screws (two per joint) and predrill to avoid splitting the ends of the boards. Cedar splits easily at screw holes, so predrilling is not optional.
At each corner, drive two screws through the front or back wall into the end grain of the side wall. For a longer-lasting joint, add a small pressure-treated 2×2 cleat in each corner, screwed into both adjoining walls. This prevents the box from racking open at the corners over time.
Step 4: Build the Lid Frame
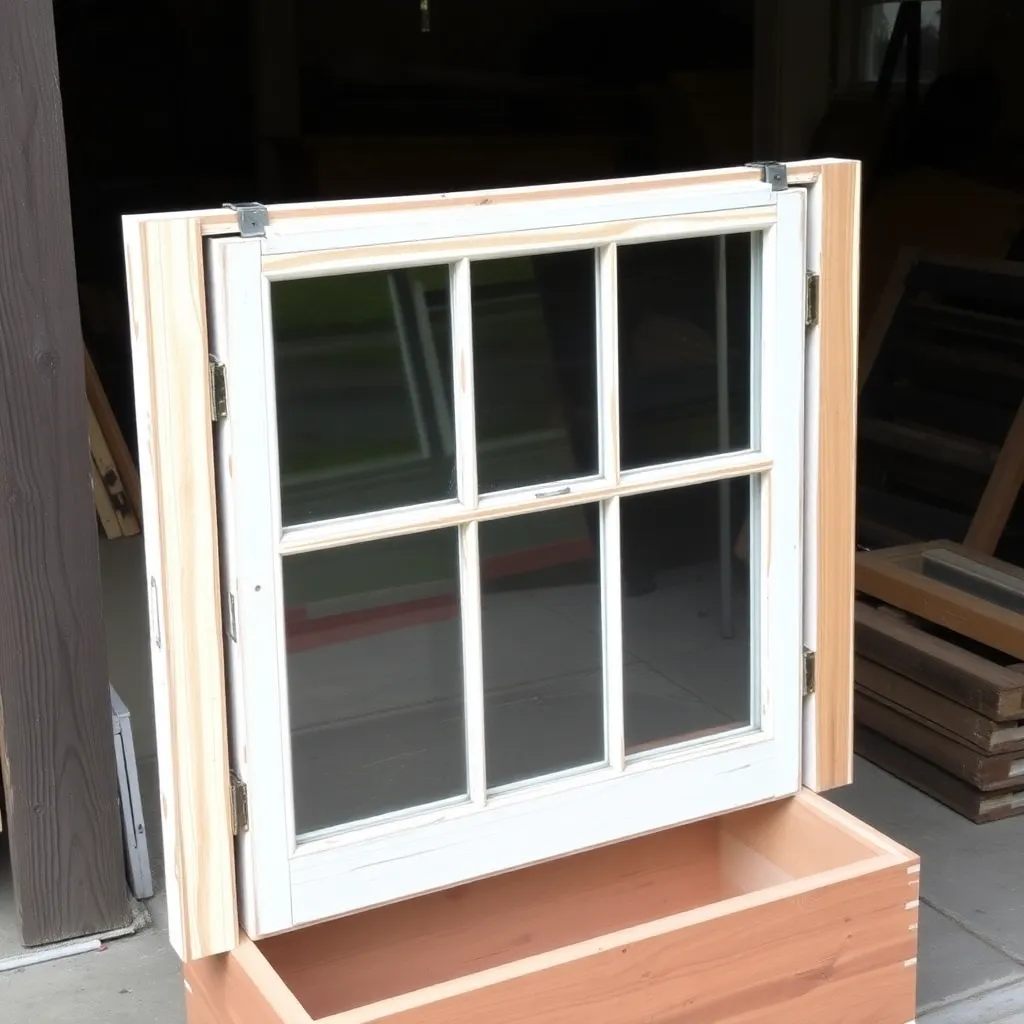
If you’re using a salvaged window, the lid frame is already built — just add hinges to attach it to the back wall. If you’re building a lid from polycarbonate, make a simple rectangular frame from 1×3 cedar to match the top opening of the cold frame, then glaze it with a 4×6-foot polycarbonate panel secured with aluminum-capped screws.
The lid attaches to the back wall with a continuous (piano) hinge along the full 6-foot length. A continuous hinge distributes load evenly and prevents the lid from sagging. Use galvanized or stainless hardware — standard steel rusts through in one or two seasons of outdoor use.
Step 5: Install a Prop Stick and Seal the Frame
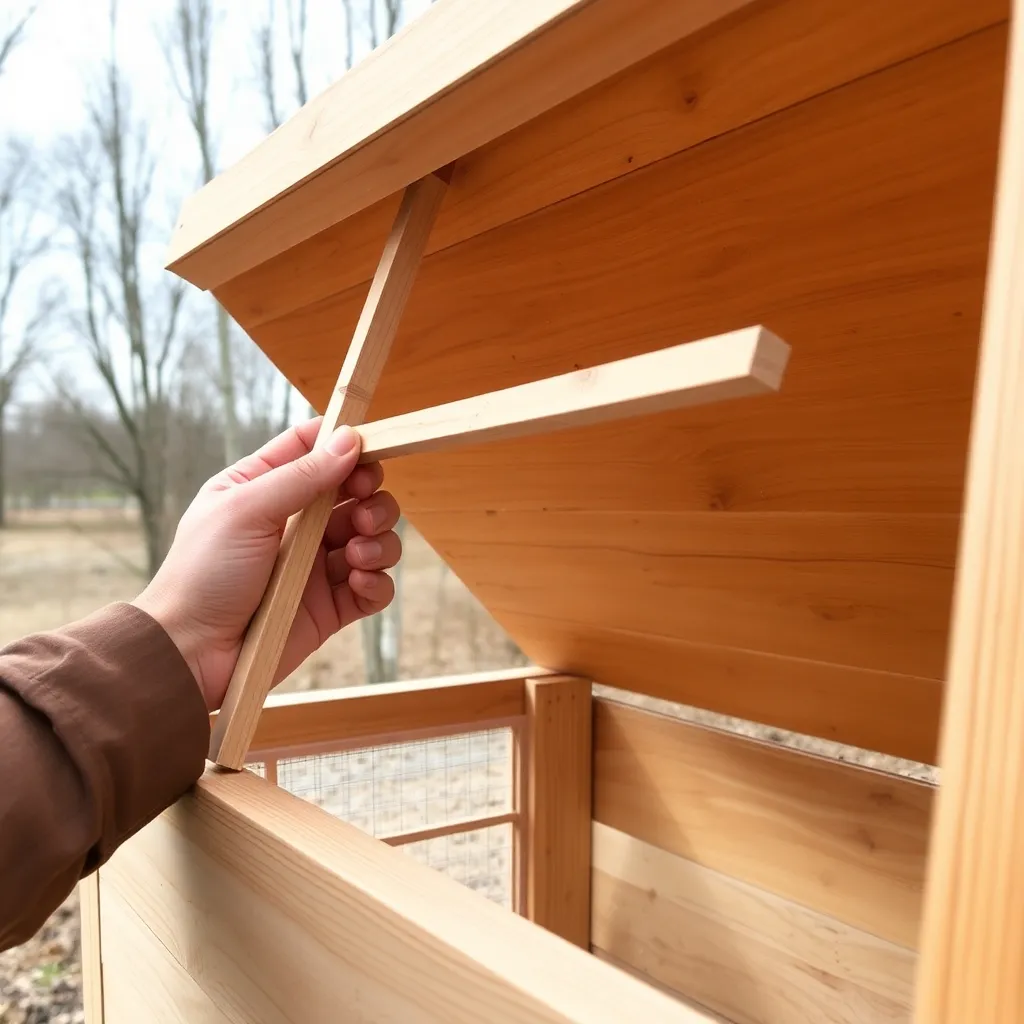
The prop stick is a notched 1×2 that holds the lid open at different heights for ventilation. Cut 2–3 notches at different heights so you can prop the lid fully open (maximum ventilation on warm days) or slightly ajar (partial ventilation on cold days). Attach the prop stick to the inside of the back wall with a single screw so it swings out to catch the lid.
Set the cold frame on the garden bed. If the ground is uneven, use a hand trowel to level the perimeter. For better insulation, bank soil or straw bales against the outside walls. The gap between the bottom of the box and the soil is the primary air leak — stuffing it with straw significantly improves overnight warmth retention.
Step 6: Manage Temperature and Ventilation
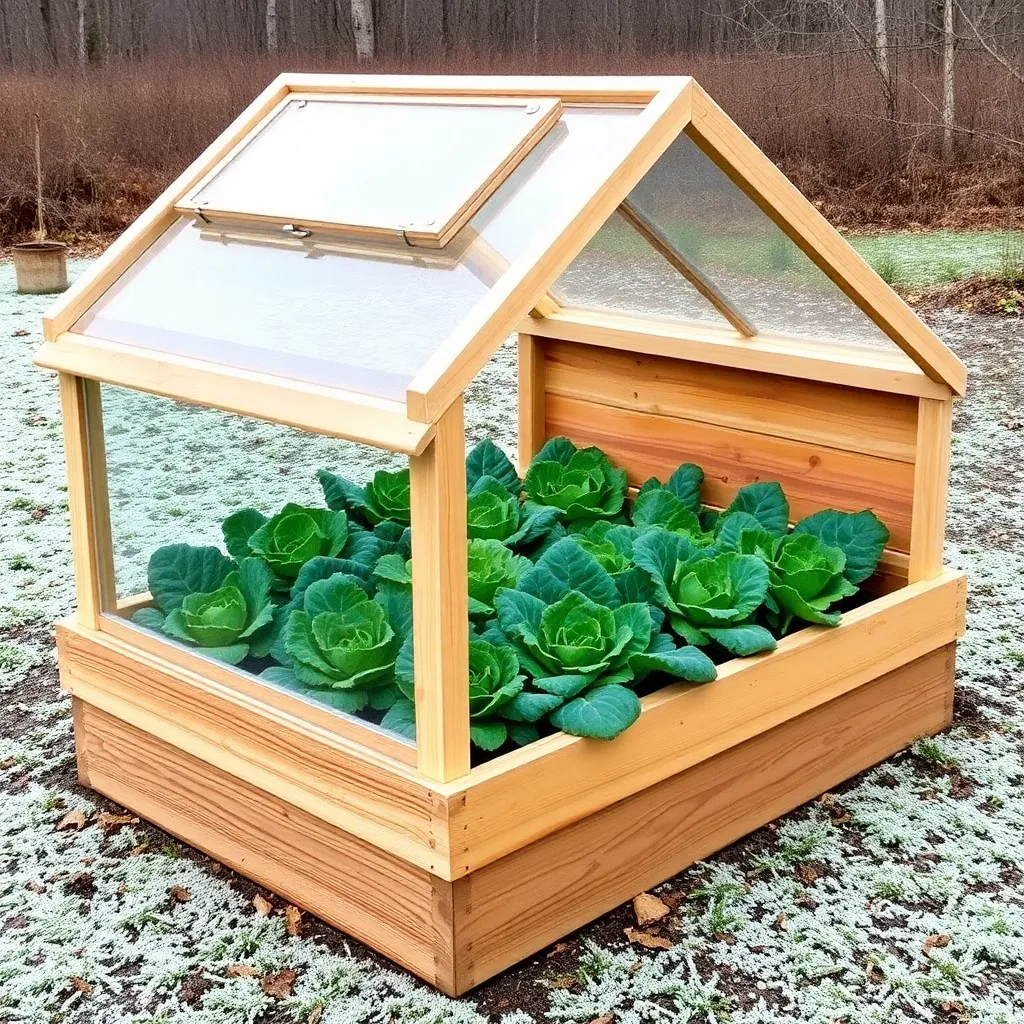
A cold frame without ventilation management will cook plants on any sunny day above 40°F — the temperature inside can exceed 90°F while outdoor temperatures are below freezing. Check the cold frame every clear day and prop the lid open to vent excess heat.
For automatic venting, attach a wax-cylinder vent opener between the lid and the back wall. These open automatically when interior temperature exceeds about 65°F and close as it drops. They cost $25–$30 and eliminate the need to check the cold frame every clear day.
On nights colder than 25°F, lay an old blanket or piece of bubble wrap insulation over the lid to reduce heat loss. A gallon jug of hot water placed inside the frame at dusk can keep overnight lows 10–15°F warmer than the outside air.
Want 16,000+ step-by-step woodworking plans?
Ted’s Woodworking has plans for every skill level — from simple shelves to full bedroom sets. Each plan includes a cut list, material list, and detailed diagrams. Browse Ted’s plans →
Cold Frame Greenhouse Plans FAQ
What is a cold frame used for in gardening?
A cold frame extends the growing season in both directions: it lets you start seeds outdoors 4–6 weeks earlier in spring and continue harvesting cool-season crops 4–6 weeks later in fall. It’s also used to harden off transplants started indoors (gradually acclimating them to outdoor conditions) and to overwinter marginally hardy perennials.
What is the difference between a cold frame and a hotbed?
A cold frame uses only passive solar energy for heat. A hotbed adds a heat source — traditionally fresh manure, but today usually electric soil heating cables or a low-wattage heating mat. A hotbed maintains higher minimum temperatures and can be used for germinating heat-loving seeds (peppers, tomatoes) even in cold weather.
What is the best wood for a cold frame?
Cedar is the standard choice: naturally rot-resistant, lightweight, and stable through repeated wetting and drying. Pressure-treated lumber is acceptable for the box but should not be used where it contacts edible crops directly. Redwood is also excellent. Avoid untreated pine — it will rot within 2–3 seasons in contact with soil moisture.
How cold can a cold frame get inside?
An unheated cold frame typically stays 10–15°F warmer than the outside air. In a well-sealed cold frame on a clear night, passive solar heat stored in the soil can narrow the differential further. On a still, clear night at 20°F outside, a cold frame might reach 30–35°F inside. Adding thermal mass (water jugs) or insulating the lid extends cold protection.
Can I grow tomatoes in a cold frame?
Not during the main season — tomato plants get too tall for a standard 12–18-inch-deep cold frame within a few weeks. Cold frames work well for starting tomato transplants in early spring and for hardening them off before transplanting. Some gardeners use cold frames to ripen tomatoes in fall by closing up the frame to protect the fruit from early frosts.

“DIY woodworking enthusiast who started with zero experience and a YouTube tutorial.
I build simple, practical projects for my home and share free plans
so other beginners can skip the guesswork.If I can build it, you can too.”