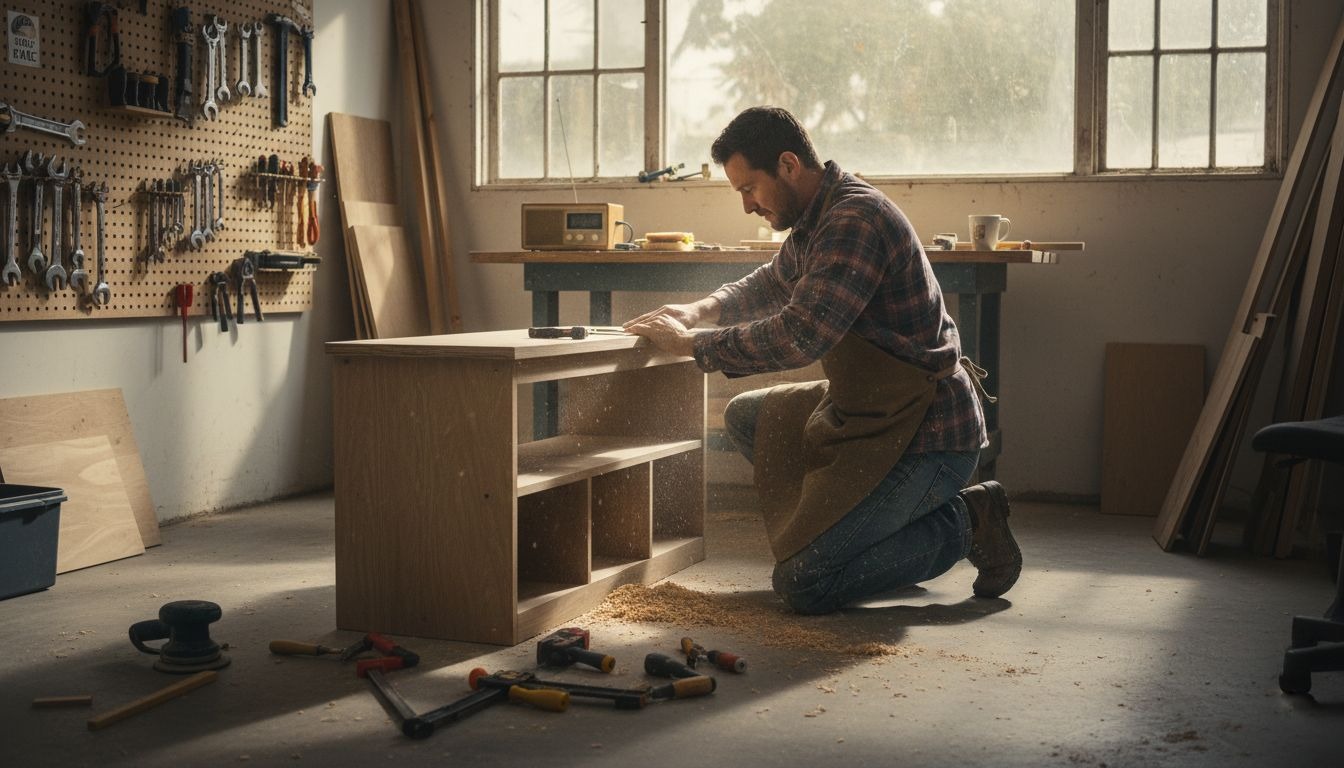
Sixty-eight percent of beginners quit woodworking within three months, and the number one reason is that their first project was too complex (Woodworking Network, 2025). Most woodworking project ideas you find online are galleries of pretty photos with no build time, no real cost, and no path from one skill to the next. This list is different. Every entry is something you finish and use, not something you frame and admire.
These are 7 beginner woodworking projects ordered easiest-first. Each one gives you the real build time, current lumber cost, the exact tools you need, and the one skill it teaches. Nothing here is decoration. Everything is a build you finish and use.
On money: the full beginner toolkit runs about $153. That is a hand saw ($25), a drill ($60), clamps ($20), a square ($12), a tape measure ($10), sandpaper ($10), wood glue ($8), and safety glasses ($8). Most projects on this list cost $10 to $40 in lumber, so your ongoing spend stays small. If you are spreading the cost out, buy the drill and clamps first, because those two show up in nearly every build.
A quick note on the Q2 2026 lumber reality: pine runs $1 to $3 per board foot, up about 5% year over year. These are still budget-friendly builds. The first five projects together, cutting board through birdhouse, cost roughly $67 to $136 in materials, less than one meal out per weekend.
Here is the arc. You start with a cutting board you can finish in two hours. By project 7 you build an entryway step stool using pocket-hole joinery that holds your full body weight. Work the list in order, because each build layers a new skill onto the last. Cut straight, then cut square, then cut precise angles, then join under load.
Start here.
1. Wooden Cutting Board: The Perfect First Cut
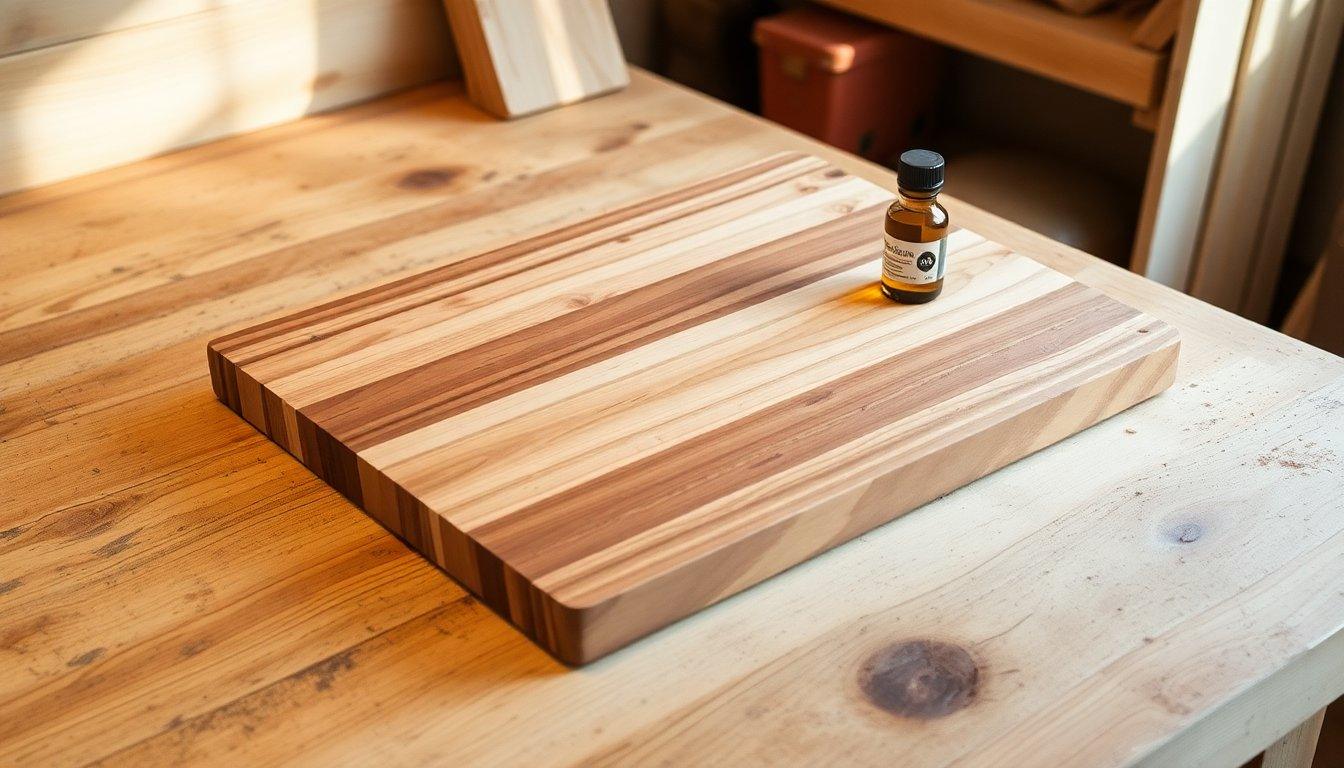
Difficulty: Beginner (Level 1) | Time: ~2 hours | Cost: $10 to $25
This is the fastest path from zero tools to a finished object you will actually use tonight. Cut a few strips, glue them, sand them, oil them, and you are cooking on it by dinner.
Tools required: hand saw, clamps, sandpaper (multiple grits), wood glue, and a food-safe finish like mineral oil or butcher block conditioner.
Use pine to practice cheaply. If you want a food-safe heirloom, maple makes a beautiful board, but it is harder to cut. Maple and cherry are both food-safe and dent-resistant, which is why they are the standard for boards you keep for years. Start with pine so a basic hand saw does not fight you, and save the hardwood for when your cuts are clean.
The build teaches four fundamentals in one afternoon: straight cutting, edge gluing, progressive sanding, and finishing. Select 3 to 4 strips about 1.5 inches wide and 12 to 16 inches long. Apply glue to the mating edges, then clamp every 8 to 10 inches so pressure stays even across the whole board. Let it cure a full 24 hours before you handle it under any stress.
Clamping pressure matters here. Too little and the glue lines stay visible with gaps; enough even pressure and the strips fuse into one flat slab. Once cured, scrape the squeezed-out seams flat before you sand.
Then you sand. This is where most first boards go wrong.
The common mistake is stopping at 120 grit. A board sanded only to 120 has scratches you cannot see until the finish goes on, and then it looks blotchy and uneven. Work up through the grits in order: 80, then 120, then 180, then 220. Run your palm flat across the surface between passes, and when it feels like glass, you are done.
Finish it right. Apply mineral oil liberally, let it soak in for 15 minutes, then wipe the excess. Add a second coat once the first absorbs, which locks out water and food odor. Build this as an edge-grain board, strips glued on their long edges, because edge-grain is far more durable and harder to dent than face-grain.
One more warning. Do not start with maple or oak if all you own is a basic hand saw. Hardwoods burn, bind, and blunt cheap saws fast.
Best for: absolute beginners who want a usable result in one afternoon. Skip if: you already own a table saw and want a joinery challenge, in which case jump to project 4.
2. Rustic Storage Box: Master the Square Corner
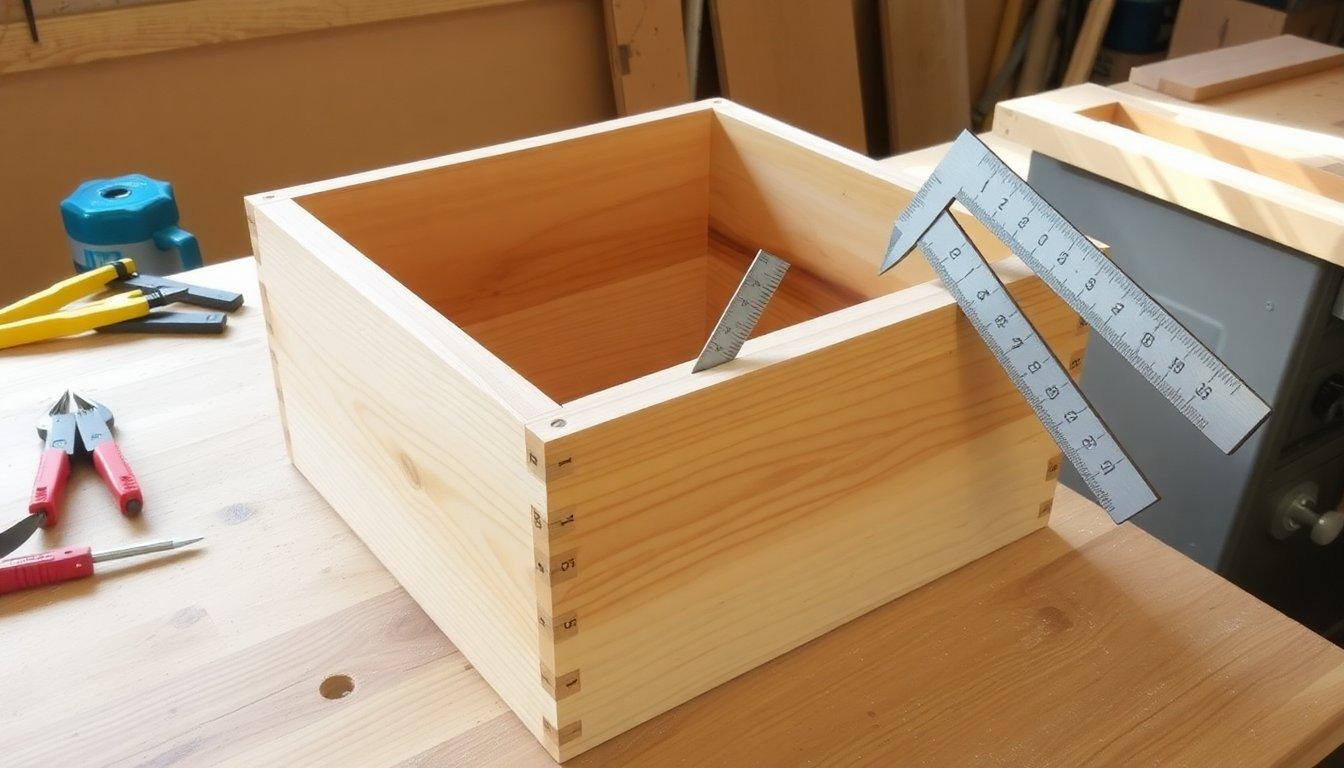
Difficulty: Beginner (Level 1) | Time: 1.5 to 2 hours | Cost: $10 to $20
The reason a beginner’s first box comes out looking like a parallelogram is one skipped step. This project fixes that habit for good, and the habit carries into every build after it.
Tools required: hand saw, drill, clamps, combination square, wood glue and wood screws, sandpaper.
Use pine. It is forgiving, cheap, and the knots actually add rustic character to a storage box. Tight knots are fine and even look good, but avoid boards with loose or oversized knots, because those weaken the panel and can pop out later. This build teaches square assembly: cutting matching panels and joining four sides plus a base so everything sits flat and true.
Measure the actual lumber before you cut, not the label. A “1×6” board is really 3/4 inch thick and 5.5 inches wide, so your cut list has to use those real numbers or nothing lines up. This single check saves more beginner boxes than any other tip.
Start by cutting your sides to matching lengths. If two opposite sides differ by even an eighth of an inch, the box will rack. Dry-fit all the pieces first with no glue, just to confirm they meet cleanly.
Then comes the move that separates a real box from a warped one. Before you clamp, check square with a combination square on every corner, and measure both diagonals. Equal diagonals mean the box is square. If they differ, nudge the assembly until they match, then clamp.
The common mistake is skipping that check and clamping a box that is already racked. Once the glue sets, it is permanent, and the lid never sits flush again. Give the glue at least 30 minutes to reach a handling bond and a full 24 hours before you stress the joints. Check square before clamp pressure goes on, every time.
Two more traps. Do not use drywall screws. They are brittle and snap; use proper wood screws. And drill pilot holes near the ends, because pine splits easily when a screw goes in cold close to an edge.
Direct recommendation: build this second, immediately after the cutting board. The square-checking habit you learn here carries into every project that follows.
3. Picture Frame: Nail the Miter Cut
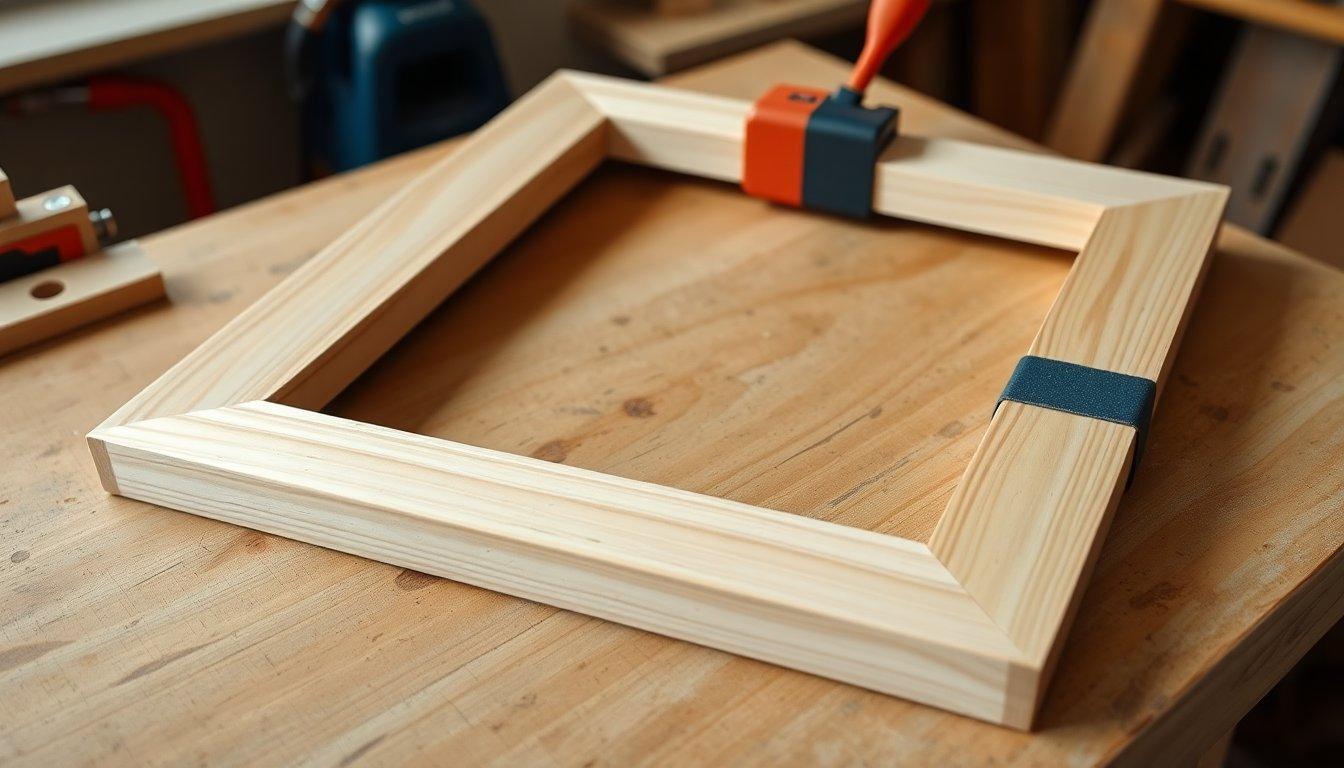
Difficulty: Beginner to intermediate (Level 1 to 2) | Time: 1 to 2 hours | Cost: $8 to $15
Four little 45-degree cuts sound trivial. They are actually the fastest way to expose whether your cutting is truly accurate, because a gap in a miter joint is glaringly visible. Here is how to get all four corners gap-free.
Tools required: hand saw with a miter box (or a miter saw), clamps or a strap/band clamp, wood glue, sandpaper, tape measure, and square.
Use pine, or poplar if you plan to paint the frame. Poplar has no knots and takes paint cleanly, so a painted frame looks smooth instead of spotty.
This build teaches 45-degree miter cuts and joint accuracy. Each of the four corners must be a clean 45 so the frame closes with no gaps. A miter box gives you repeatable angles without eyeballing anything, which is exactly what a beginner needs.
The key idea is that all four pieces must be measured against each other, not just against a ruler. Cut them as matching pairs: two long sides identical, two short sides identical. Measure to the inside edge and the outside edge separately, because on a mitered piece the outside is longer than the inside, and getting those two lengths confused is exactly where beginners go wrong.
Assembly is where a band clamp earns its keep. Dry-fit all four corners first to confirm every joint closes tight with no light showing through. Then glue all four corners at once and pull them together with a band or strap clamp, a $10 to $20 tool that squeezes the whole frame evenly instead of you fighting one corner at a time.
The common mistake is rushing the measurement so opposite sides come out unequal. That throws the whole frame out of square, and one corner will always gap no matter how you clamp. Measure twice, cut matching pairs, and the frame closes clean.
That visible gap is the point. It makes the frame brutally honest feedback on your precision, which is what makes it such good practice.
Quick comparison: the cutting board taught you to cut straight. This teaches you to cut precisely at an angle. If your miters close tight here, you are ready for the wall shelf next.
4. Simple Wall Shelf: Your First Wall-Mounted Build
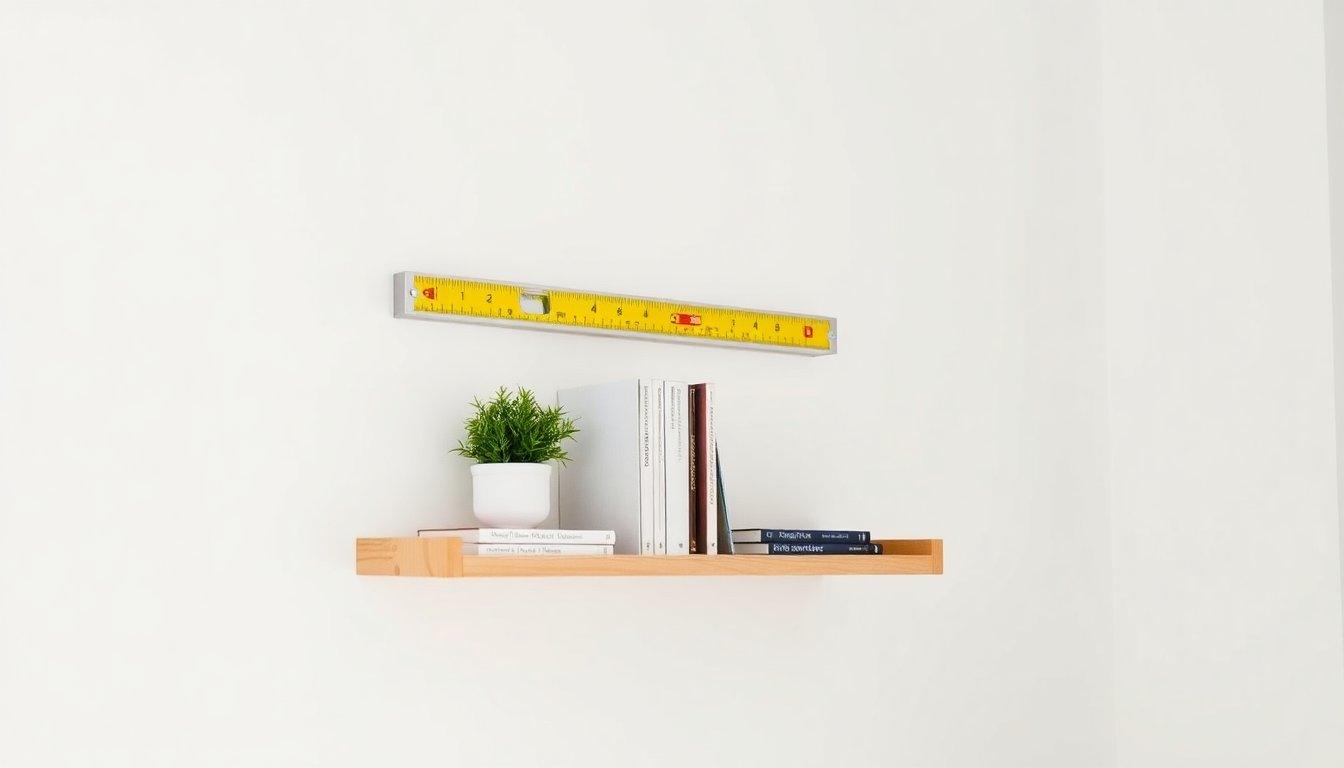
Difficulty: Weekend Warrior (Level 2) | Time: ~2 hours | Cost: $15 to $25 (or $59 to $111 with quality mounting hardware)
This is the first project your visitors will actually see. Mounting it level and solid is easier than it looks once you know where the studs are.
Tools required: drill, pocket-hole jig, clamps, level, tape measure, square, wood screws, wall anchors or a stud finder, sandpaper.
Use pine for a stained rustic look, or poplar if you are painting. This build teaches three things at once: accurate measuring to fit a real wall space, pocket-hole joinery for hidden strong joints, and secure wall mounting into studs or with rated anchors.
Start by measuring the space and thinking about the load. A shelf that holds books needs more support than one holding a single plant. Join the shelf and its supports with pocket holes, which hide the screws and give you a clean, strong joint with no visible hardware. A pocket-hole jig like the Kreg Jig runs $30 to $80, and this is the project where buying one pays off, because you reuse it on the step stool and every furniture build after.
Then mount it. The common mistake here is dangerous: screwing into drywall alone without hitting a stud or using a rated anchor. A loaded shelf will tear straight out of bare drywall and take a chunk of wall with it. Studs in most North American homes sit 16 inches on center, so find one with a stud finder and drive into solid wood.
If no stud lands where you need it, use a toggle bolt rated for 50 pounds or more. Skip the basic plastic anchors that come in a bag of fasteners, because they pull out under any real shelf load. The second mistake is not checking level before the final screws go in. Set your level on top, adjust, and only then drive the last screws home.
Want another pocket-hole storage build once this one is up? The free step-by-step DIY shoe rack plans use the same joinery at floor level.
Best for: beginners ready to own their first pocket-hole jig. Skip if: you rent and cannot drill walls, in which case build the planter box (project 6).
5. Cedar Birdhouse: Build for the Outdoors
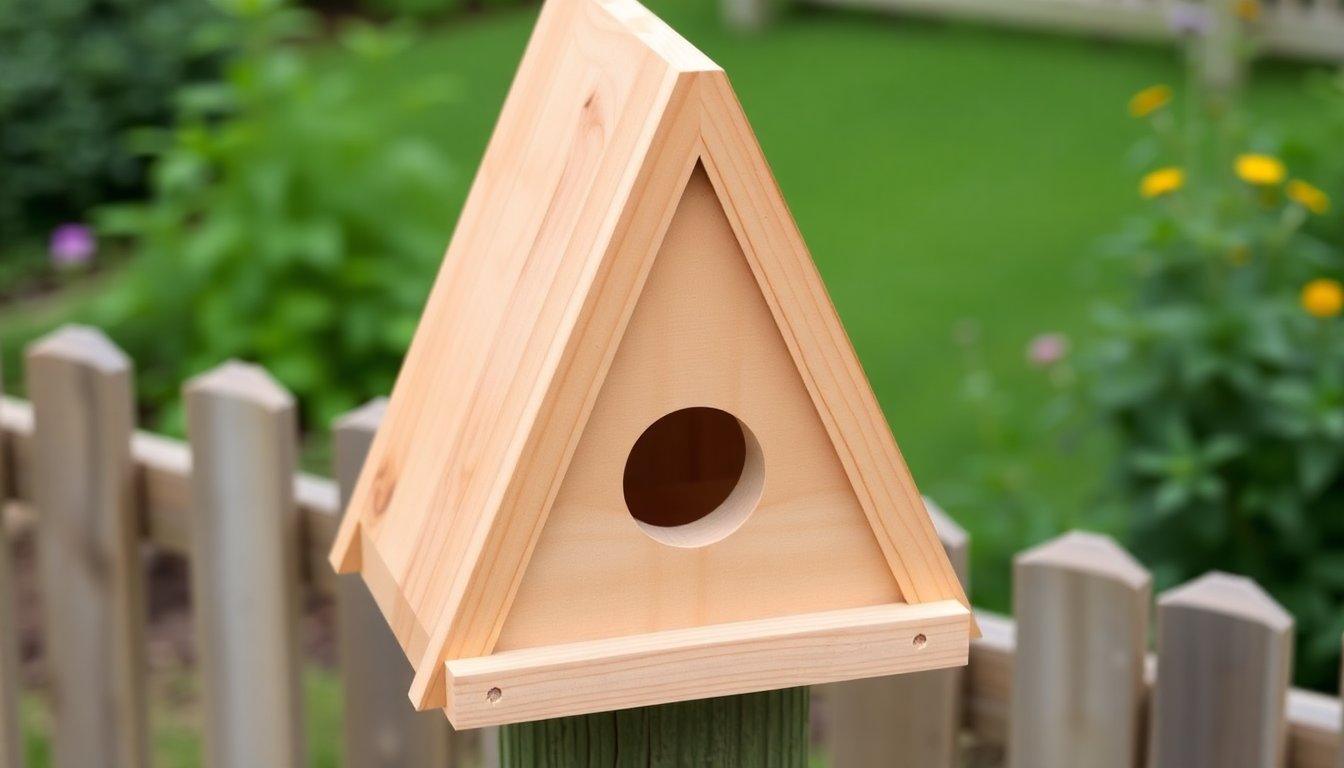
Difficulty: Beginner (Level 1) | Time: 2 to 3 hours | Cost: $19 to $38
Most first birdhouses rot or cook their occupants within a single season. The fix is two things beginners never think about: drainage holes and the right wood.
Tools required: hand saw or miter saw for the angle cuts, drill for the entry hole and drainage/ventilation holes, clamps, exterior wood glue and exterior screws, sandpaper.
Use cedar. It is naturally decay-resistant and needs no chemical treatment to survive outdoors, which makes it the standard choice for anything that lives in the weather. You can build the whole A-frame from a single 4-foot 1×6 cedar board, which keeps the cost and the cut list small. This build teaches angle cuts for the roof pitch, working with outdoor-rated wood, and designing in drainage and ventilation so the interior stays dry.
Start with the roof. Cut the panel angles so the two sides meet cleanly along the ridge with no gap. This is the same precision you practiced on the picture frame, now on a functional pitch. Then drill: drainage holes in the floor so rain runs out, and ventilation holes near the roof so heat escapes and the box does not turn into an oven.
Size the entry hole for the bird you want. A 1.5-inch hole invites chickadees and titmice, while a 1.25-inch hole suits wrens and keeps larger birds out. Get this diameter wrong and you either exclude your target bird or let bigger, aggressive species take over the box.
The common mistake is using untreated pine or sealing the box airtight. Pine outdoors rots within a season, and an airtight box traps moisture and heat that kill a nesting brood. Skip pine for exterior use, and always drill drainage in the floor plus vents near the roof. Never use pressure-treated lumber either, because its preservatives are toxic to nesting birds.
One more trap specific to cedar: it splits near the edges if you drive screws without pilot holes. Cedar is soft but splits easily, so pre-drill every screw near an end.
Direct recommendation: build this to learn the outdoor rulebook cheaply. Once you have nailed drainage and cedar here, the garden planter box (project 6) is the same principles at a larger scale.
6. Garden Planter Box: Outdoor Skills at Full Scale
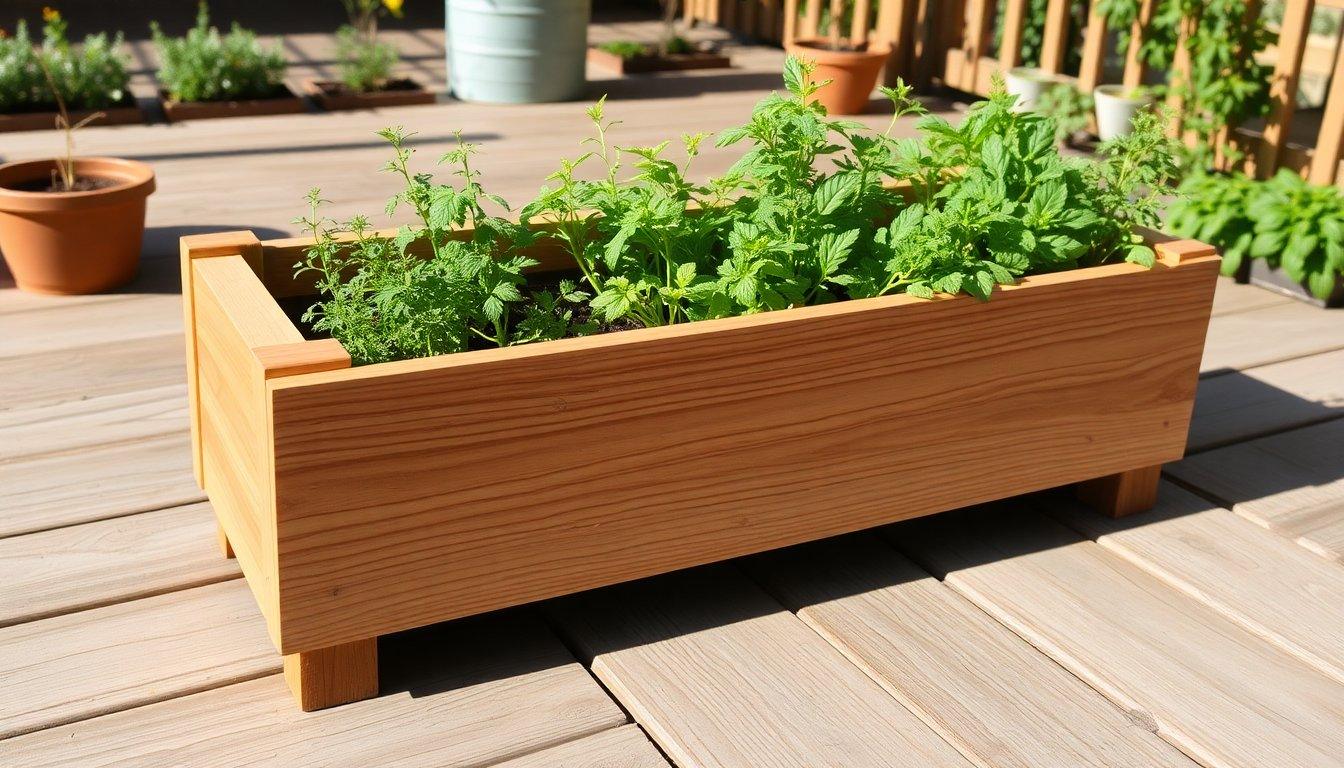
Difficulty: Beginner (Level 1) | Time: 2 to 3 hours | Cost: $20 to $35
A planter with no drainage drowns your plants and rots from the inside. It is the single most common reason a homemade planter falls apart in one season.
Tools required: hand saw or miter saw, drill, clamps, exterior screws and exterior wood glue, sandpaper, exterior finish or sealer, tape measure, and square.
Use cedar again, for its decay resistance against the constant soil moisture a planter holds. This build teaches you to work with decay-resistant wood at scale, engineer proper drainage for a container full of wet soil, and apply an exterior finish that survives weather.
Assemble the box square first. This is a direct callback to project 2: check your diagonals and your combination square before clamping, because a racked planter looks wrong and sits crooked. Once the box is true, drill generous drainage in the floor. Multiple holes, not one, so water actually runs out instead of pooling.
You can line the interior with heavy plastic sheeting or pond liner to keep wet soil off the wood, which slows rot and stretches the box’s life by years. Leave the drainage holes clear through the liner, because the drainage still does the real protective work. Lining is optional; drilling is not.
The common mistake is forgetting or under-sizing drainage. Water pools at the base, the wood stays saturated, and the bottom rots out from the inside. Drill multiple floor holes and raise the box slightly off the ground on cedar feet, cinder blocks, or rubber feet so air moves underneath.
The second mistake is sealing with an interior-only finish. Indoor latex and varnish break down in UV and rain within months. Use an exterior-rated product built for weather, such as exterior deck oil, outdoor spar urethane, or tung oil, all of which shed water and resist sun.
Quick comparison: the birdhouse taught outdoor rules in miniature. This proves you can scale them to a build that lives outside year-round.
7. Step Stool: Load-Bearing Joinery You Can Trust
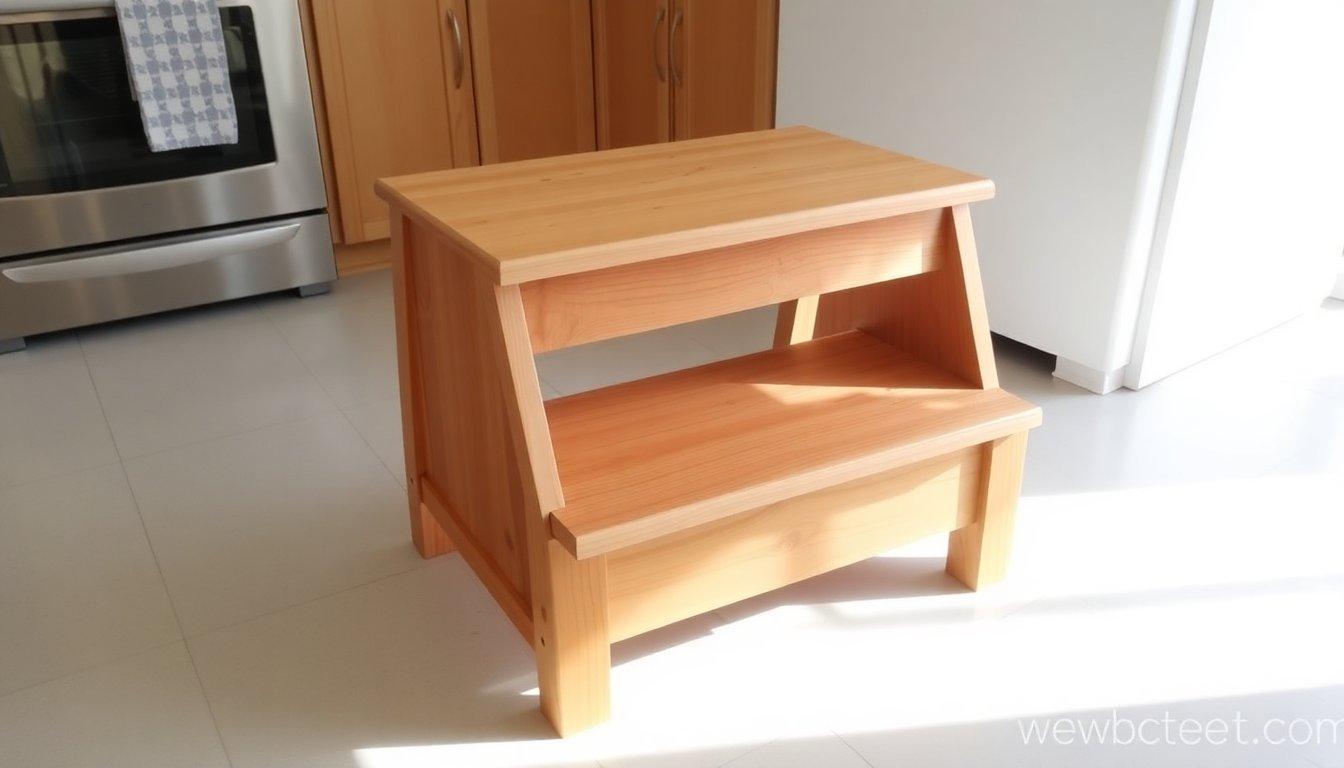
Difficulty: Weekend Warrior (Level 2) | Time: 4 to 5 hours | Cost: $25 to $40
The difference between a stool that holds you and one that collapses is not the wood. It is one screw choice and one drilling habit. Get those two right and this stool carries your full weight for years.
Tools required: drill, pocket-hole jig, clamps, square, tape measure, wood screws (never drywall screws here), sandpaper, and finish.
Use pine, which is adequate for a stool when the joinery is sound, or poplar for a painted finish. This is your graduation project. It teaches pocket-hole joinery under real load and structural assembly that must safely hold body weight.
Build a two-step design: two 6-inch-high steps, 8 to 10 inches deep, and 14 to 16 inches wide gives a stable, useful stool. Join the legs, aprons, and top with pocket holes, the same technique you learned on the wall shelf. Use 1-1/4 inch pocket-hole screws for 3/4-inch stock, because a screw that is too short pulls out of the joint the first time weight lands on it.
Keep everything square as you go, another callback to project 2, because a racked stool rocks on an uneven leg. Joint tightness is the whole game here. Loose joints work themselves apart every time weight lands on them, and that is how a stool fails.
Three mistakes end stools, and all three are avoidable. First, drywall screws. They are brittle and snap under load, dropping you to the floor; always use wood screws for anything load-bearing. Second, skipping pilot holes, which lets the pine split right at the joint where you need strength most. Third, not checking square, which leaves a stool that rocks no matter how tight the joints are.
Sand through the grits before finishing: 80 to remove mill marks, 120 to smooth, and 220 as the final pass before your finish goes on. Then load-test it before you trust it. Sit on it, rock on it, and stand on the very edge, and if nothing shifts or creaks, it is ready to use.
If your stool holds your full weight with no wobble, you have graduated to real furniture. Find free plans for your next build at realwoodworkplans.com, starting with this DIY coffee table or, when you are ready for a showpiece, an extendable dining room table.
Frequently Asked Questions
What tools do I need to start woodworking?
You need eight items totaling about $153: a hand saw ($25), a drill ($60), clamps ($20), a combination square ($12), a tape measure ($10), sandpaper ($10), wood glue ($8), and safety glasses ($8). That is the entire beginner kit, and every single project in this list uses only these tools. You do not need a table saw, a router, or a full shop to start. Buy the drill and clamps first if you are spreading the cost out, since those two show up in almost every build. You can even borrow a drill to get going, because the hand saw and clamps are the two tools hardest to substitute.
What is the best wood for beginners?
Use pine for stained indoor projects, poplar for painted projects, and cedar for anything outdoors. Pine runs $1 to $3 per board foot, cuts easily, and forgives mistakes, which makes it the ideal first wood. Poplar has no knots and takes paint cleanly, so painted pieces look smooth. Cedar resists decay naturally and survives weather with no treatment. One catch with pine: its knots can bleed sap through paint, so seal them first with a shellac-based primer if you are painting. Avoid oak and maple as your first wood, because they are hard, expensive, and make a basic hand saw struggle, burn, and go dull fast.
How much does it cost to start woodworking?
Expect about $153 for the full tool kit, plus $10 to $40 in lumber per project. Lumber is up roughly 5.11% year over year in Q2 2026, but pine remains budget-friendly at $1 to $3 per board foot, so material cost stays low. The cutting board costs as little as $10, and even the step stool tops out around $40. The first five projects together run roughly $67 to $136 in materials, less than one meal out per weekend. Your tools are a one-time purchase you reuse across every build, so cost per project drops fast after your first few weekends.
Why does my stain look blotchy or why did my project split?
Two classic beginner mistakes cause both problems. Blotchy stain comes from stopping your sanding at 120 grit, which leaves fine scratches that soak up stain unevenly; sand up through 220 or higher for an even finish. On pine especially, brush on a pre-conditioner before staining, a $10 to $15 hardware-store product that evens out how the wood absorbs color. Splitting comes from skipping pilot holes, especially in pine near the ends of a board, where a screw driven cold forces the grain apart. Pre-drill a pilot hole for every screw near an edge, and most beginner-project failures disappear.
What project should I build first, and what comes after these seven?
Start with the cutting board and work the list in order, because each build layers a new skill onto the last. The number one cause of the 68% beginner quit rate is starting with something too complex, so resist jumping ahead to furniture. After the step stool proves you can build load-bearing joints that hold your weight, you are ready to move up. A good progression is a shoe rack next, which uses the same pocket holes with more parts, then a floating shelf, then your first real furniture. Graduate to a coffee table or an extendable dining table, applying the same pocket-hole joinery and square-checking habits at full scale.

“DIY woodworking enthusiast who started with zero experience and a YouTube tutorial.
I build simple, practical projects for my home and share free plans
so other beginners can skip the guesswork.If I can build it, you can too.”