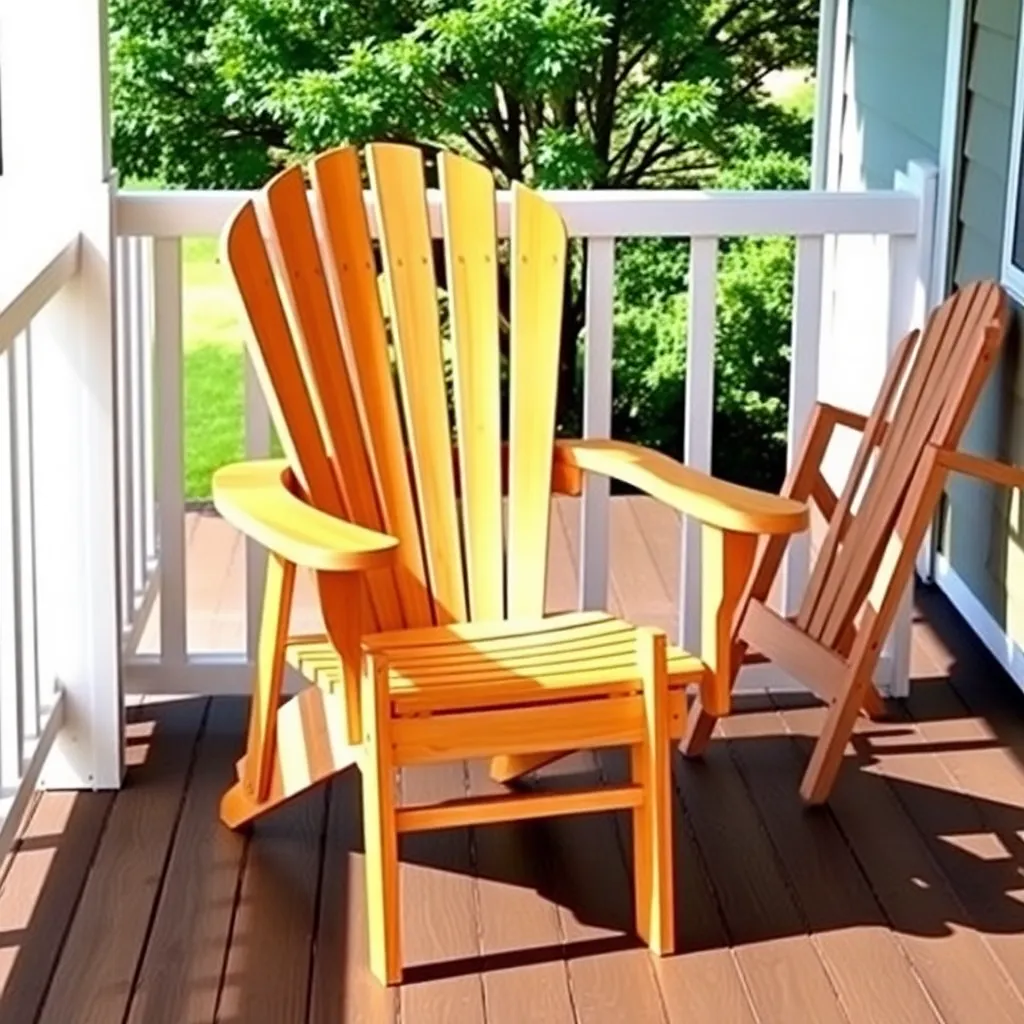
A folding Adirondack chair is a full-size classic Adirondack that collapses flat for storage or transport. The folding mechanism replaces the fixed seat-back connection with a hinged pivot point and makes the front legs pivoting rather than fixed. When unfolded, the chair looks and functions identically to a standard Adirondack. When folded, it reduces to a flat package approximately 3 inches thick — storable in a garage, shed, or closet for the winter, or portable enough to take to a beach or park.
These folding Adirondack chair plans build a single-seat folding chair from cedar 1×6 and 1×4 boards with stainless carriage bolt pivot hardware. The folding design requires more precise assembly than a fixed chair — pivot points must align exactly for smooth folding — but the geometry is not complex.
Want 16,000+ step-by-step woodworking plans?
Ted’s Woodworking has plans for every skill level — from simple shelves to full bedroom sets. Each plan includes a cut list, material list, and detailed diagrams. Browse Ted’s plans →
Step 1: Understand the Folding Mechanism
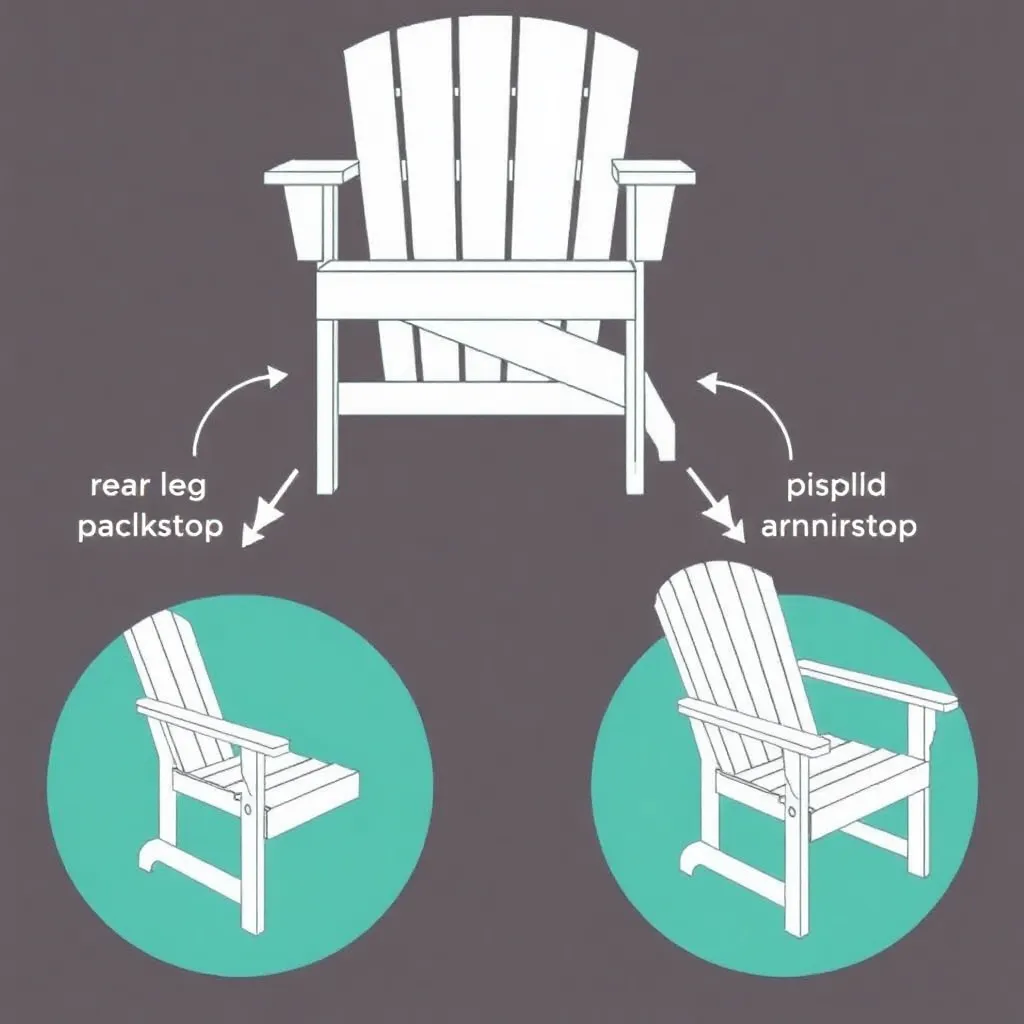
A folding Adirondack has two pivot points that a standard Adirondack does not:
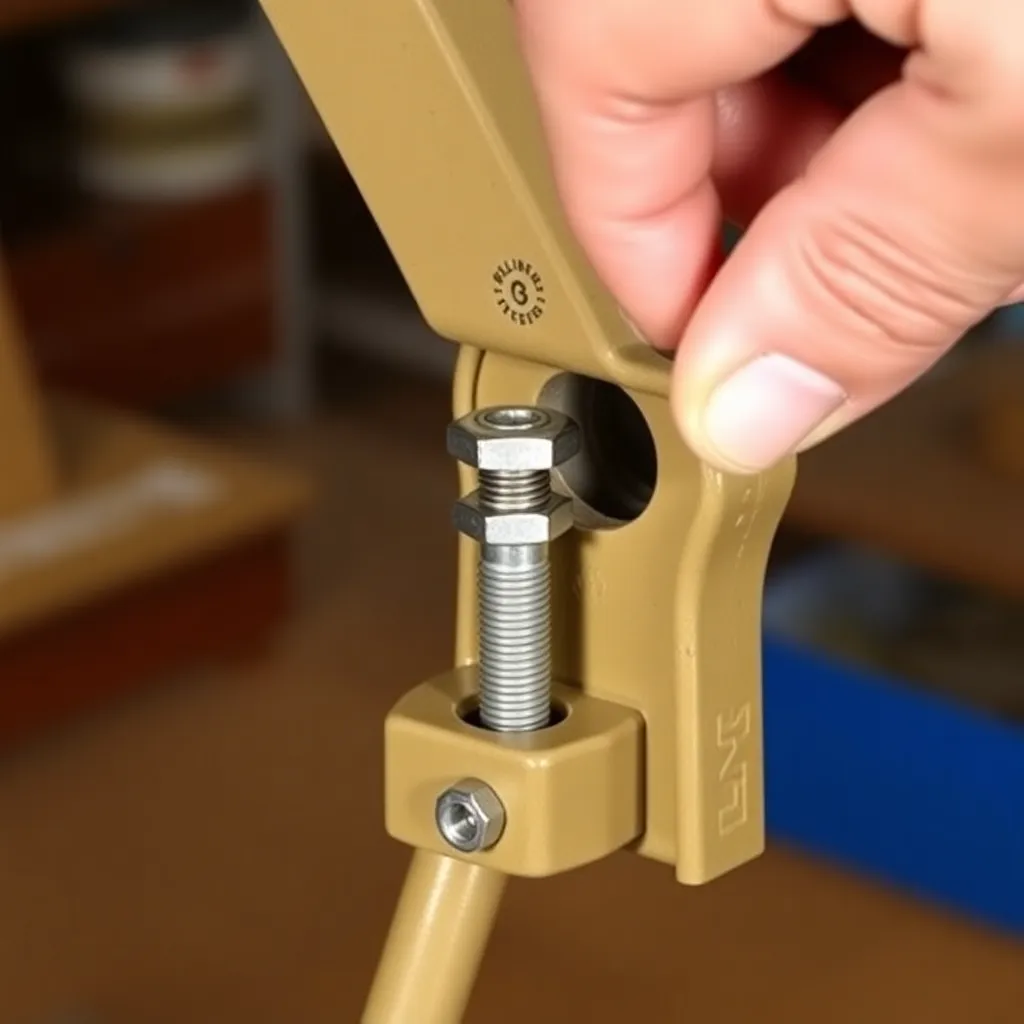
Pivot 1 — Seat-back hinge. In a standard Adirondack, the back is screwed rigidly to the rear legs. In a folding version, the back assembly attaches to the rear legs at a single pivot point (a carriage bolt through the outer back slats and the rear leg tops). When folding, the back rotates forward to lie flat over the seat.
Pivot 2 — Front leg pivot. In a standard Adirondack, the front legs are fixed. In a folding version, each front leg pivots at the armrest connection point (a carriage bolt through the armrest and the front leg top). When folding, the front legs swing up and in, allowing the seat to drop and the chair to flatten.
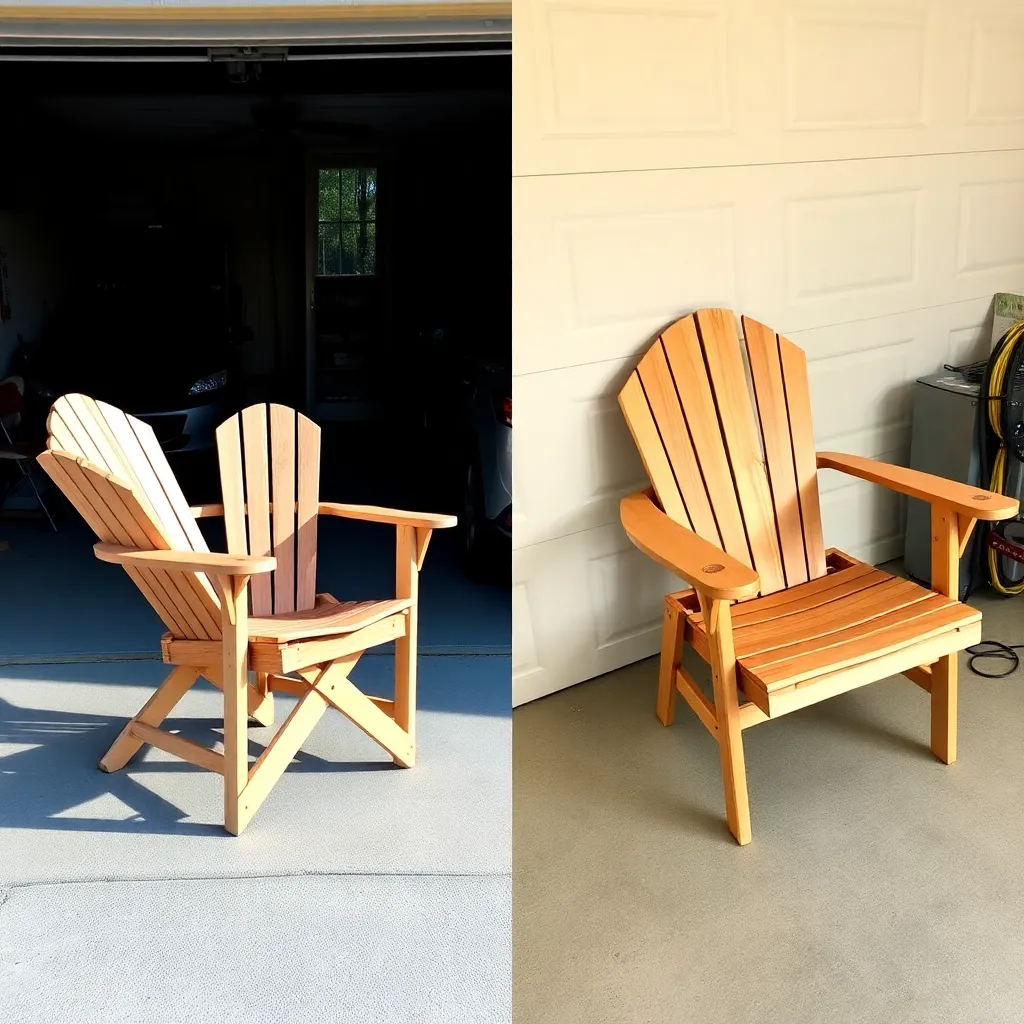
The fold sequence. Lift the back forward until it lies flat on the seat. Simultaneously, the front legs fold up and the seat lowers. The chair ends up as a flat package: armrests on the outside, seat boards in the middle, back on top, front legs tucked against the seat underside.
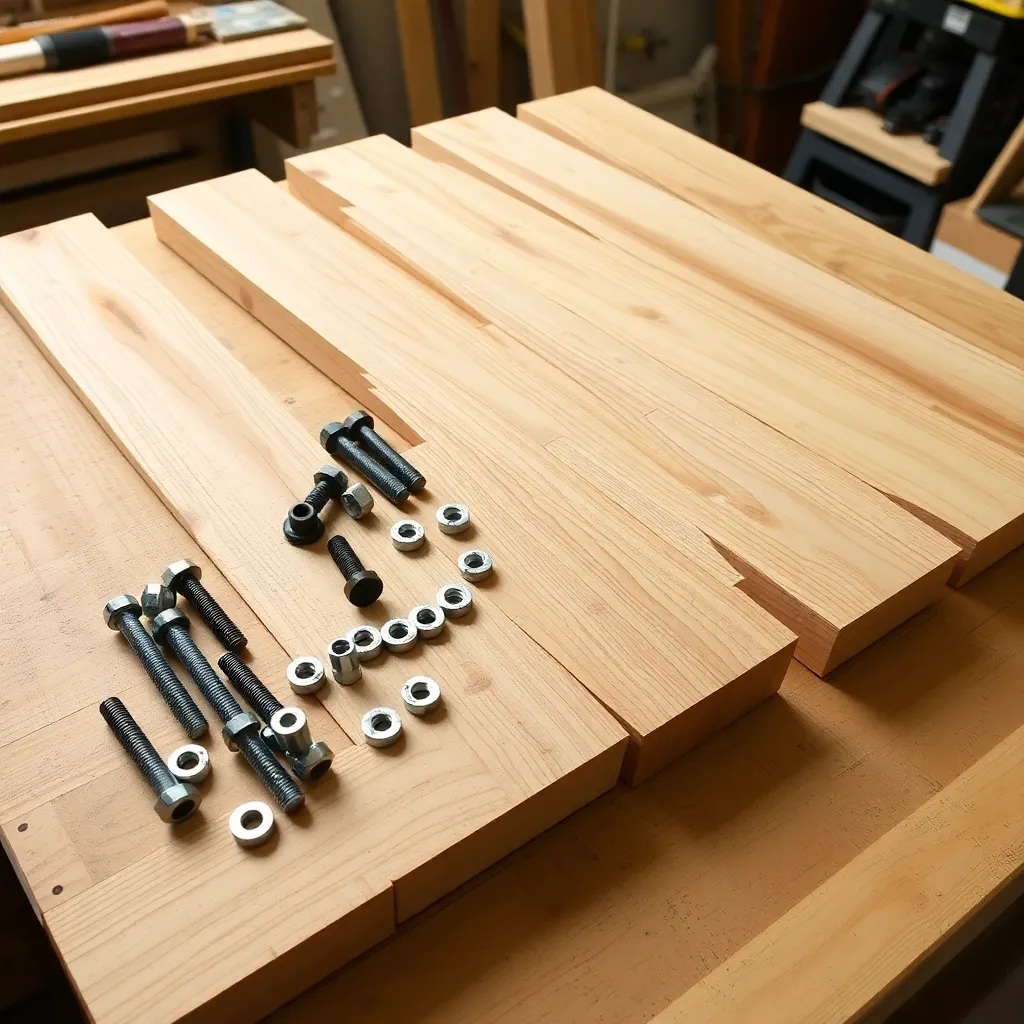
Hardware needed. Four ⅜” × 3″ stainless carriage bolts with washers and wing nuts (two per side — one for the back pivot, one for the front leg pivot). Wing nuts allow hand-tightening without tools.
Step 2: Materials and Cut List
| Part | Qty | Length | Board Size | Notes |
|---|---|---|---|---|
| Rear legs | 2 | 36″ | 1×6 cedar | Same profile as classic, no seat notch needed |
| Front legs | 2 | 21″ | 1×4 cedar | Pivot at top via carriage bolt |
| Armrests | 2 | 28″ | 1×6 cedar | Curved front, carriage bolt hole at front leg pivot |
| Seat boards | 5 | 21″ | 1×4 cedar | Loose, not fixed to rear legs |
| Seat frame rails | 2 | 22″ | 1×4 cedar | Side pieces that hold seat boards |
| Seat front stretcher | 1 | 21″ | 1×4 cedar | Front edge of seat frame |
| Back bottom rail | 1 | 21″ | 1×4 cedar | Base of fan assembly |
| Back center slat | 1 | 36″ | 1×4 cedar | Tallest center slat |
| Back inner slats | 4 | 34″ / 31″ | 1×4 cedar | Two pairs |
| Back outer slats | 2 | 27″ | 1×4 cedar | Outermost slats |
| Back top rail | 1 | 24″ | 1×4 cedar | Arc cut top edge |
| Carriage bolts | 4 | ⅜” × 3″ | — | Stainless, with washers and wing nuts |
| Exterior screws | 1 box | 1½” and 2½” | — | Stainless or coated |
Total estimated cost: $55–80 for cedar, $15–25 for hardware.
Step 3: Build the Rear Leg Assembly
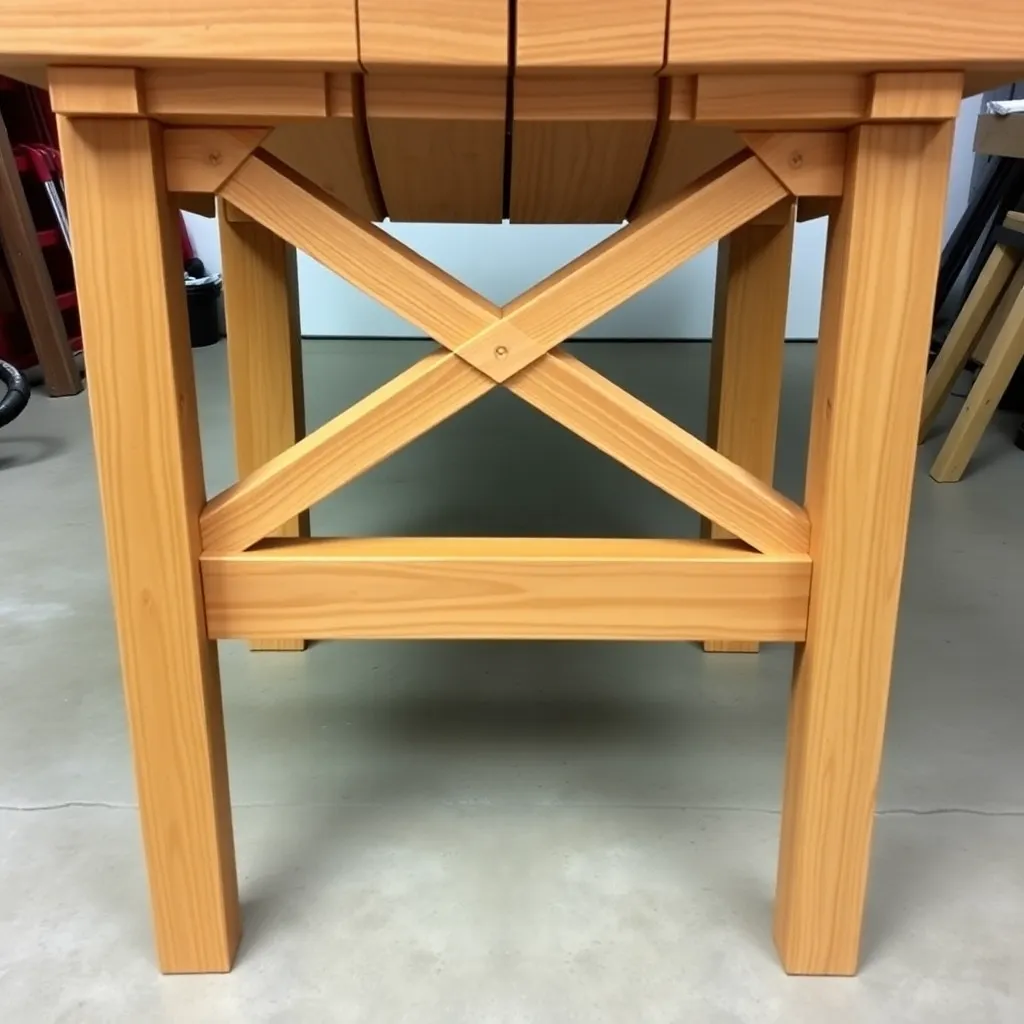
The rear legs in a folding chair are simpler than in a classic chair — there is no seat notch, because the seat frame floats between the legs rather than resting in a notch.
Cut the rear legs. Each rear leg is a 1×6 × 36″ board with a 15° angle cut at the bottom (so the leg base sits flat when the board leans back at 15°) and a 30° angle cut at the top (creating a flush surface for the back pivot). Mark the back pivot point on each rear leg top: ⅜” hole centered 1 inch from the top edge. Drill now, before assembly.
Connect the rear legs. Connect the two rear legs at the bottom with the stretcher (21″ 1×4) and at mid-height with a second stretcher, both using two 2½” screws per end. The rear leg assembly forms a stable U-frame on which everything else hangs. Space the legs 21 inches apart (outside to outside).
Step 4: Build the Seat Frame
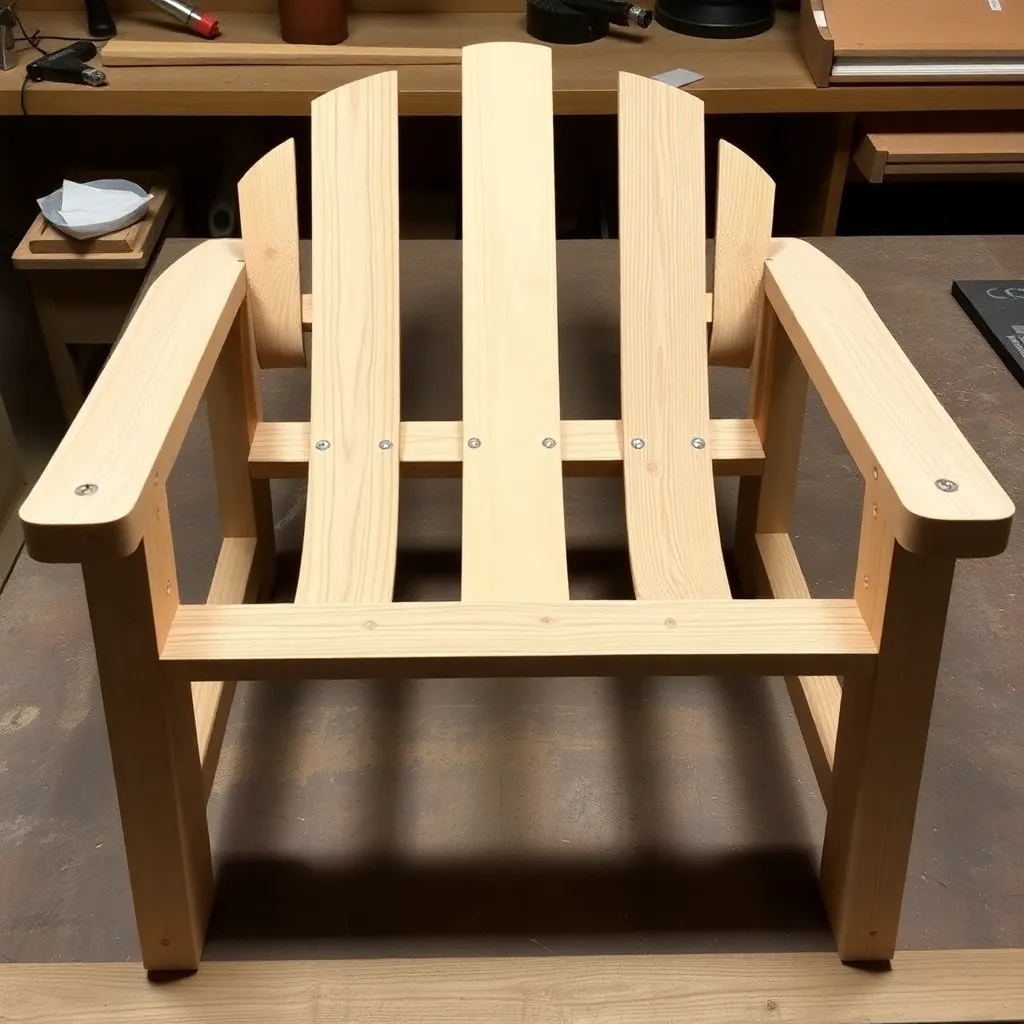
In a folding chair, the seat is a separate sub-assembly (a frame holding the seat boards) that connects to the rear legs via the back pivot bolt and to the front legs via the armrest pivot bolt. When folding, the seat frame drops as the front legs fold up.
Assemble the seat frame. Two 1×4 × 22″ side rails run along each side of the seat, holding the five seat boards. The front stretcher (21″ 1×4) spans across the front of the seat frame. Fasten the seat boards to the side rails with two 1½” screws per board end — evenly spaced, ¼” gaps. The assembled seat frame is a flat rectangle.
Drill pivot holes in the seat frame side rails. At the rear end of each side rail, drill a ⅜” hole 1 inch from the end — this aligns with the rear leg pivot holes. At the front of each side rail (near the front stretcher), drill a ⅜” hole 1 inch from the front edge — this aligns with the front leg pivot holes.
Step 5: Build and Attach the Fan Back
Build the fan back identically to the classic chair: seven slats fanning from a bottom rail, joined at the top by an arc-cut top rail. All screws are permanent (non-pivoting) within the back assembly itself.
Attach the back to the rear legs via carriage bolts. Thread a ⅜” × 3″ carriage bolt through the rear leg pivot hole (from outside in), through the seat frame rear pivot hole, and through the outer back slat hole — washer and wing nut on the inside. Repeat on the other side. Hand-tighten the wing nuts so the back can pivot but won’t flop loosely.
Test the back fold. With the wing nuts snug, tilt the back forward — it should pivot over the seat smoothly. If it catches, the pivot holes are misaligned; loosen the bolts and recheck alignment before tightening.
Step 6: Install Front Legs, Armrests, and Test Folding
Attach the armrests to the rear legs. The armrests rest on the rear leg tops (at the same point as a standard chair), but instead of being screwed permanently to a front leg, they’re only screwed permanently at the rear. Drive two 2½” screws through the armrest into the rear leg top.
Attach front legs via carriage bolts. Each front leg pivots at the armrest front. Drill a ⅜” hole through the armrest at the front leg position (same as standard chair) and through the top of the front leg. Thread a carriage bolt through the armrest from above, through the front leg top, washer and wing nut below. Hand-tighten.
Connect front legs to seat frame. Thread the second carriage bolt on each side through the seat frame front pivot hole and into the front leg at a point 6 inches below the armrest pivot. This creates a four-bar linkage: as the front leg folds up, the seat frame tips down and back simultaneously. Thread a washer and wing nut and snug-tighten.
Test fold and adjust. Pull the back forward and fold the front legs up — the chair should collapse smoothly into a flat package. If it binds, check that all four pivot points are aligned (the two on each side should be parallel lines). Adjust pivot hole positions slightly if needed.
For more Adirondack designs, visit our Adirondack chair plans hub.
Want 16,000+ step-by-step woodworking plans?
Ted’s Woodworking has plans for every skill level — from simple shelves to full bedroom sets. Each plan includes a cut list, material list, and detailed diagrams. Browse Ted’s plans →
Folding Adirondack Chair Plans FAQ
Is a folding Adirondack chair as sturdy as a standard one?
Yes, when properly assembled. The pivot bolts (carriage bolts with washers and wing nuts) carry the structural load at the fold points — if they’re properly sized (⅜” minimum) and fully tightened, the chair is as rigid as a fixed version when unfolded. The key is using carriage bolts rather than screws at pivot points — screws in a pivot application will loosen and strip over time, while a bolt through a drilled hole maintains structural integrity indefinitely.
How do you keep the folding chair locked open when in use?
Wing nuts tightened by hand lock each pivot point. When the chair is unfolded and in use, snug all four wing nuts by hand — they don’t need to be tight to the point of distortion, just firm enough that the pivot doesn’t slip. Some builders add a small locking pin or a secondary bolt that drops into a position hole when the chair is fully open, but the wing nut approach is simpler and works well.
How thin does a folding Adirondack chair get when folded?
With 1×4 and 1×6 cedar (¾” actual thickness), a folded chair is approximately 2½–3 inches thick (three or four board thicknesses stacked). It’s stackable — two or three folded chairs can stand upright in a narrow storage space, leaned against a wall. The folded dimensions are approximately 36 inches tall × 22 inches wide × 3 inches deep.
Does the folding mechanism add significantly to build time?
Yes — expect 1–2 extra hours compared to a fixed classic Adirondack. The extra time goes into drilling the four pivot bolt holes with precise alignment, and into the test-fold-and-adjust cycle to ensure smooth folding. Getting pivot holes aligned on the first try saves this time significantly: mark both sides simultaneously using a square and transfer punch rather than measuring each side independently.
Can I convert a standard Adirondack chair to a folding version?
Partially. If you have an existing fixed Adirondack, you can convert it to a folding version by removing the fixed back and front leg connections and replacing them with pivot bolts — but this requires drilling new holes through the existing wood and the alignment is harder to achieve than when building from scratch. It’s generally more practical to build a folding chair from the start than to convert an existing fixed chair.

“DIY woodworking enthusiast who started with zero experience and a YouTube tutorial.
I build simple, practical projects for my home and share free plans
so other beginners can skip the guesswork.If I can build it, you can too.”