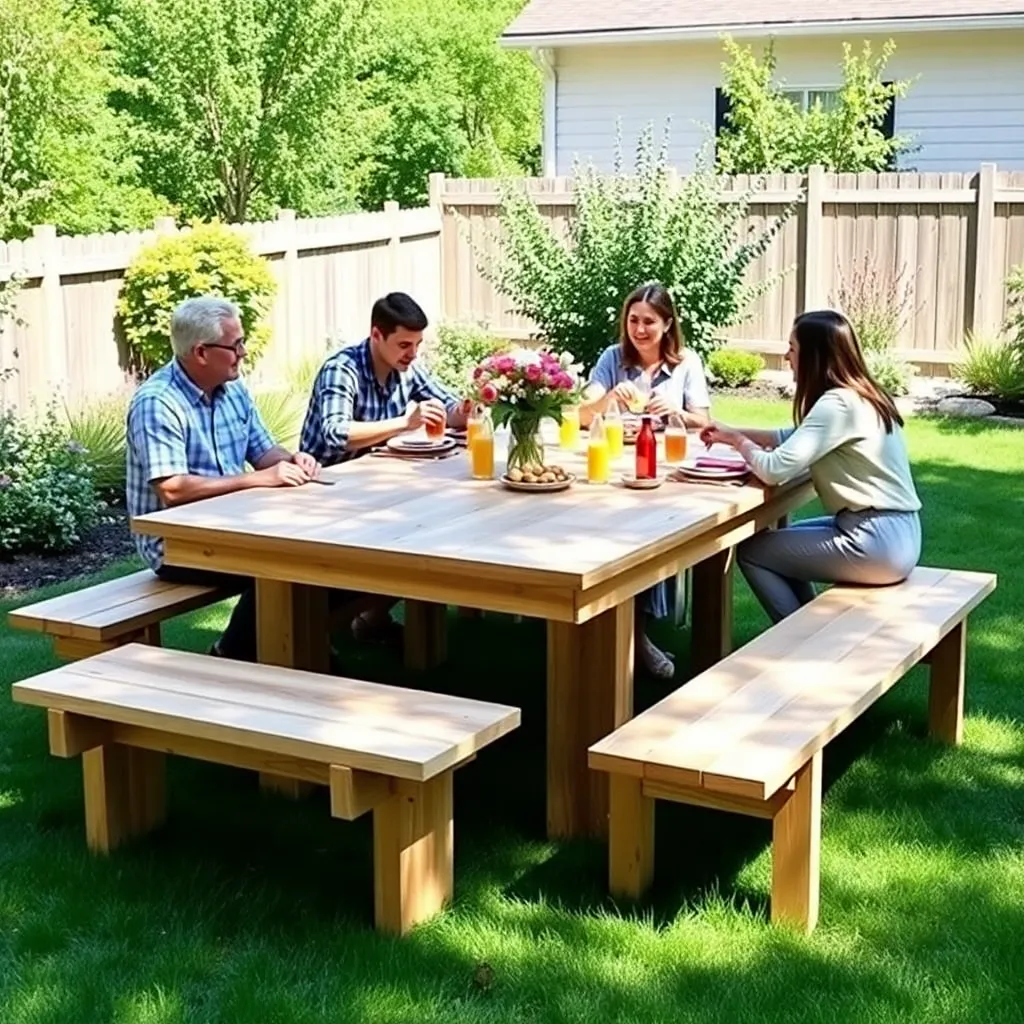
The classic picnic table is the most-built outdoor woodworking project for a reason: it’s forgiving, fast, and functional. No complicated joinery, no specialty hardware, and the angled leg design has been proven over decades to stay stable on uneven ground. Built from pressure-treated 2×6 lumber, this table seats six adults comfortably and will outlast any comparable table from a big-box store.
These classic picnic table plans build a 6-foot rectangular table with attached bench seating, 30-inch table height, and 17-inch bench height. All cuts are either 90 degrees or 30 degrees — the one angle that shows up throughout the build. If you’ve never used a circular saw, this is a good first project. If you have, you’ll be done before lunch.
Want 16,000+ step-by-step woodworking plans?
Ted’s Woodworking has plans for every skill level — from simple shelves to full bedroom sets. Each plan includes a cut list, material list, and detailed diagrams. Browse Ted’s plans →
Step 1: Gather Materials and Cut Your Lumber
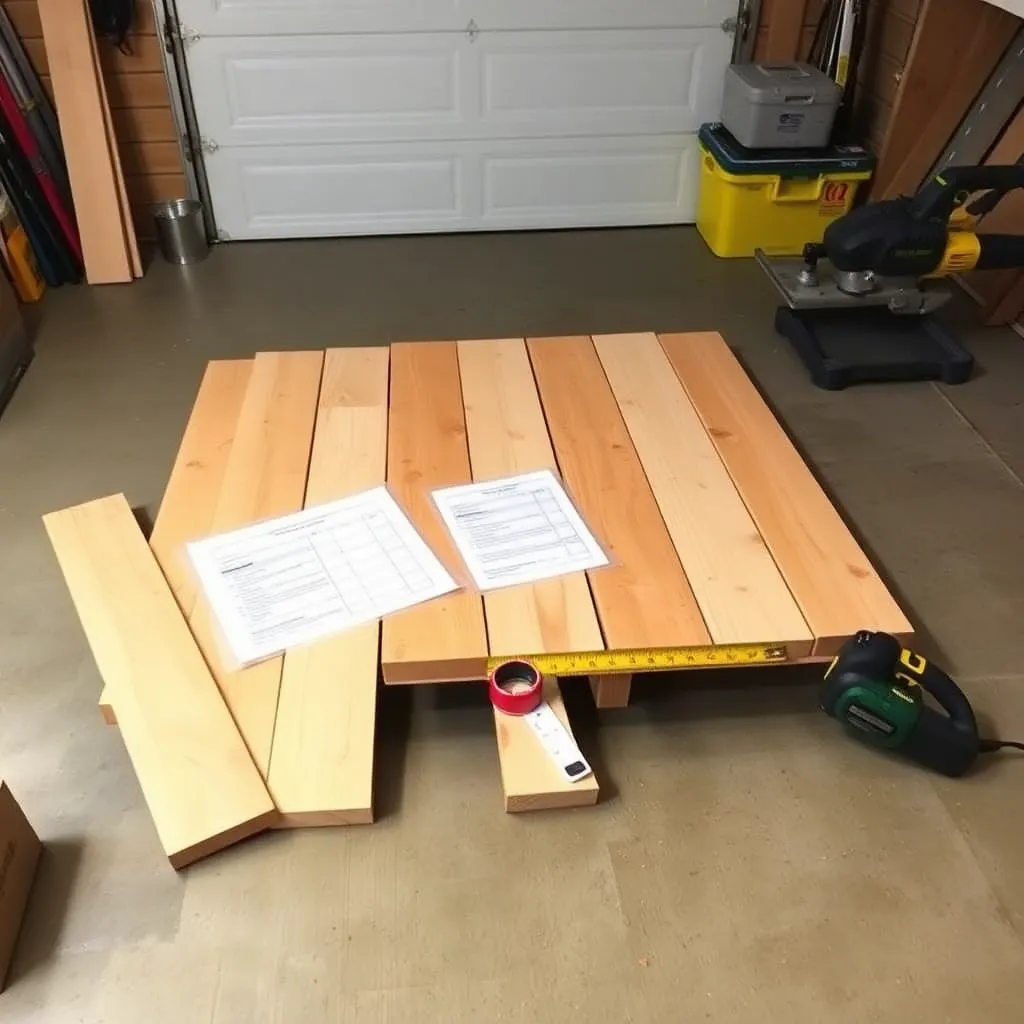
Pressure-treated pine rated for ground contact (UC4A or UC4B) is the standard choice for a picnic table that will live outside year-round. It’s available at every home center, costs less than cedar, and resists rot and insects without any additional treatment. If you prefer cedar — lighter, easier to work with, no chemical concerns — the same dimensions apply; just expect to pay roughly 40% more for materials.
Cut list:
| Part | Qty | Length | Board Size | Notes |
|---|---|---|---|---|
| Tabletop boards | 5 | 72″ | 2×6 | End cuts: 90° |
| Bench boards | 4 | 72″ | 2×6 | Two per bench |
| Leg boards | 4 | 38″ | 2×6 | Both ends: 30° parallel cuts |
| Top frame braces | 2 | 28″ | 2×4 | 90° cuts |
| Leg spreader | 1 | 72″ | 2×4 | 90° cuts |
| Bench braces | 2 | 10″ | 2×4 | 90° cuts |
Total estimated cost: $85–130 (pressure-treated pine); $130–175 (cedar).
Tools needed: Circular saw, drill/driver, tape measure, speed square, clamps, pencil.
Mark all your cuts before picking up the saw — lay every board out and mark the cut lines with a speed square. For the leg boards, both ends get cut at 30 degrees in the same direction (parallel cuts, not opposing), which creates the angled leg when the board is stood upright. Cut a scrap piece first to verify your saw is set to exactly 30 degrees before cutting all four legs.
Step 2: Build the Two Leg Assemblies
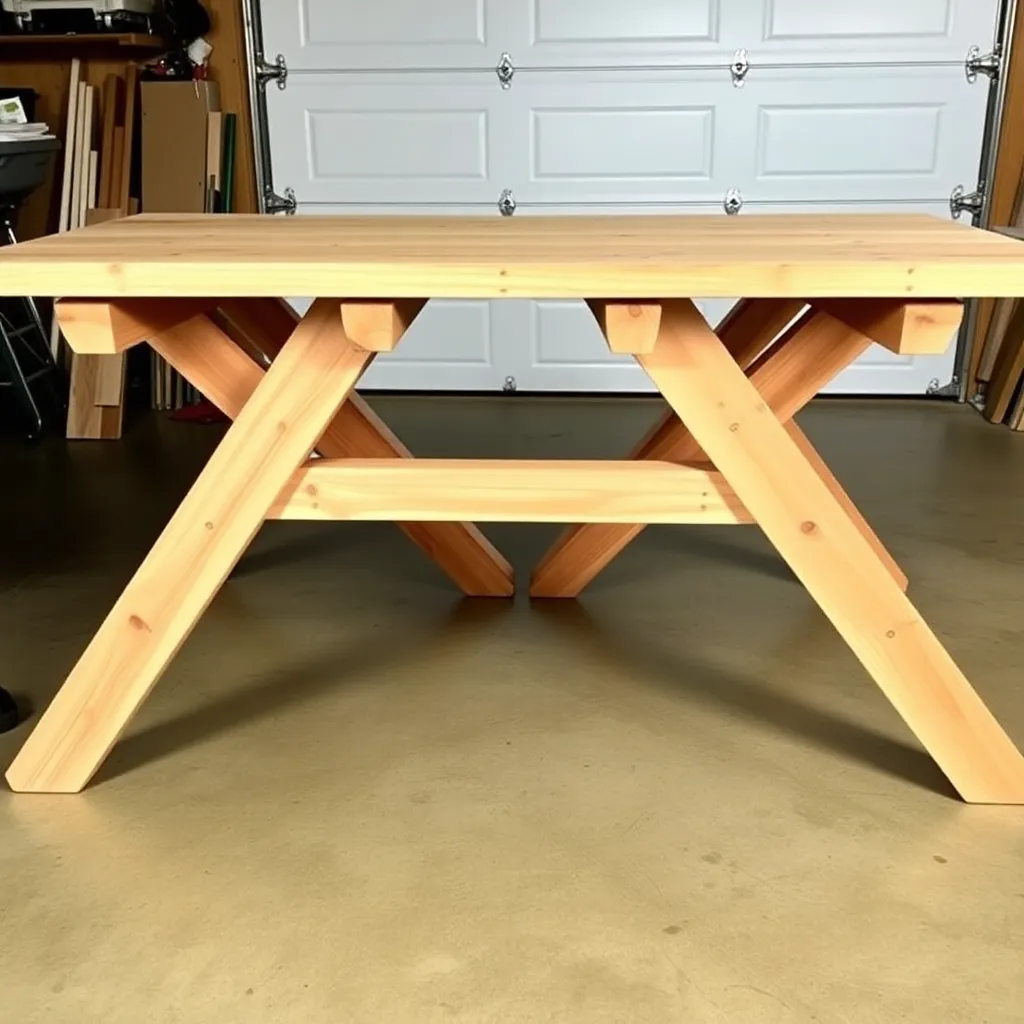
The leg assembly is an A-frame made from two leg boards crossing at the top, held together at the crossing point and braced by a 2×4 at bench height. Building both leg assemblies before touching the tabletop keeps the build logical and fast.
Lay out the X pattern. Take two leg boards and cross them in an X shape, with the crossing point approximately 28 inches from the ground (the top of the X is where the tabletop frame will sit). The inside angle of the X should be about 60 degrees — the 30-degree cuts on the leg ends create this automatically when the legs are positioned correctly. Check that both legs extend equally past the crossing point at the top.
Mark and drill the bolt hole. At the crossing point, drill a ¾” hole through both legs simultaneously — clamping them together first to prevent shifting. Insert a ⅜” × 3½” carriage bolt through both legs, add a washer and nut on the back side, and tighten firmly. This carriage bolt is the pivot point of the entire leg assembly; don’t substitute screws here.
Attach the bench brace. The 10-inch 2×4 bench brace connects the two legs horizontally at 17 inches from the ground (the bench seat height). Clamp it to the inside faces of both legs, flush with the front and back faces of the leg boards. Drive two 3″ exterior screws through the brace into each leg — four screws total per brace. Check that the bench brace is level before tightening; this determines whether your bench sits flat.
Build the second leg assembly as a mirror image of the first — same crossing point height, same bench brace position. Set both assemblies upright side by side and compare: they should match exactly in height and spread.
Step 3: Build and Attach the Tabletop Frame
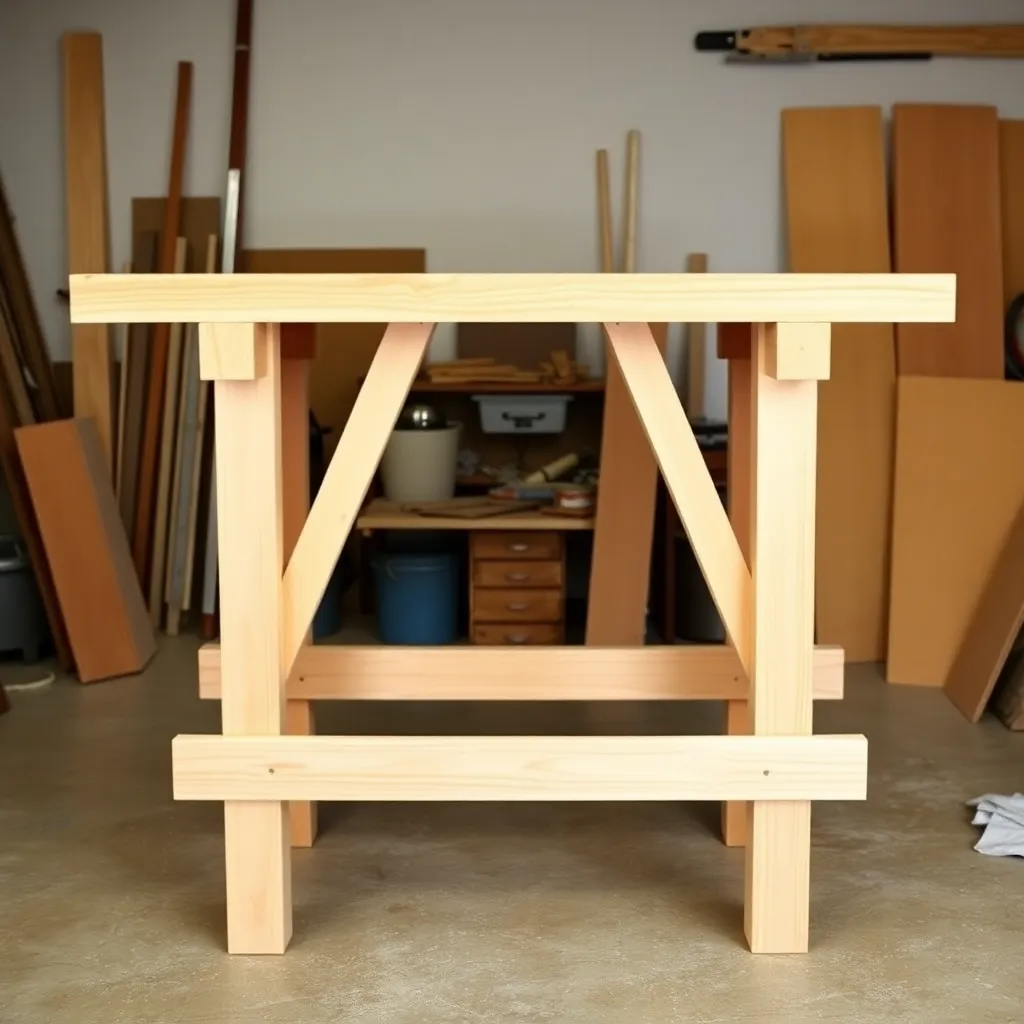
The tabletop frame — two 2×4 braces that run perpendicular to the tabletop boards — connects the two leg assemblies and provides the base to which the tabletop boards are fastened.
Position the leg assemblies. Stand both leg assemblies upright, 54 inches apart (outside face to outside face). This spacing positions the legs under the tabletop so the overhang is roughly 9 inches on each end.
Attach the top frame braces. Lay a 28-inch 2×4 brace across the top of both leg assemblies, resting in the V-notch formed by the crossing legs. The brace sits flat on top of the legs, perpendicular to the leg boards. Drive two 3″ screws down through the brace into each leg top — four screws per brace. These connections hold the two leg assemblies in their correct parallel position while you add the tabletop boards.
Add the leg spreader. The 72-inch 2×4 spreader runs along the bottom of the leg assemblies, connecting both legs near ground level. Center it lengthwise (36 inches from each end) and fasten it to the inside face of each leg with two 3″ screws per leg. The spreader prevents the legs from spreading outward under load and is what makes the table feel solid rather than wobbly.
Step 4: Install the Tabletop Boards
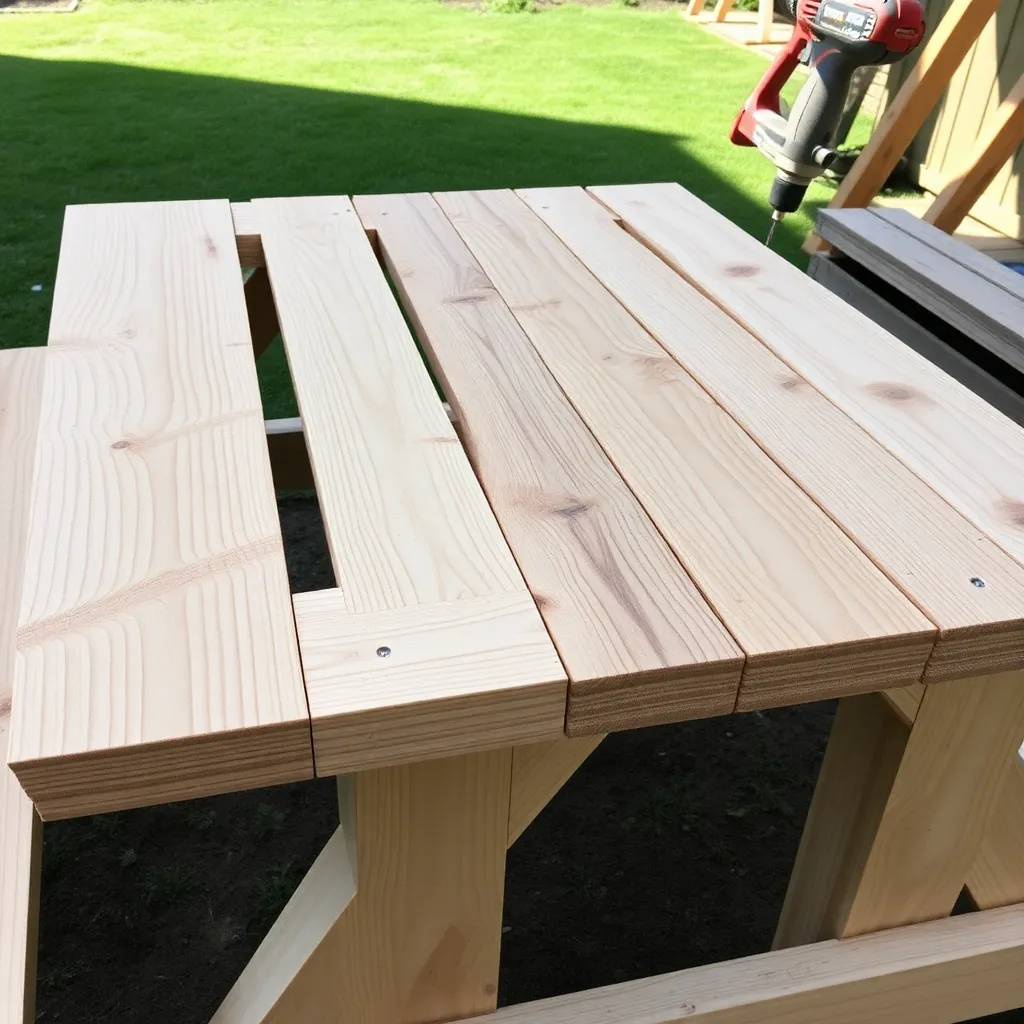
Five 2×6 boards, 72 inches long, laid side by side across the two top frame braces make up the tabletop surface. The spacing between boards allows water to drain and wood to expand in wet weather without the boards buckling against each other.
Set the first board. Place a 2×6 board across the two frame braces, centered side to side (36 inches from each end of the board to the leg assembly). The board should overhang the outer frame brace by about 1½ inches on each side — this overhang is intentional and gives the tabletop its clean finished edge.
Space the boards. Use a 16d nail (or a ½” spacer strip) between each pair of boards to maintain consistent gaps. The gaps allow water to run off rather than pool on the surface, and give the wood room to expand in humid weather without warping the tabletop surface.
Fasten each board. Drive two 2½” exterior screws down through each board into each frame brace — two screws per board per brace, for ten total fastening points across the five boards. Pre-drill pilot holes to prevent splitting, especially near board ends. Drive screws at a slight angle (toe-screw) into the brace below for maximum holding strength.
Step 5: Install the Bench Boards
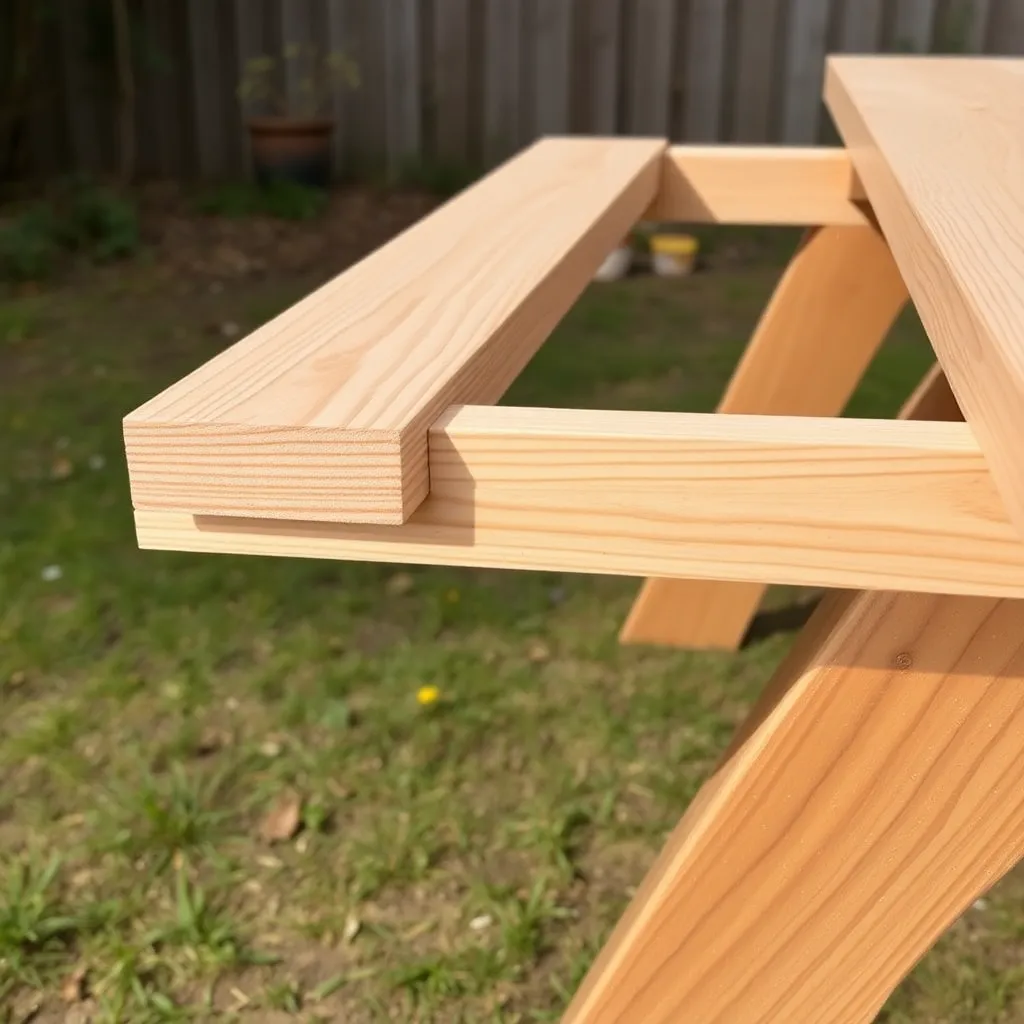
Two 2×6 boards per side, fastened to the bench braces on each leg assembly, form the two benches. The bench boards are installed the same way as the tabletop boards: centered lengthwise, spaced with a ½-inch gap, fastened with two screws per board per brace.
Position the bench boards. Lay two 2×6 boards across the bench braces on one side of the table. The outer edge of the outer bench board should align with the outer face of the leg assembly — this creates a bench that’s flush with the leg rather than overhanging awkwardly. The inner board sits inward with a ½-inch gap.
Check bench-to-table clearance. Before fastening, sit on the bench boards (or measure) to confirm the distance from bench surface to tabletop underside. You need at least 10 inches of clearance for knees; 11–12 inches is comfortable for most adults. If your clearance is short, lower the bench brace position when building the second leg assembly.
Fasten both bench boards on each side with 2½” exterior screws, two per board per brace. Repeat for the second bench on the opposite side.
Step 6: Sand, Finish, and Set in Place
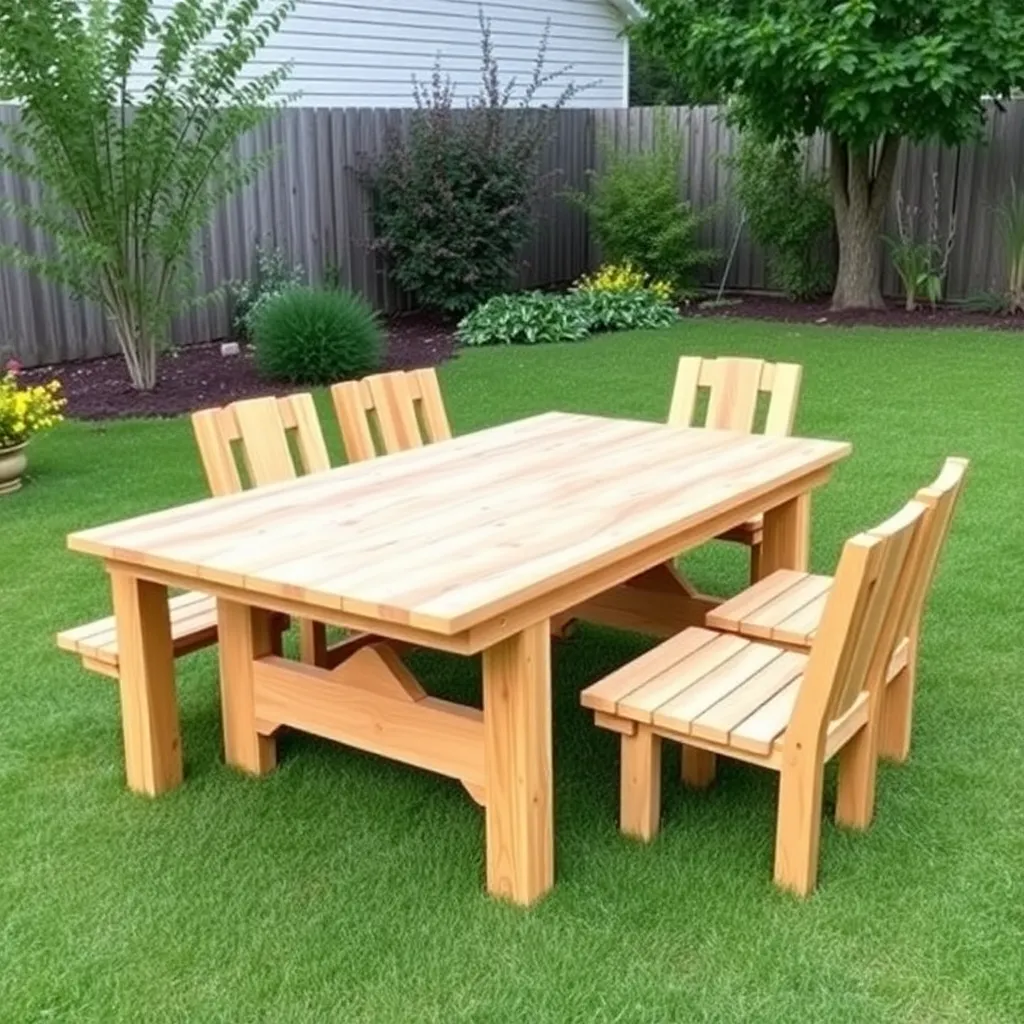
Sand the top surfaces. A random-orbit sander with 80-grit followed by 120-grit removes splinters and mill marks from the tabletop and bench surfaces. Focus on the top faces and any edges where hands and arms will rest. End grain cuts benefit from a pass with 60-grit first to knock down the rough fibers before finishing with 120.
Finish options:
- Pressure-treated pine — let it dry first. New pressure-treated lumber is wet from the treatment process and won’t accept finish evenly for 2–3 months. Let the table sit through one rain/dry cycle, then apply a penetrating water repellent or semi-transparent exterior stain. Reapply annually for best protection.
- Cedar — stain immediately. Cedar accepts finish well when fresh. Apply a UV-blocking semi-transparent oil stain (Cabot Australian Timber Oil, TWP 100, or similar) to all surfaces including the end grain cuts. One coat is enough; the oil soaks in rather than forming a film.
- Leave it unfinished. Both pressure-treated pine and cedar weather to a silver-grey naturally. Structurally fine; appearance is a personal choice.
Level the table. Set the finished table on its final location and check for wobble. On uneven ground, place composite shims or treated wood blocks under the short leg. For a permanent outdoor installation, you can anchor the leg spreader to concrete anchors or deck screws driven into a deck surface.
For more outdoor furniture ideas and designs, visit our picnic table plans hub.
Want 16,000+ step-by-step woodworking plans?
Ted’s Woodworking has plans for every skill level — from simple shelves to full bedroom sets. Each plan includes a cut list, material list, and detailed diagrams. Browse Ted’s plans →
Classic Picnic Table Plans FAQ
What size lumber is used for a standard picnic table?
The standard classic picnic table uses 2×6 boards for the tabletop and bench seats (the wide, flat surfaces that take the most wear) and 2×4 boards for the structural frame — the top braces, leg spreader, and bench support braces. Legs are typically cut from 2×6 as well for rigidity. Some builders use all 2×6 throughout for a heavier, more solid feel; all-2×4 construction is lighter but noticeably less rigid under load.
What angle are the legs on a picnic table?
The legs are cut at 30 degrees — both ends of each leg board get a 30-degree cut in the same direction (parallel, not opposing), which creates the angled profile when the leg is stood upright. The resulting leg assembly leans at approximately 30 degrees from vertical. This angle balances stability (wide base) with under-table clearance for seated adults. Some plans use 25 or 35 degrees; 30 is the most common and the easiest to cut precisely.
How much weight can a DIY picnic table hold?
A well-built 2×6 pressure-treated picnic table handles 800–1,200 pounds distributed load comfortably — more than enough for any realistic use. The limiting factor is usually the bench boards under point load (one heavy person sitting at the center of a long bench span), not the frame. If you have concerns about bench load, add a third bench brace at the center of the span, which reduces the unsupported span from 54 inches to 27 inches per section.
How do I keep a picnic table from rotting?
Three practices extend picnic table life significantly: (1) use pressure-treated or cedar heartwood lumber, not untreated pine; (2) keep the area under and around the table clear of leaf litter and debris that traps moisture; (3) apply a penetrating water repellent or exterior stain to all surfaces including end grain cuts, and reapply every 1–2 years. End grain (the cut ends of boards) absorbs water far faster than face grain — sealing it is the single most effective rot-prevention step.
Can I build a picnic table by myself?
Yes — the classic rectangular design is one of the most solo-friendly outdoor projects. The heaviest single piece is the completed leg assembly, which weighs about 25–30 pounds and can be stood upright alone. The tabletop boards are fastened one at a time. The only step that’s significantly easier with a helper is holding the leg assemblies at the correct spacing while you fasten the top frame braces. A simple jig (a scrap board cut to the 54-inch spacing) eliminates the need for a helper even at that step.
How long will a pressure-treated picnic table last?
A pressure-treated pine picnic table built with UC4A or UC4B rated lumber and maintained with periodic water repellent application lasts 15–25 years in most climates. The table surface boards typically show wear and weathering before the structural frame — individual boards can be replaced without rebuilding the table. Cedar tables last a similar length of time but with better appearance throughout — cedar ages more gracefully than pressure-treated pine.

“DIY woodworking enthusiast who started with zero experience and a YouTube tutorial.
I build simple, practical projects for my home and share free plans
so other beginners can skip the guesswork.If I can build it, you can too.”