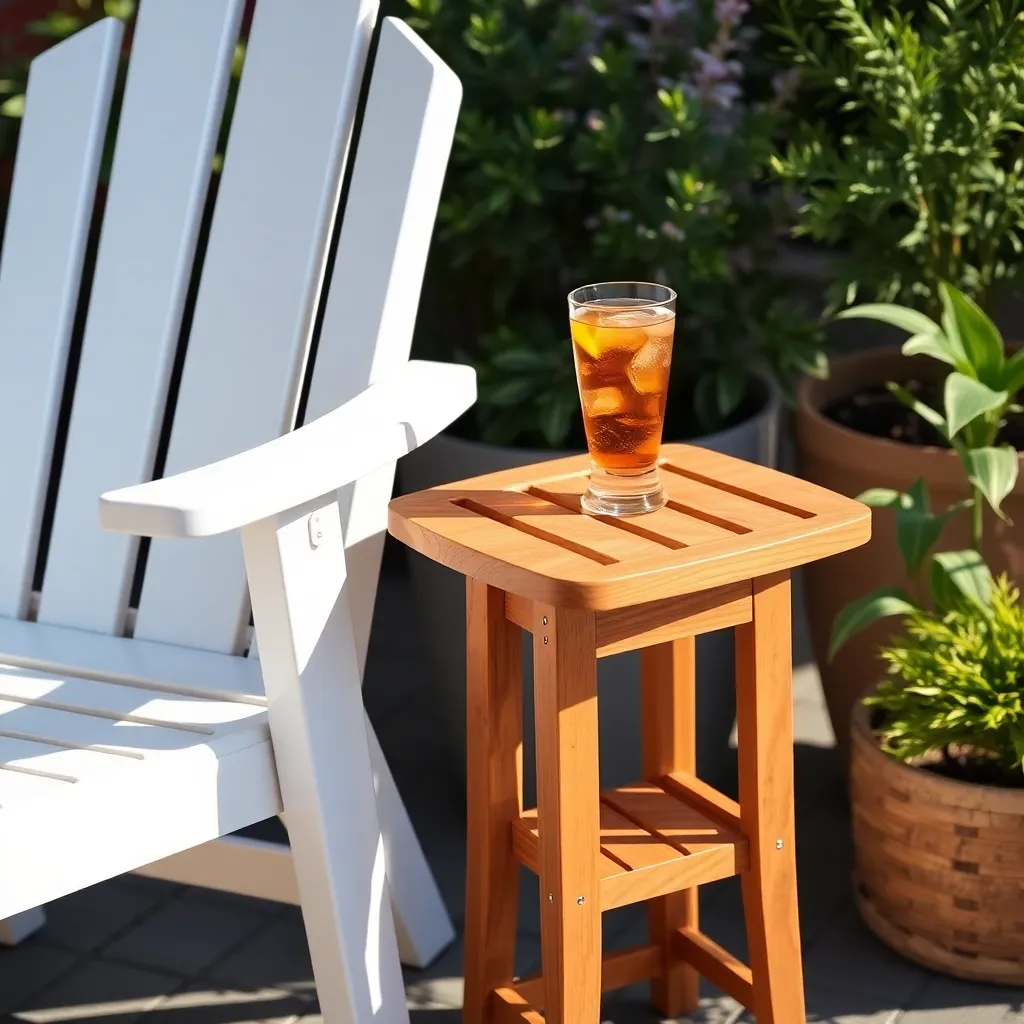
An outdoor end table is a half-day project — maybe three hours of cutting and assembly. But a well-built one transforms every other piece of furniture on the patio. No more balancing a drink on an armrest, no more bending down to a cooler lid. These patio end table plans cover three variations: a classic slatted cedar side table sized to work beside any outdoor chair, a folding version that stores flat in winter, and a small concrete-top table that can’t blow over in wind. All three are under $50 in materials.
Step 1: Choose a Style and Set Your Dimensions
Want 16,000+ step-by-step woodworking plans?
Ted’s Woodworking has plans for every skill level — from simple shelves to full bedroom sets. Each plan includes a cut list, material list, and detailed diagrams. Browse Ted’s plans →
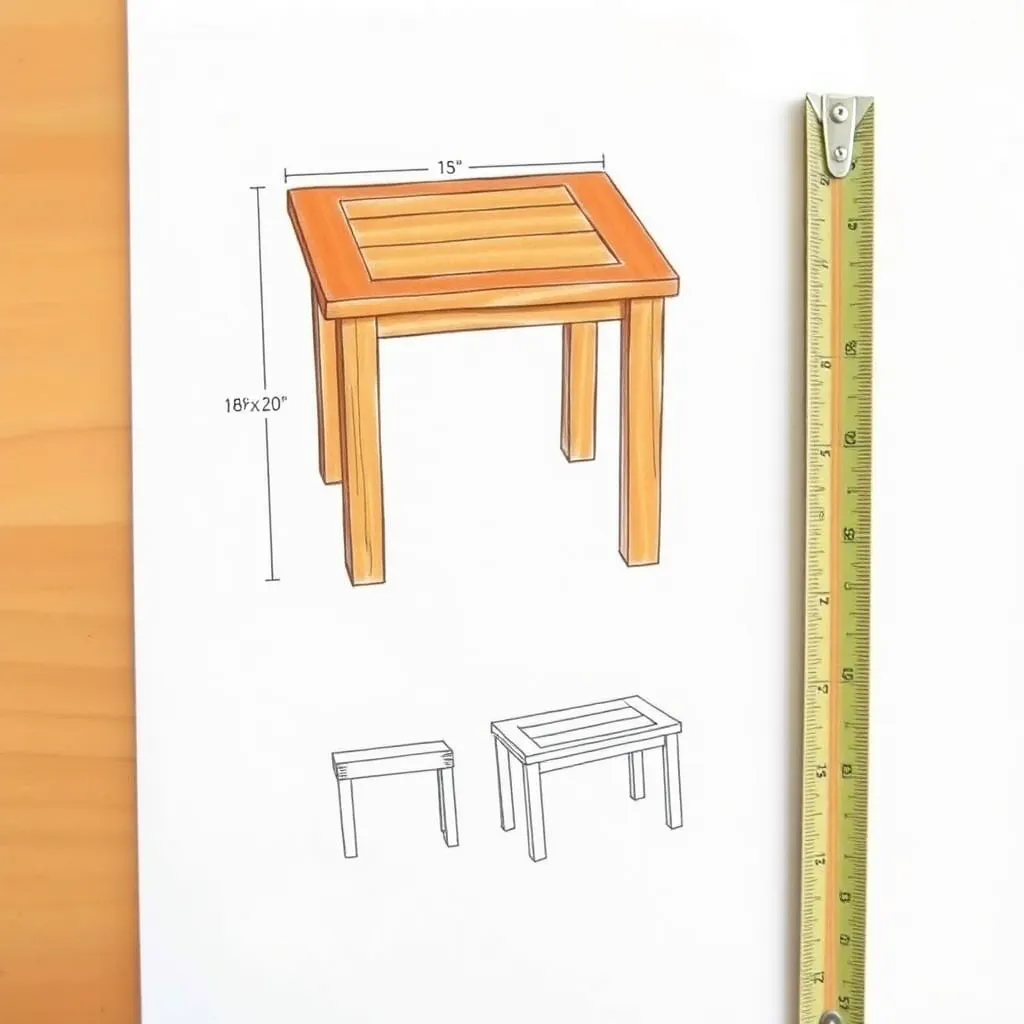
Standard outdoor end table dimensions: 18–22 inches tall, 16–20 inches square (or round). The right height depends on the arm height of your outdoor chairs — measure from the ground to the top of the armrest and build the table 1–2 inches below that.
Three styles covered here:
- Slatted cedar side table: 18×18×20 inches. Four legs, two side rails, slatted top. Simple and fast.
- Folding X-frame table: 18×18×20 inches when open, folds flat to 2×18×20 inches. Uses piano hinges and a folding X brace.
- Concrete top with cedar legs: 16×16×18 inches. Cast concrete top (12 lbs) on a cedar leg frame. Very heavy; won’t tip in wind.
Cut list for the slatted cedar side table:
- 4 × legs: 2×2 at 17 inches
- 2 × long side rails: 1×4 at 16 inches
- 2 × short side rails: 1×4 at 13 inches (accounts for leg width on two sides)
- 4 × top slats: 1×4 at 18 inches
- Hardware: 1½-inch exterior screws, 2½-inch exterior screws
Step 2: Cut and Square the Leg Frame
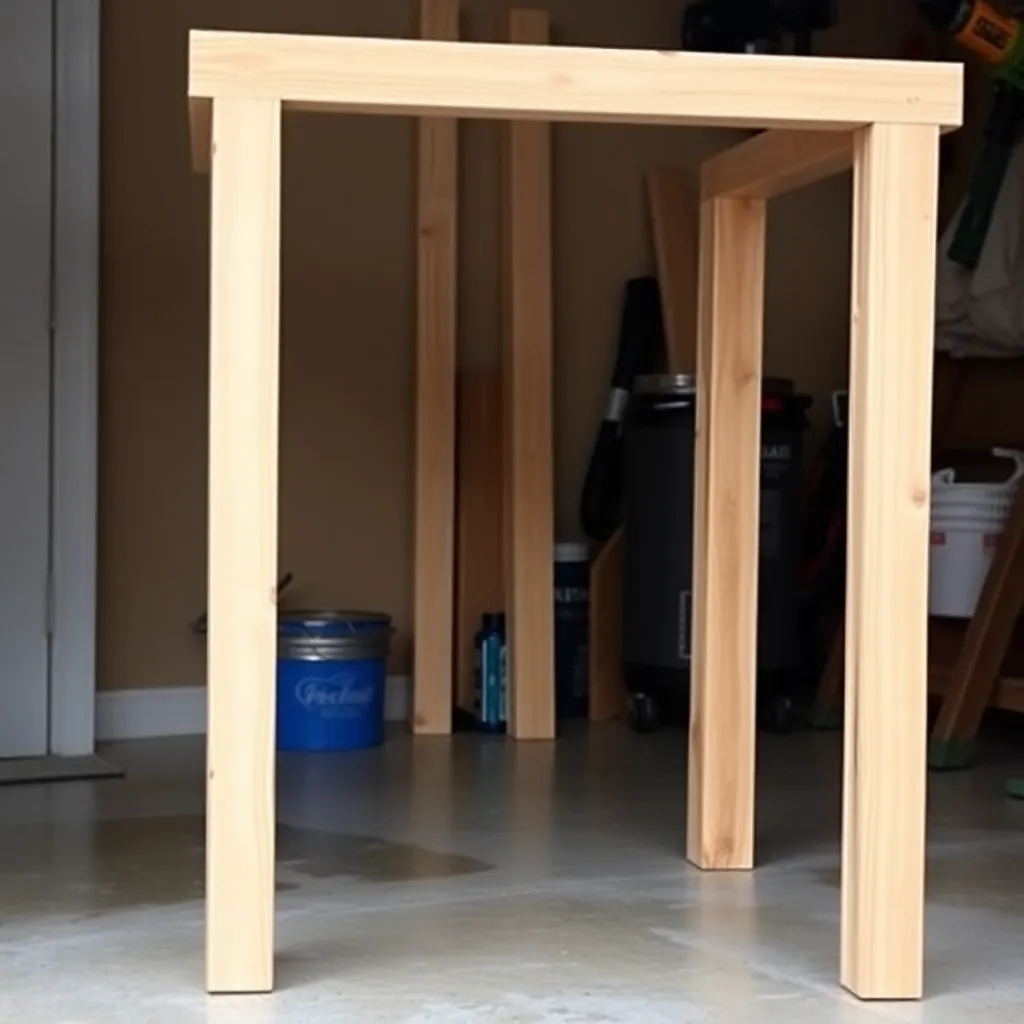
Cut all four legs to equal length (17 inches for a 20-inch-tall table with a 1×4 rail below the top and 1½-inch slats adding the final height). The final table height is leg length + rail width + slat thickness.
Fasten side rails to legs with 2½-inch exterior screws. Assemble one pair of legs with two side rails (making an H shape viewed from the end) first, then connect the two H assemblies with the remaining two side rails. Use a square at every corner. Check that the assembled frame sits flat without rocking before the glue sets.
A pocket hole jig makes clean, tight corners without visible fasteners: drill pocket holes in the ends of the side rails and drive 2½-inch pocket screws into the leg faces. This joint is both strong and invisible from the outside.
Step 3: Attach the Top Slats
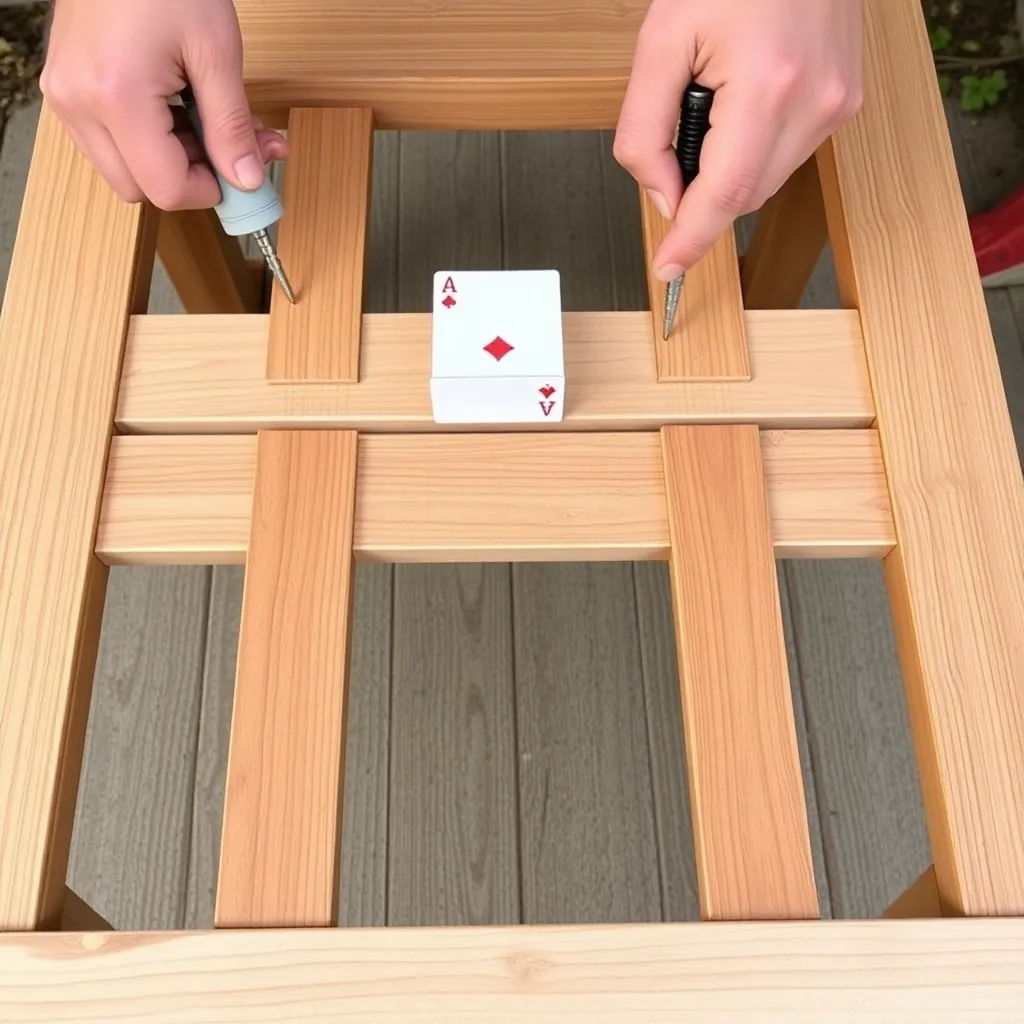
Lay four 1×4 top slats across the rail frame. Space them evenly — for four slats on an 18-inch-wide frame, the gaps will be approximately ¼ inch. Use a pencil or playing card as a spacer for consistent gaps.
Fasten each slat to both side rails with 1½-inch exterior screws. Pre-drill pilot holes to prevent splitting, especially at the ends of slats near the edges of the table. Drive two screws per slat per rail (eight screws total for the top).
Trim the slat ends flush with a circular saw if they overhang the frame unevenly. Lightly sand the cut ends with 120-grit paper.
Step 4: Build the Folding Version (Optional Variation)
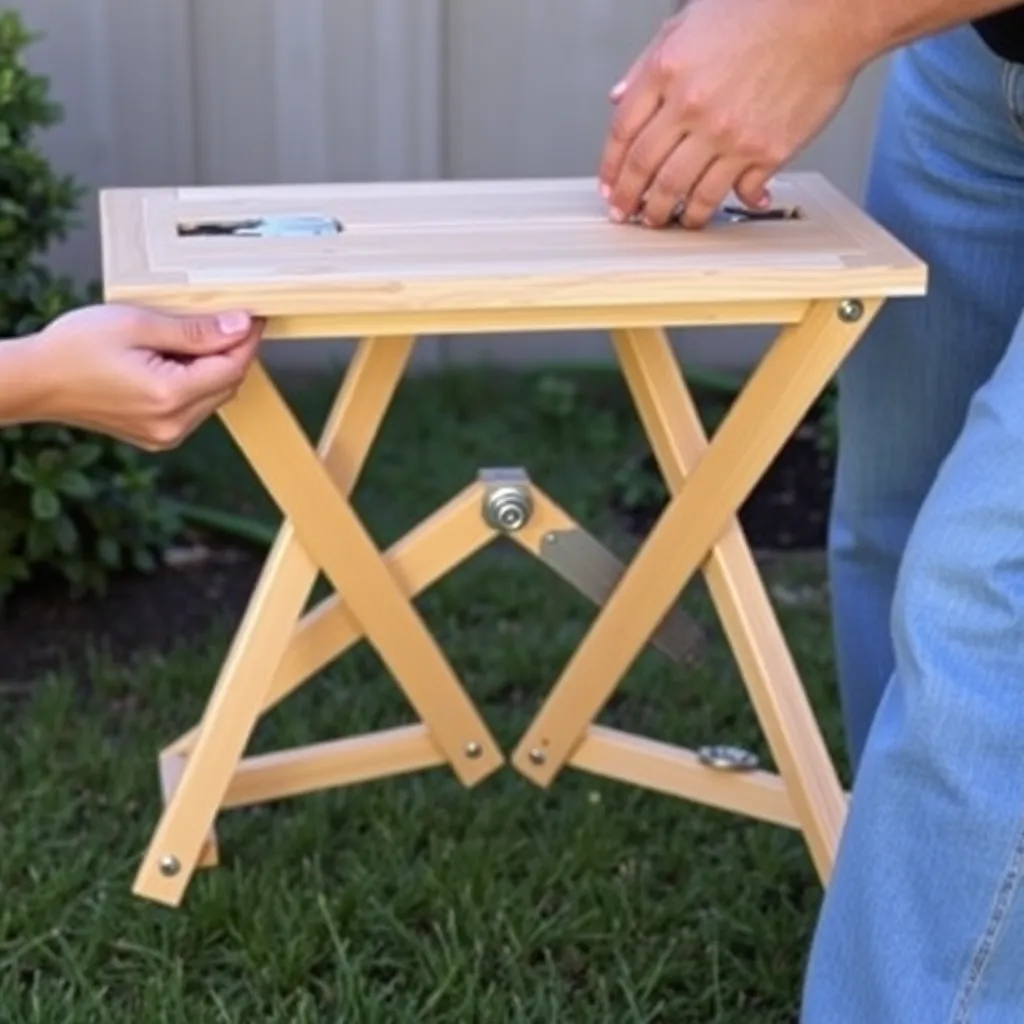
For a folding end table, replace the fixed side rail frame with an X-brace on each side. Each X-brace is made of two 1×2 stretchers crossing at center, connected with a carriage bolt through both stretchers (the pivot point of the X). When you push the two top rails together, the X collapses and the table folds flat.
Use piano hinges along the top rails to connect the slat panels to each half of the X-brace frame. Add a hook-and-eye latch to lock the table open. When closed, a second hook-and-eye holds the folded table flat.
Step 5: Build the Concrete Top Version (Optional Variation)
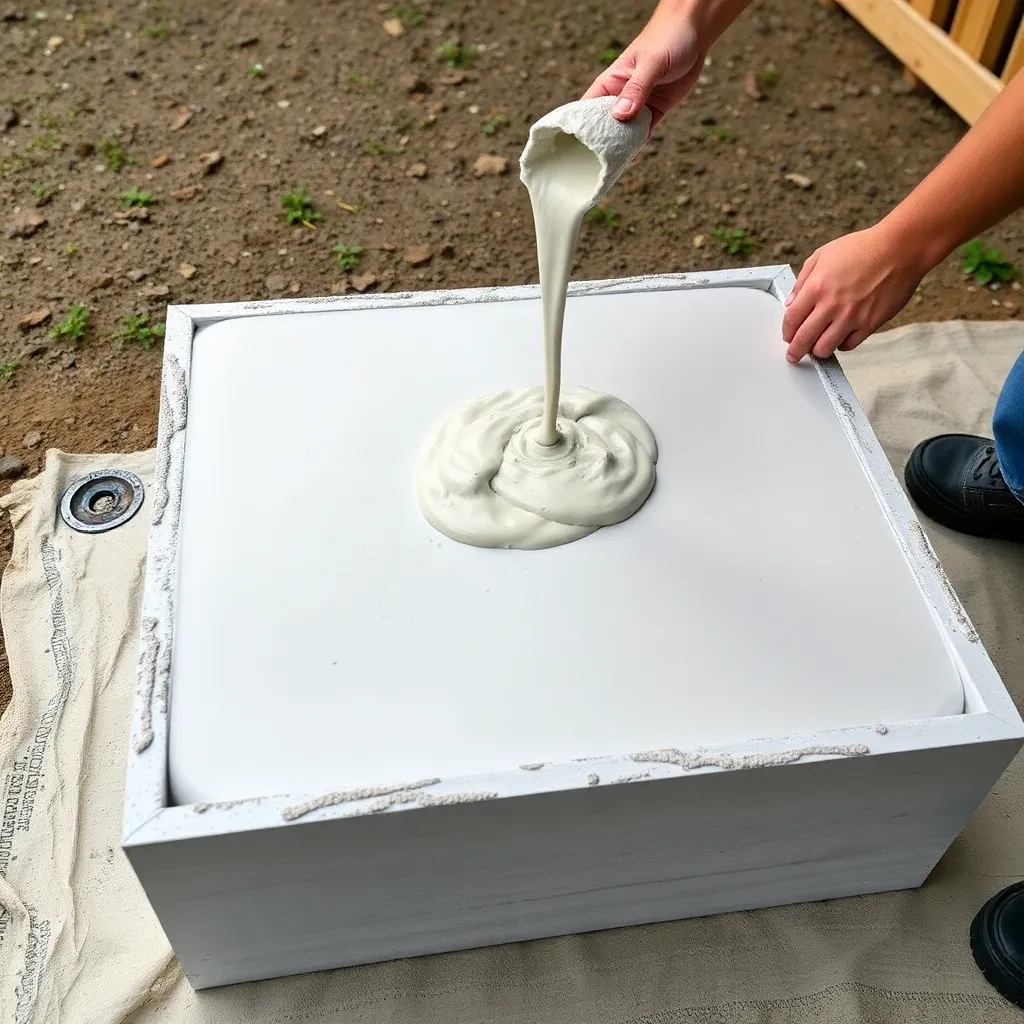
Cast the concrete top in a 16×16×1½-inch melamine-lined form (melamine releases cleanly from concrete). Mix one bag of fast-setting concrete with just enough water to reach a thick peanut butter consistency — too much water weakens the concrete and causes cracking.
Pour into the mold, vibrate (tap the sides with a mallet to release bubbles), and screed flat. Let cure 24 hours before demolding, one week before placing on legs. Sand the surface with 80-grit wet/dry sandpaper to smooth any surface texture.
The cedar leg frame for the concrete top version uses 2×3 or 2×4 lumber (heavier gauge than the slatted top version) because the top is heavy. Fasten the concrete top to the frame with four construction adhesive blobs — no screws through the concrete.
Step 6: Finish and Protect
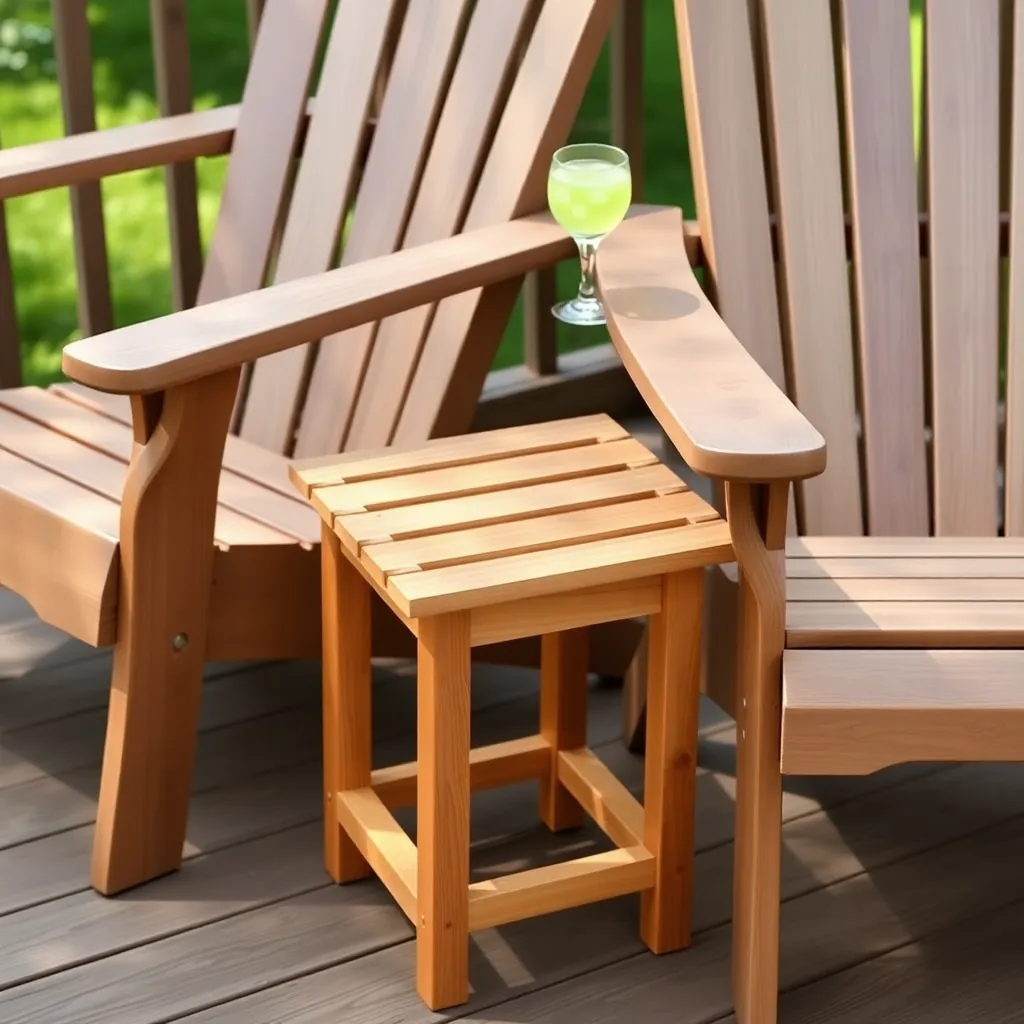
For the cedar slatted table: sand all surfaces with 120-grit, apply one coat of exterior primer, two topcoats of exterior paint or solid stain. Pay particular attention to the bottoms of the legs where they contact the deck or ground.
For the concrete top: seal with a penetrating concrete sealer (one or two coats). Cedar legs get the same paint treatment as above.
Elevate table legs off the deck surface with small rubber furniture pads — this prevents water pooling around the leg bottoms and extends the life of the finish significantly.
Want 16,000+ step-by-step woodworking plans?
Ted’s Woodworking has plans for every skill level — from simple shelves to full bedroom sets. Each plan includes a cut list, material list, and detailed diagrams. Browse Ted’s plans →
Patio End Table Plans FAQ
How tall should an outdoor end table be?
18–22 inches is the standard range. The ideal height is 1–2 inches below your chair’s armrest height. For Adirondack chairs (very low armrests, typically 22 inches), a 20-inch table works. For standard patio chairs (27–29-inch armrest height), a 24–26-inch table is more useful.
What is the best material for an outdoor side table?
Cedar for a painted or stained finish — lightweight, rot-resistant, and easy to work. Teak for a natural unfinished look — no maintenance, very durable. Concrete for maximum wind resistance and visual weight in a minimalist setting. Pressure-treated pine for the most economical option.
How do I keep patio furniture from blowing over?
Add weight at the base: use thicker stock (4×4 legs instead of 2×2) and a heavier top material (thicker slats, or concrete). Place furniture on a sheltered patio rather than an exposed deck. In areas with high winds, add eye bolts to the legs and stake the furniture to the deck with cable ties during storms.
Can I build a patio end table with just a drill and hand saw?
Yes. All three designs here can be cut with a handsaw and assembled with a drill/driver. No power tools beyond a drill are required. Allow twice the time for hand sawing versus a circular saw.
How much does it cost to build a DIY outdoor end table?
Materials for a basic cedar slatted end table: $30–$50 (depending on lumber prices in your area). The folding version adds $10–$15 for hinges and hardware. The concrete version adds $8–$12 for a bag of concrete and a melamine sheet for the mold.

“DIY woodworking enthusiast who started with zero experience and a YouTube tutorial.
I build simple, practical projects for my home and share free plans
so other beginners can skip the guesswork.If I can build it, you can too.”