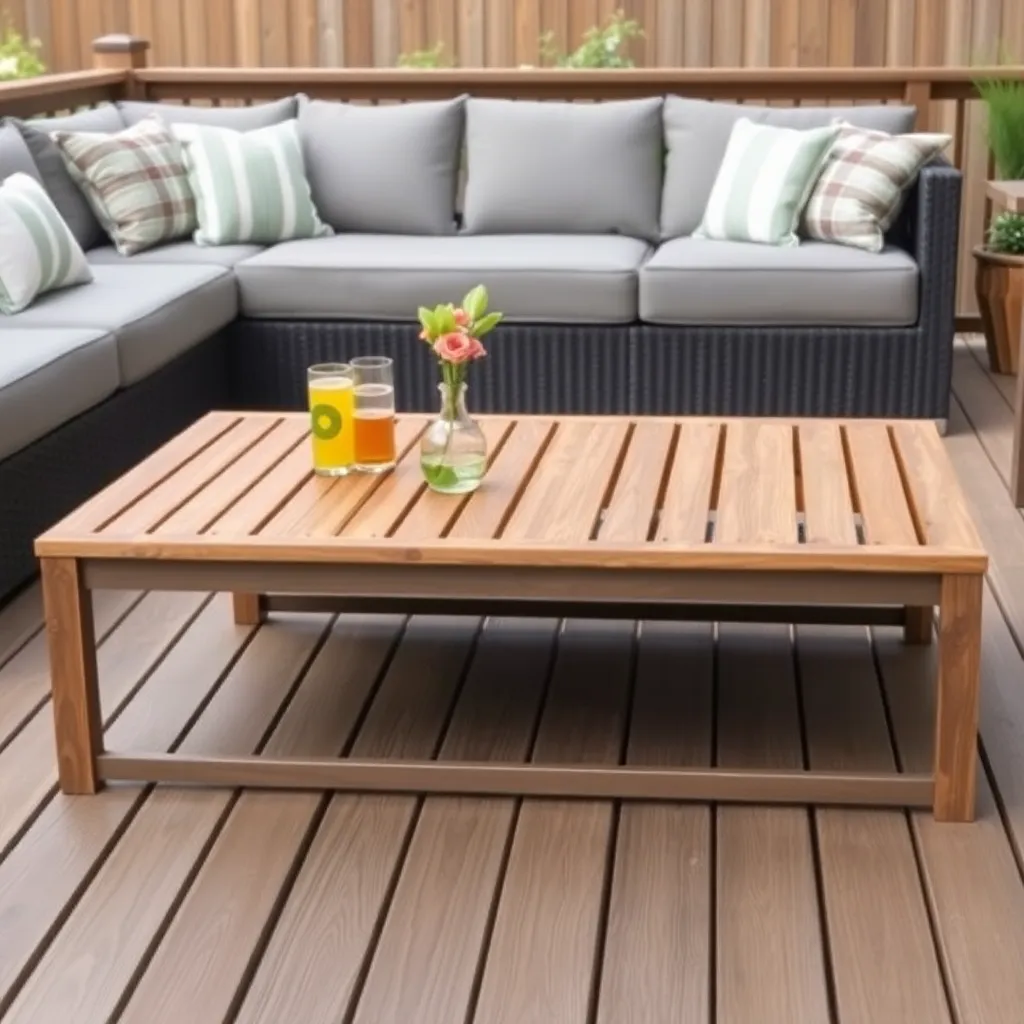
An outdoor coffee table pulls a seating area together and gives everyone a surface for drinks, books, and plates. The ones sold at garden centers are either cheap and wobbly or expensive and over-designed. The three builds here land in the sweet spot: structurally sound, simple to make, and sized correctly for outdoor sofas and loveseats. Plans cover a low cedar slatted table (the workhorse), a concrete-top version that won’t blow over, and a storage ottoman table with a hinged lid.
Step 1: Size Your Table to Fit the Space
Want 16,000+ step-by-step woodworking plans?
Ted’s Woodworking has plans for every skill level — from simple shelves to full bedroom sets. Each plan includes a cut list, material list, and detailed diagrams. Browse Ted’s plans →
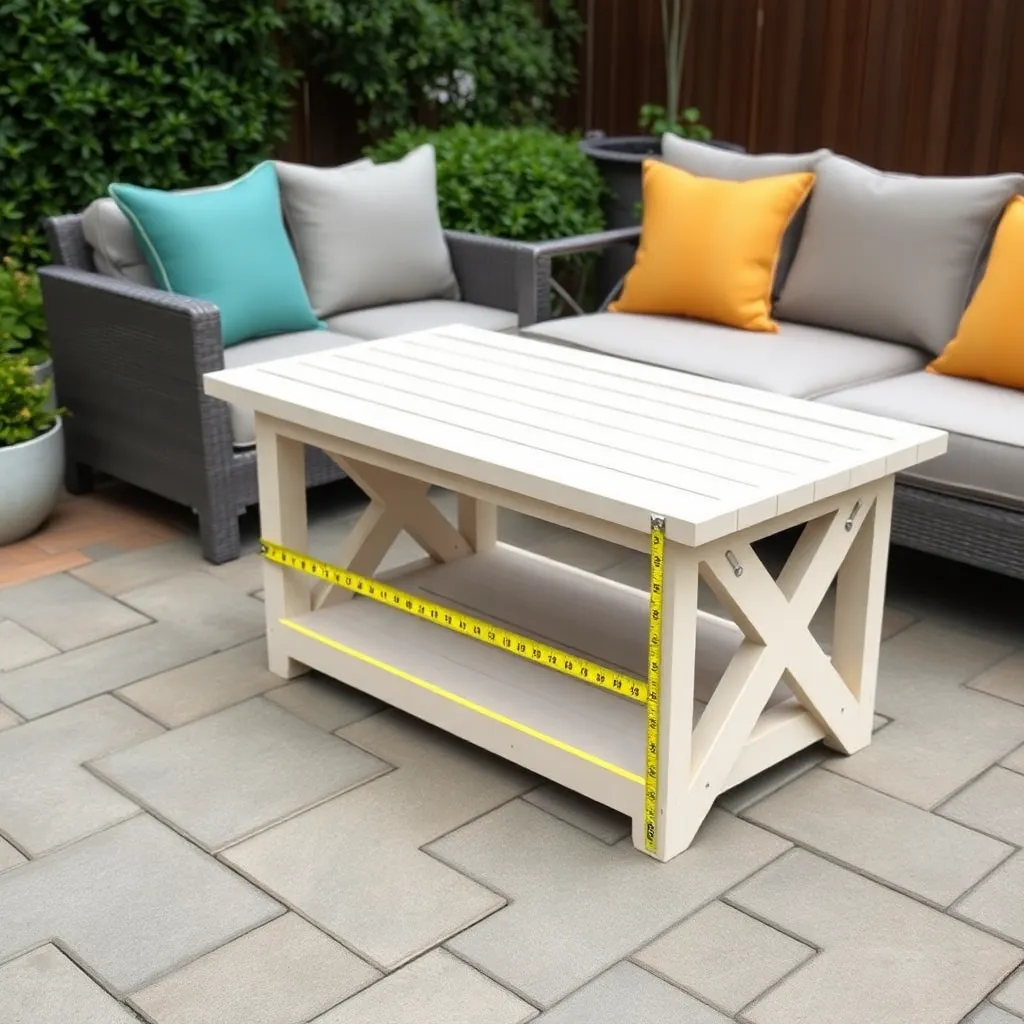
Outdoor coffee tables sit in front of outdoor sofas and sectionals, so height and length are determined by what you’re seating, not by arbitrary standards.
- Height: 14–18 inches. Lower (14–15 inches) for deep, low outdoor sofas. Standard (16–18 inches) for higher-profile seating.
- Length: 2/3 to 3/4 the length of the sofa. For a 7-foot (84-inch) sofa, a 54–63-inch coffee table is ideal.
- Depth: 24–30 inches. Deep enough to hold a serving tray and still leave knee clearance when seated.
The three builds here are all sized at 20×48 inches — a good middle-ground size that works in front of most 5–7-foot outdoor sofas.
Step 2: Classic Cedar Slatted Coffee Table — Cut List
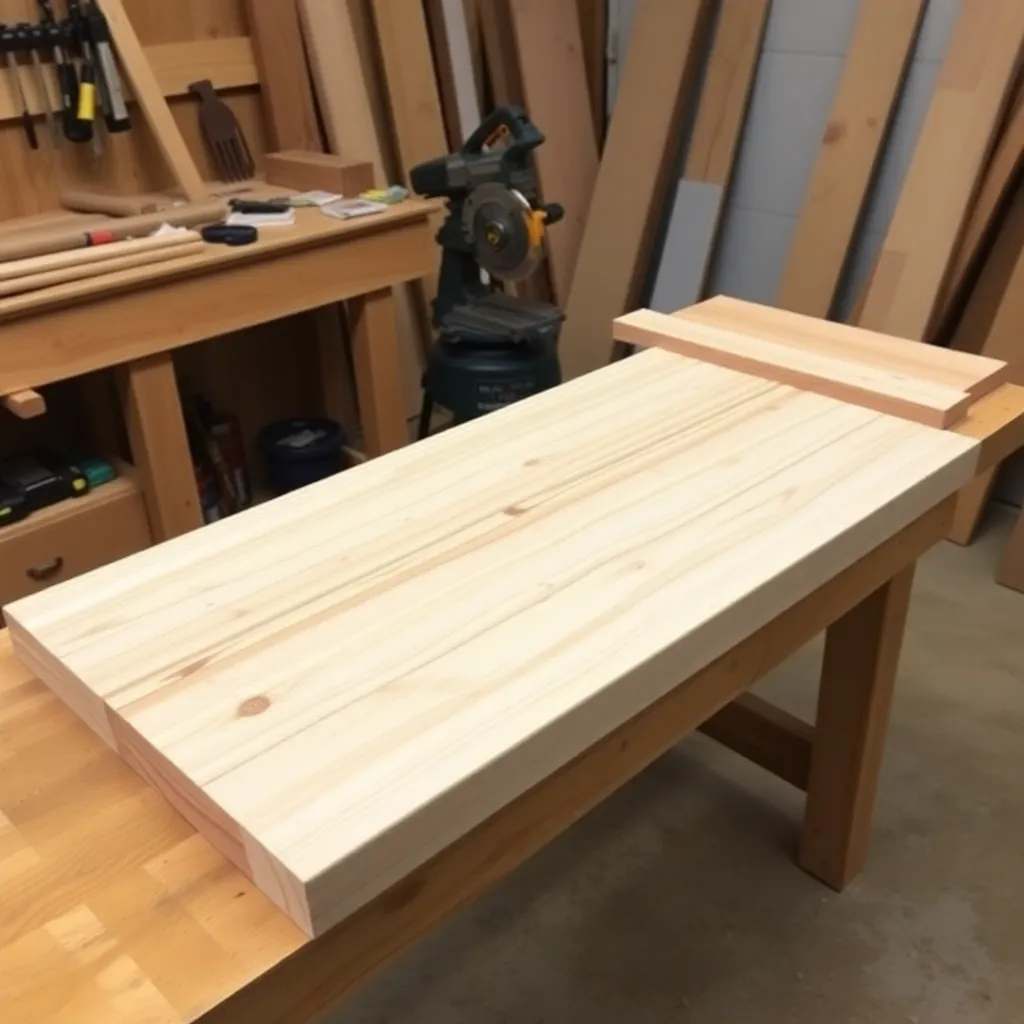
Materials for a 20×48×16-inch cedar coffee table:
- 4 × legs: 4×4 at 14 inches
- 2 × long aprons: 2×4 at 45 inches (runs between legs on the long sides)
- 2 × short aprons: 2×4 at 17 inches (runs between legs on the short ends)
- 6 × top slats: 2×4 at 48 inches
- Hardware: 3/8×4-inch carriage bolts (8, for apron-to-leg joints), 2½-inch exterior deck screws (for slats)
The 4×4 legs give this table substantial visual weight and make it stable in wind. Lighter-looking versions can use 2×4 legs with a shelf underneath for mass, but 4×4 is the more practical choice for outdoor use.
Step 3: Build the Base Frame
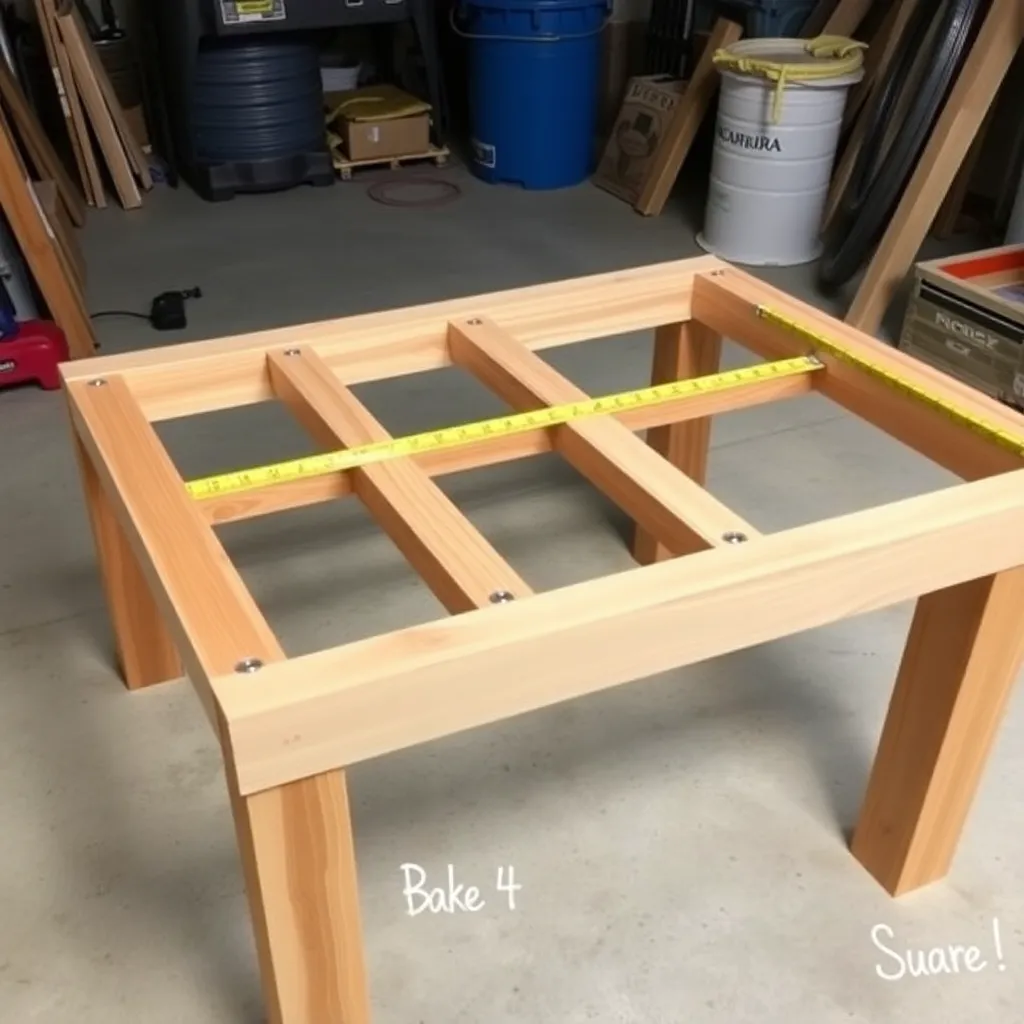
Fasten the short aprons between pairs of legs first to create two end assemblies. Use two 3/8-inch carriage bolts per apron-to-leg joint — this is a structural joint that holds the weight of anyone leaning on the table and the wracking force of someone pushing the table sideways.
Drill bolt holes perpendicular to the leg face. Insert bolts from the leg exterior, add a washer, and tighten the nut. Do not overtighten — finger-tight plus one full turn with a wrench is sufficient. Overtightening splits dry cedar.
Stand both end assemblies upright, connect them with the long aprons, and fasten with carriage bolts. Check that the base sits flat on a flat surface before fastening fully. Slight adjustments can be made by tapping a leg with a mallet before the last bolt is tightened.
Step 4: Attach the Top Slats
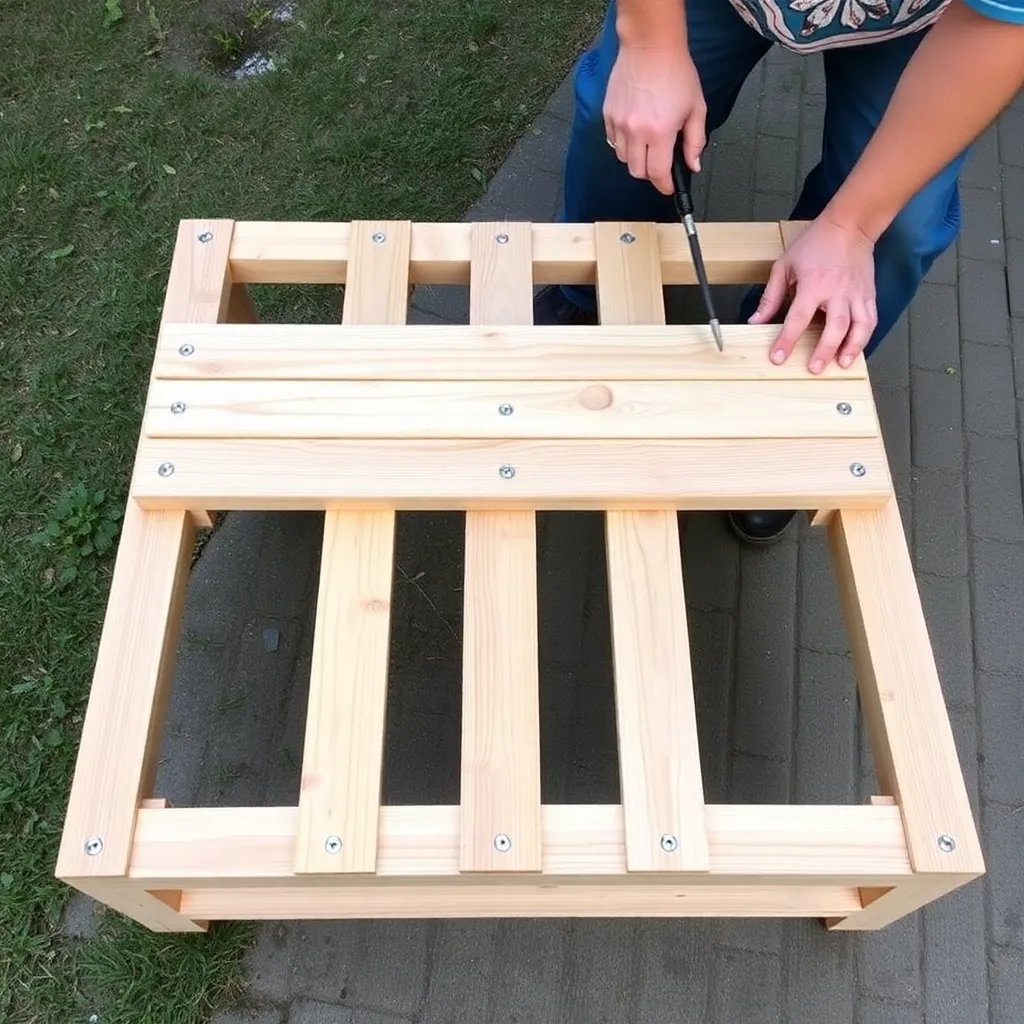
Lay six 2×4 top slats across the aprons. The two outer slats sit flush with the outside of the long aprons. The remaining four slats are spaced evenly between them — approximately 3/8-inch gaps when you account for the actual width of 2×4 lumber (1½ inches).
Fasten each slat to both long aprons with 2½-inch exterior screws. Pre-drill pilot holes at the slat ends (where they’re closest to the edge of the slat) to prevent splitting. Drive two screws per slat per apron, countersunk ¼ inch below the surface.
Optional: Rout a chamfer or roundover on all top edges before attachment — this prevents water from sitting on the corner where slat meets slat and dramatically extends the life of the paint or finish at those edges.
Step 5: Concrete Top Version — Pour and Cure
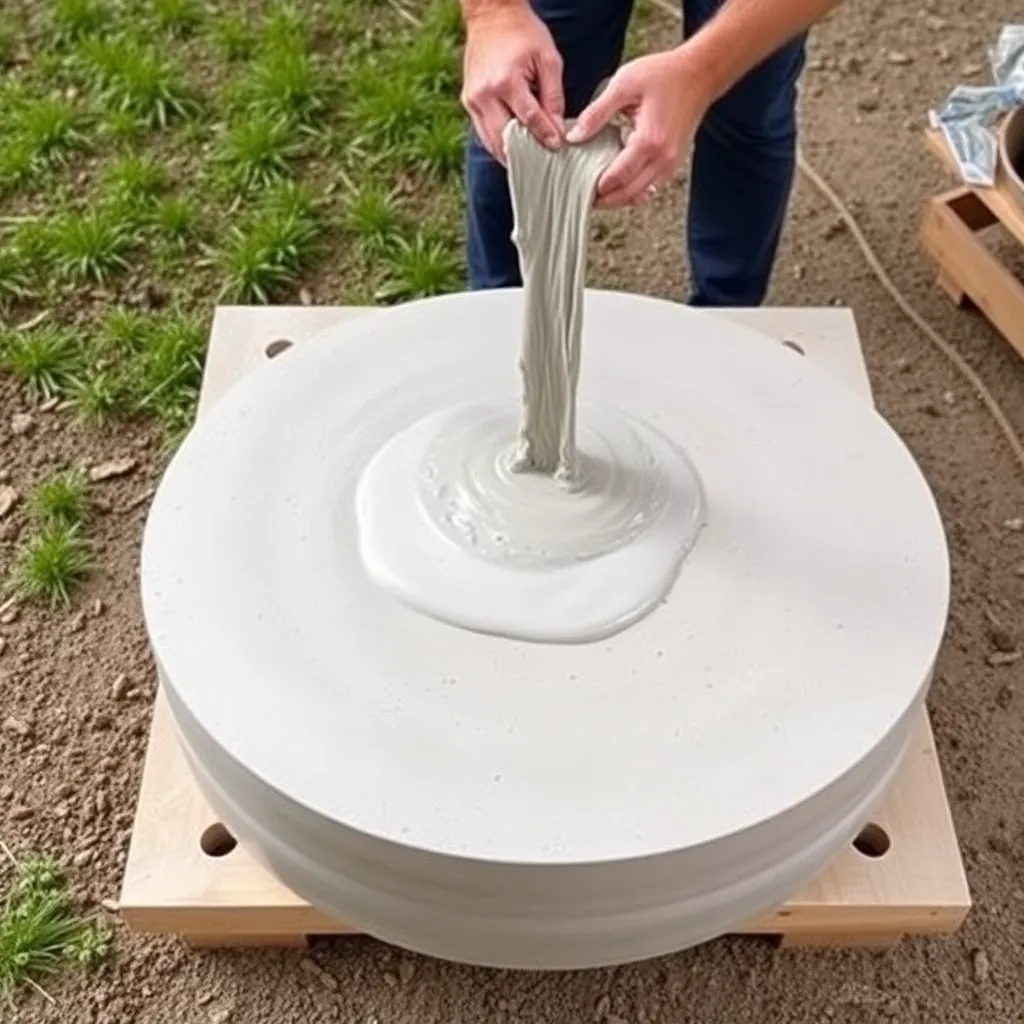
The concrete-top outdoor coffee table uses the same cedar leg-and-apron base, but replaces the slatted top with a cast concrete panel. The concrete panel is heavy (40–55 lbs for a 20×48×1½-inch slab), which means the table won’t blow over in wind and is immune to the warping and swelling that affects wood tops in wet climates.
To cast the concrete top:
1. Build a melamine-lined form: 20×48-inch interior dimensions, 1½ inches deep. Melamine releases cleanly from cured concrete.
2. Mix one 60-lb bag of fiber-reinforced concrete (pre-mixed bags with polypropylene fiber) with the minimum water needed for workability — do not add excess water.
3. Pour into the form, tamp lightly to release air bubbles, screed flat.
4. Let cure 24 hours before demolding, 7 days before placing in service.
5. Seal with two coats of penetrating concrete sealer.
Attach the cured concrete panel to the cedar base with 8 dabs of construction adhesive and four 3/8-inch stainless threaded inserts cast into the concrete. The base and top are joined but can be separated for moving.
Step 6: Storage Ottoman Table — Add a Hinged Lid
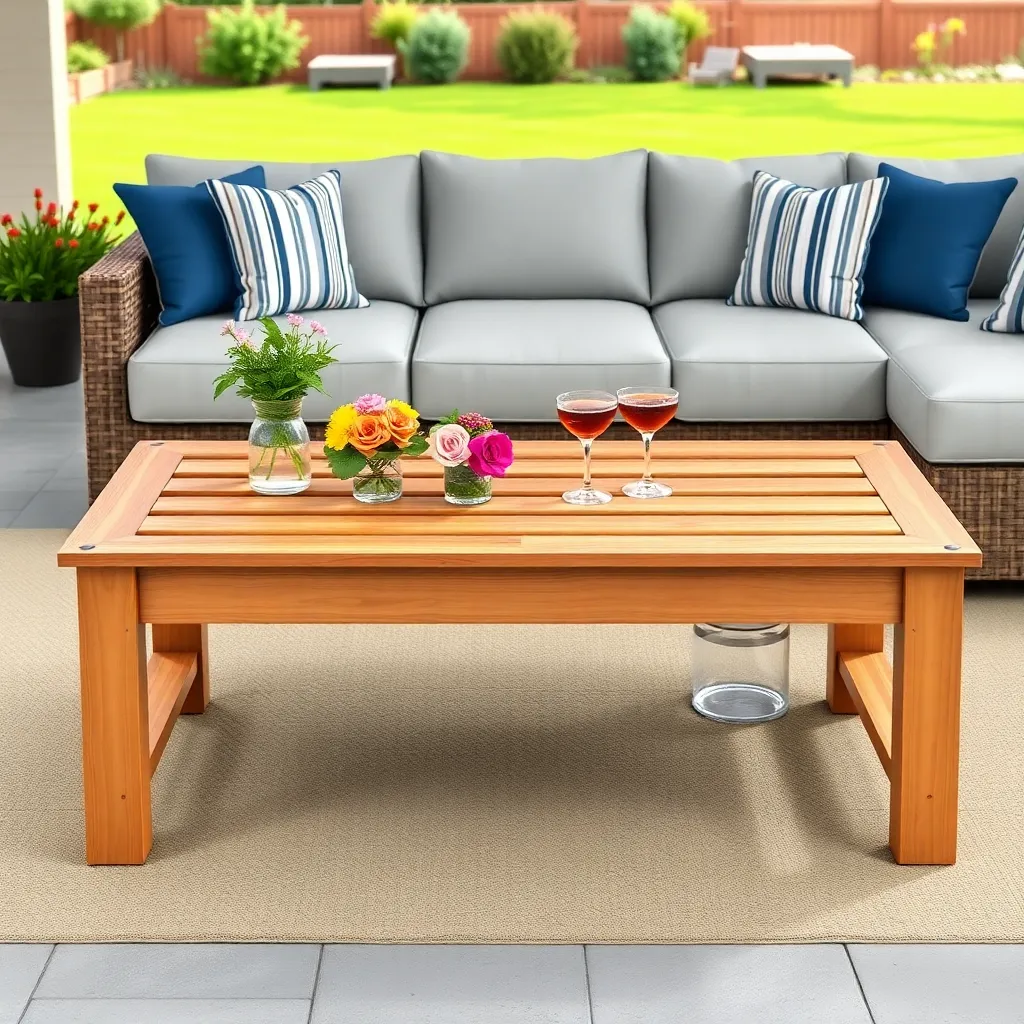
The storage version has no legs — it’s a cedar box on skids (two 2×4 runners at the base) with a hinged lid and a piano hinge along one long edge. The interior stores outdoor cushions, gardening supplies, or firewood starter materials.
Box dimensions: 20×48×16 inches outside, ¾-inch cedar panels. The lid is a 21×49-inch panel (slightly oversized to overhang the box on all four sides and shed rain outward). A piano hinge runs the full 48-inch length of one long edge.
Build the box from ¾-inch cedar boards or cedar-faced plywood (exterior grade). Fasten panels with exterior-rated wood glue and 2-inch pocket screws through the interior corners. The bottom sits on two 2×4 skids that elevate the box 1½ inches off the deck surface for drainage.
The lid: fasten slats or a single panel across a 2×3 frame. Attach a lid-stay on each short end to hold the lid open at 90°. Add a hasp latch on the opposite long edge from the piano hinge to keep the lid closed in wind.
Want 16,000+ step-by-step woodworking plans?
Ted’s Woodworking has plans for every skill level — from simple shelves to full bedroom sets. Each plan includes a cut list, material list, and detailed diagrams. Browse Ted’s plans →
Outdoor Coffee Table Plans FAQ
How high should an outdoor coffee table be?
14–18 inches. The right height depends on your seating: measure from the floor to the top of your sofa seat cushion, then subtract 1–3 inches. If the sofa seat is 17 inches off the floor, a 14–16-inch coffee table is comfortable.
What is the best wood for an outdoor coffee table?
Cedar is the most practical choice — rot-resistant, lightweight enough to move, and widely available. Teak is more durable but heavier and more expensive. Pressure-treated pine works well for the base; it’s economical and strong, but heavy. Avoid standard untreated pine or spruce — they rot quickly in outdoor conditions.
How do I keep a wood outdoor coffee table from warping?
Seal all six sides of every board before assembly (including end grain). Use the flattest, driest boards you can find — air-dried or kiln-dried lumber, not green lumber. For a tabletop, alternate board grain direction (crown up, crown down) to cancel out cupping. Store the table under cover in winter or during extended wet seasons.
Can I make an outdoor coffee table waterproof?
No wood surface is truly waterproof, but you can make it very resistant with the right finish. Two coats of oil-based exterior primer followed by two coats of 100% acrylic exterior paint will hold up for 5–8 years with no maintenance. The goal is to seal all surfaces — especially end grain — so water can’t enter the wood.
How much does it cost to build a DIY outdoor coffee table?
Cedar slatted version: $60–$100 depending on lumber prices. Concrete top version: $80–$130 (add concrete and melamine for the form). Storage ottoman version: $90–$150 (more cedar for the box panels and lid). All are significantly less than comparable retail outdoor coffee tables.

“DIY woodworking enthusiast who started with zero experience and a YouTube tutorial.
I build simple, practical projects for my home and share free plans
so other beginners can skip the guesswork.If I can build it, you can too.”