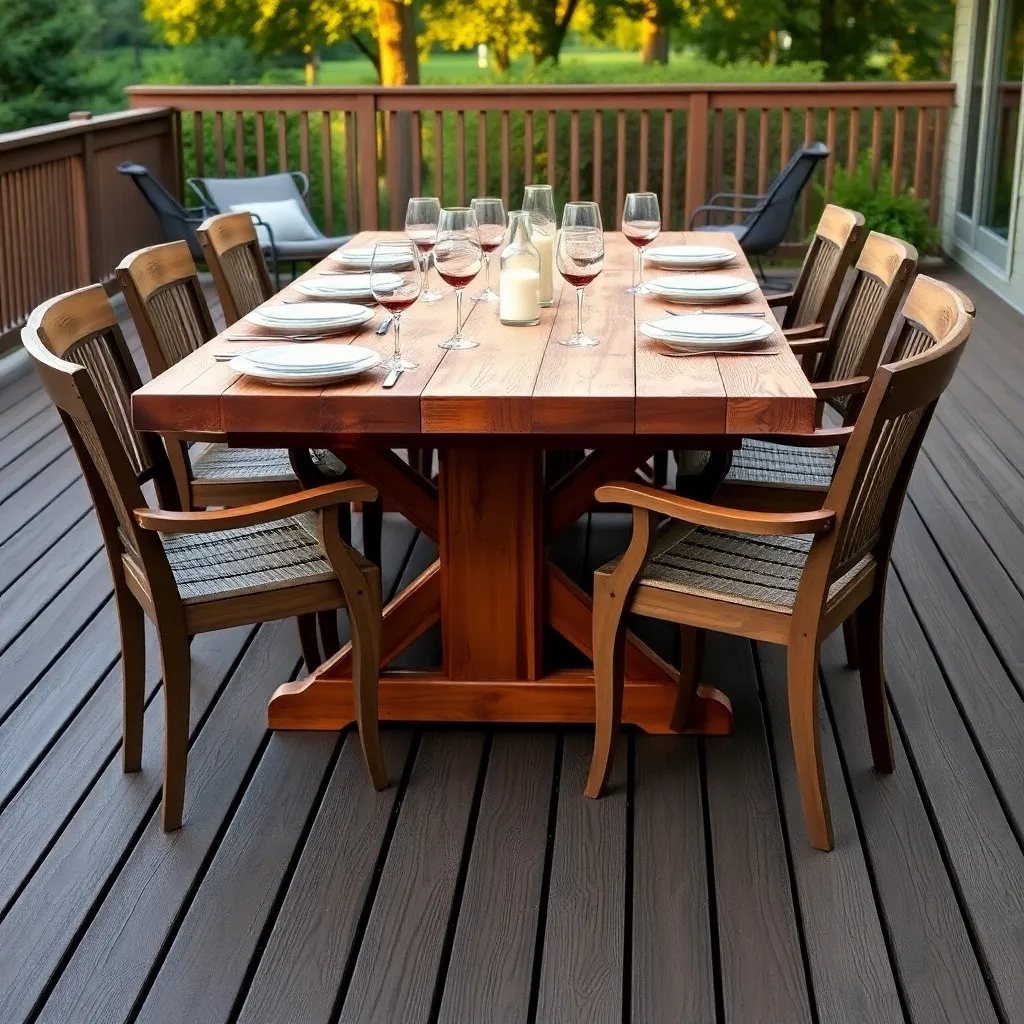
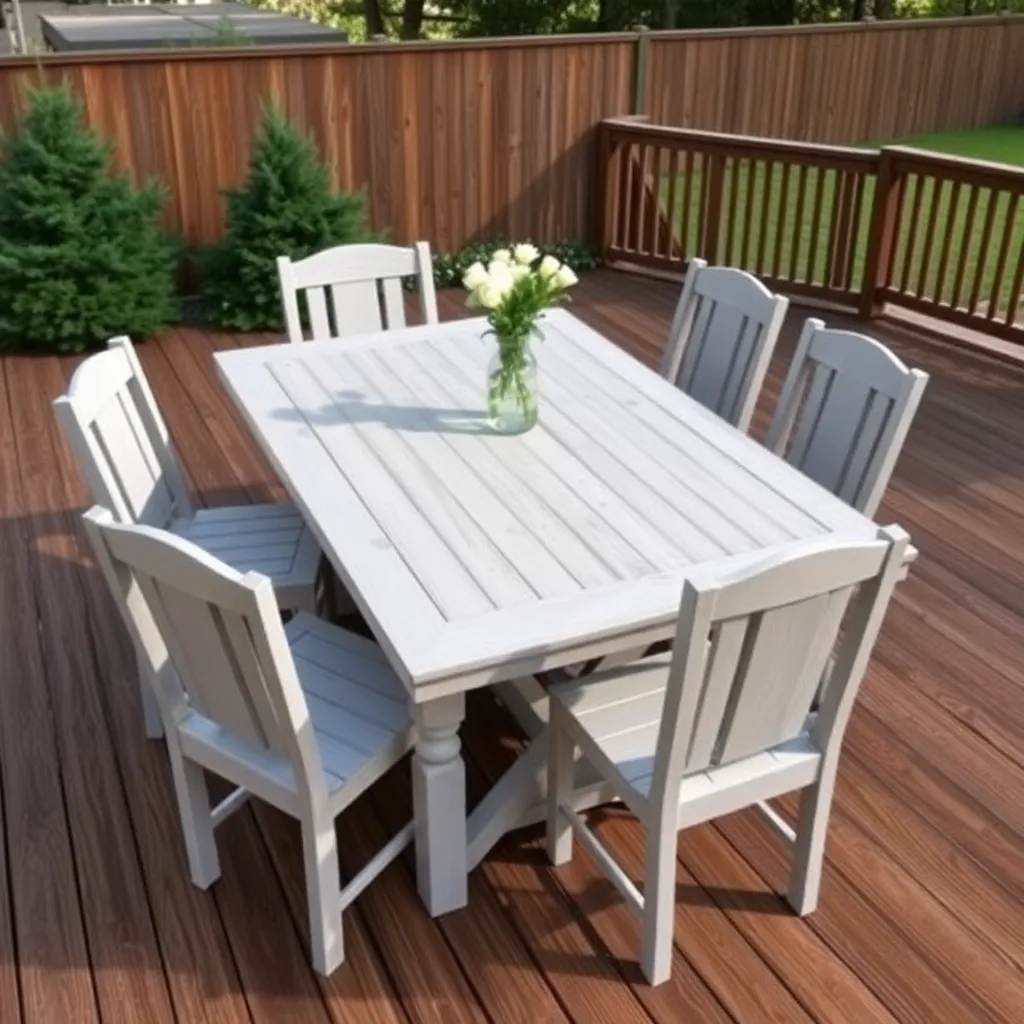
A patio dining table is the single piece of outdoor furniture that earns back its construction time fastest. A commercial cedar dining table costs $600–$1,200. You can build the same piece for $120–$180 in materials, in one weekend, and have it exactly the size your space requires. These outdoor dining table plans cover a classic 36×72-inch farmhouse-style trestle table that seats six adults comfortably — the right size for most patios and decks.
Step 1: Design the Table to Fit Your Space
Want 16,000+ step-by-step woodworking plans?
Ted’s Woodworking has plans for every skill level — from simple shelves to full bedroom sets. Each plan includes a cut list, material list, and detailed diagrams. Browse Ted’s plans →
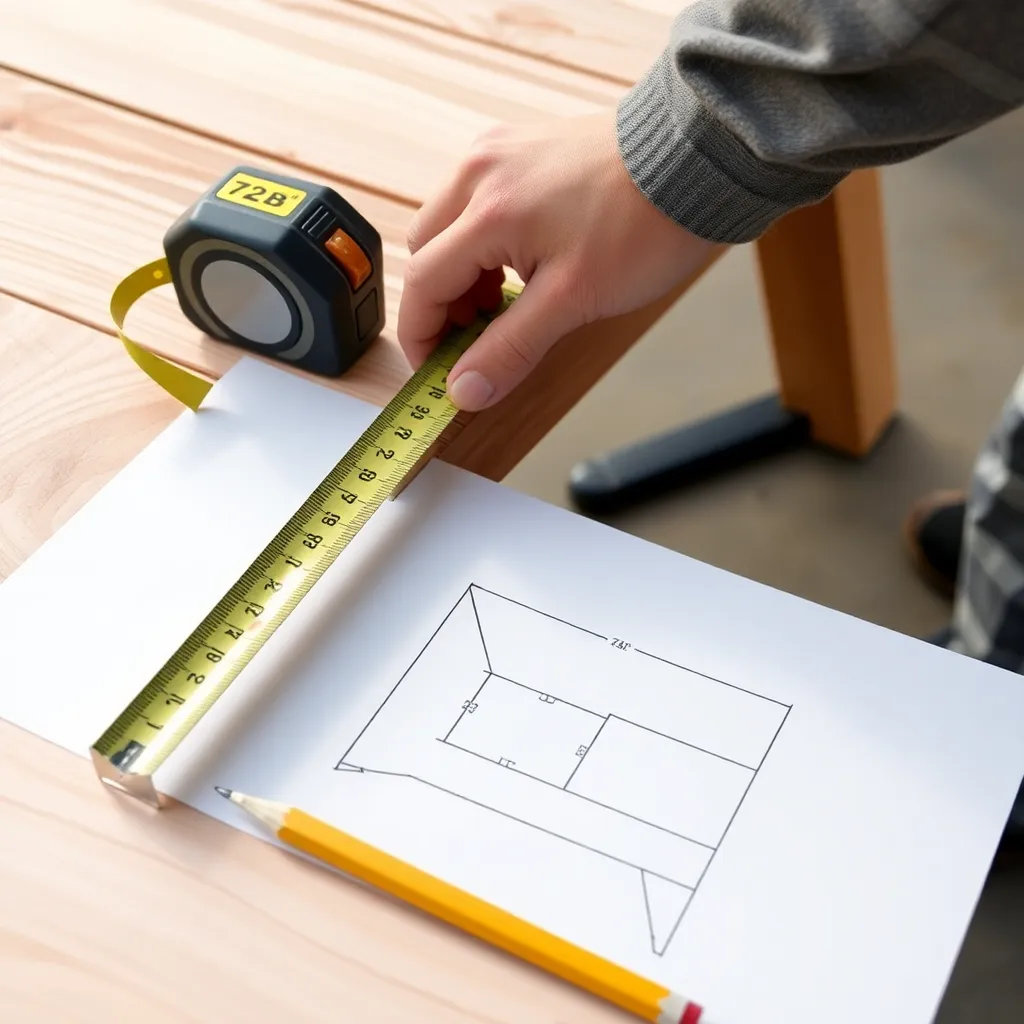
Standard outdoor dining table dimensions: 30 inches high, 36 inches wide, and 72 inches long. This size seats six comfortably — two on each long side, one on each end — with 24 inches of width per person.
For a trestle base (the most stable and weather-resistant base type), the design is: two trestle end assemblies connected by a central stretcher running the length of the table. Each trestle is an A-frame or H-frame built from 4×4 posts and 2×6 cross members. The stretcher is a single 4×4 or doubled 2×6 running between the trestles at floor level.
Cut list for a 36×72 cedar trestle dining table:
- 4 × trestle legs: 4×4 at 28 inches
- 2 × trestle feet: 4×4 at 30 inches
- 2 × trestle top rails: 2×6 at 30 inches
- 1 × center stretcher: 4×4 at 66 inches (between inner faces of trestles)
- 7 × tabletop boards: 2×6 at 72 inches
- 2 × tabletop breadboard ends: 2×6 at 36 inches (optional, controls cupping)
Step 2: Build the Trestle End Assemblies
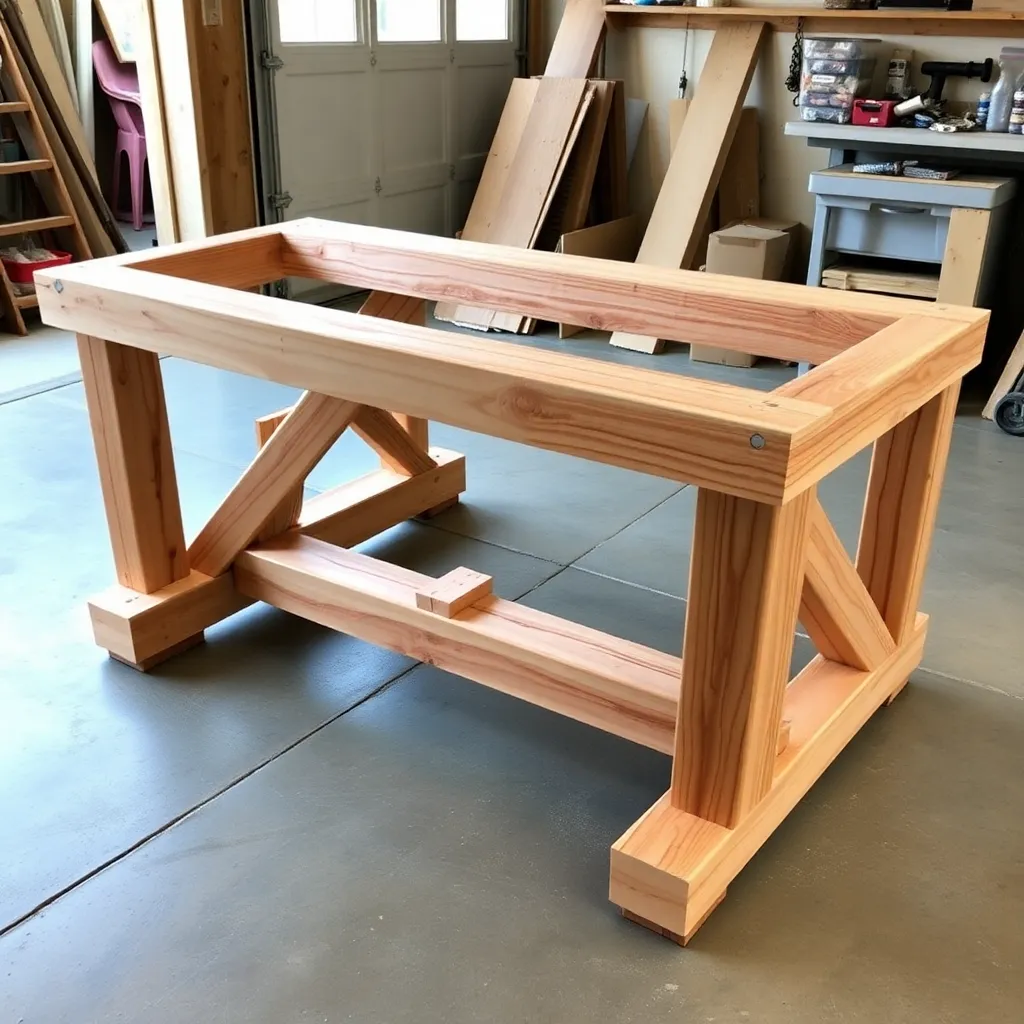
Lay out one trestle assembly flat. Position two 4×4 legs at 30 inches apart (outside face to outside face) with a 2×6 top rail crossing both legs near their tops. The feet extend 3 inches beyond each leg on both sides for stability.
Fasten legs to feet with two 3/8×5-inch lag screws per joint, countersunk. Fasten top rail to legs with two 3/8×3½-inch carriage bolts per leg, using a drill guide to keep holes perpendicular. Repeat for the second trestle.
Stand both trestles upright and check that they sit flat without rocking. If one rocks, plane or sand the foot until stable — a wobbly base is impossible to fix after the table is assembled.
Step 3: Connect Trestles with the Stretcher
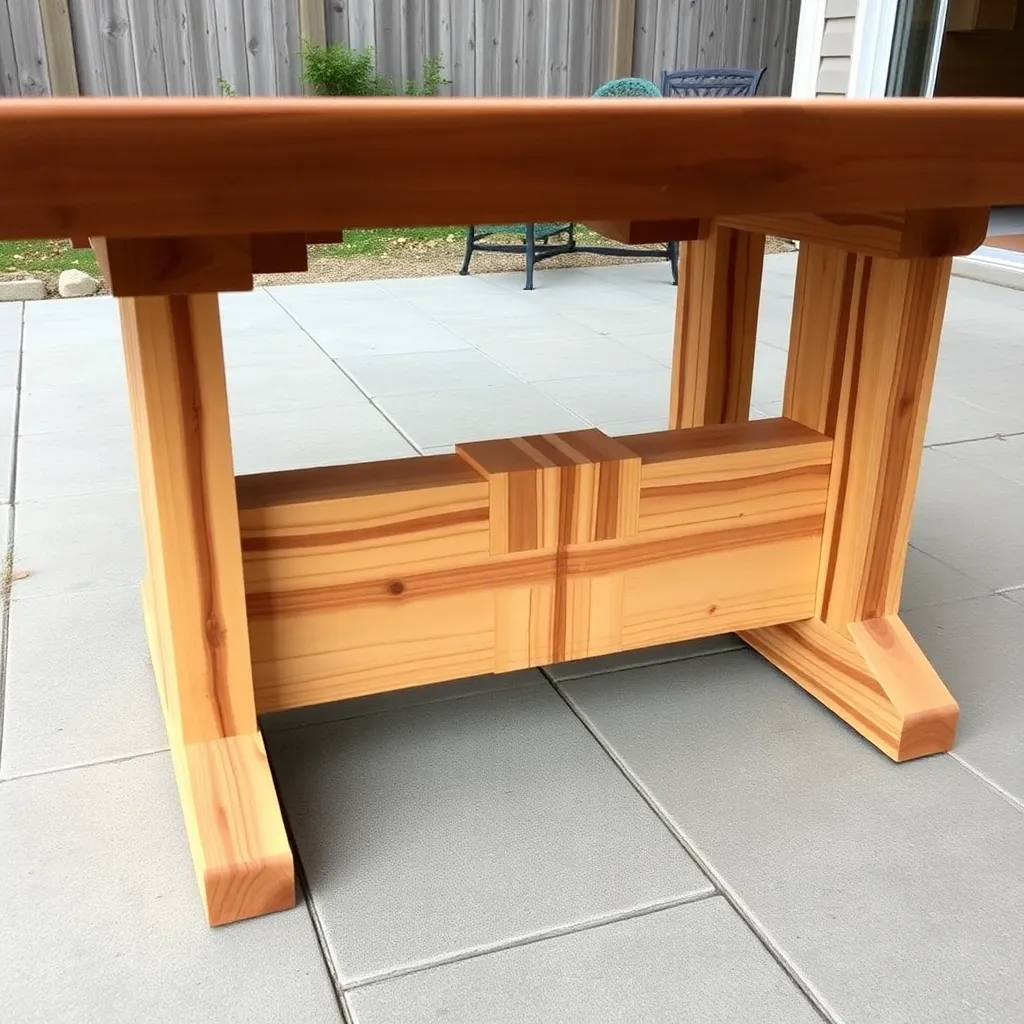
The center stretcher connects both trestles at floor level. It runs through (or bolts to) the center of each trestle foot. The stretcher prevents the table from racking side to side, which is the most common failure point in outdoor tables.
Mark the center of each trestle foot. Drill a 3/8-inch hole through the foot at each location. Run a 3/8×5-inch carriage bolt through the foot into the end of the stretcher. Tighten to draw the stretcher firmly against the foot. This joint can be re-tightened once or twice a year as the wood seasons.
Check that the assembled base is square: measure diagonals from top rail to opposite top rail. Adjust position slightly until both diagonals match, then tighten all fasteners.
Step 4: Mill and Flatten the Tabletop Boards
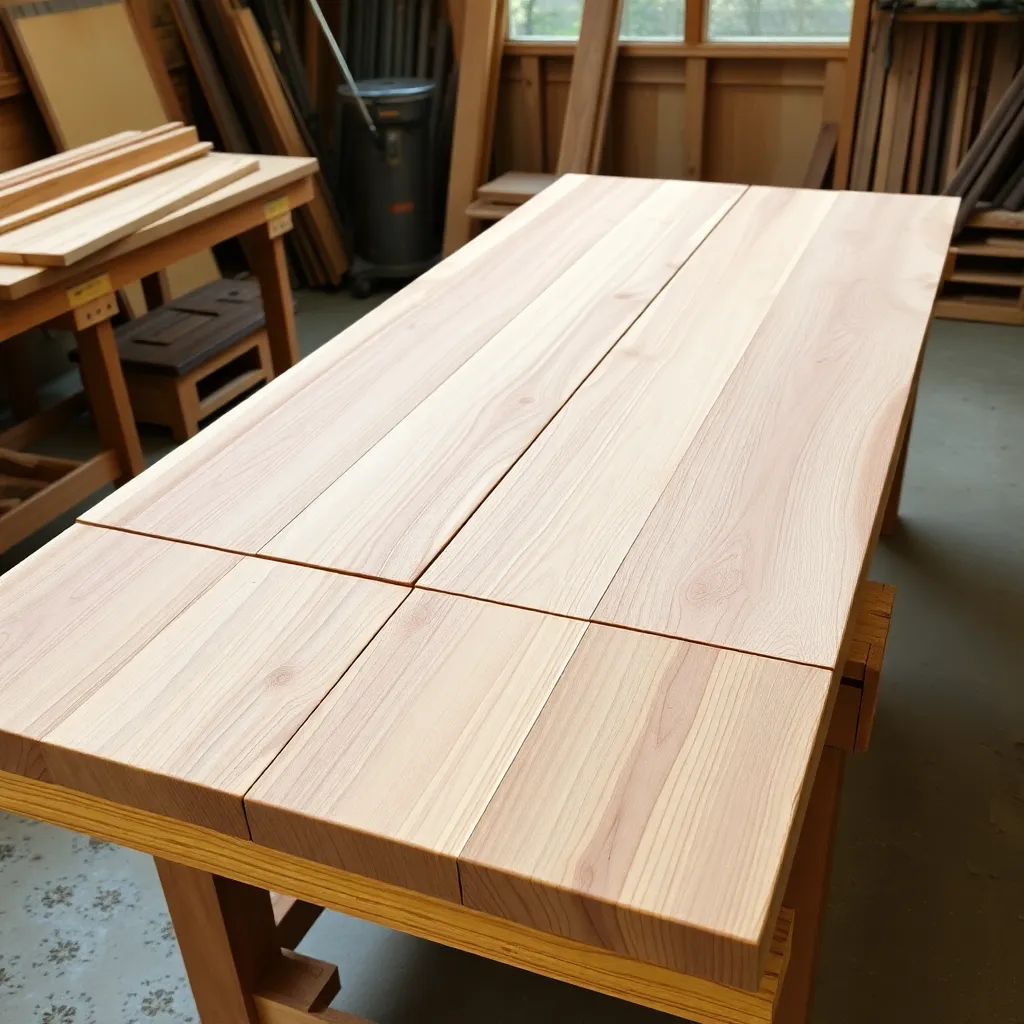
Run each 2×6 tabletop board through a jointer or hand-plane the edges flat. Cupped or bowed boards create gaps and uneven surfaces that collect water and accelerate rot. Even budget-grade 2×6 boards can be trued up with a few passes of a hand plane.
Arrange the boards in alternating grain orientation — cup up, cup down, alternating — so seasonal movement averages out and the top remains flat over time. Mark the arrangement and top face of each board with chalk before assembly.
Step 5: Assemble the Tabletop
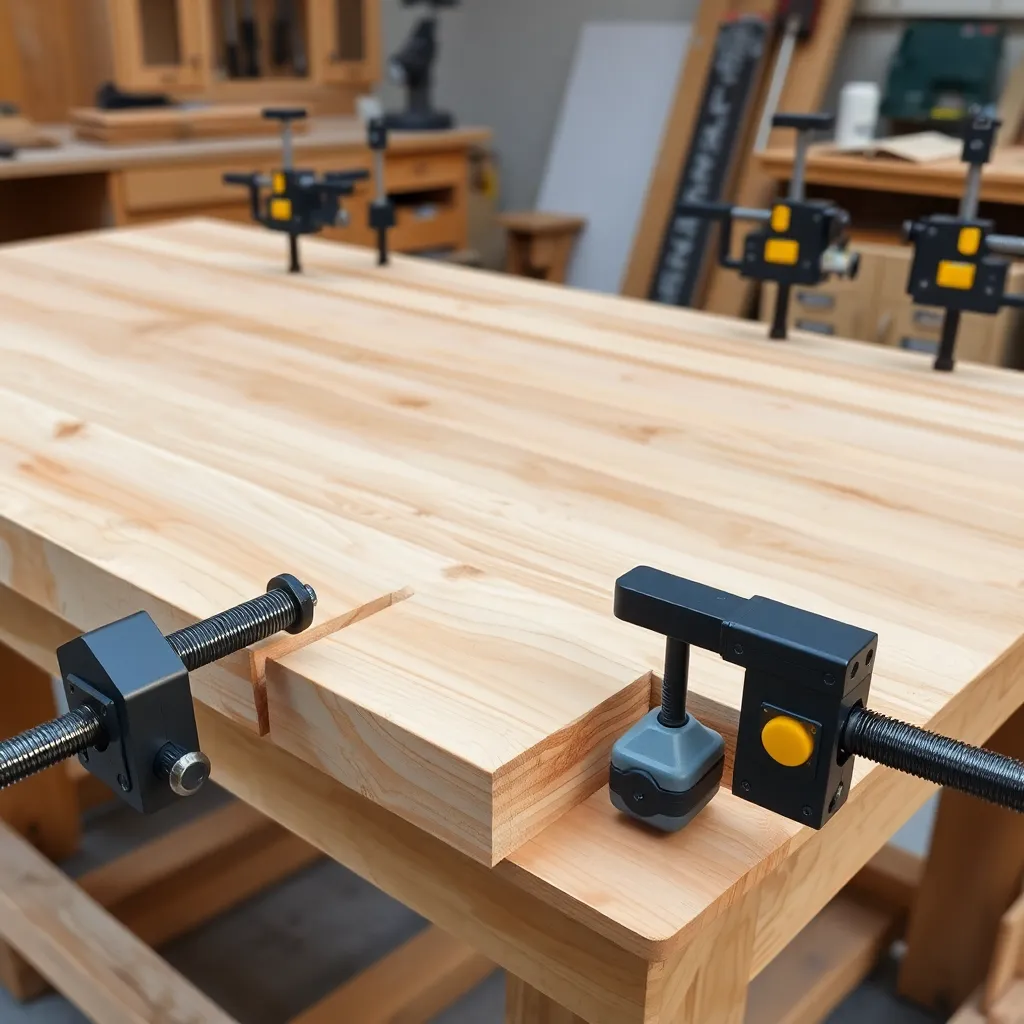
Use pocket hole screws (Kreg jig) to join boards edge-to-edge, plus exterior wood glue in each joint. Clamp all boards together with bar clamps while the glue sets — at least four clamps for a 72-inch top. Wipe excess glue immediately with a damp rag.
After glue cures (overnight), sand the top flat with a belt sander (60-grit, then 100-grit, then 120-grit by hand). Optional: add a breadboard end (2×6 board running across both short ends, fastened with elongated slots to allow seasonal movement) to control cupping over time.
Step 6: Attach Tabletop to Base
Center the tabletop on the base. From below, fasten through the trestle top rails into the tabletop with 2½-inch exterior screws at 8-inch intervals. Use elongated slots (not round holes) in the trestle top rails to allow the tabletop to expand and contract across the grain — this prevents cracking in climates with large seasonal humidity swings.
Do not glue the tabletop to the base — the differential movement between top and base over seasons will cause cracking.
Step 7: Finish the Table
Cedar weathers to silver-gray if left unfinished — acceptable, but the surface becomes rough and splinter-prone. For a maintained look: apply one coat of exterior primer, two coats of 100% acrylic exterior paint (satin or semi-gloss). Alternatively, apply two coats of an exterior penetrating oil (teak oil or linseed oil) for a natural look, then one coat of exterior spar varnish.
Sand lightly between coats with 220-grit. Apply finish to the underside and all end grain as well as the visible surfaces.
Want 16,000+ step-by-step woodworking plans?
Ted’s Woodworking has plans for every skill level — from simple shelves to full bedroom sets. Each plan includes a cut list, material list, and detailed diagrams. Browse Ted’s plans →
Outdoor Dining Table Plans FAQ
What size outdoor dining table seats 6?
A 36×72-inch table comfortably seats six adults — two on each long side with 24 inches per person, one at each end. For eight people, extend the length to 96 inches. For four people, a 36×48-inch table is sufficient.
What wood is best for an outdoor dining table?
Cedar and teak are the two best choices. Cedar is affordable, rot-resistant, and takes paint well. Teak is more expensive but requires no finishing — it weathers naturally to a silver-gray and lasts indefinitely without maintenance. Pressure-treated pine is economical but heavier and should be allowed to dry before painting.
How do I protect an outdoor wood table from weather?
A painted or sealed surface is the first line of defense. Beyond finish, the most important factor is drainage — avoid designs that trap standing water. Keep the finish intact with touch-up paint or re-oiling every 2–3 years. In regions with harsh winters, store the table under cover or in a garage; even weather-resistant cedar lasts significantly longer when not exposed to freeze-thaw cycles.
How long does it take to build an outdoor dining table?
A standard cedar trestle table takes two weekends: one to cut, drill, and assemble the base and tabletop, one to finish (sanding + two coats of paint with drying time). Active working time is roughly 12–15 hours total.
Can I use construction lumber for an outdoor table?
Yes. Standard 2×6 and 4×4 dimensional lumber (cedar or pressure-treated pine from a home center) is exactly what most DIY outdoor furniture plans specify. The key is selecting straight, kiln-dried boards. Avoid boards with large loose knots, cupping, or significant twist.

“DIY woodworking enthusiast who started with zero experience and a YouTube tutorial.
I build simple, practical projects for my home and share free plans
so other beginners can skip the guesswork.If I can build it, you can too.”