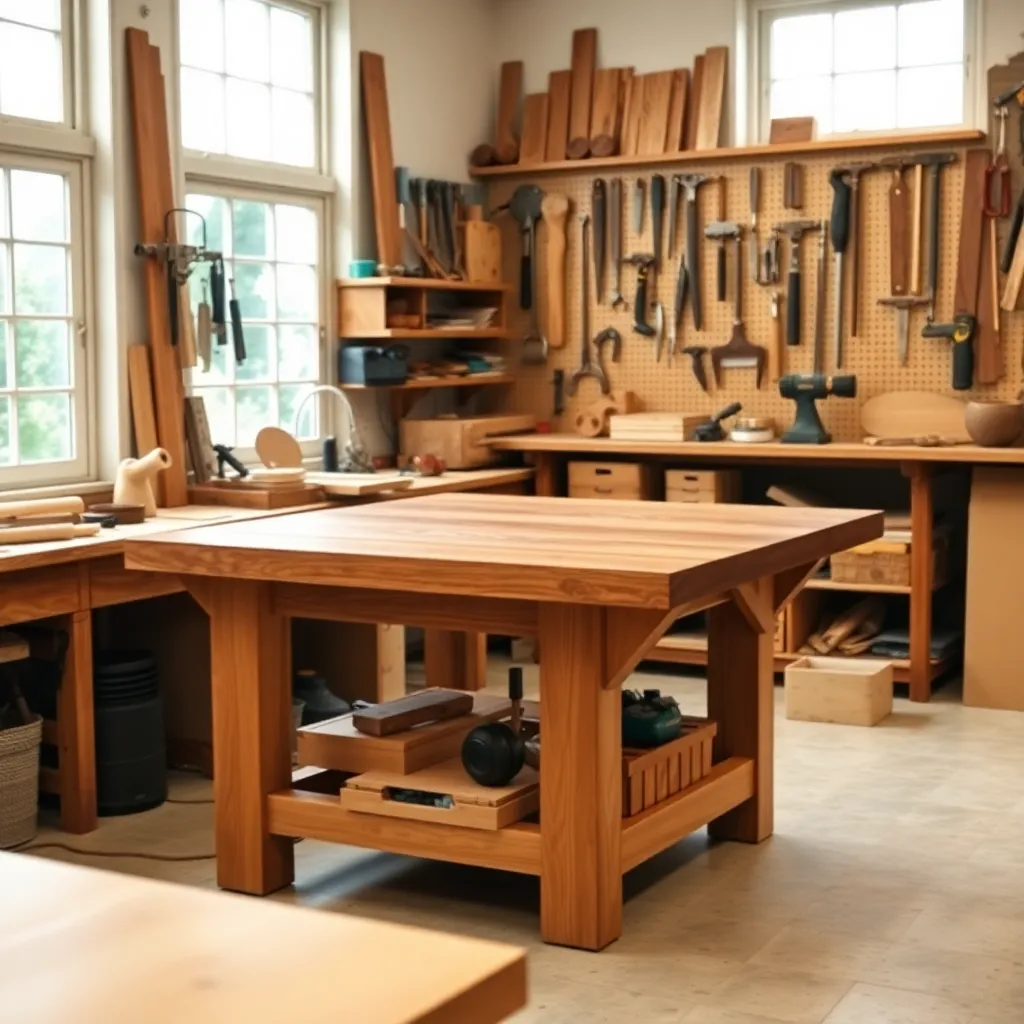
A good workbench is the foundation of every productive woodworking shop — the right height, the right surface, and the right storage configuration transforms a cluttered space into a functional workspace. Whether you’re building your first simple assembly bench for a garage, a traditional joiner’s bench with a tail vise and shoulder vise, or a set of collapsible sawhorses for a job site, the guides in this section cover every workbench and shop support project from beginner to advanced.
Ted’s Woodworking has complete workbench plans, sawhorse plans, and tool storage plans with cut lists and step-by-step instructions. Browse Ted’s plans →
Woodworking Bench
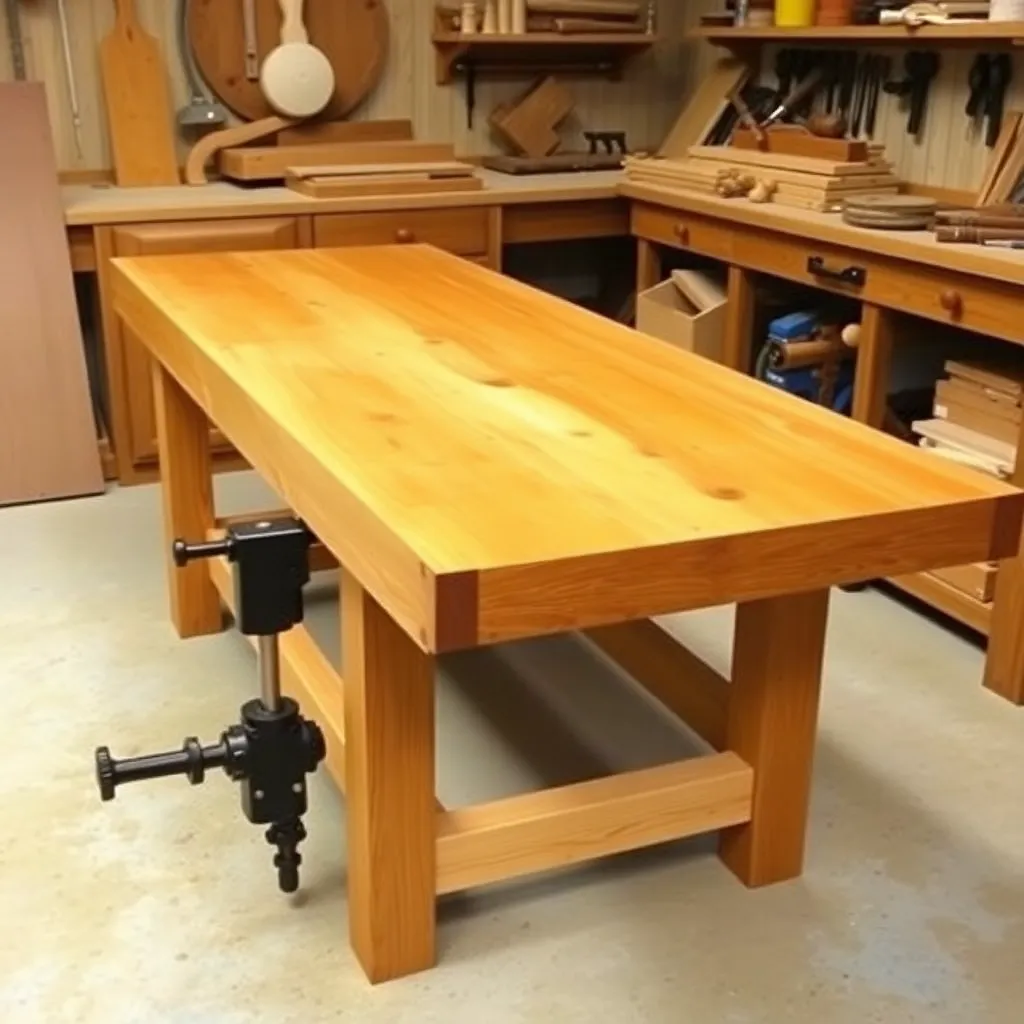
The woodworking bench is the centerpiece of the hand-tool shop — a massive, stable platform with vises, dog holes, and holdfast positions that let you secure work in any orientation for planing, chiseling, and sawing. Understanding the design elements of a traditional woodworking bench (height, vise placement, dog hole spacing) helps you build a bench that works for your specific tools and projects.
What’s covered: traditional woodworking bench design (Roubo, Nicholson, split-top Roubo), the function of tail vises, shoulder vises, and wagon vises, optimal bench height calculation (knuckle height for the average user), wood species selection for the bench top (hard maple is the benchmark, Douglas fir laminate is an excellent alternative), and the difference between a woodworking bench and an assembly bench.
Key design decision: height. A woodworking bench used primarily for hand planing should be lower (knuckle height or below) so body weight can be applied to the plane. A bench used primarily for assembly and power tool work can be higher (up to elbow height) for comfortable standing work without bending.
Collapsible Sawhorse Plans
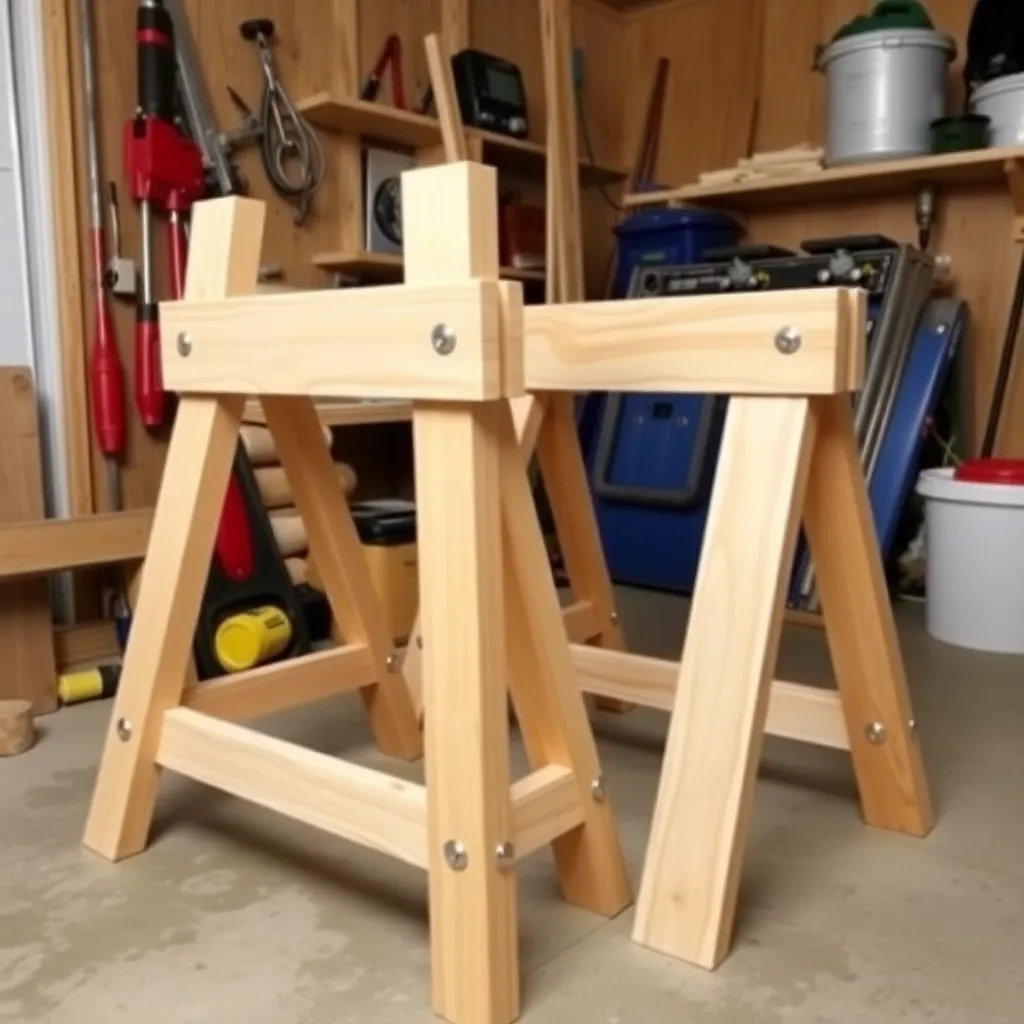
Sawhorses are the most versatile shop support in woodworking — they hold panels for cutting, support lumber for rough processing, and provide a temporary assembly surface anywhere in the shop or on the job site. The collapsible version folds flat for storage and sets up in seconds, making it far more practical than fixed-leg sawhorses for most home shops.
What’s covered: the complete build plan for a sturdy folding sawhorse, the angled leg geometry that produces a stable base, the cross-brace joint options (lap joint, simple screw joint), material selection (2×4 construction lumber is standard; hardwood legs extend life), and how to build a matched pair in an afternoon.
Height and capacity: standard sawhorse height is 26–30 inches (adjustable in this design). Two sawhorses support panels up to 8 feet without flex. The folding joint uses a single bolt per side — fold and unfold without tools.
Wooden Tool Box Plans
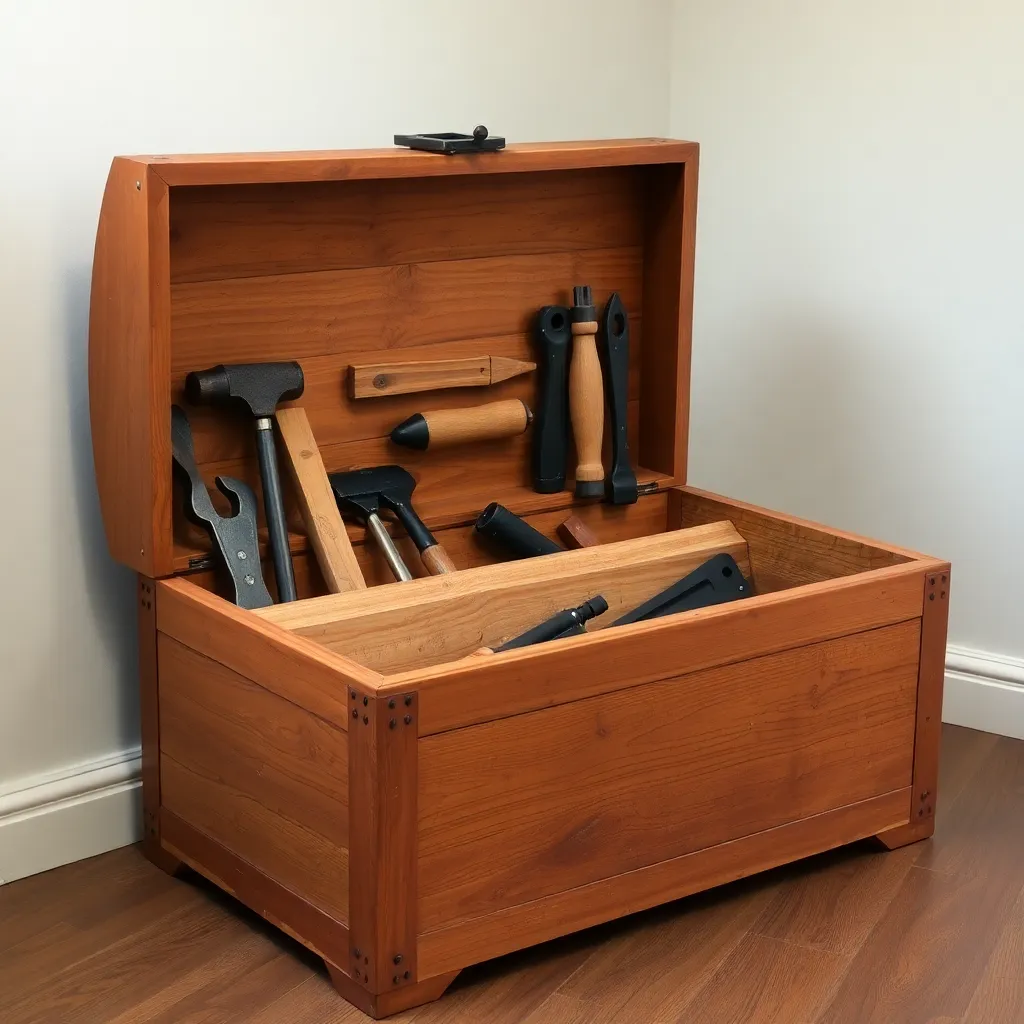
A traditional wooden tool box is the portable storage solution for hand tools — a dovetailed chest with a till (removable tray) in the upper section for small tools and a deep compartment below for planes, saws, and larger items. It’s also one of the finest practice pieces for hand tool joinery: the dovetailed corners, the fitted lid, and the fitted till all develop technique that transfers directly to furniture.
What’s covered: the dimensions of a practical tool chest (24″×12″×14″ is a proven starting size), lid construction (breadboard ends or solid frame-and-panel), till design and fitting, hardware (chest handles, lid stay, lock options), interior layout for hand tools vs power tool accessories, and finishing (oil inside, paint outside is the traditional approach).
Joinery options: dovetailed corners for the traditional approach and the best practice; box joints for a machine-cut alternative; butt joints with splines for a simpler first version. The box joint version can be completed in a weekend; the fully dovetailed version is a multi-weekend project.
DIY Workbench Plans
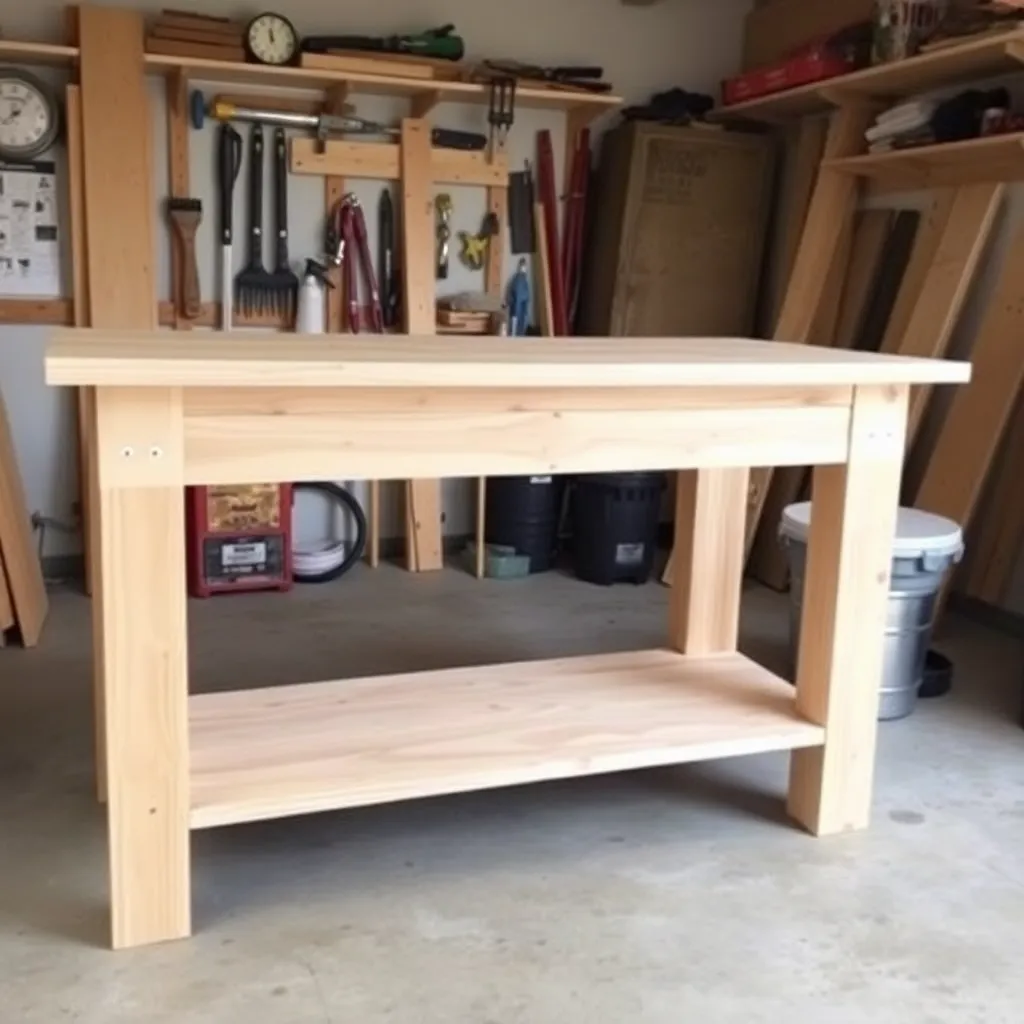
A simple DIY workbench — four legs, a lower shelf, a flat top — can be built in a weekend from construction lumber and plywood for under $150 in materials. It won’t have vises or dog holes, but it provides a stable, level surface at the right height for assembly, power tool work, and light hand tool use. This is the right first bench for a new shop.
What’s covered: the complete step-by-step plan for a 6-foot × 24-inch workbench using 4×4 legs, 2×4 frame, and doubled ¾” plywood top; the material cut list; the assembly sequence (frame first, then lower shelf, then top); adding a simple planing stop (a cleat screwed to the end of the top that gives hand tools something to push against); and how to level the bench on an uneven floor.
Cost breakdown: 4×4 legs ($20), 2×4 frame lumber ($25), 2 sheets of ¾” plywood ($70), screws and hardware ($15) = approximately $130. Add a face vise ($60–$150) for a complete basic workbench under $300.
Garage Workbench Plans
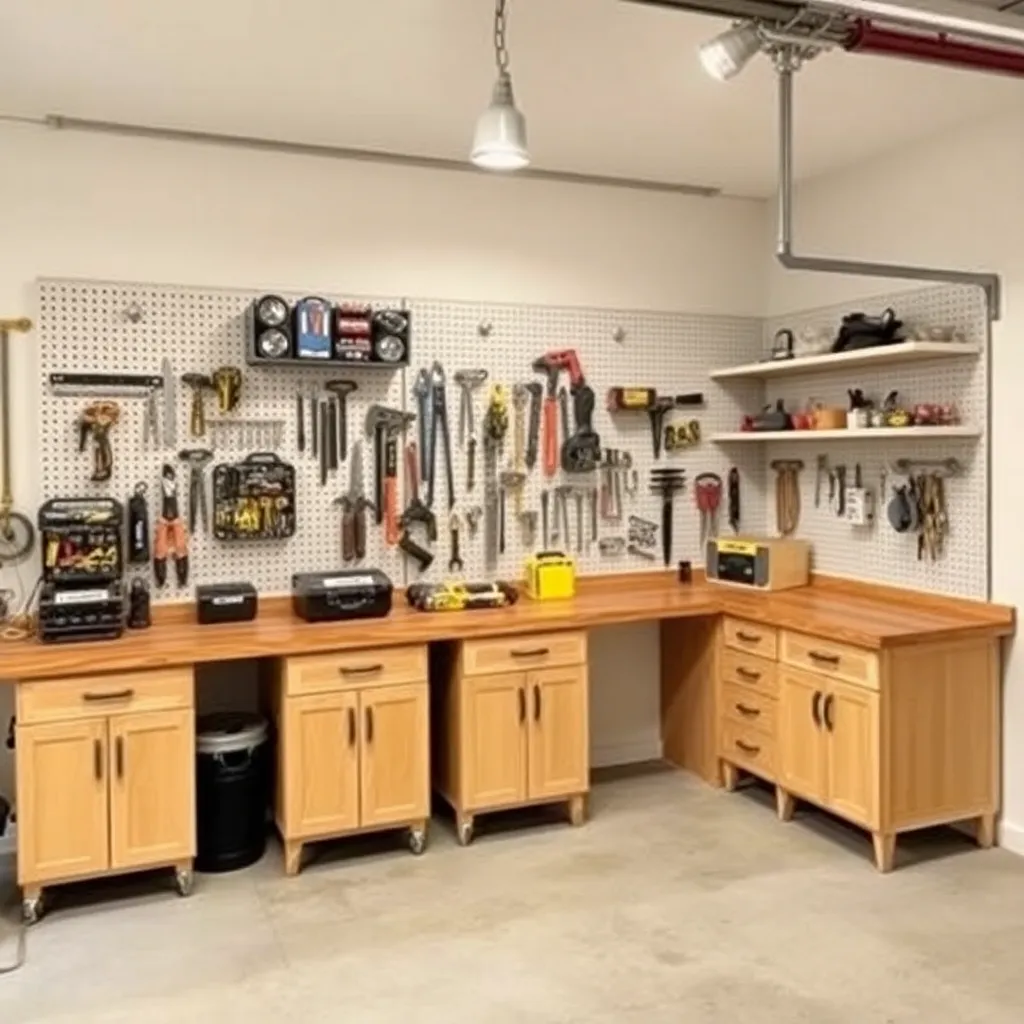
A garage workbench serves double duty — woodworking projects on weekends, mechanical work and general utility tasks the rest of the time. The requirements are different from a dedicated woodworking bench: more storage (for tools of all types), a more durable top (that can handle oil, solvents, and impact), and a depth that accommodates large automotive parts and sheet materials.
What’s covered: wall-mounted garage workbench design (against one or two walls), lower cabinet storage with pegboard back panel for tool hanging, depth (28–30 inches is better than 24 inches for automotive work), top material options (hardboard over plywood for a replaceable work surface, butcher block for a premium look), and electrical planning (outlets every 4 feet along the bench back).
Storage integration: base cabinets below the bench top (built from plywood using the same construction as kitchen cabinets) provide drawer and door storage. A pegboard back panel (4-foot sections with 1/4-inch peg holes on 1-inch centers) holds tools at eye level above the bench.
Workbench Top Ideas
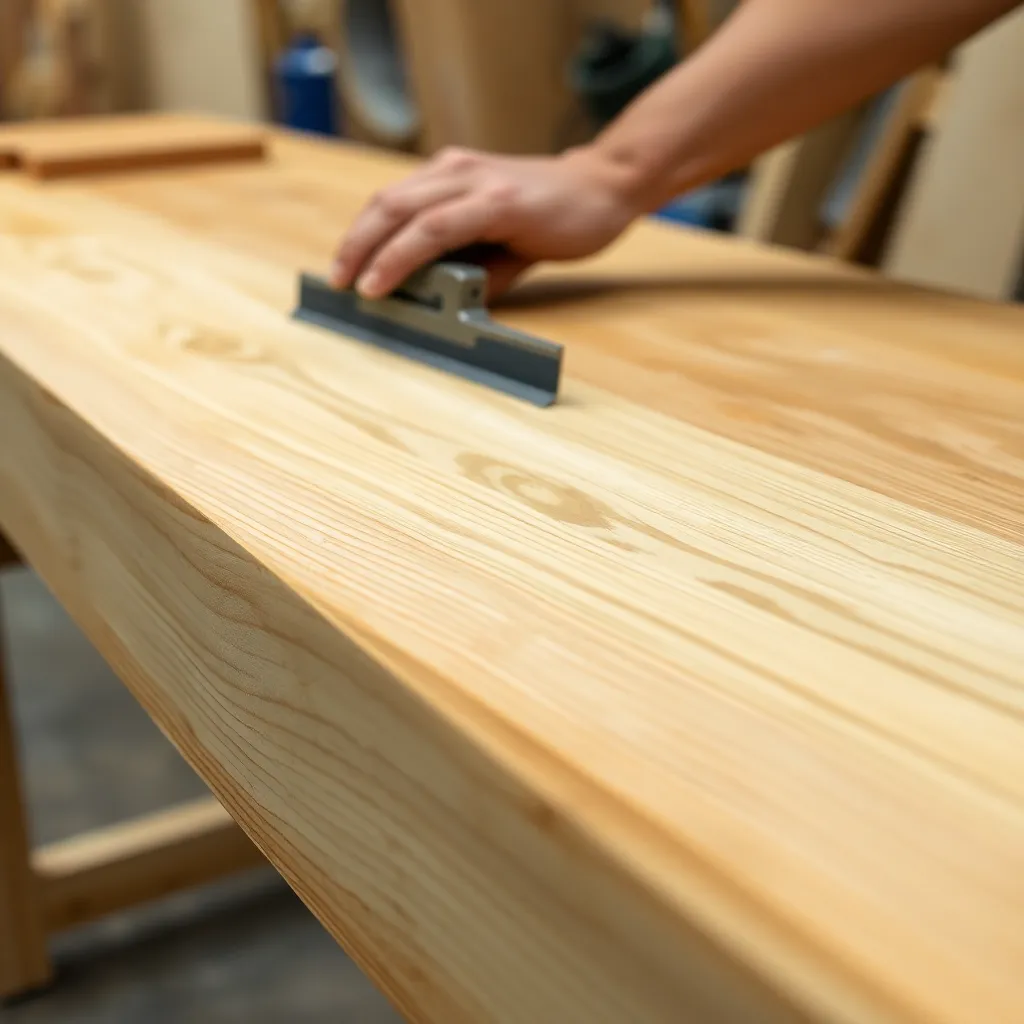
The workbench top is the most-used surface in the shop — it must be flat, hard, and durable enough to survive decades of heavy use. The top material and construction determine how the bench performs for planing (needs to be very flat and stiff), assembly (needs to be flat with reliable clamping positions), and general utility (needs to resist dents, glue, and solvents).
What’s covered: the 5 most common workbench top materials (hard maple laminate, Douglas fir laminate, butcher block, MDF, plywood), how to flatten a workbench top with a hand plane or router sled, dog hole spacing and sizing for bench vises and holdfasts, the best surface treatments for workbench tops (boiled linseed oil is traditional — it doesn’t build up and create a slippery surface), and adding a replaceable hardboard surface for messy work.
Top material comparison: hard maple laminate (the benchmark — extremely hard, holds up for decades, expensive); Douglas fir laminate (2×4s glued face-to-face, very affordable, not as hard as maple but excellent for most uses); butcher block (visually appealing, good hardness, available pre-made from kitchen suppliers); MDF (very flat, inexpensive, but not durable for hard use — good for assembly tables, not hand tool benches).
Workbench Plans FAQ
How tall should a workbench be?
Standard workbench height is 34–36 inches for most people — approximately knuckle height when standing with arms relaxed at the sides. This height works for both hand tool and power tool work. For a bench used primarily for hand planing: go lower (31–33 inches) so body weight can be applied to the plane without bending the elbows upward. For a bench used primarily for assembly or detailed work (small joinery, carving): go higher (36–38 inches) to bring the work closer to the eyes and reduce back strain. The best approach: build the bench frame at a comfortable height and shim or trim the legs to your exact knuckle height before attaching the top.
What wood should I use for a workbench top?
Hard maple is the professional standard — Janka hardness 1450 lbf, resists denting from tools and clamps, stays flat with proper wood movement design, and with regular oiling lasts indefinitely. The alternative: laminated construction lumber (2×4 Douglas fir or southern yellow pine glued face-to-face). A laminated fir top is very affordable, strong, and flat enough for most woodworking. It dents more than maple but is easily flattened with a hand plane, and the low cost means you’re not precious about a work surface that takes daily abuse. Avoid exotic hardwoods (they’re expensive and wasted on a surface that will be gouged, stained, and planed repeatedly) and MDF (too soft and moisture-sensitive for a workbench top).
Do I need a vise on my workbench?
A vise is not required to get started — a planing stop (a cleat screwed to the end of the bench top) gives hand planes something to push against, and bench dogs or clamps hold work for most operations. But a vise significantly expands what you can do: it holds boards on edge for planing, secures work vertically for sawing joints, and grips boards of any width without the setup time that clamps require. The most useful single vise for most woodworkers: a face vise (mounted on the left front leg of the bench for a right-handed user) — also called a front vise or shoulder vise depending on its design. A quality quick-release face vise (Yost, Irwin, or Groz) costs $60–$120 and can be added to any workbench.
How long does it take to build a workbench?
A simple construction-lumber workbench (4×4 legs, 2×4 frame, plywood top) takes one weekend — approximately 8–12 hours including material cutting, assembly, and installation. A mid-level bench with a laminated top and a face vise takes 2–3 weekends (16–24 hours). A traditional hand-tool workbench with a laminated maple or fir top, tail vise, and shoulder vise is a major project — 60–100 hours for an experienced woodworker, more for a first build. Most woodworkers advise building a simple bench first (the $150 construction-lumber version) to have something to work at while learning, then building a better bench once you know more about how you actually work.

“DIY woodworking enthusiast who started with zero experience and a YouTube tutorial.
I build simple, practical projects for my home and share free plans
so other beginners can skip the guesswork.If I can build it, you can too.”