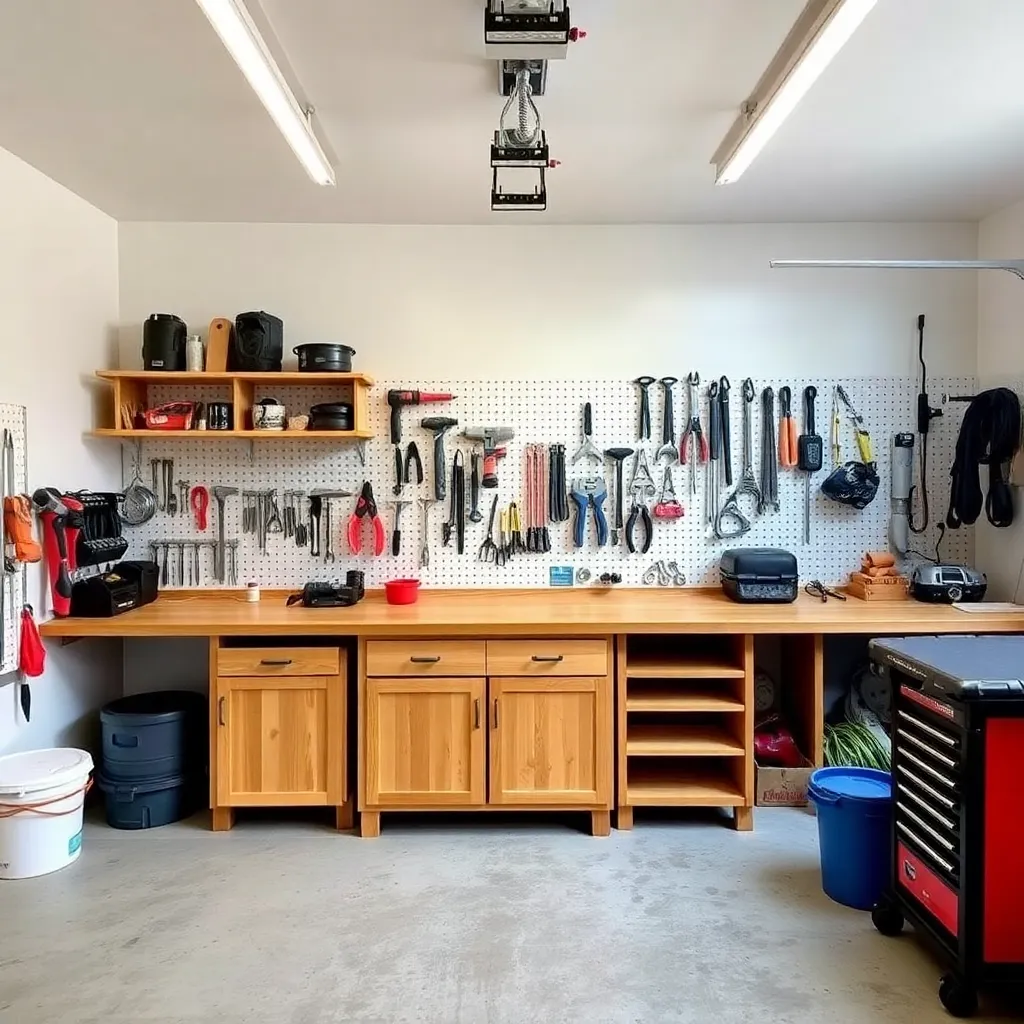
A garage workbench serves more purposes than a dedicated shop bench — woodworking, automotive work, home repair, hobby projects, and general assembly all happen on the same surface. The best garage bench design accounts for this: more storage than a pure woodworking bench (drawers, cabinets, pegboard), a durable replaceable top surface, adequate depth for large projects, and integrated electrical outlets. This plan produces a full wall of garage bench workspace with maximum storage.
Ted’s Woodworking has complete garage workbench and storage plans. Browse Ted’s plans →
This guide is part of our complete Workbench Plans: Shop Benches, Sawhorses & Tool Storage — covering workbench designs, sawhorses, tool storage, and more.
Step 1: Plan the Bench Layout
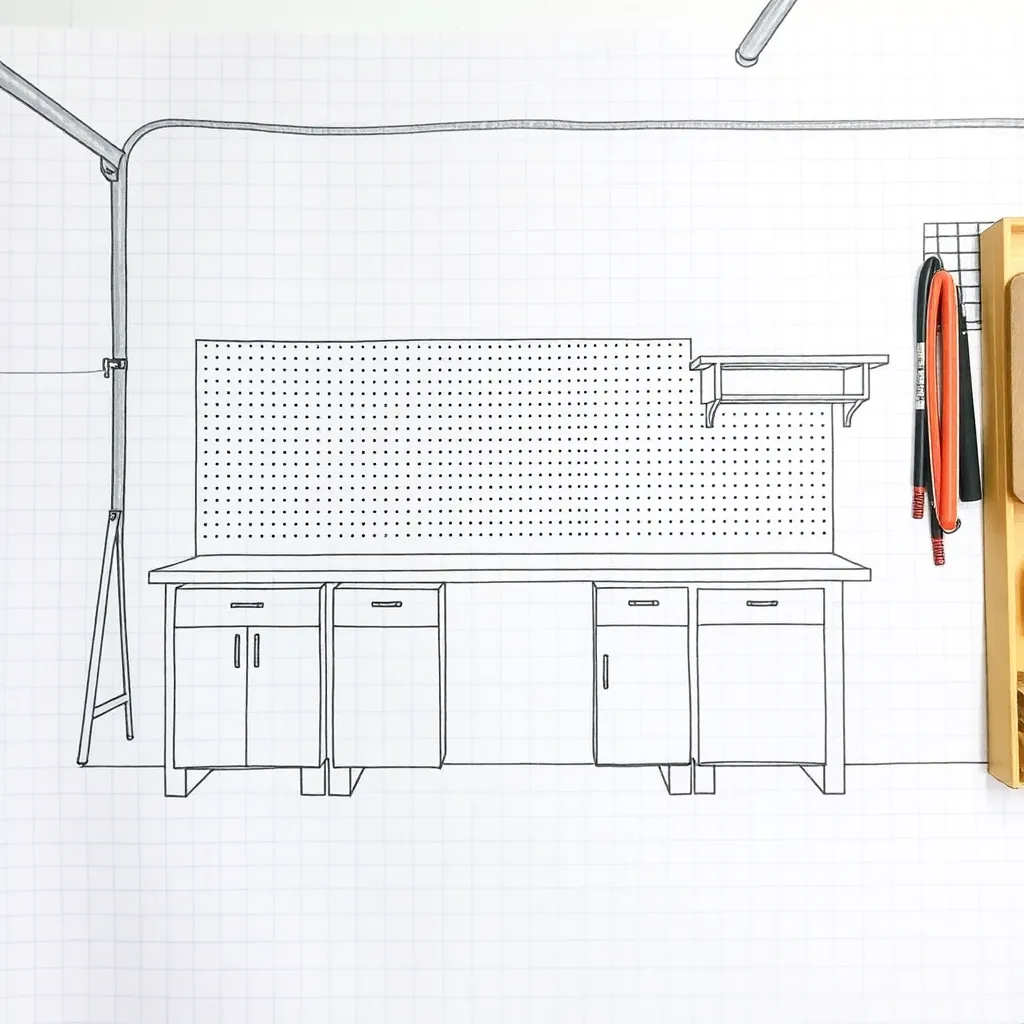
Goal: Design the bench to fit your garage wall and use vertical space efficiently.
Measure the wall: determine the available length (typically 8–16 feet for one wall), the ceiling height, and the locations of any obstructions (doors, windows, electrical panels, water heaters).
Standard dimensions:
- Height: 34–36 inches (standard counter height — the same as kitchen counters)
- Depth: 24–30 inches (24 inches matches standard base cabinet depth; 28–30 inches is better for automotive and large project work)
- Upper storage: 18–24 inches of clear wall above the bench for pegboard, shelving, or upper cabinets
Layout elements:
- Base cabinets or open frame base (your choice — see Step 2)
- Bench top (plywood, butcher block, or hardboard over plywood)
- Back panel (pegboard for tool hanging or plywood for mounting shelves)
- Upper cabinets or open shelving (optional)
- Electrical outlets (plan for one outlet every 4 feet along the bench back)
Milestone: Sketch the complete bench layout on graph paper, including storage below, the back panel, and any upper storage.
Step 2: Choose the Base — Frame or Cabinets
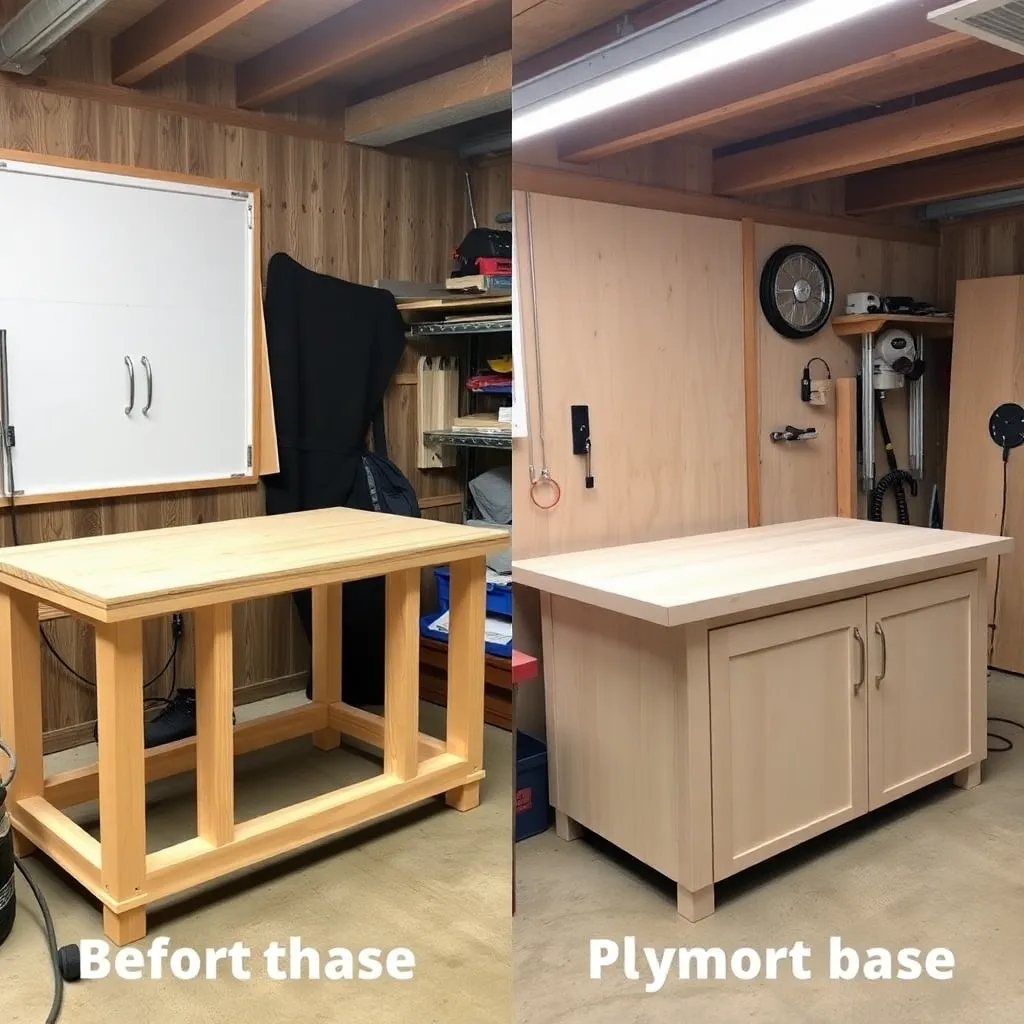
Goal: Decide between a simple wood frame base and a base with enclosed cabinet storage.
Option 1 — Open frame base: 4×4 legs, 2×4 rails, same construction as the basic DIY workbench. Add a lower shelf for storage. Fastest to build, least expensive, most flexible (easy to add a rolling tool cabinet underneath). Best choice if budget is limited or you expect the bench layout to change.
Option 2 — Plywood cabinet base: build plywood boxes (same construction as kitchen base cabinets) that support the bench top. Each cabinet is 24 inches wide × 24 inches deep × 34.5 inches tall. Three to four cabinets span a 6–8 foot wall section. Drawers, shelves, and doors add organized storage. Best choice for a permanent, organized shop.
Option 3 — Commercial steel workbench base: steel workbench bases are available from industrial suppliers (Gladiator, Husky, Gorilla) in standard configurations with drawers and lower shelves. More expensive than wood but very strong and quick to assemble.
Wall-mounting option: attach a ledger board (2×6 or 2×8) to the wall studs at the correct height; the bench top rests on the ledger at the back and on a single row of front legs. This saves floor space and makes the area under the bench fully open.
Milestone: Choose a base type, estimate the material cost, and verify it fits the budget before starting.
Step 3: Build or Install the Base
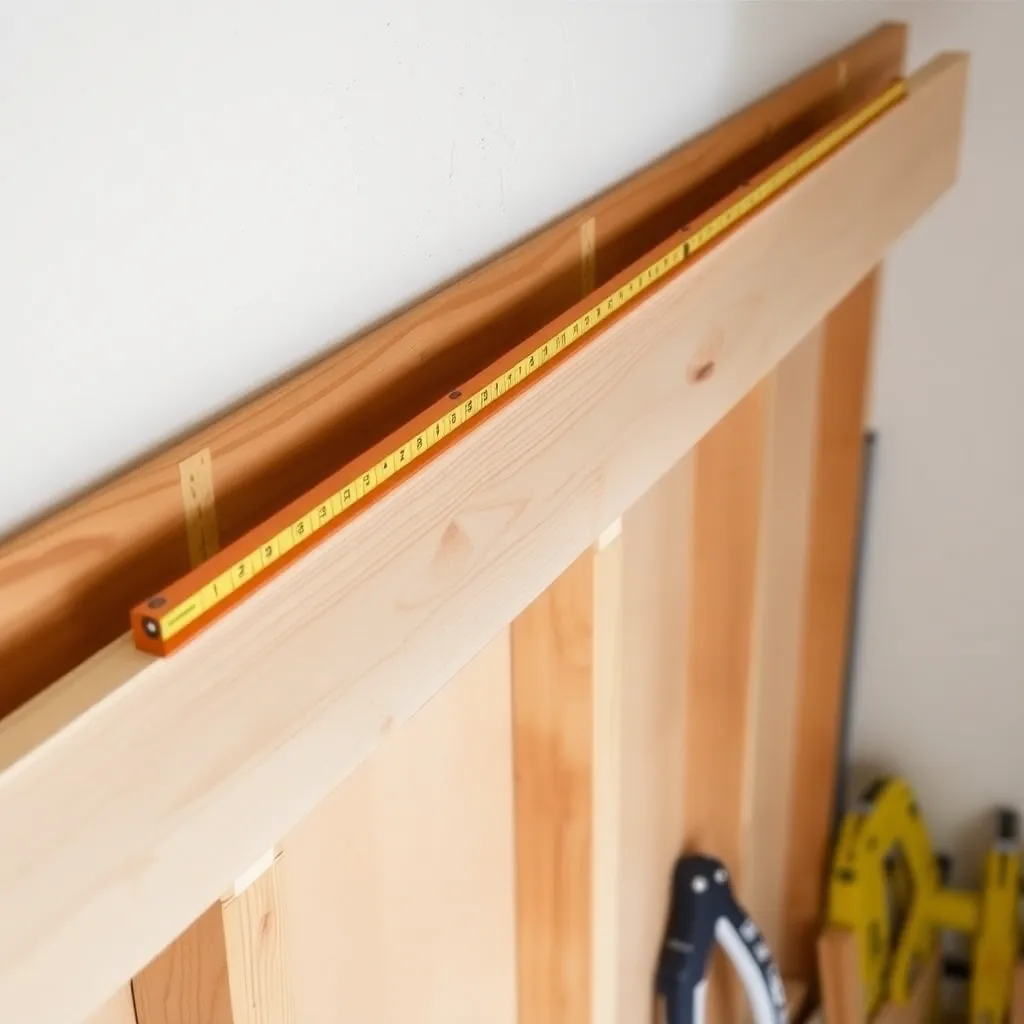
Goal: Construct the base at exactly the right height and level.
For a frame base:
- Attach a ledger board to the wall studs at 34.5 inches from the floor (for a 34.5″ bench height, which gives 36″ with a 1.5″ top)
- Build front leg pairs from 4×4 lumber, spaced every 4 feet
- Connect the front legs to the ledger with 2×4 rails
- Add cross-bracing or plywood panels at the ends for racking resistance
For a cabinet base:
- Build plywood boxes to 34.5 inches tall × 24 inches deep × desired width
- Screw to wall studs through the back panel of each cabinet
- Level each cabinet — shim the bottom if the floor is uneven
- Fasten cabinets together through the shared side panels
Level is critical: the bench top must be level across its full length. Use a 4-foot level and a long straightedge during installation. Shim low spots before attaching the top.
Milestone: The completed base is level across its full length within 1/8 inch per 8 feet.
Step 4: Build and Attach the Bench Top
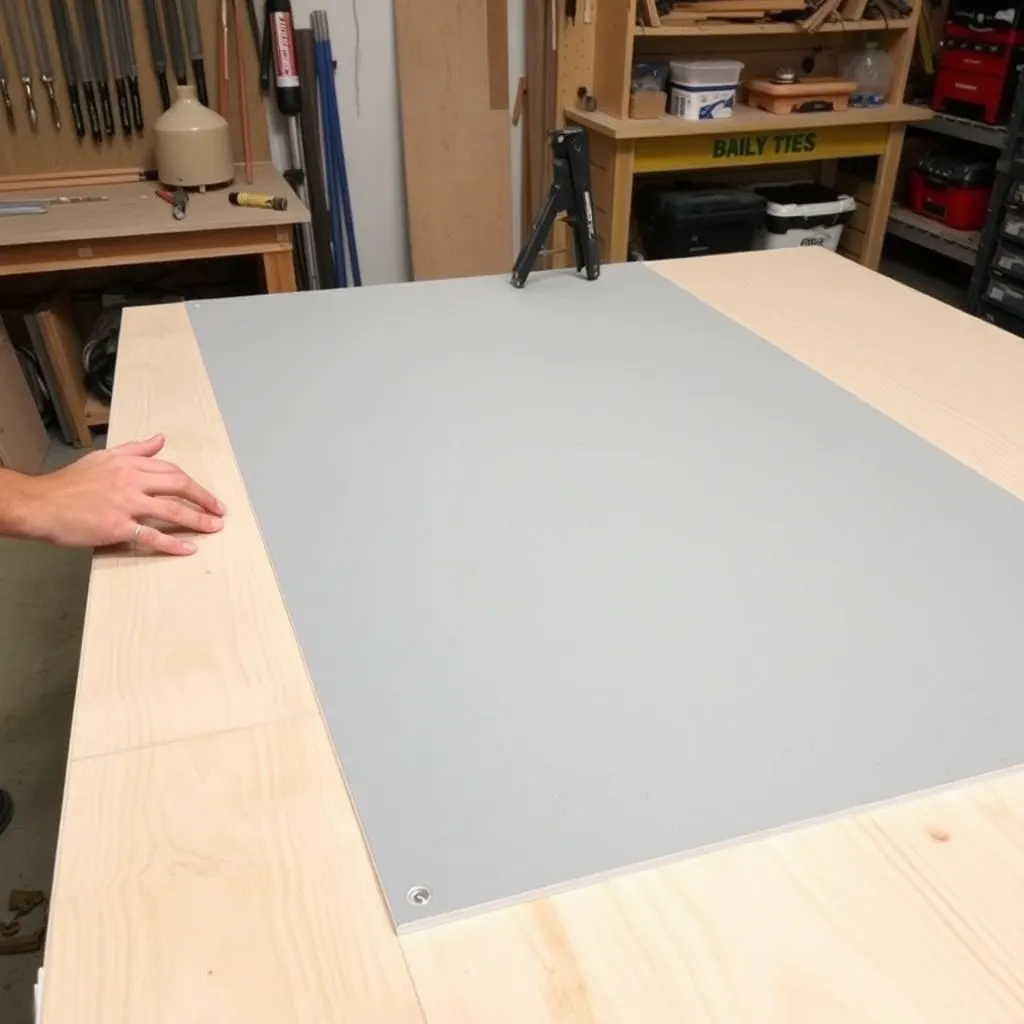
Goal: Build a durable bench top that handles diverse shop and garage tasks.
Top construction:
- Base layer: ¾” plywood (one sheet per 4 feet of bench length)
- Surface layer: ¼” hardboard (smooth side up) — a sacrificial replaceable surface
The hardboard top surface is the key feature of a garage bench — when it gets too cut up, scratched, or stained, remove the hardboard and install a new sheet. The plywood base stays; only the $10 hardboard sheet gets replaced.
Assembly:
- Cut plywood to the bench depth (24–30 inches) and length in sections that align with the base
- Screw plywood to the frame or cabinet base — one screw every 12 inches
- Cut hardboard to fit and staple or nail to the plywood top surface
- Ease the front edge with a router (roundover bit) to prevent sharp edge injuries
Edge treatment: a 2×4 or 2×6 solid wood cleat screwed to the front edge of the plywood creates a thick front apron — protects the plywood edge, provides a surface for clamps, and gives the bench a finished appearance.
Milestone: The completed top is flat (no more than 1/16″ deviation over 6 feet) and the hardboard surface is tight against the plywood with no gaps.
Step 5: Install the Back Panel and Lighting
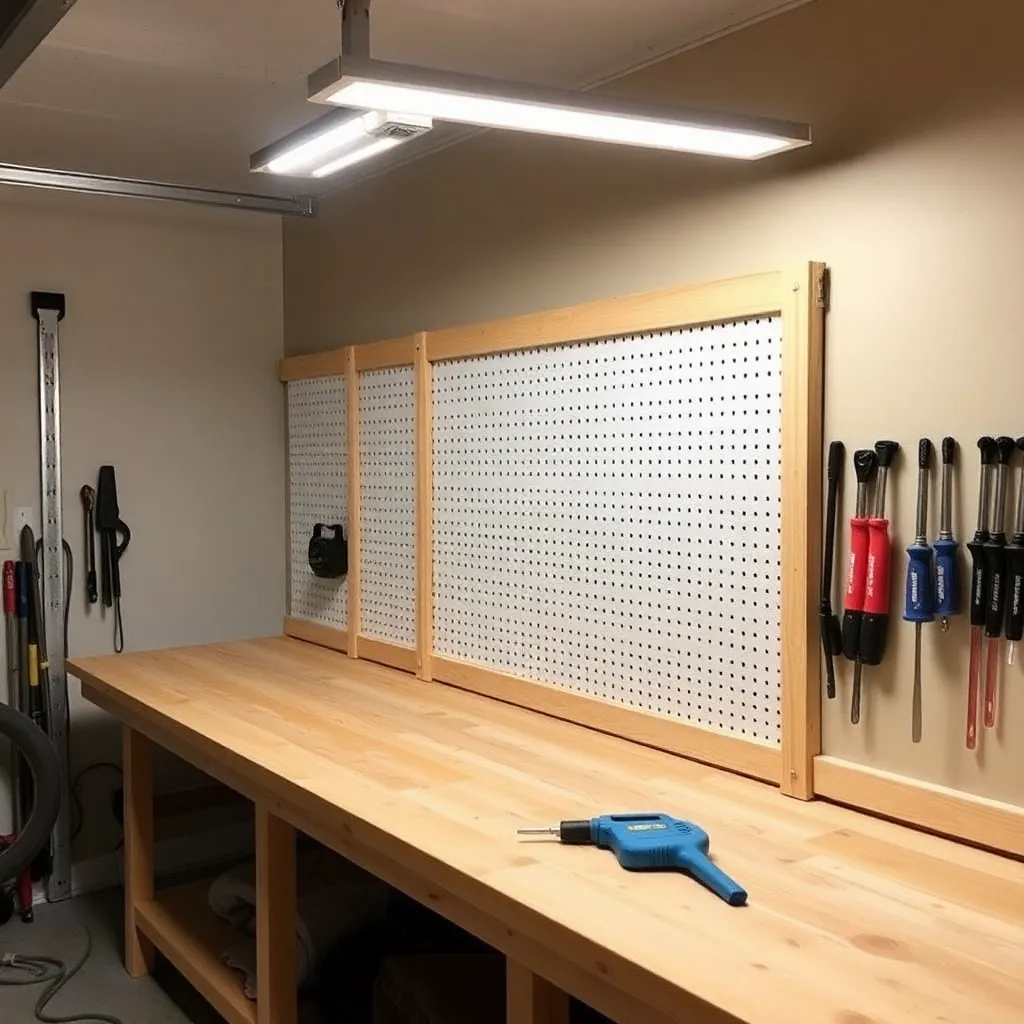
Goal: Install a pegboard back panel and adequate lighting over the bench work area.
Pegboard installation:
- Cut ¼” pegboard to fit the space between the bench top and the upper cabinets (or ceiling)
- Install ¾” spacer strips (wood strips that create a gap behind the pegboard for peg hook insertion) around the perimeter of the pegboard area
- Screw pegboard to the spacers — the gap between pegboard and wall is essential
- Install peg hooks for tools — hooks rated for the weight of the heaviest tool they’ll hold
Lighting: fluorescent or LED shop lights mounted under upper cabinets or hung from the ceiling provide shadow-free illumination over the work surface. Position lights so they’re directly above the bench front edge, not behind the worker. Minimum: one 4-foot shop light per 4 feet of bench length.
Electrical: add electrical outlets along the back panel — one outlet (duplex, 20-amp circuit) every 4 feet. This work requires an electrician or a competent DIYer familiar with electrical code. Plan the outlet positions before installing the back panel — run conduit or wire through the wall to the outlet boxes.
Milestone: Hang 10 tools on the pegboard and verify the hooks hold at the correct height for easy reach from the work surface.
Step 6: Add Storage and Finishing Details
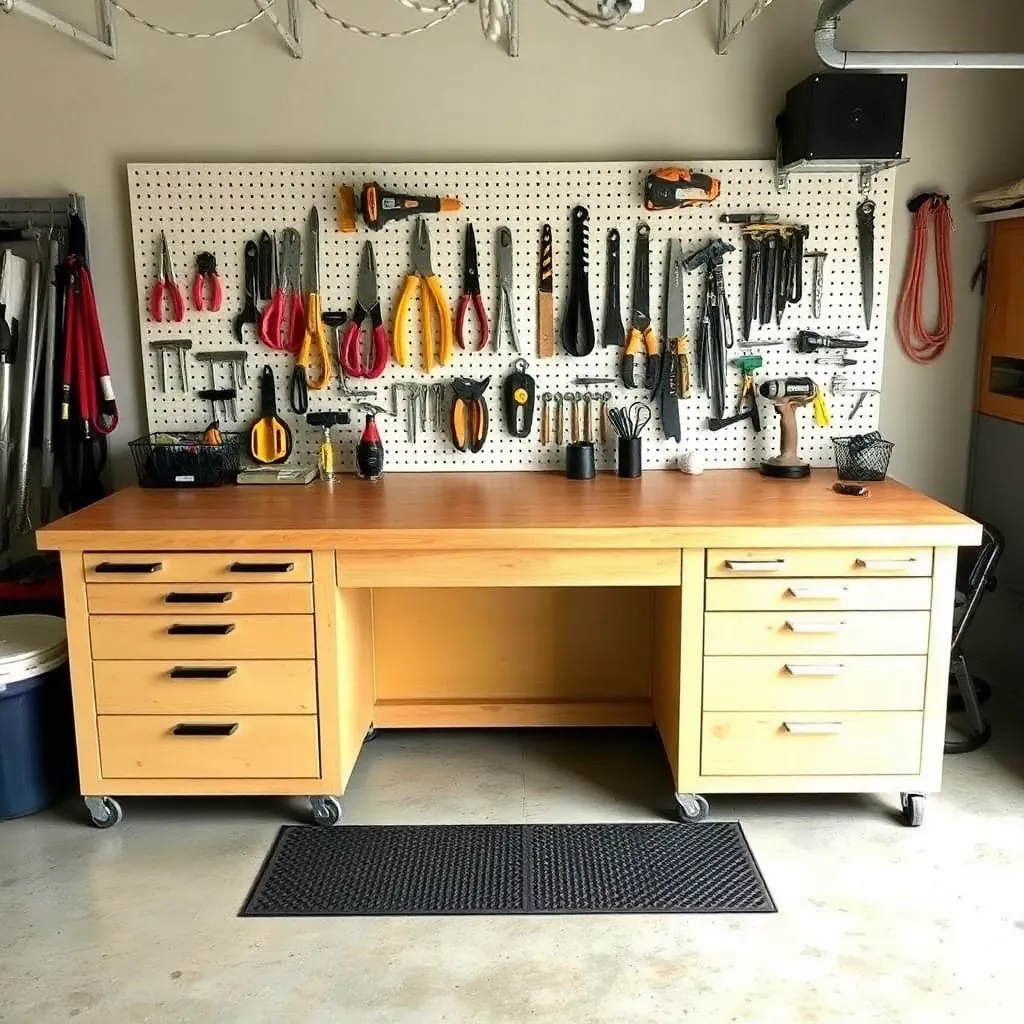
Goal: Complete the bench with organized storage and finishing details.
Drawer installation (for cabinet base):
- Install drawer slides at 12-inch vertical spacing
- Build drawer boxes from ½” Baltic birch plywood
- Install drawer fronts (solid wood or plywood) with a 1/16″ reveal between adjacent drawers
Lower shelf (for frame base):
- Install a lower shelf at 12–15 inches from the floor — adequate for most power tools and storage bins
- Leave one section without a lower shelf for a rolling tool cabinet
Vise installation:
A quick-release face vise on the left end of the bench (for right-handed users) handles most woodworking clamping tasks. Mount the vise body to the left front leg; the vise jaw aligns flush with the bench front edge.
Finishing:
- Paint the frame and cabinet exteriors with floor paint (durable, easy to clean)
- Apply one coat of boiled linseed oil to the hardboard top (protects the surface and makes cleanup easier)
- Install anti-fatigue mats in front of the bench — standing on concrete for hours without cushioning causes significant fatigue
Milestone: Use the completed bench for a full shop session and note any storage gaps or ergonomic issues to address.
Garage Workbench Plans FAQ
What is the best material for a garage workbench top?
A two-layer top (¾” plywood base + ¼” hardboard surface) is the most practical choice for a garage bench. The hardboard provides a smooth, replaceable work surface that can handle glue, oil, paint, and abrasion. When it gets too damaged, peel it off and install a new sheet — the plywood base stays and the replacement cost is $10–$15. For a woodworking-focused garage bench where flatness matters more: a laminated hard maple top or butcher block provides a harder, flatter surface but costs significantly more. For the most durable and easiest-to-clean option: a stainless steel top (available from commercial kitchen suppliers) handles solvents, chemicals, and heat that would damage wood.
How do I attach a workbench to the wall?
The most secure method: attach a ledger board (2×6 or 2×8) to the wall studs with 3-inch lag screws or structural screws. Locate wall studs (every 16 inches in most construction) and hit at least 3–4 studs with the ledger. The bench top rests on the ledger at the back and on front legs — no back legs required. For a freestanding bench: anchor the back legs to the wall with angle brackets or a cleat to prevent the bench from tipping forward under heavy front-edge loads. In a garage with concrete block walls: use masonry anchors (sleeve anchors or wedge anchors) to attach the ledger — drill into the block with a hammer drill and masonry bit.
Should I build drawers or use shelves under the workbench?
Both: drawers for small tools, hardware, and frequently accessed items (they keep dust off and items organized); shelves for larger tools, power tools, and storage bins. A good starting layout for a 6-foot bench: two 24-inch wide sections with 3 drawers each (bottom drawer 6 inches tall, middle 4 inches, top 3 inches) for the most-used section of the bench, and one open section for a rolling tool cabinet or large storage bins. The drawers take more time to build than shelves but dramatically improve organization — everything has a place and is immediately visible when the drawer opens.
How much does it cost to build a garage workbench?
A basic frame-base garage workbench (lumber frame, plywood top, pegboard back): $100–$200 in materials. A cabinet-base garage workbench with drawers and enclosed storage: $400–$800 depending on size and hardware. A full garage wall with upper cabinets and integrated lighting: $800–$1,500 for materials. The biggest variable in cost is the drawer hardware — soft-close full-extension drawer slides cost $20–$35 per drawer; basic slides are $5–$10. Building the bench yourself vs buying a commercial workbench (Gladiator, Husky, Craftsman) saves 60–70% of the cost for equivalent quality.

“DIY woodworking enthusiast who started with zero experience and a YouTube tutorial.
I build simple, practical projects for my home and share free plans
so other beginners can skip the guesswork.If I can build it, you can too.”