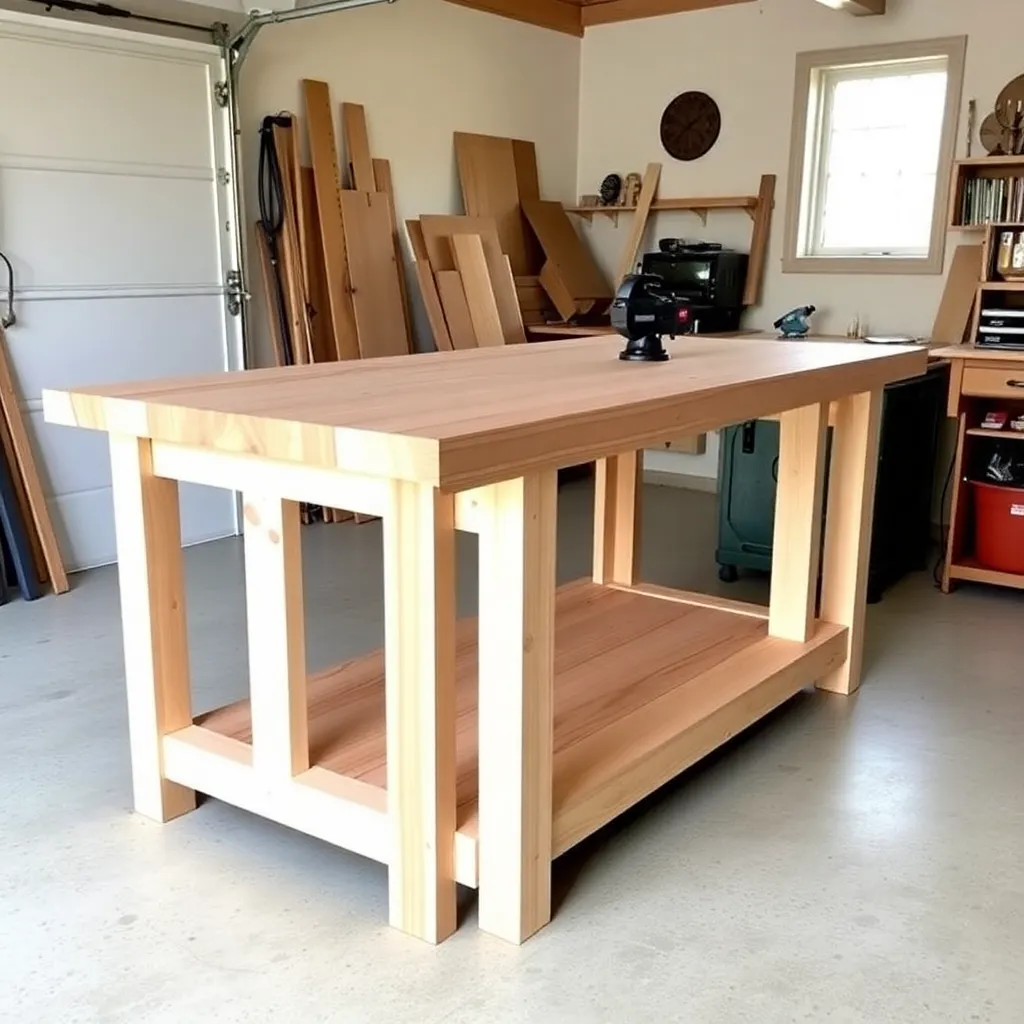
Workbench Plans: Build a Solid 8-Foot Garage Workbench for Under $250
A workbench is the most important thing in a workshop. Without one, everything happens on the floor, on sawhorses, or on a folding table that wobbles. A proper bench holds your vise, absorbs hammer blows, clamps stock from any direction, and stays put when you push against it. These workbench plans cover three designs: a classic 8-foot garage workbench in construction lumber that costs under $250, a folding wall-mounted bench for tight garages, and a heavy-duty Roubo-style bench with a leg vise for serious hand-tool work.
Ted’s Woodworking has over 16,000 plans including complete workbench plans for every skill level and shop size. Browse Ted’s workbench plans →
Step 1: Choose Your Workbench Design
Ted’s Woodworking has over 16,000 step-by-step plans with cut lists, materials lists, and detailed diagrams. Browse Ted’s plans →
The right bench depends on how you use your shop:
Classic garage workbench (this guide): 8 feet long, 24–30 inches deep, construction lumber top. Best for general DIY, automotive work, and assembly. Cost: $150–$250.
Folding wall-mounted bench: 6 feet long, 24 inches deep, folds flat against the wall. Best for one-car garages where every square foot counts. Cost: $80–$120.
Roubo-style hardwood bench: 7–8 feet long, 3-inch thick top, leg vise. Best for hand-tool woodworking — joinery, planing, carving. Cost: $400–$800 depending on wood species.
For most people building their first bench: the classic garage workbench. It’s fast to build, costs little, and does everything.
Step 2: Cut List for the Classic 8-Foot Workbench
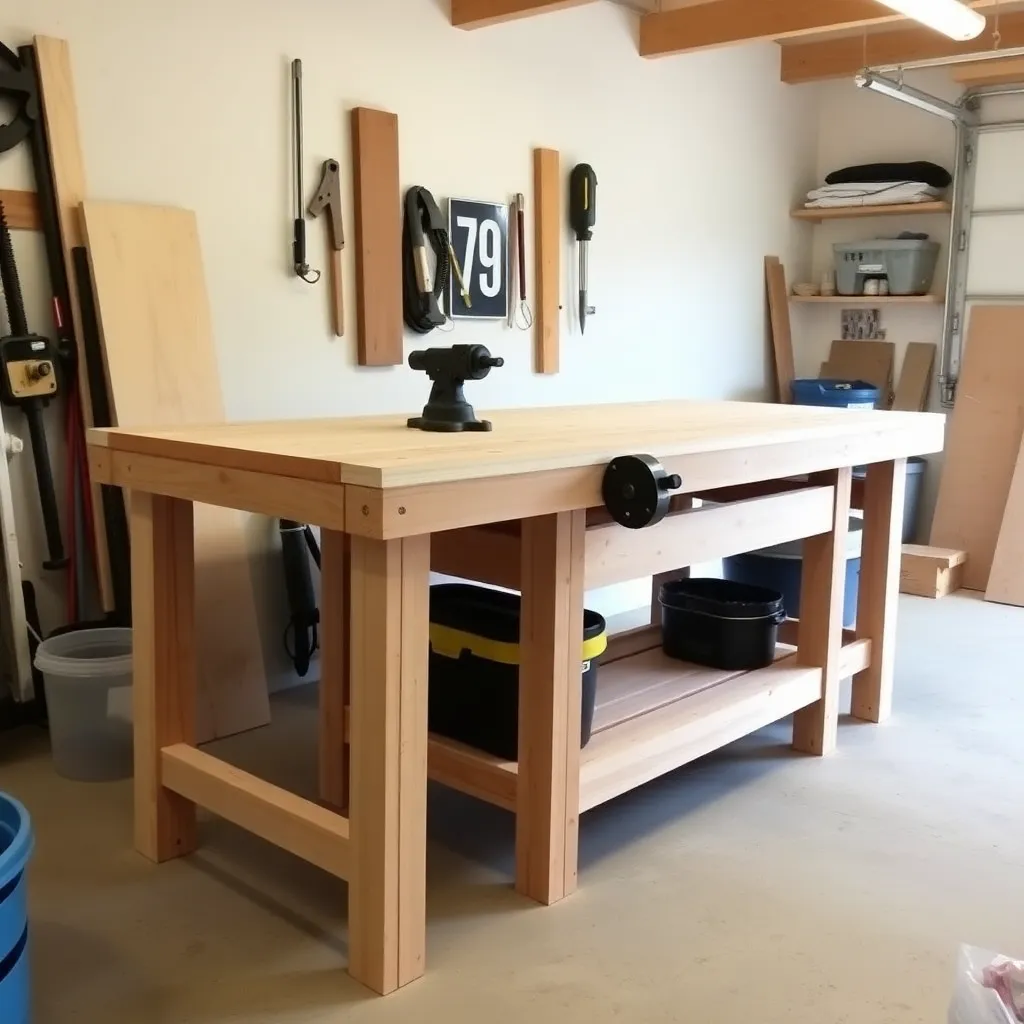
Materials (all dimensional lumber):
- 4 × legs: 4×4 at 34 inches (standard bench height — adjust ±2 inches to your preference)
- 4 × long stretchers: 2×4 at 93 inches (top and bottom rails along the 8-foot sides)
- 4 × short stretchers: 2×4 at 21 inches (top and bottom rails across the 24-inch ends)
- 3 × top planks: 2×6 at 96 inches (the work surface — glued and screwed edge to edge)
- Optional: 1 × shelf board: ¾-inch plywood at 21×93 inches (lower shelf between bottom stretchers)
Approximate lumber cost: $120–$180 at 2026 prices.
Step 3: Build the Base Frame
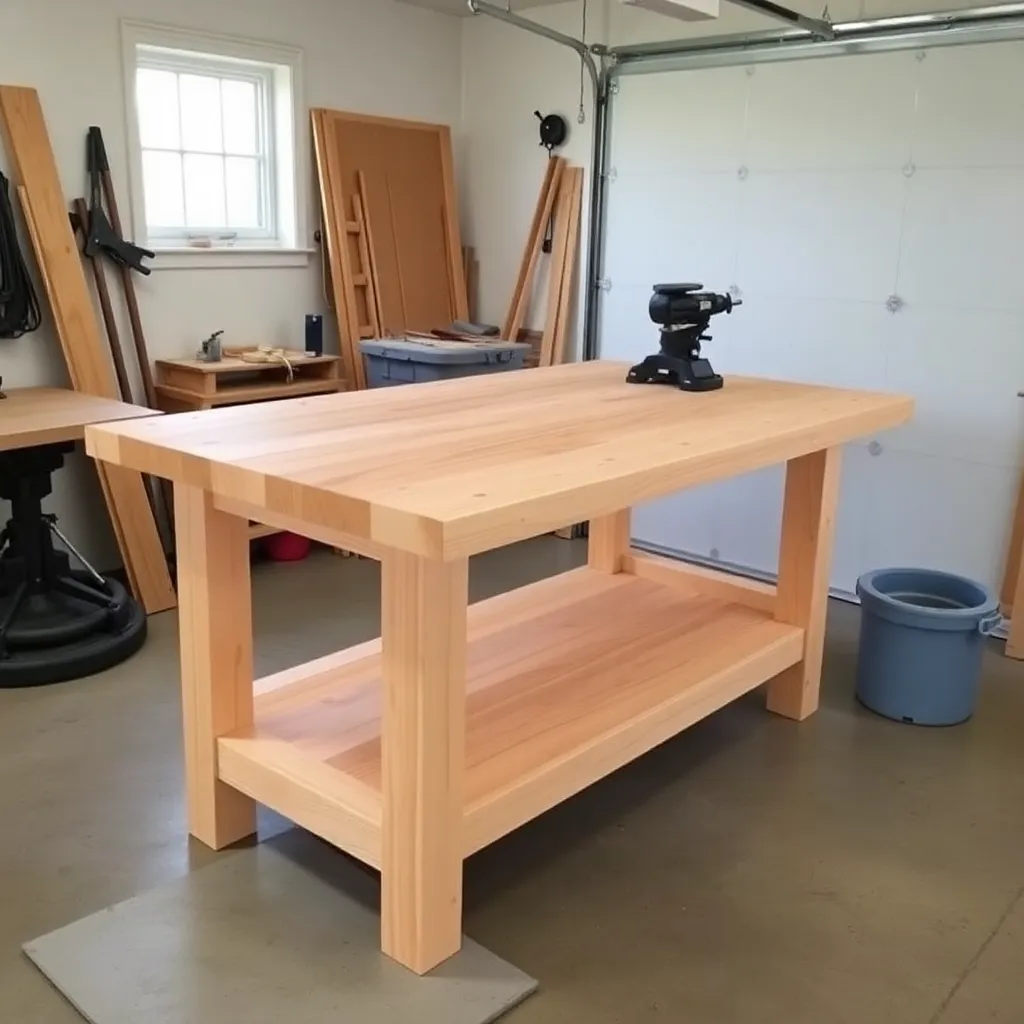
The base is two identical end frames joined by long stretchers. Build each end frame flat on the floor before assembly.
End frame assembly:
- Lay two 4×4 legs parallel, 21 inches apart (outside to outside)
- Cut two 2×4 short stretchers at 21 inches
- Attach the top short stretcher flush with the top of the legs — glue and two 3-inch screws per leg
- Attach the bottom short stretcher 4 inches from the floor — this leaves room for toe kick and floor sweeping
- Check square — diagonal measurements must be equal
Repeat for the second end frame. Then connect the two end frames with the four long stretchers. The top long stretchers go flush with the top of the legs. The bottom long stretchers align with the bottom short stretchers.
Use three 3-inch screws per joint everywhere. Glue is optional on the base but adds significant rigidity.
Step 4: Build the Work Surface
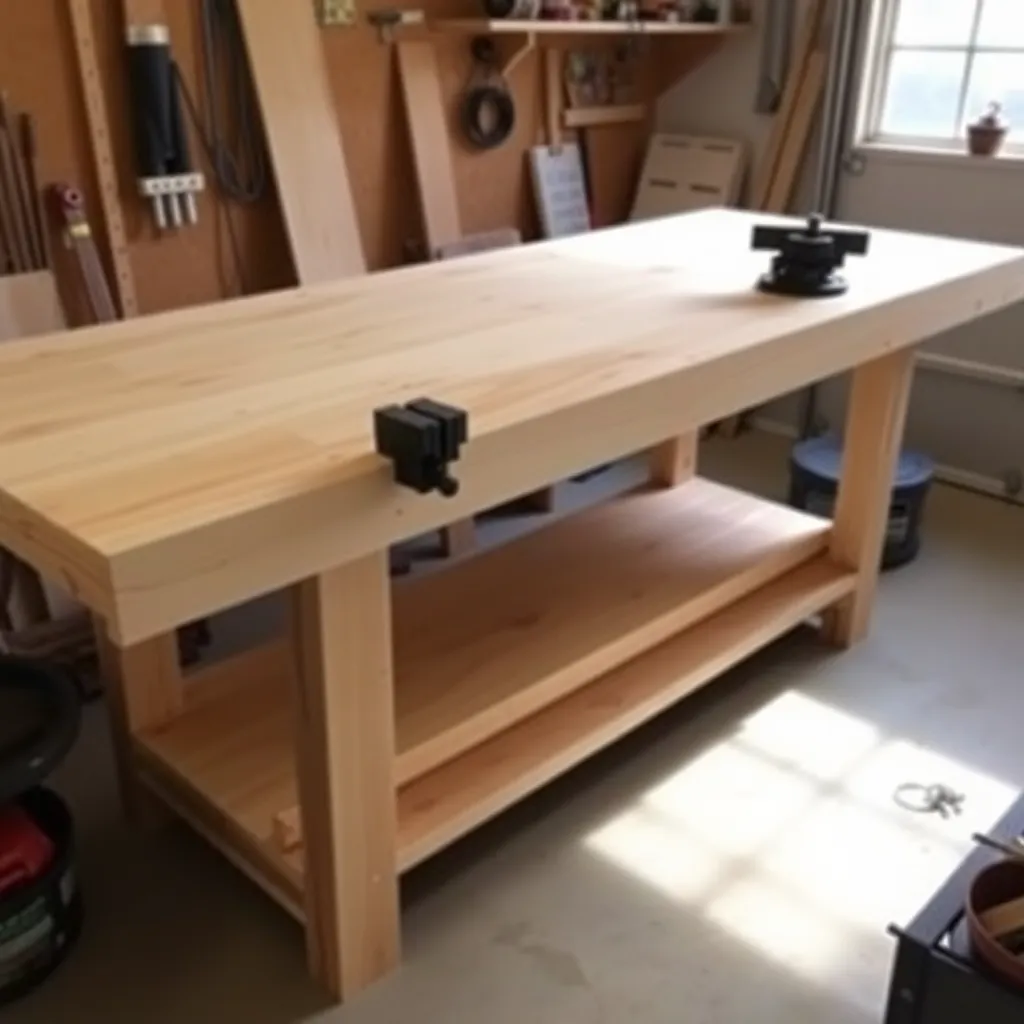
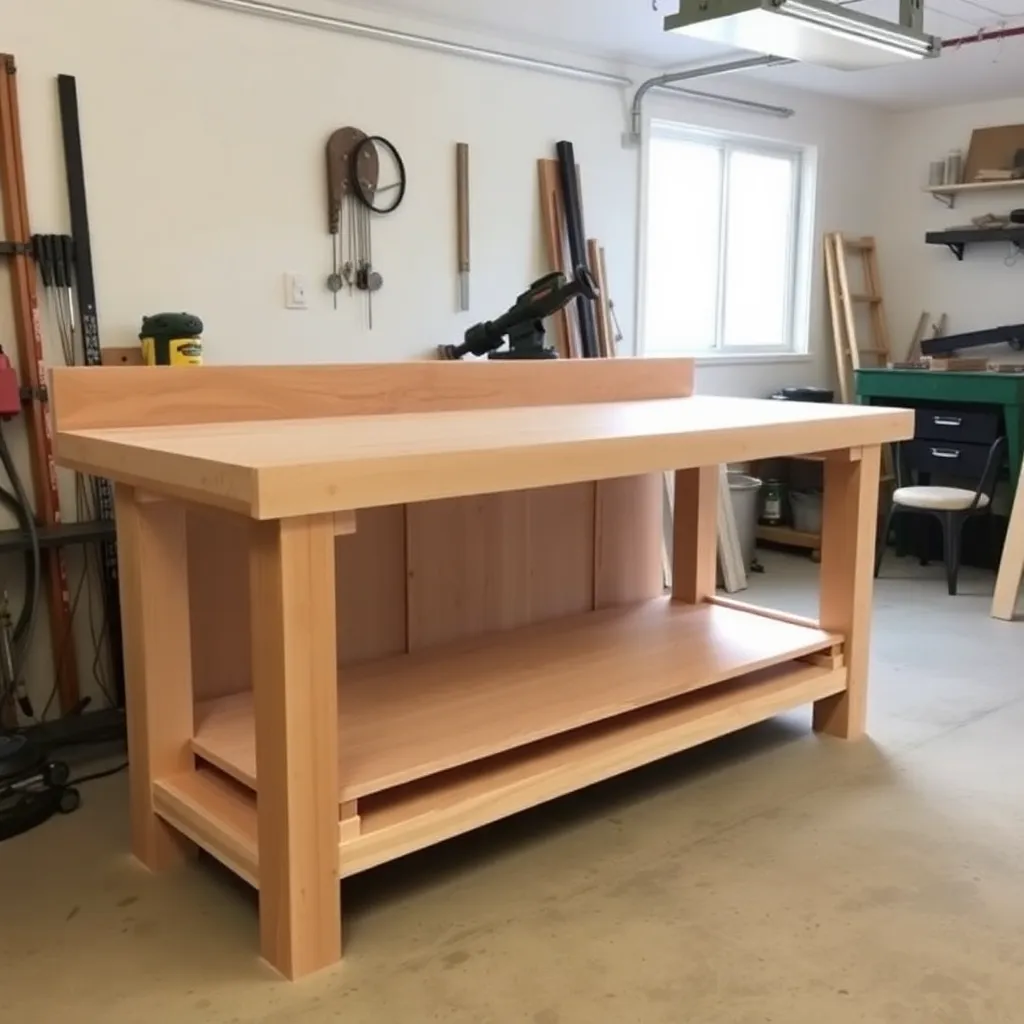
The classic bench top is three 2×6 planks glued and screwed edge to edge, creating a 17½-inch-wide × 96-inch-long top. Add two more planks for a full 24-inch-deep top (five 2×6 planks).
Top construction:
- Joint one edge of each 2×6 on a jointer, or hand-plane a reference edge
- Apply glue to mating edges and clamp the planks together
- After the glue sets, flatten the top surface with a hand plane or belt sander
- Optionally, apply two coats of boiled linseed oil (BLO) to the top — this seals the wood and makes cleanup easier without creating a film that can be damaged
For maximum strength, alternate the growth ring orientation of each plank when gluing — this distributes any cupping across the width rather than letting all planks cup in the same direction.
Step 5: Attach the Top and Add a Vise
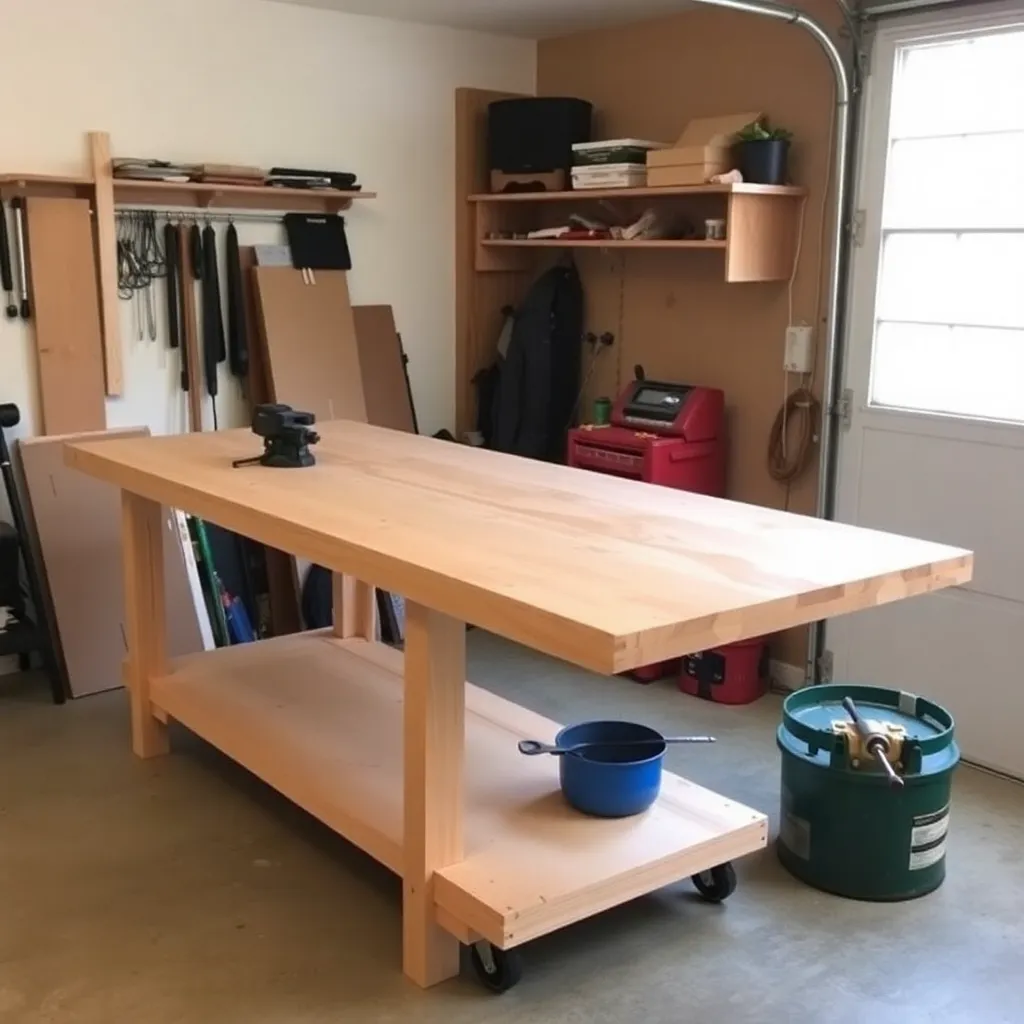
Attach the top to the base with figure-8 fasteners or elongated screw holes — this allows the solid-wood top to expand and contract seasonally without splitting.
Vise selection:
- Face vise: Mounts on the left end of the bench (for right-handed users), clamps workpieces vertically for sawing, drilling, and chiseling. The Record 52½E (7-inch cast iron) is the standard.
- Leg vise: A large vise mounted to the left leg — the most powerful bench vise design, holds wide panels and long boards. Requires a wooden jaw (parallel guide) to function correctly.
- Quick-release vise: Metal hardware-store vise — adequate for general work, not ideal for fine woodworking.
Mount the vise before the top goes on — access to the underside of the top is easier with the top off the base.
Step 6: Build the Folding Wall-Mounted Version
The folding bench uses two heavy-duty folding shelf brackets (rated 250 lbs each) mounted into wall studs. The work surface is a torsion box: two skins of ¼-inch plywood over an internal grid of 1×2 lumber, creating a lightweight but rigid panel.
Torsion box construction:
- Top and bottom skins: ¼-inch plywood at 24×72 inches
- Internal grid: 1×2 lumber at 3-inch spacing, glued to bottom skin, then top skin glued on
- Total weight: 18–22 lbs (far lighter than a solid top)
When folded, the bench surface sits flat against the wall, occupying only 3 inches of depth. A chain or cable on each side holds it level when deployed.
Ted’s Woodworking has over 16,000 step-by-step plans with cut lists, materials lists, and detailed diagrams. Browse Ted’s plans →
Workbench Plans FAQ
What height should a workbench be?
Standard is 34–36 inches — the height where most people can work without hunching. A precise way to find your ideal height: stand straight, let your arms hang naturally, and measure from the floor to your knuckles. That’s your bench height. Hand-tool woodworkers often prefer 2 inches lower than knuckle height to get more downward force on hand planes.
What wood is best for a workbench top?
Construction-grade Douglas fir 2×6 is the most common choice — hard enough to resist denting, cheap, and available everywhere. Hard maple is the premium option: extremely dense, resists dents and cuts, and planes glass-smooth. Avoid pine (too soft) and MDF (too heavy, no edge strength, swells with moisture).
Do I need a vise on a workbench?
For woodworking: yes. A face vise is the single most useful bench upgrade — it holds stock for every sawing, drilling, and chisel operation. For general DIY and automotive work: not essential. Clamps and bench dogs can substitute. But if you plan to build furniture or do any hand-tool work, a vise is mandatory.
How thick should a workbench top be?
A minimum of 3 inches for a serious bench — this provides mass (keeps the bench from moving), rigidity (prevents flex under planing), and depth for dog holes. A classic 2×6 glue-up is 1½ inches × 3 planks = 4½ inches — more than adequate. Thinner tops (single 2×6 or ¾-inch plywood) flex noticeably under heavy work.
Can I build a workbench in one day?
The classic garage workbench: yes. With pre-cut lumber from a home center, the base goes together in 3–4 hours. The top takes another 2–3 hours including glue-up time. Budget one full day and you’ll have a working bench by evening.

“DIY woodworking enthusiast who started with zero experience and a YouTube tutorial.
I build simple, practical projects for my home and share free plans
so other beginners can skip the guesswork.If I can build it, you can too.”