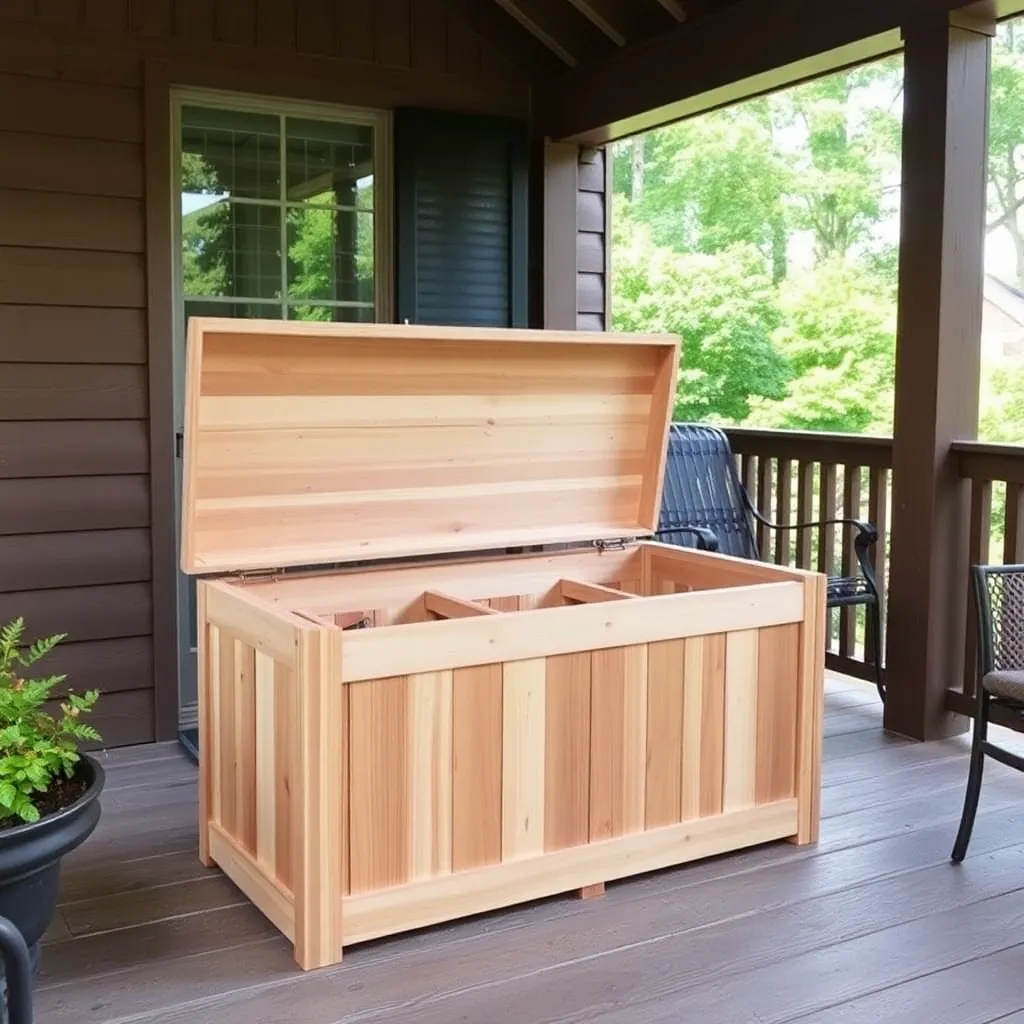
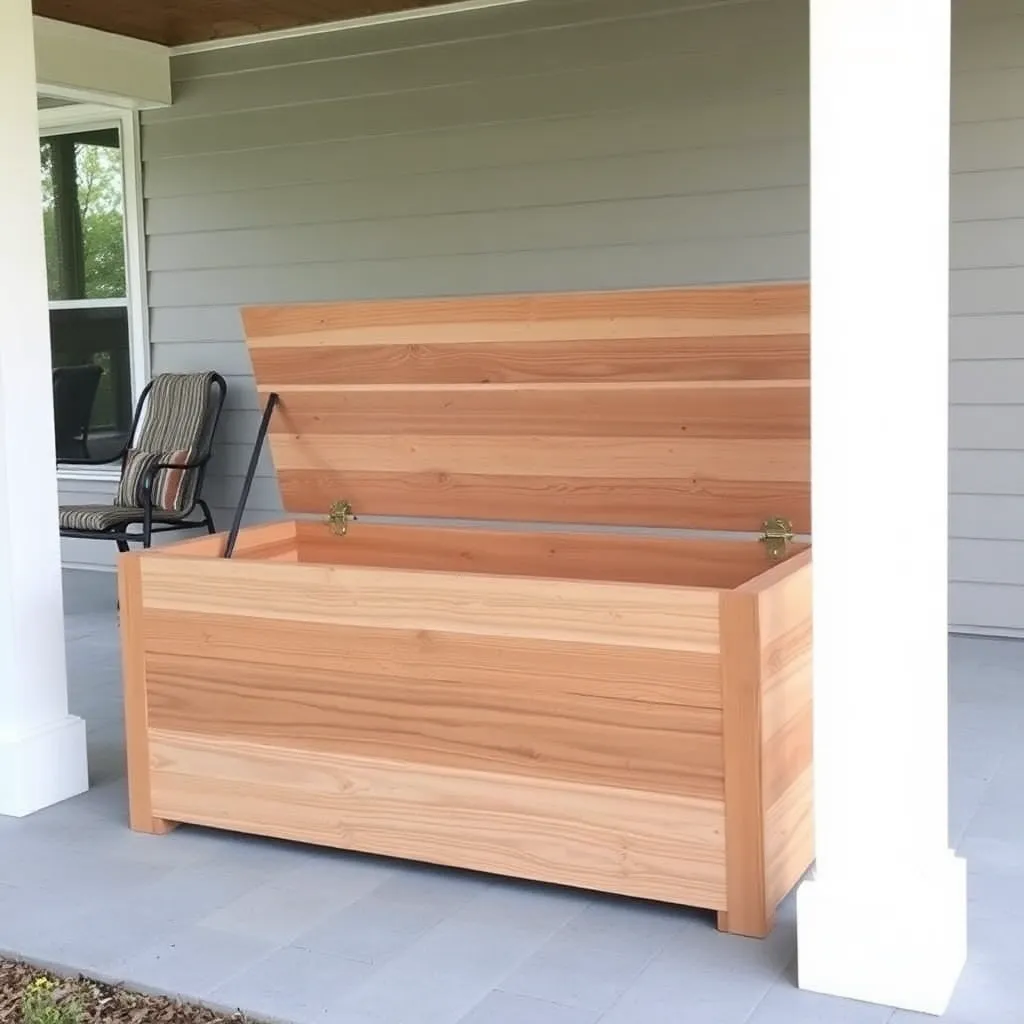
A firewood storage box solves the problem of wood on a covered porch or small deck where a rack looks cluttered — the lid doubles as a seat, a side table, or a serving surface. This cedar firewood storage box is 48 inches long × 18 inches wide × 24 inches tall, holds approximately 0.1 cord (enough for 3–5 fire nights), and can be built in a Saturday for $80–$120 in materials. The slatted base provides drainage and airflow to keep the wood dry; the hinged lid opens fully for loading and is held open by a chain so it doesn’t slam on your fingers.
Ted’s Woodworking has complete outdoor storage box plans in multiple sizes with hardware specs and finishing guides. Browse Ted’s plans →
Step 1: Choose the Wood and Dimensions
Ted’s Woodworking has over 16,000 step-by-step plans with cut lists, materials lists, and detailed diagrams. Browse Ted’s plans →
Cedar is the right choice for an outdoor storage box — it’s naturally rot-resistant, lightweight, holds paint and stain well, and weathers to an attractive silver-gray if left unfinished. Western red cedar is the most common species available at lumber yards. Avoid pressure-treated lumber for this application — the chemicals in PT wood are not ideal for a box that also functions as outdoor furniture.
Box dimensions:
- Length: 48 inches (4 feet) — accommodates standard 16-inch firewood logs laid three abreast
- Width: 18 inches — wide enough for two rows of logs
- Height: 24 inches — comfortable seat height for adults, maximizes storage volume
A 48×18×24-inch interior holds approximately 12 cubic feet — enough for 40–50 split logs of 16-inch length.
Scaling: The plans scale directly. A 36-inch box holds weekend supply; a 60-inch box approaches 0.2 cord. Adjust length only — keep width and height the same for structural simplicity.
Step 2: Build the Box Frame
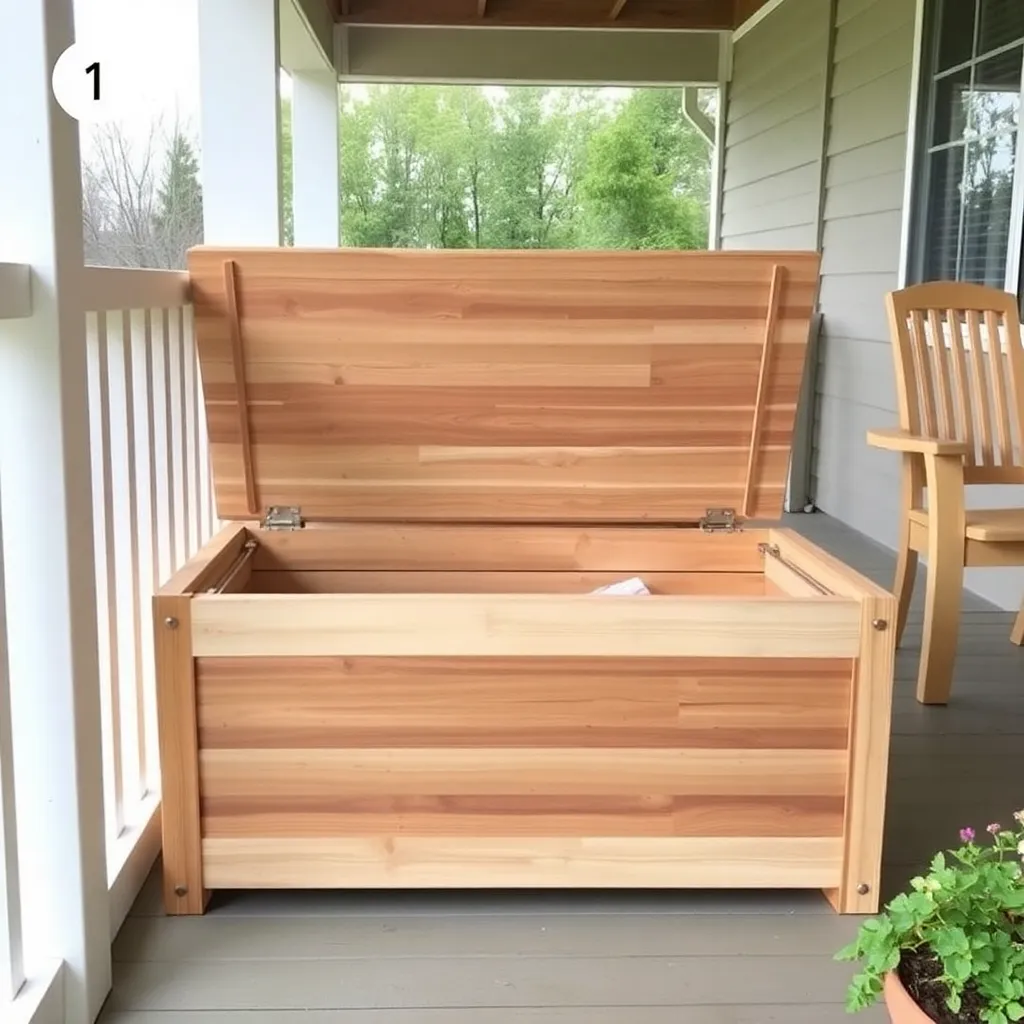
The box uses a simple 2×4 frame with cedar board cladding on the outside and a slatted cedar base.
Cut list for the 2×4 frame:
- 4 × vertical corner posts: 2×4 at 23¼ inches (inside the lid — the lid adds ¾ inch)
- 4 × long horizontal rails: 2×4 at 45 inches (top and bottom, front and back)
- 4 × short horizontal rails: 2×4 at 15 inches (top and bottom, left and right ends)
Assembly:
- Build two end frames: two corner posts connected by top and bottom short rails. Use pocket screws (Kreg jig) or ½-inch carriage bolts at each joint.
- Connect the two end frames with the long horizontal rails — one at the top front and back, one at the bottom front and back.
- Check for square — the frame must be square before adding cladding, because the cladding makes correction impossible after.
Step 3: Add Cladding and Slatted Base
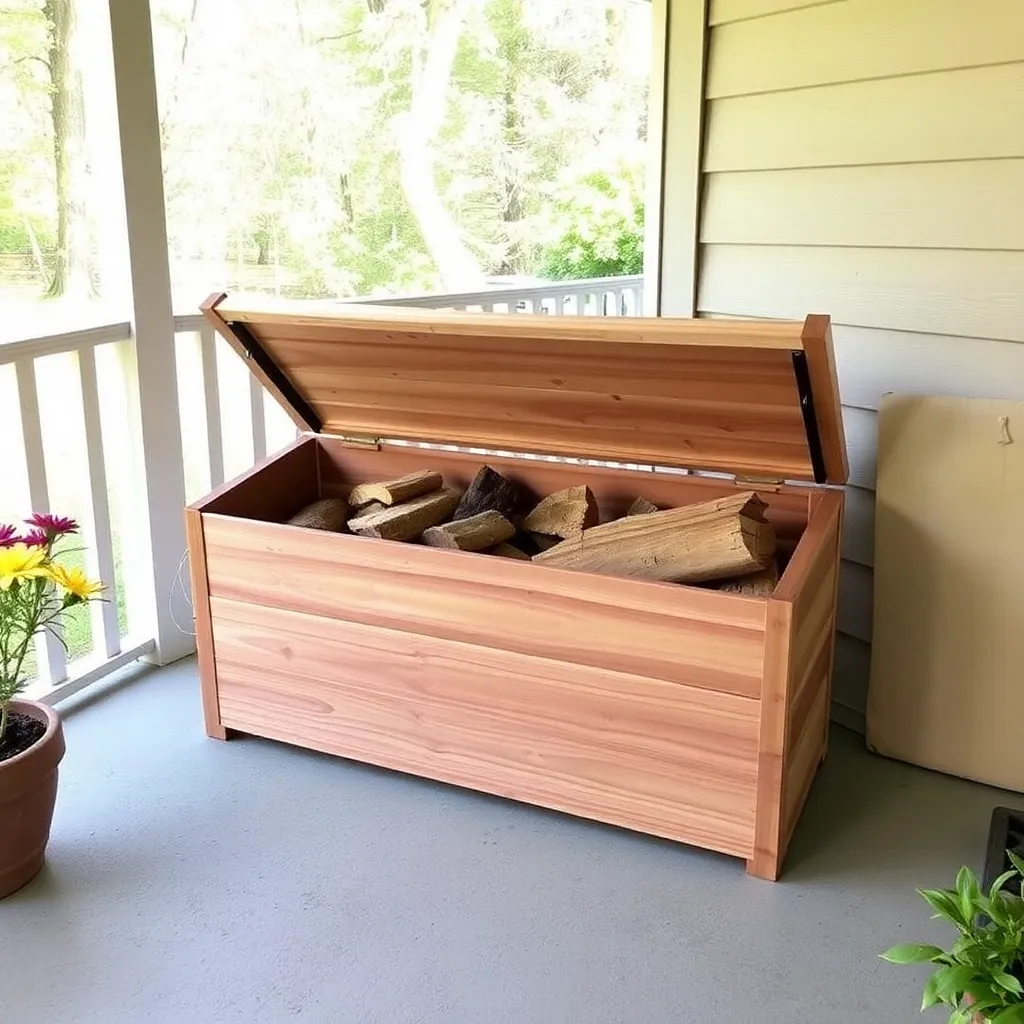
Exterior cladding:
- 1×6 cedar boards, ripped to 5½ inches wide if needed (most 1×6 cedar boards are already 5.5 inches actual width)
- Run boards horizontally around the perimeter of the frame, from the bottom rail to the top rail
- Leave ¼-inch gaps between boards for ventilation — this is critical for wood storage
- Fasten with 1½-inch stainless steel screws (stainless prevents rust staining on the cedar)
A 48-inch-long × 24-inch-tall box side needs four boards high (4 × 5½ inches = 22 inches plus gaps). The two short ends need three boards wide (3 × 5½ inches = 16½ inches, fitting within the 18-inch width).
Slatted base:
The base is a removable slatted platform: 1×4 cedar boards screwed to two 2×4 cleats, with ½-inch gaps between each board. The platform drops into the box and rests on the bottom rails. This elevates the wood 1.5 inches off the box floor and allows air to circulate underneath.
- 6 × base slats: 1×4 cedar at 46½ inches
- 2 × base cleats: 2×4 at 16 inches (perpendicular to the slats, near each end)
- Screw slats to cleats with ½-inch gaps between slats
Making the base removable allows you to lift it out for cleaning (sawdust and bark accumulate underneath) and to replace it when it eventually rots.
Step 4: Build and Hang the Lid
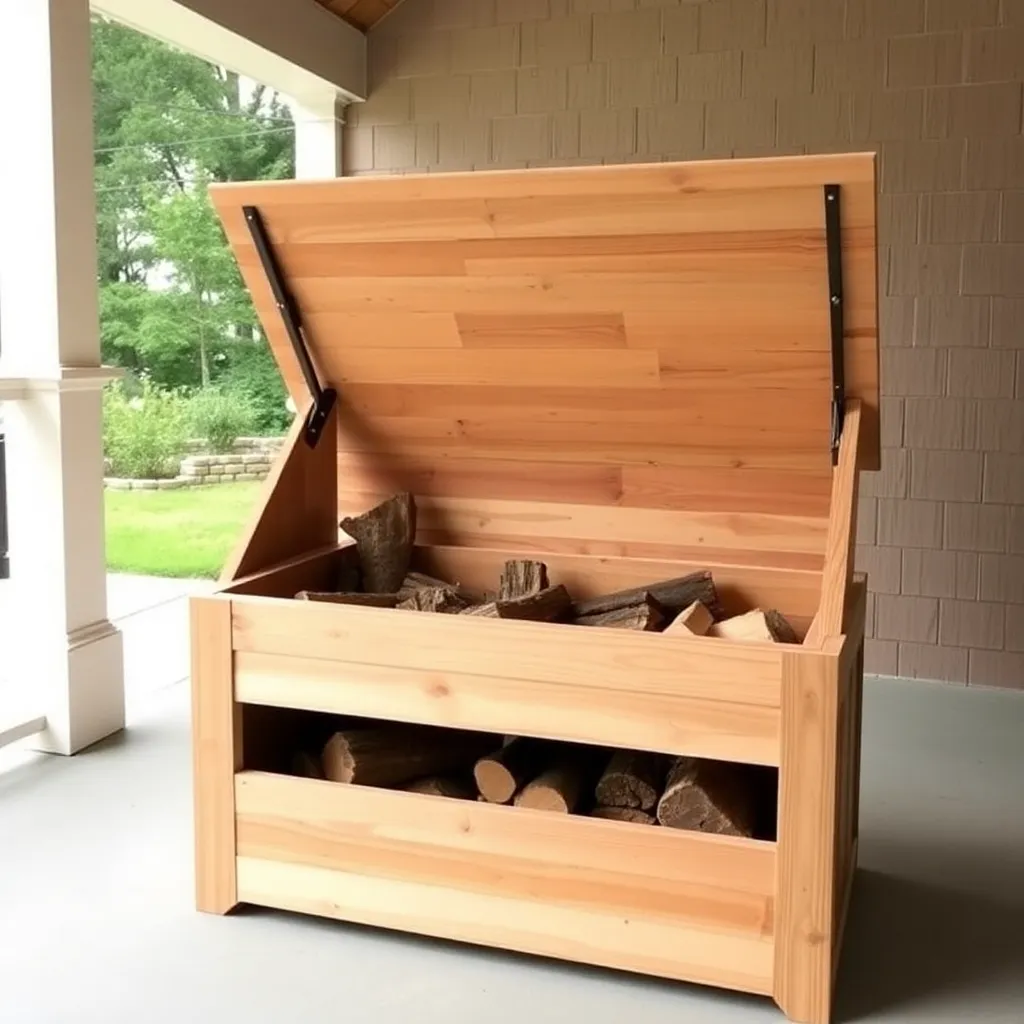
The lid is a simple flat cedar panel with a 1×3 cleat on the underside at each end to keep it flat and to provide a stop that prevents the lid from sliding.
Lid construction:
- 5 × lid boards: 1×6 cedar at 48 inches (laid side by side for a 27.5-inch-wide lid — slightly wider than the box to create a 2¾-inch overhang on each side)
- 2 × underside cleats: 1×3 cedar at 15 inches (one near each short end, on the underside of the lid)
- Edge trim (optional): 1×2 cedar around the perimeter of the lid top, mitered at the corners — this creates a frame look and hides the end grain of the lid boards
Glue and screw the lid boards together using the underside cleats. Run screws down through the cleats into the lid boards from underneath — no visible screws on the top surface.
Hinge installation:
Use two or three heavy-duty strap hinges (6-inch length) across the back edge of the lid. Mortise the hinge leaves flush with the surface for a clean look (chisel a shallow recess equal to the hinge leaf thickness). Use stainless steel hinges — standard steel hinges rust and stain cedar within one season.
Lid chain stop:
A chain at each back corner of the lid prevents the lid from falling past 90 degrees (which would damage the hinges and slam on your fingers). Use 6 inches of 3/16-inch stainless chain and two eye bolts — one through the lid and one through the box back panel.
Step 5: Add Optional Casters and Finish
Casters:
Four 2-inch swivel casters with locking mechanisms on the bottom corners allow the fully loaded box (which can weigh 60–100 lbs) to be moved without lifting. Use casters rated for 75 lbs each minimum. If the porch surface is uneven, use casters with a 3-inch diameter for better clearance.
Finishing:
- Unfinished cedar: The box will weather to silver-gray in 1–2 years. This is an acceptable and attractive finish for many porch aesthetics. No maintenance required.
- Cedar oil or teak oil: Penetrating oil preserves the warm brown color and provides light water resistance. Reapply annually.
- Exterior paint: Prime with oil-based exterior primer, then apply two coats of exterior latex in any color. Paint hides the cedar grain but provides maximum weather protection. Reapply every 5–7 years.
- Exterior stain: A semi-transparent stain lets the grain show while providing weather protection. Apply every 2–3 years.
Ted’s Woodworking has over 16,000 step-by-step plans with cut lists, materials lists, and detailed diagrams. Browse Ted’s plans →
Firewood Storage Box Plans FAQ
How much firewood fits in a storage box?
A 48×18×24-inch box holds approximately 0.1 cord (about 12 cubic feet), which is 40–50 split pieces of 16-inch firewood — enough for 3–5 evenings of fire use. For a box used as a weekly supply station (refilled from the main outdoor stack), this is the ideal size. For a primary-season supply, use a shed instead.
Can I use pressure-treated lumber for a firewood box?
Avoid PT lumber for any application that also functions as seating or a surface you touch regularly. The preservatives in modern PT lumber (ACQ) are copper-based and generally considered low-hazard, but leaching onto a surface that people sit on is undesirable. Cedar is naturally rot-resistant outdoors and is the appropriate material for this application.
How do I prevent the firewood box from rotting?
Elevate the box slightly off the porch deck (rubber feet or ¼-inch spacers under the casters), use a slatted base inside the box for drainage and airflow, leave gaps between the cladding boards for ventilation, and use stainless steel fasteners that won’t rust and stain the wood. Reapply oil finish or stain every 1–2 years. The interior base slat assembly will need replacement every 5–8 years — design it as a removable insert for easy replacement.
What size lid do I need for a firewood storage box?
The lid should overhang the box by 1–2 inches on the front and both ends, with no overhang at the back (where the hinges attach). For a 48×18-inch box, a 48×21-inch lid (3-inch overhang at front and ends) sheds rain away from the box sides effectively.
Can I use a firewood box as an outdoor bench?
Yes — this is one of the main reasons to build a lidded firewood box rather than a simple rack. Size the lid to the box and ensure the lid hinges are rated for repeated sitting (heavy-duty strap hinges, not piano hinges). Add a flat, smooth lid surface and optionally a cedar cushion seat pad. The loaded box (60–100 lbs) provides a stable base that won’t tip when someone sits on one end.

“DIY woodworking enthusiast who started with zero experience and a YouTube tutorial.
I build simple, practical projects for my home and share free plans
so other beginners can skip the guesswork.If I can build it, you can too.”