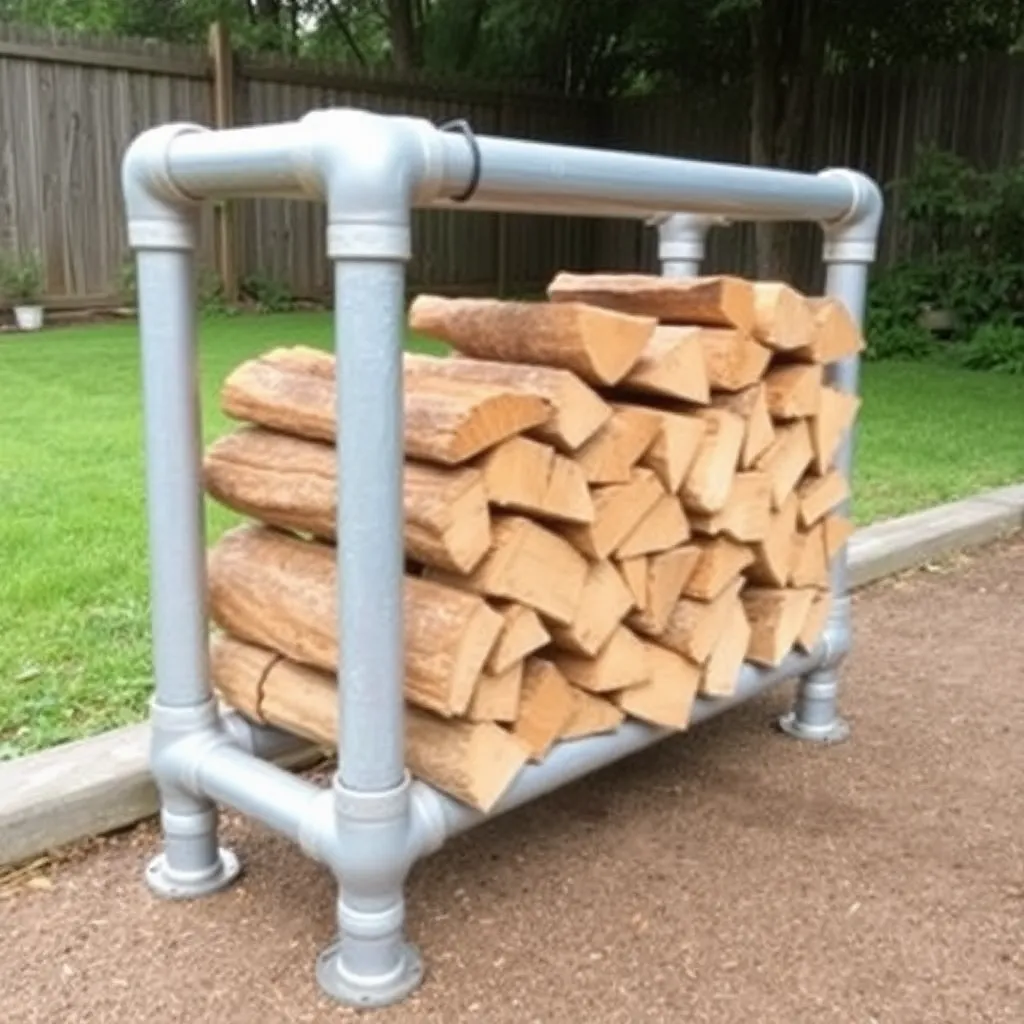
A firewood rack keeps wood off the ground, allows airflow on all sides, and is the minimum viable storage for any quantity of firewood. These plans cover three rack designs: a steel-pipe rack (the most weather-resistant, buildable in 2 hours for $30–$50), an 8-foot lumber rack for high-volume outdoor storage (buildable in 3 hours for $45–$70), and a 2-foot decorative porch rack for a covered deck or entry where appearance matters (buildable in 2 hours for $40–$60).
Ted’s Woodworking has complete firewood storage plans including racks, sheds, and indoor holders. Browse Ted’s plans →
Step 1: Choose the Right Rack Design
Ted’s Woodworking has over 16,000 step-by-step plans with cut lists, materials lists, and detailed diagrams. Browse Ted’s plans →
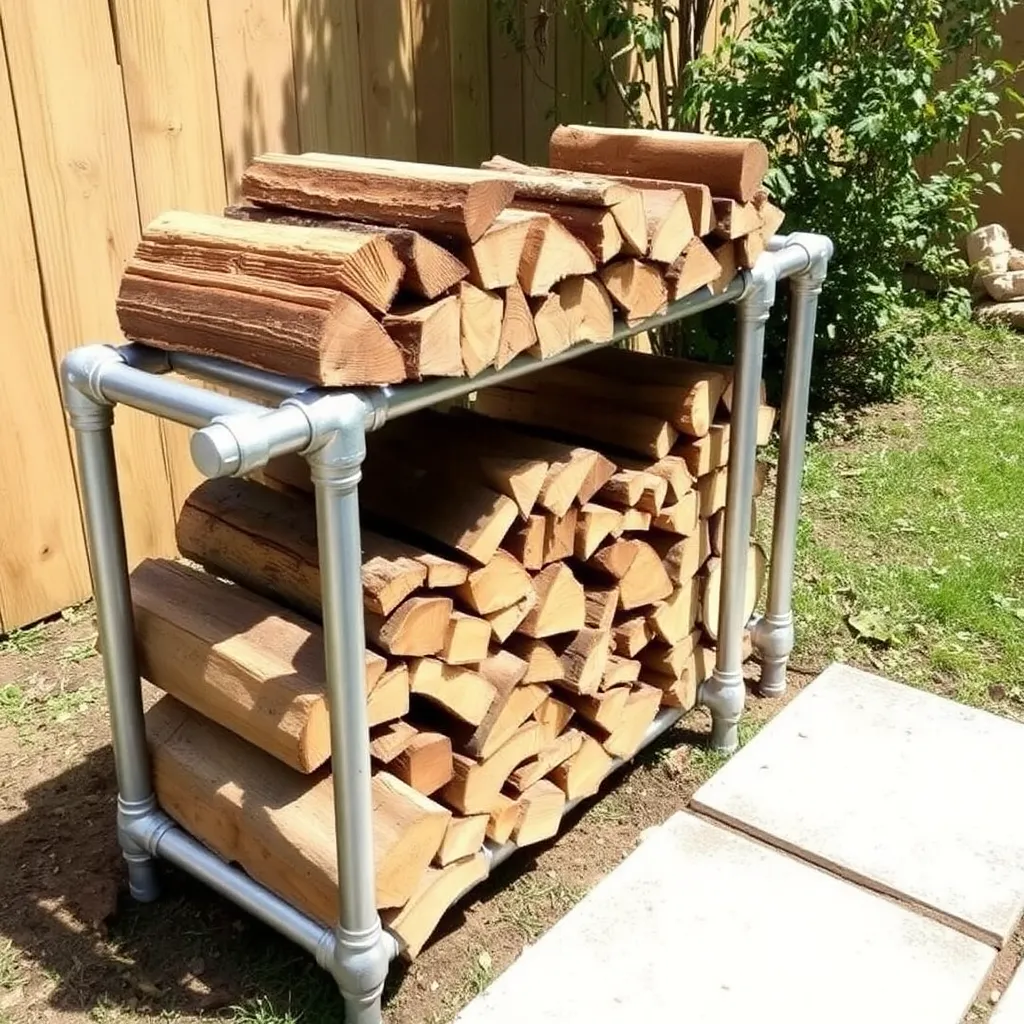
Steel-pipe rack: Best for exposed outdoor locations where the rack will be rained on and snowed on for years. Galvanized steel pipe doesn’t rot, rust, or warp. Quick to assemble with pipe fittings — no welding or woodworking skills needed. Adjustable length: add pipe sections to extend. Cost: $30–$50 per 4-foot section.
Lumber rack: Best for sheltered locations or where cost is the primary concern. Dimensional lumber is inexpensive and the 8-foot version holds 0.5 cord in one structure. Needs paint or stain to survive outdoors long-term. Cost: $45–$70 for an 8-foot rack.
Porch/deck rack: Best for a covered porch or deck where you want something that looks finished rather than utilitarian. Built from cedar or finished hardwood with clean joints and a weathered or painted finish. Holds 1–2 nights of firewood. Cost: $40–$60 in materials.
Step 2: Build the Steel-Pipe Rack
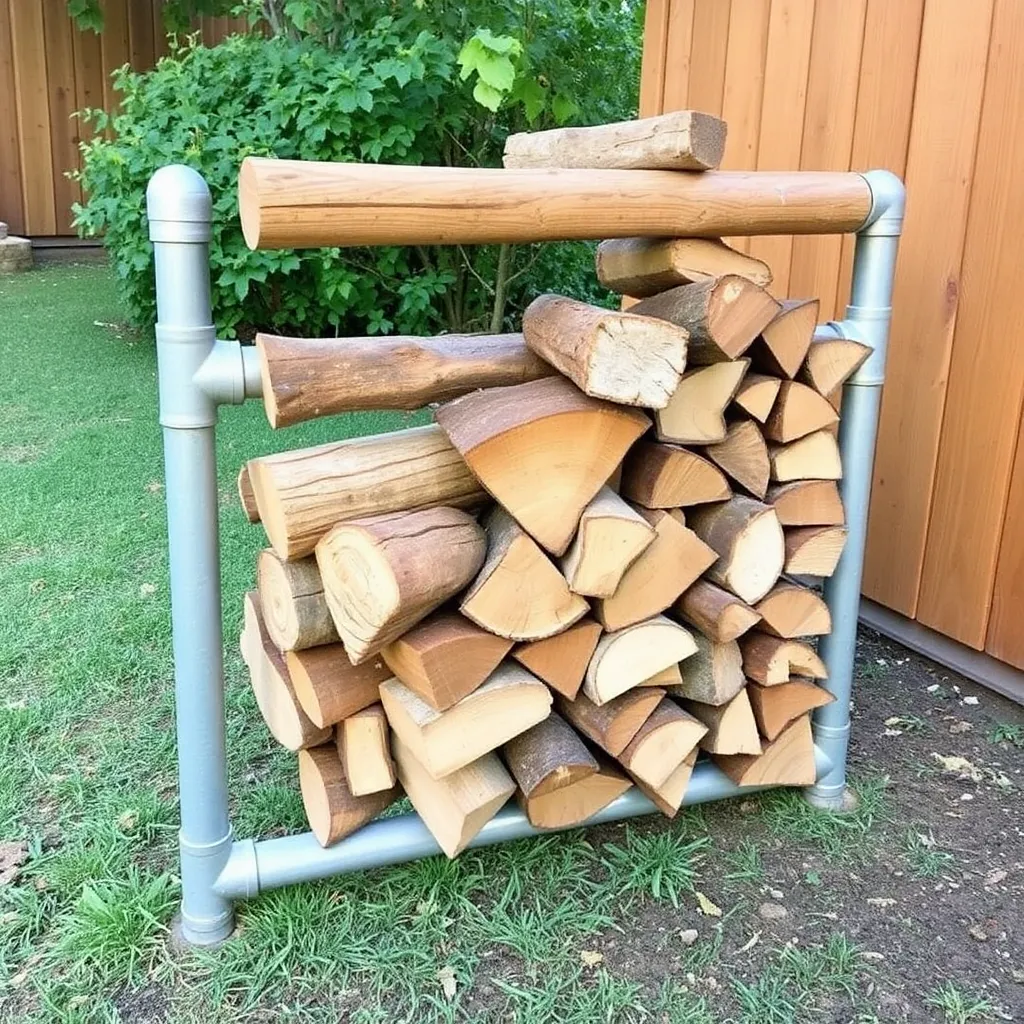
A steel-pipe firewood rack uses 1-inch galvanized pipe and standard pipe fittings from the plumbing section of any hardware store — no welding, no power tools beyond a hacksaw.
Materials for one 4-foot section:
- 4 × 1-inch galvanized pipe at 18 inches (vertical uprights)
- 2 × 1-inch galvanized pipe at 18 inches (horizontal crossbars connecting each pair of uprights)
- 2 × 1-inch galvanized pipe at 48 inches (optional top rails — stabilize taller stacks)
- 4 × 1-inch 90-degree elbow fittings
- 4 × 1-inch T-fittings
- 4 × floor flanges (optional — bolt to a deck or concrete pad for stability)
Assembly:
Each end of the rack is an H-frame: two vertical pipes connected by one horizontal crossbar. Thread the crossbar into T-fittings on each upright. Connect two H-frames with the 48-inch top rails using additional T-fittings. The finished rack is freestanding and can be loaded without anchoring — the weight of the wood holds it in place.
For a longer rack: buy pipe in 10-foot lengths and cut to size with a hacksaw or pipe cutter. Extend by daisy-chaining additional H-frame sections with the top rails.
Step 3: Build the 8-Foot Lumber Rack
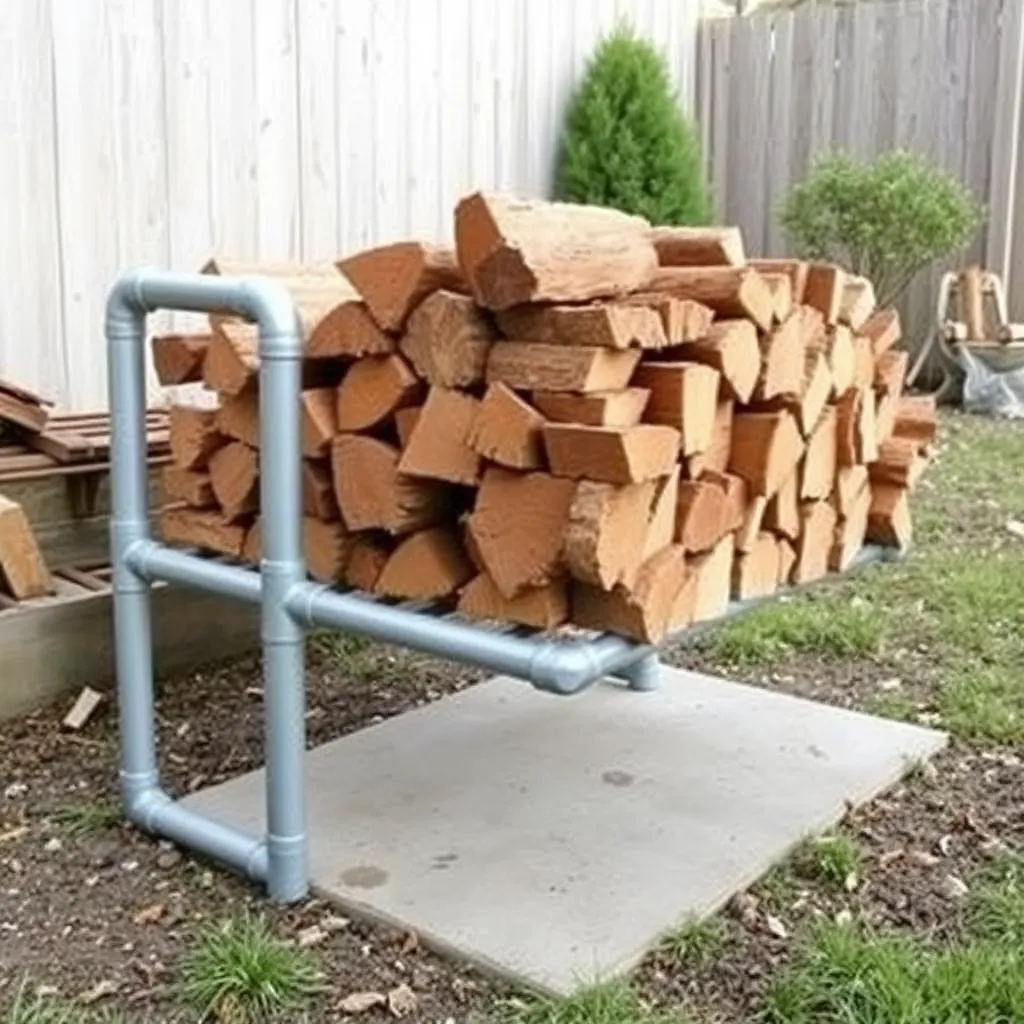
The 8-foot lumber rack uses A-frame end pieces connected by horizontal rails — simple construction with no specialty joints.
Cut list:
- 4 × A-frame legs: 2×4 at 48 inches
- 2 × A-frame crossbars: 2×4 at 18 inches (connecting each pair of legs at the bottom)
- 2 × long rails: 2×4 at 96 inches (running the 8-foot length of the rack)
- Optional: 2 × top rails: 2×4 at 96 inches (adds stability for tall stacks)
A-frame end piece assembly:
- Cross two 48-inch legs at the top — the crossing point should be at the desired stack height (36–42 inches works for most users)
- Bolt the legs together at the crossing with a ½-inch carriage bolt and nut
- Attach the 18-inch crossbar across the legs at 6 inches above the ground — this is what the wood rests on and what keeps the legs from spreading
Assembly:
Stand the two A-frames 96 inches apart (8 feet). Rest the two 96-inch rails across the crossbars — the wood stacks on these rails, elevated above the ground. Add the top rails by resting them in the V at the top of each crossed A-frame.
Apply two coats of exterior wood stain or paint before assembly if the rack will be exposed to rain.
Step 4: Build the Decorative Porch Rack
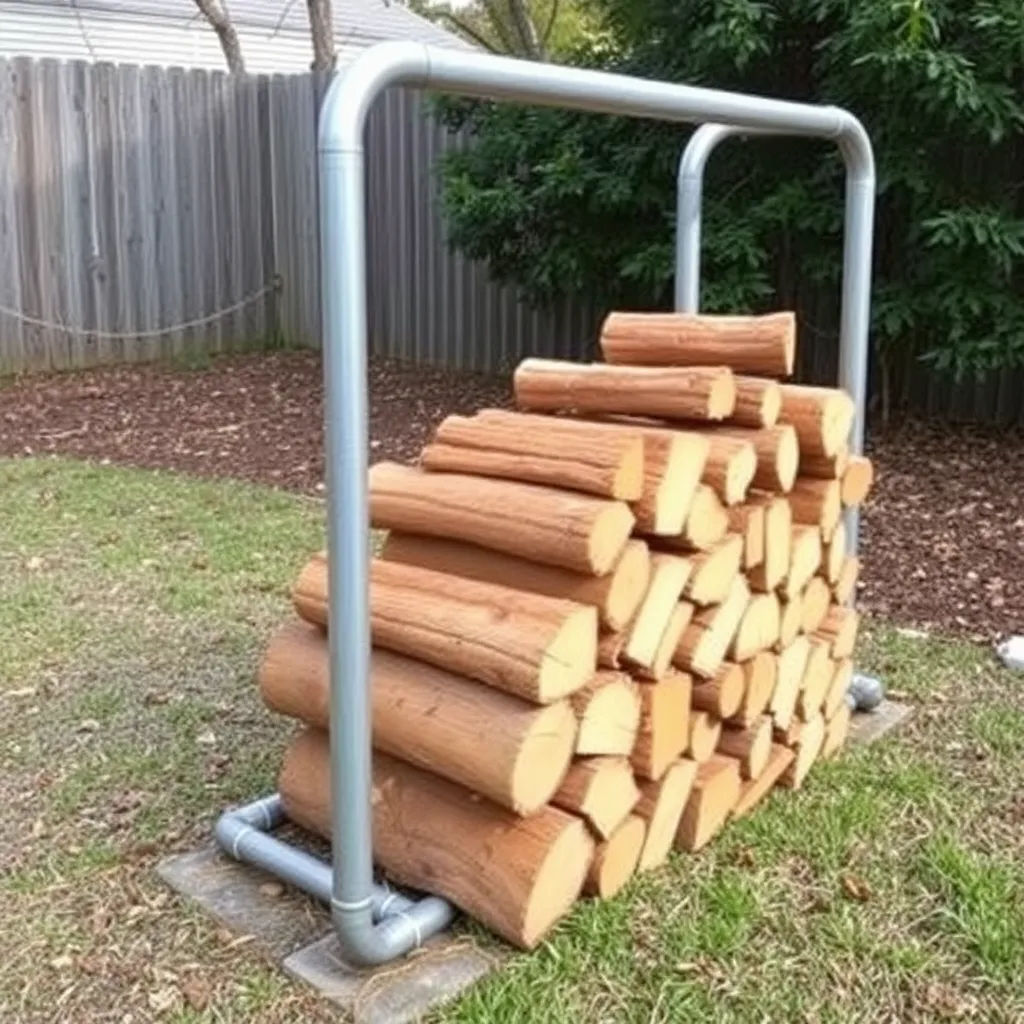
The porch rack is a shorter, more finished version of the lumber rack, built from cedar for natural rot resistance and a clean appearance beside a covered entry or porch.
Cut list (for a 2-foot-wide rack):
- 4 × legs: 1×4 cedar at 30 inches (cut a decorative profile at the top — a simple arch or point on a bandsaw)
- 2 × side rails: 1×4 cedar at 24 inches (connecting the front and back legs on each side)
- 2 × long rails: 1×4 cedar at 24 inches (the rails the wood rests on, running front to back)
- 1 × bottom shelf: 1×4 cedar boards at 24 inches (optional — provides a shelf for kindling)
Joinery: Pocket screws (Kreg jig) for all joints — fast, strong, and the screw heads are hidden. Sand all surfaces to 180-grit, round the edges slightly, and apply one coat of outdoor oil (tung oil or Danish oil) for a natural finish.
Dimensions: 24 inches wide × 16 inches deep × 30 inches tall — holds approximately 30–40 lbs of split wood (a night’s worth for most fireplaces).
Step 5: Cover the Rack (Without Covering the Sides)
Any outdoor rack benefits from a cover over the top of the wood stack. Two options:
Fitted firewood cover:
A polyester or vinyl cover designed to fit over a loaded firewood stack — like a fitted sheet for wood. Costs $15–$25 online, available in 4-foot and 8-foot sizes. Fits over the top and has elastic or tie-down straps that secure under the wood. Easy to remove and replace when adding wood.
DIY metal roof cap:
Cut a piece of corrugated metal roofing 6 inches wider than the rack on each side. Bend it into a shallow inverted-V over the stack top. Drill holes through the metal and the top rails and secure with ¼-inch bolts. This is permanent and handles snow loads better than a fabric cover.
In both cases: cover only the top. Never wrap the sides — this traps moisture and keeps the wood wet.
Ted’s Woodworking has over 16,000 step-by-step plans with cut lists, materials lists, and detailed diagrams. Browse Ted’s plans →
Firewood Rack Plans FAQ
How long should a firewood rack be?
A 4-foot rack holds approximately 0.25 cord (32 cubic feet). An 8-foot rack holds approximately 0.5 cord. For a full cord, build a 16-foot rack or two 8-foot racks side by side. Most homeowners with a fireplace for occasional use need one 8-foot rack; primary heat users need 3–4 racks or a dedicated shed.
What size pipe do I use for a firewood rack?
1-inch nominal galvanized steel pipe (which measures 1.315 inches outside diameter). This is the standard size for DIY firewood racks — strong enough for heavy loads, light enough to handle easily, and available with a full range of fittings (elbows, T-fittings, flanges) at any hardware store.
Can I make a firewood rack out of pallets?
Yes — two vertical pallets as end pieces, one horizontal pallet as the base. This is the fastest and cheapest possible firewood storage (pallets are often free). Wire or strap the end pallets to stakes driven into the ground to keep them upright. The wood rests on the top boards of the base pallet, elevated off the ground. A full standard pallet (48×40 inches) as a base holds approximately 0.3 cord per course of wood.
How tall should a firewood rack be?
36–42 inches is the standard height — this lets you stack 3–4 courses of 16-inch logs and still reach the top without a step stool. Taller racks (48+ inches) hold more wood but become unstable unless braced or the wood is stacked very carefully. Wider logs at the base, narrower at the top improves stability on any rack.
Should firewood touch the ground?
Never. Ground contact traps moisture, promotes rot at the bottom of the stack, and provides a direct bridge for insects (termites, carpenter ants) from the soil into the wood. Elevate wood at least 4 inches off the ground — ideally 6–8 inches. The rails of a properly built rack keep the bottom course elevated; adding rubber feet or pressure-treated wood blocks under the rack feet provides additional clearance on soft ground.

“DIY woodworking enthusiast who started with zero experience and a YouTube tutorial.
I build simple, practical projects for my home and share free plans
so other beginners can skip the guesswork.If I can build it, you can too.”