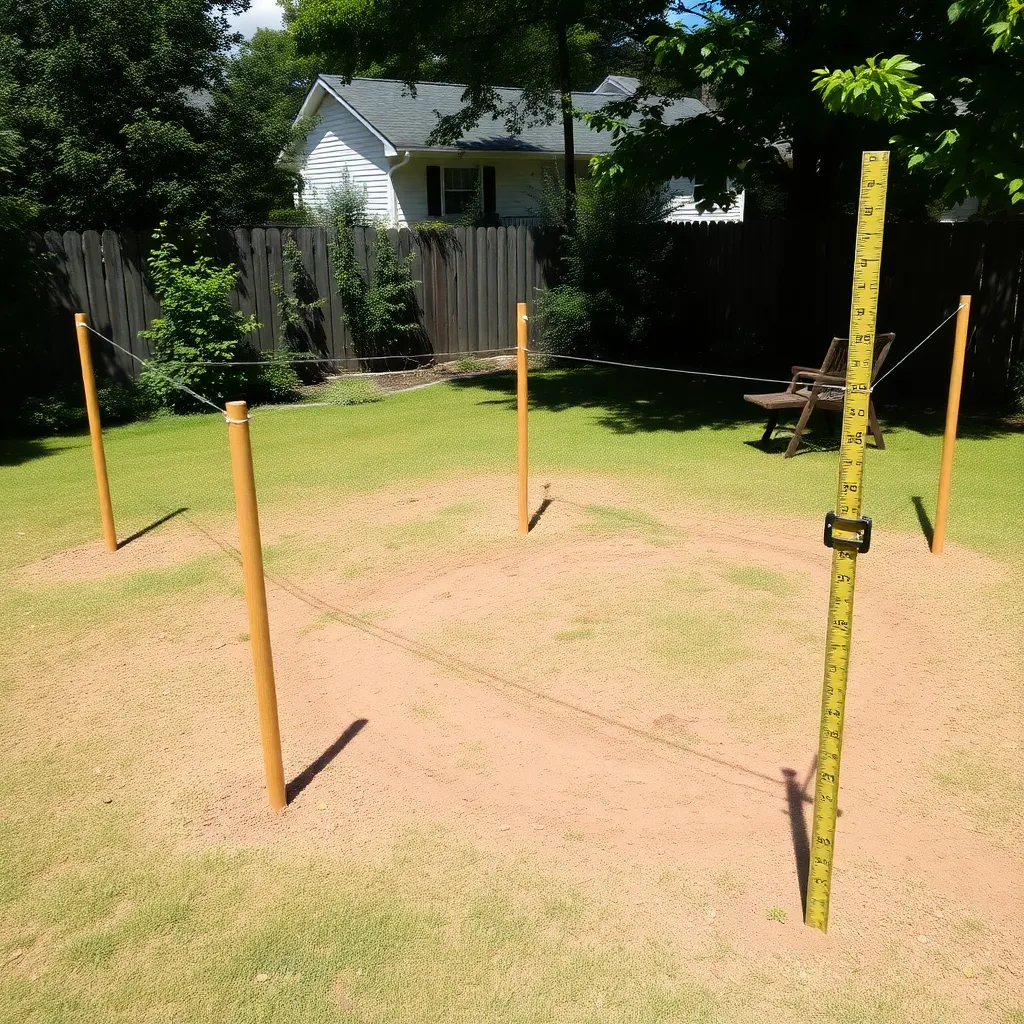
A well-built chicken coop is one of the most practical weekend woodworking projects — it houses a flock that provides fresh eggs daily, lasts 15–20 years with minimal maintenance, and costs $200–$500 in materials versus $800–$2,000 for a comparable commercial unit. These plans cover a 4×6-foot walk-in coop for 4–6 standard hens, with a ventilated roost area, two nesting boxes, a droppings board for easy cleaning, a hardware cloth predator apron, and a 4×8-foot covered run attached to the side.
Ted’s Woodworking has chicken coop plans in every size — from 2-hen A-frame tractors to 20-hen permanent coops — with complete cut lists and material specifications. Browse Ted’s coop plans →
Step 1: Plan the Size and Site
The most common coop-building mistake is building too small. Chickens confined to insufficient space develop pecking disorders, feather pulling, and reduced egg production. Size correctly from the start — a coop is hard to expand later.
Space requirements:
- Indoor roost area: minimum 4 square feet per hen (standard breeds); 3 sq ft for bantams
- Outdoor run: minimum 10 square feet per hen; 20+ sq ft is better
- For 4–6 standard hens: 4×6-foot coop interior (24 sq ft) + 4×8-foot run (32 sq ft)
Nesting boxes:
- One nesting box per 3–4 hens (so 2 boxes for 4–6 hens)
- Box dimensions: 12×12×12 inches minimum; 14×14 for larger breeds
- Position: 12–18 inches off the floor, lower than roost bars (hens sleep high; boxes lower prevents them from roosting in boxes and soiling them)
Site selection:
- Partial shade: afternoon shade in summer reduces heat stress
- Good drainage: avoid low-lying areas
- Prevailing wind: position the coop so the main ventilation faces away from prevailing wind
- Predator consideration: at least 3 feet from the property fence line (predators dig along fence lines)
Step 2: Build the Floor Frame and Foundation
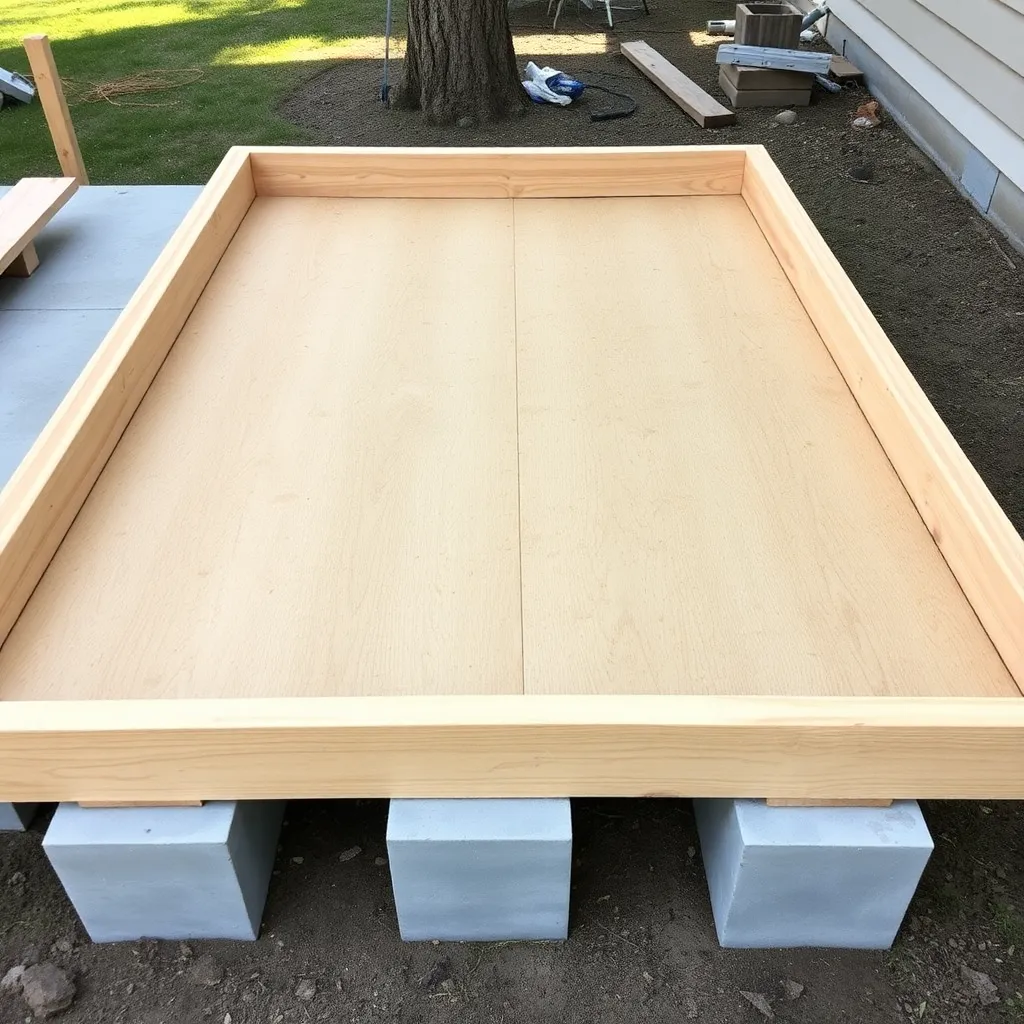
The floor frame is the most critical structural element — it must resist moisture from below and support the weight of the flock, feeders, waterers, and bedding (100–300 lbs total).
Foundation options:
- Concrete blocks at each corner: simple, cheap, allows airflow under the floor, deters burrowing predators
- Pressure-treated skids: two 4×4 PT skids running the full 6-foot length; rest on pavers; allows moving the coop
Floor frame cut list:
- 2 × rim joists: pressure-treated 2×4 at 72 inches (6 feet)
- 3 × floor joists: pressure-treated 2×4 at 45 inches (spans the 4-foot width, between the rim joists)
- 1 × floor deck: ¾-inch exterior-grade plywood at 48×72 inches
Assemble the frame with 3-inch exterior screws. The floor must be elevated at least 8 inches off the ground — this prevents moisture contact, allows airflow, and denies predators a hiding spot under the coop.
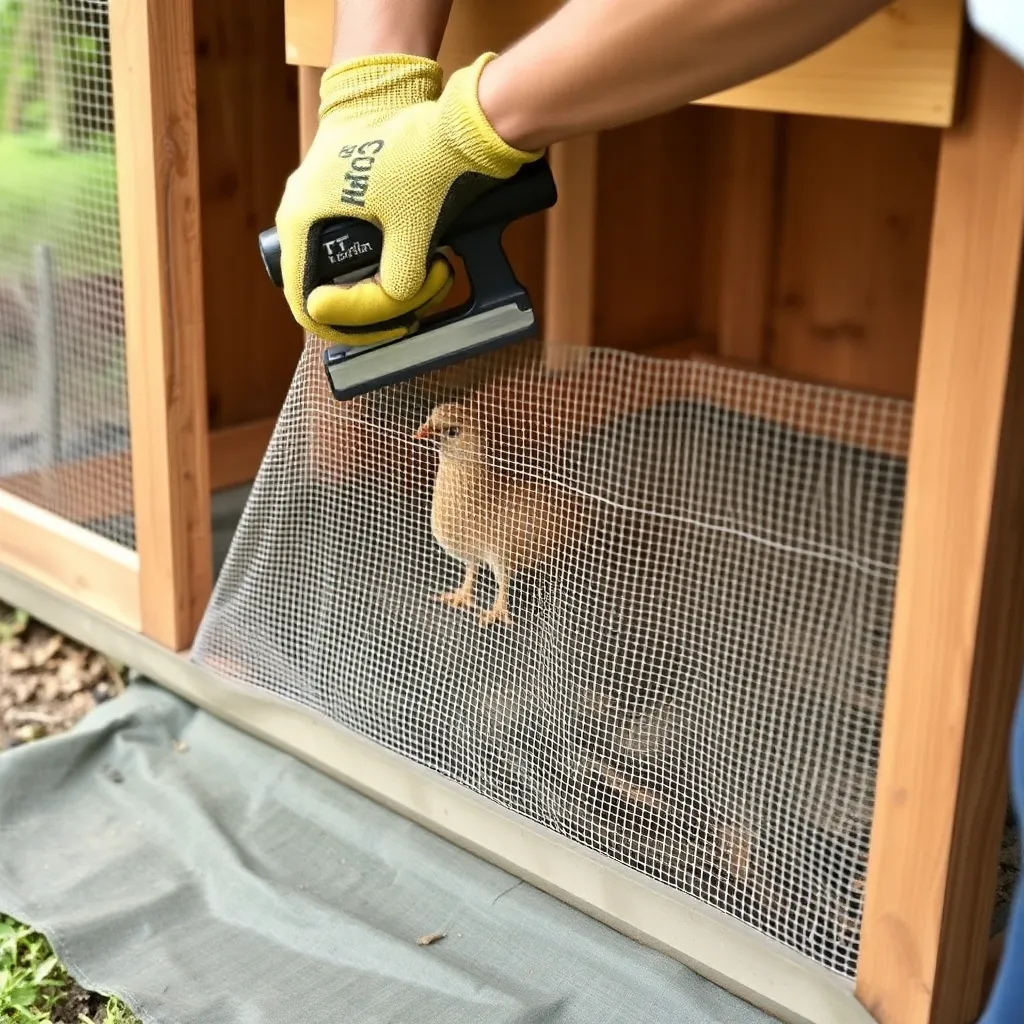
Floor covering: Staple heavy-gauge hardware cloth (½-inch mesh) to the underside of the floor frame before installing the plywood deck. This prevents rats from chewing through the floor from below.
Step 3: Frame the Walls
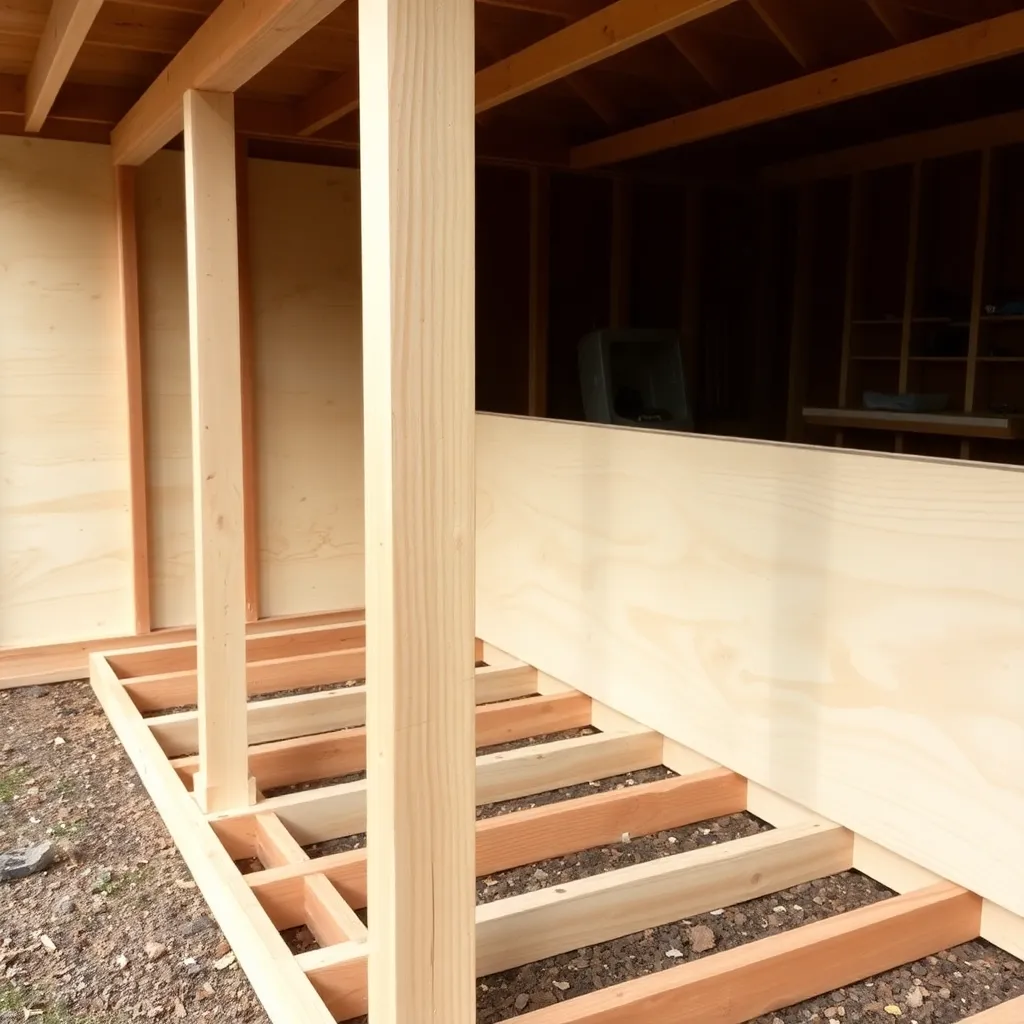
The walls are 2×4 stud frames covered with exterior-grade plywood siding. Keep framing simple — no fancy angles — so the build goes fast and the structure is maximally rigid.
Wall framing (for a 6-foot tall walk-in coop):
- Front wall: 48 inches wide × 72 inches tall, with a 30×72-inch door opening and a 12×6-inch vent opening at the top
- Back wall: 48 inches wide × 66 inches tall (6 inches shorter — creates roof slope for drainage)
- Two side walls: 72 inches long, tapering from 72 inches (front) to 66 inches (back)
Stud spacing: 24 inches on center is fine for a small coop — saves lumber and the walls carry no significant load beyond the roof.
Vent openings: Every wall should have at least one vent opening covered with hardware cloth — not chicken wire (too weak; weasels pull through chicken wire). Position vents high on the wall (top 12 inches) so drafts don’t hit roosting hens directly. Ventilation prevents ammonia buildup from droppings and respiratory disease — the #1 health issue in backyard flocks.
Step 4: Build the Roof and Nesting Boxes
Roof:
A simple shed roof (single slope, no ridge) is the fastest to build and most weather-resistant for a small coop:
- Two rafters: 2×4 at 54 inches, spanning the 4-foot width with a 3-inch overhang each side
- Roof deck: ¾-inch exterior plywood at 54×78 inches
- Roofing: self-adhesive roofing underlayment + metal drip edge at the eave
The 6-inch height difference between front and back walls creates a slope of 1 inch per foot — adequate for water runoff.
Nesting boxes:
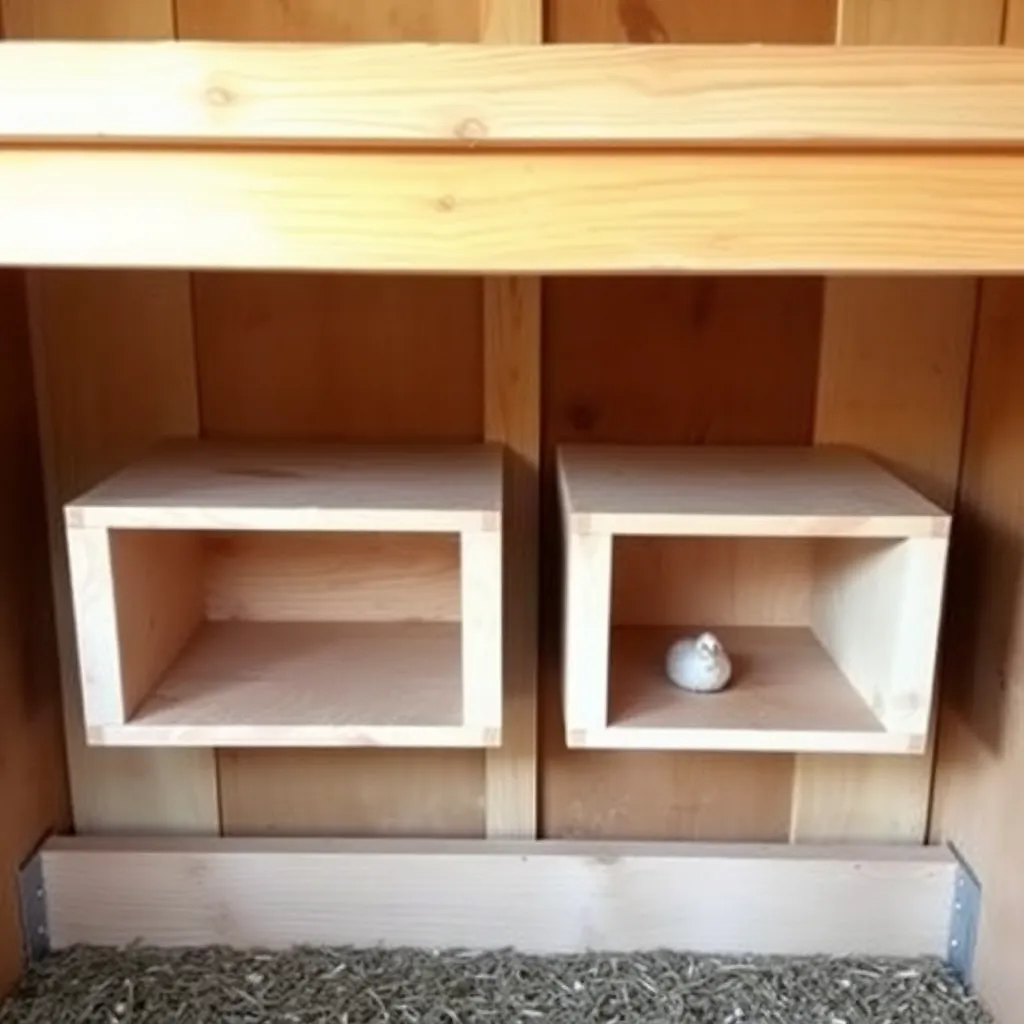
Build two 14×14×14-inch boxes as a single unit (28×14×14 inches) mounted to the inside of the back wall:
- Cut list: ½-inch exterior plywood — 2 sides, 1 back, 2 dividers, 2 slanted fronts (10-inch front, to prevent roosting on the box edge), 2 bottoms with a 1-inch gap at the front for drainage
- Mount 18 inches off the floor on a 2×4 ledger
- Add a 3-inch lip at the front of each box to keep bedding in
- Line each box with a 2-inch layer of wood shavings or straw — hens prefer a cupped nest
Droppings board:
Install a ¼-inch plywood board 6 inches below the roost bars — this catches 80% of overnight droppings and is slid out for cleaning. Line it with PDZ or Sweet PDZ (zeolite mineral) to absorb ammonia. A droppings board cuts coop cleaning time from 30 minutes to 5 minutes.
Step 5: Install Hardware, Predator Protection, and Run
Hardware:
- Door: use a 2-bolt sliding latch (raccoons open single-bolt latches) or a carabiner clip on the door latch
- Pop door: a 12×14-inch sliding pop door (the chickens’ door) on the outside of the coop, operated by a pull cord from outside the run — allows opening without entering the run
- Roost bars: 2-inch diameter wooden dowel or rounded 2×2, positioned 18 inches off the floor and 12 inches from the back wall; allow 10 inches of roost space per hen
- Feeder and waterer: hang from the ceiling on S-hooks to keep them at hen-shoulder height (reduces waste and contamination)
Predator apron:
The most important predator protection feature. Bury or lay flat a 12-inch-wide strip of ½-inch hardware cloth around the entire perimeter of the run, extending outward from the base of the run walls. Predators (foxes, coyotes, raccoons) dig straight down at the base of a fence — they never dig outward, so an outward-extending apron stops virtually all digging predators. Secure with landscape staples every 6 inches.
Run construction:
- Frame: 2×4 pressure-treated posts at the four corners, set in concrete, 7 feet tall
- Sides and top: ½-inch hardware cloth (not chicken wire — weasels fit through 1-inch mesh and raccoons tear through it)
- Cover the entire top with hardware cloth — aerial predators (hawks, owls) are a serious threat in most areas
Chicken Coop Plans FAQ
How big should a chicken coop be for 6 chickens?
Minimum 24 square feet of indoor floor space (4 sq ft per hen) plus at least 60 square feet of outdoor run (10 sq ft per hen). These are minimums — more space reduces stress, disease, and behavioral problems. A 4×6-foot coop with a 6×10-foot run is comfortable for 6 standard hens. For 6 dual-purpose large breeds (Rhode Island Reds, Plymouth Rocks), size up to a 5×8-foot coop.
What is the best wood for a chicken coop?
Pressure-treated lumber for all ground-contact framing (floor joists, skids, run posts). Untreated Douglas fir or pine for the wall framing (elevated off the ground). Exterior-grade plywood for siding and floor decking. Cedar for interior surfaces (naturally antimicrobial and aromatic — chickens prefer it). Never use OSB or MDF — they absorb moisture, swell, and grow mold rapidly in a coop environment.
How do I keep predators out of a chicken coop?
The three vulnerabilities are the door latch (raccoons open simple latches — use a two-step mechanism), the run mesh (use ½-inch hardware cloth, not chicken wire), and the run perimeter (lay a 12-inch predator apron of hardware cloth extending outward from the run base). Automatic pop doors (closes at dusk, opens at dawn) prevent the most common predator event — a hen left out overnight. No coop is 100% predator-proof, but these measures handle 99% of predator attacks.
How much ventilation does a chicken coop need?
At least 1 square foot of ventilation per hen, positioned high on the walls (within the top 12 inches). Ventilation should be adjustable — open in summer, partially closed in winter — but never fully closed. Chickens are respiratory disease-prone, and ammonia from droppings accumulates rapidly in a poorly ventilated coop. If you can smell ammonia when you open the coop door in the morning, there is insufficient ventilation.
How do I insulate a chicken coop for winter?
Chickens (especially cold-hardy breeds like Wyandottes and Buckeyes) tolerate temperatures down to 0°F without supplemental heat — as long as the coop is draft-free and dry. Insulate with ½-inch rigid foam board on the interior of the walls, covered with a thin plywood liner so hens don’t peck the foam. The coop should be draft-free (seal all gaps with caulk) but NOT airtight — ventilation is still essential in winter. Add extra deep bedding (4–6 inches of wood shavings) to capture body heat from the flock.

“DIY woodworking enthusiast who started with zero experience and a YouTube tutorial.
I build simple, practical projects for my home and share free plans
so other beginners can skip the guesswork.If I can build it, you can too.”