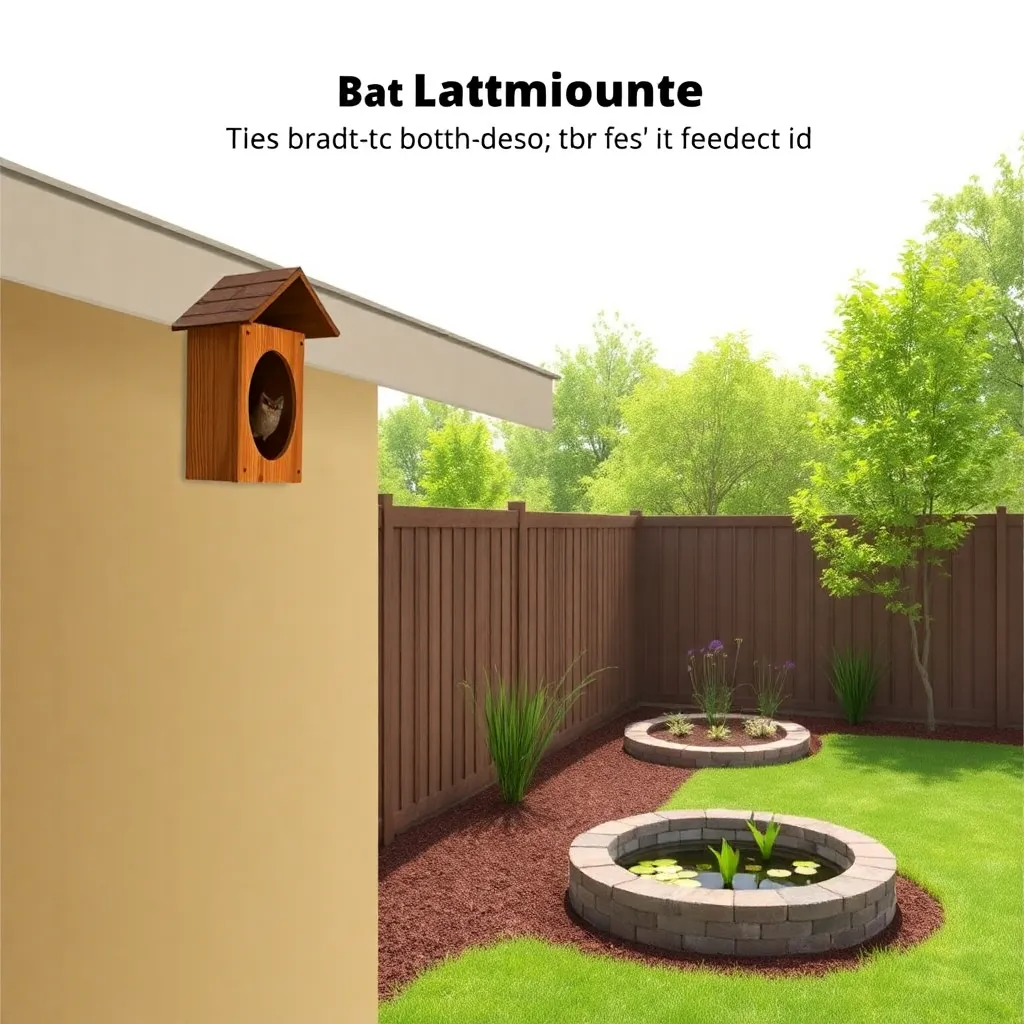
A single bat consumes 1,000–3,000 mosquitoes per hour during summer foraging — making a well-placed bat house the most effective natural mosquito control available, more useful than any commercial trap or spray. The two-chamber bat house is the most successfully occupied design for temperate North America, developed and refined by Bat Conservation International over three decades of field research. These plans cover a two-chamber house in rough-sawn cedar, 28 inches tall × 14 inches wide, with landing mesh on the interior chambers, a dark exterior finish for solar heat gain, and ventilation slots sized for the thermal requirements of nursing bat colonies.
Ted’s Woodworking has bat house plans in single-chamber, double-chamber, and triple-chamber configurations with species-specific notes and placement guides. Browse Ted’s wildlife plans →
Step 1: Understand What Makes a Bat House Work
Bat house success depends almost entirely on temperature and placement — not the woodworking quality. Get the placement wrong and even a perfect bat house sits empty for years. Understand the thermal requirements before building.
Thermal requirements:
Bats need roosting temperatures of 80–100°F inside the house during summer months. Little brown bats and big brown bats (the most common bat house species in North America) prefer 90–100°F for nursing colonies. This heat comes from solar gain — the sun warms the dark exterior surface, which radiates heat into the chambers.
Placement requirements (all three must be met):
- South or southeast facing: maximizes solar exposure; southeast gets morning sun but avoids overheating in extreme climates (above 100°F ambient); south-facing is standard for most of the US
- 15+ feet above the ground: bats drop several feet before catching flight on exit; below 15 feet, they don’t have enough fall to gain airspeed before hitting the ground
- Within ¼ mile of water: all bat species forage over water bodies; ponds, streams, rivers, and wetlands are essential foraging habitat
Secondary success factors:
- Rough-sawn interior surface for clinging
- ¾-inch landing zone (exterior) below the house entrance
- Dark exterior color absorbs solar heat
- Caulked seams retain heat in chambers
Step 2: Cut the Pieces
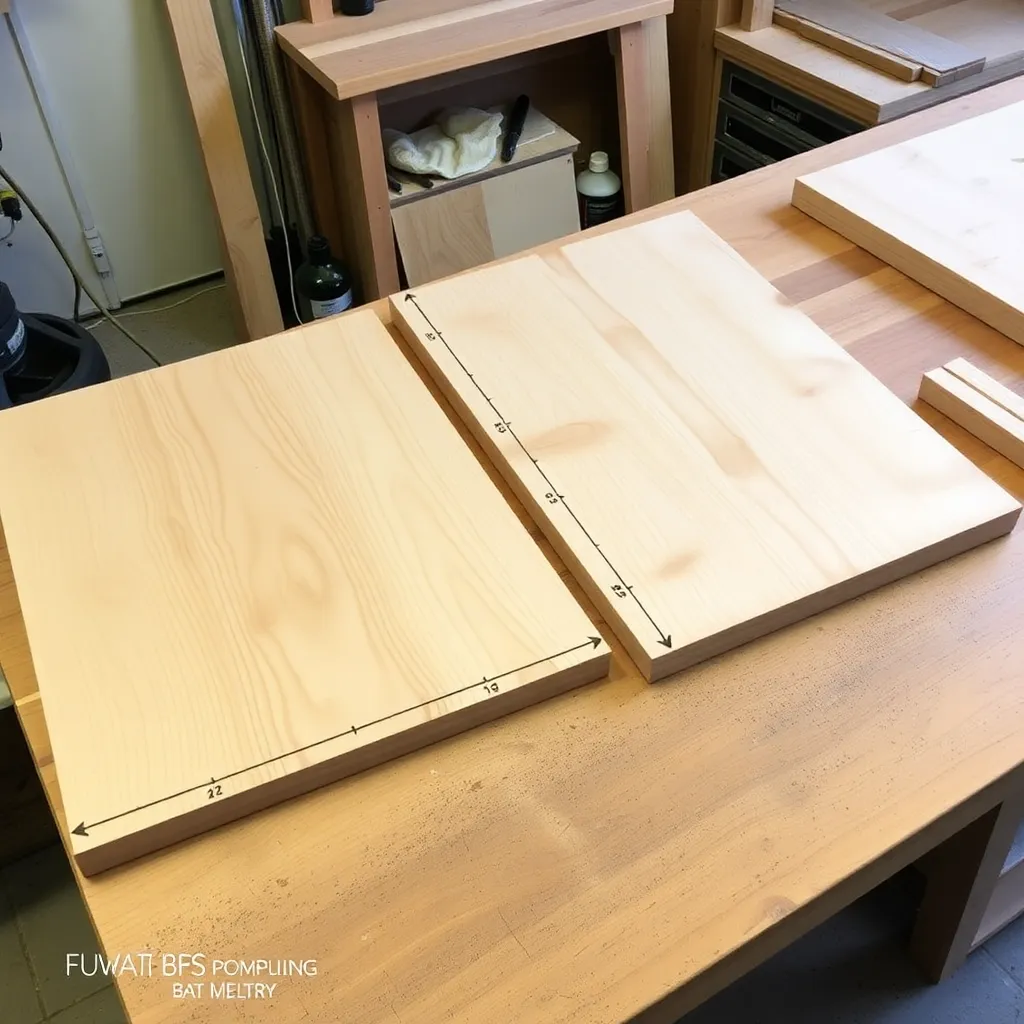
The two-chamber bat house consists of a back panel, a front panel, a partition panel (between chambers), a roof, two side pieces, and ventilation spacers.
Cut list (rough-sawn cedar, ¾-inch thick unless noted):
- Back panel: 14 inches wide × 28 inches tall (extends 3 inches below the front and partition to create the landing area)
- Partition panel: 14 inches wide × 24 inches tall (creates the front chamber; position ¾ inch in front of the back panel)
- Front panel: 14 inches wide × 24 inches tall (creates the second chamber; position ¾ inch in front of the partition)
- Roof: 16 inches wide × 8 inches deep (2-inch overhang each side and front)
- Two side spacers: ¾ inch × ¾ inch × 24 inches (hold the ¾-inch chamber gap between panels)
Critical: use rough-sawn cedar on both sides. Smooth-planed cedar has insufficient surface texture for bats to cling to. If you can only find smooth cedar, score the interior faces with a circular saw blade set to ⅛-inch depth, making horizontal cuts ⅛ inch apart across the full surface of each interior face before assembly.
Step 3: Install Landing Mesh
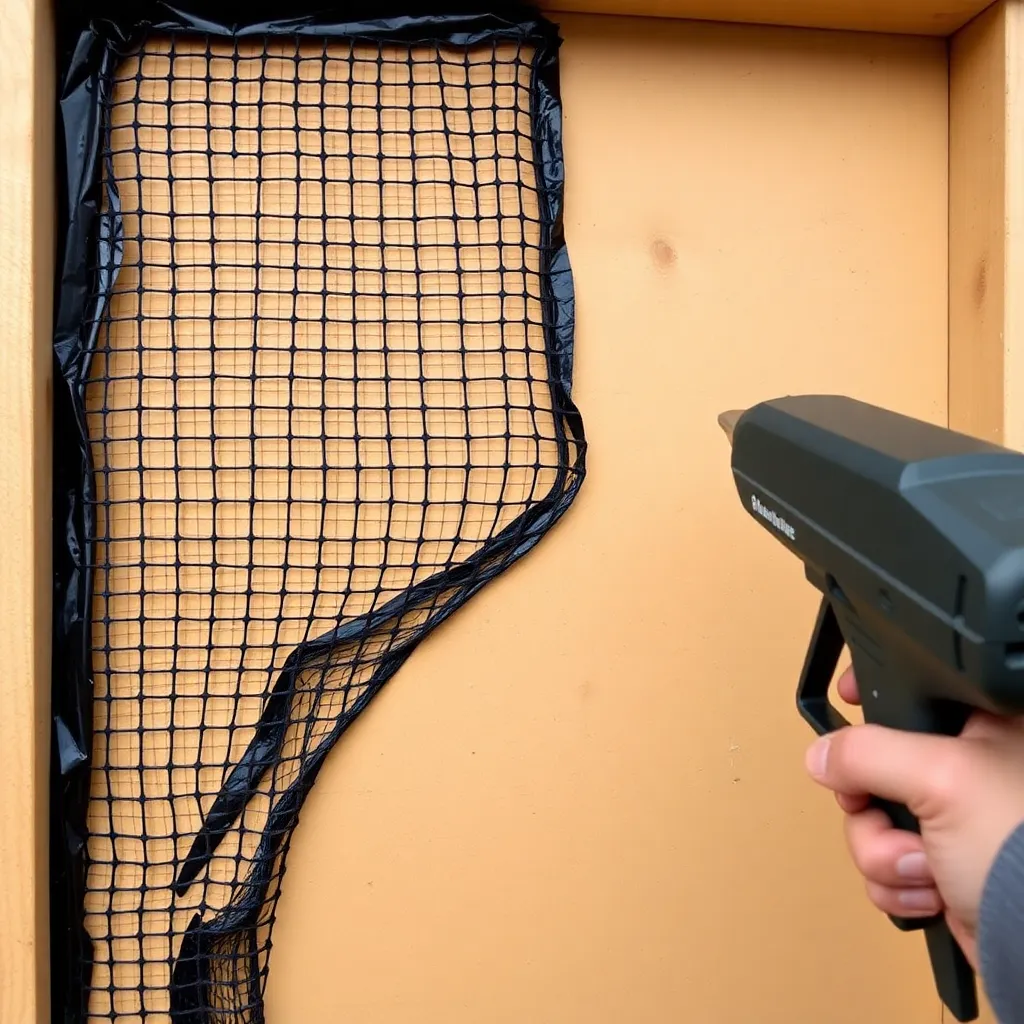
The landing mesh on the interior panels is as important as the chamber gap — bats use their claws to cling to the mesh as they climb up into the chambers from below.
Mesh specification:
- Type: black, UV-resistant plastic mesh (not hardware cloth or chicken wire — metal gets too hot in summer and can injure bats’ wing membranes)
- Mesh size: ¼-inch squares
- Source: “bat house mesh” or “insect screen mesh” (the black plastic variety)
Installation:
- Cut mesh panels to fit each interior face (back side of front panel, back side of partition, front side of back panel)
- Stretch the mesh tight and staple every 2 inches around the perimeter with ½-inch staples
- Trim the mesh flush with the panel edges using scissors
- Verify: the mesh should be taut, with no bulges or loose sections — bats cling to the mesh and loose sections shift under their weight
Note: The exterior face of the back panel (the bottom 3 inches of landing area below the front and partition panels) also needs mesh — bats cling here as they assess whether to enter.
Step 4: Assemble the Chamber Stack
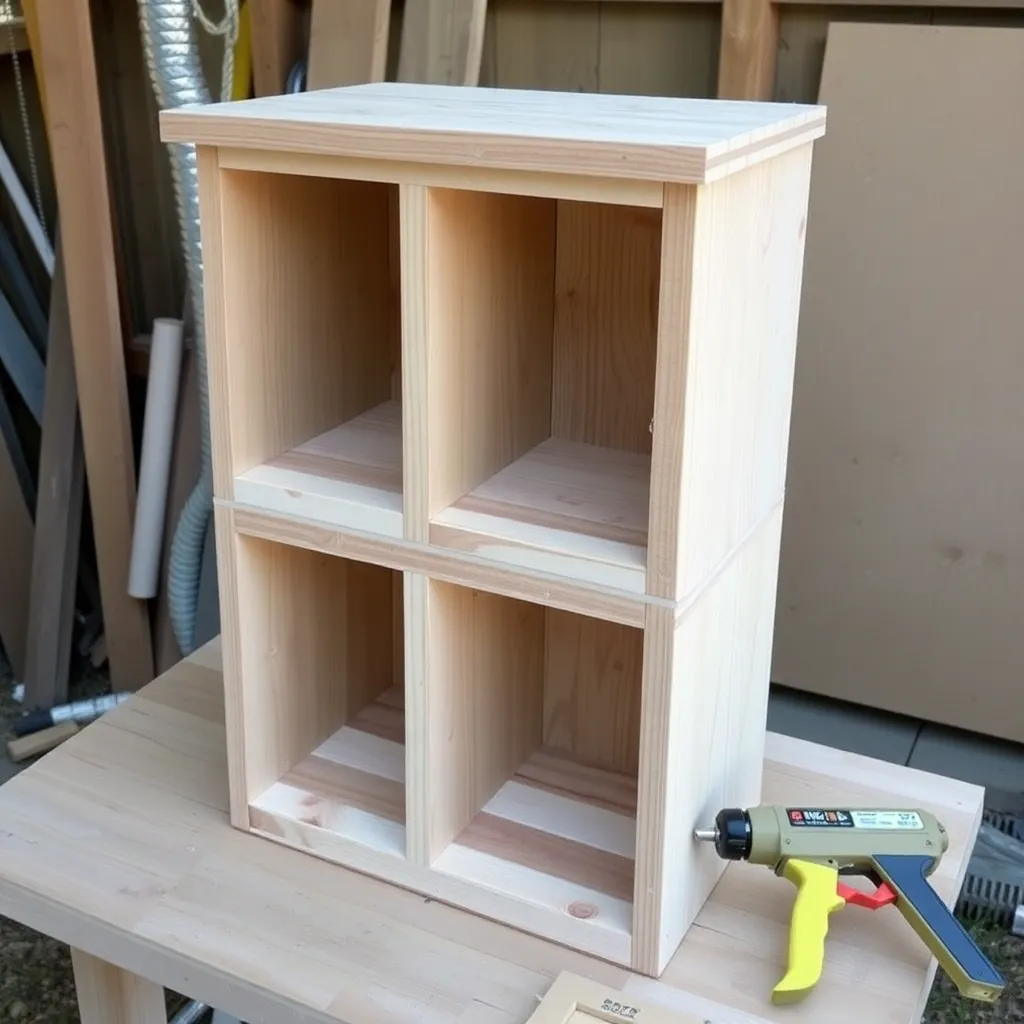
Assembly order matters — work from back to front.
Step-by-step assembly:
- Lay the back panel face-down on the work surface (mesh face up). The back panel is 4 inches longer than the others — this extra length extends below the other panels as the landing zone.
- Position the ¾×¾ inch side spacers along the left and right edges of the back panel, flush with the top. These create the ¾-inch gap between the back panel and partition.
- Position the partition panel on top of the spacers, mesh face facing down (toward the back panel). Nail through the partition into the spacers (two nails per side).
- Add a second set of ¾×¾ inch spacers on the front face of the partition, flush with the top and sides. These create the gap between the partition and the front panel.
- Position the front panel mesh-face down on the second spacers. Nail through the front panel into the spacers.
- The resulting assembly is a three-panel stack with two ¾-inch chambers between them. The landing zone (the bottom 4 inches of the back panel and 3 inches of the partition and front panels) is open at the bottom — bats enter here and climb up into the chambers.
Caulk all exterior seams: Run a bead of paintable caulk along every exterior joint — between panels and spacers, between the roof and the back panel, at the ends of the spacers. This seals heat inside the chambers. Interior seams are not caulked — bats need to be able to move between panels at gaps.
Step 5: Finish, Roof, and Mount
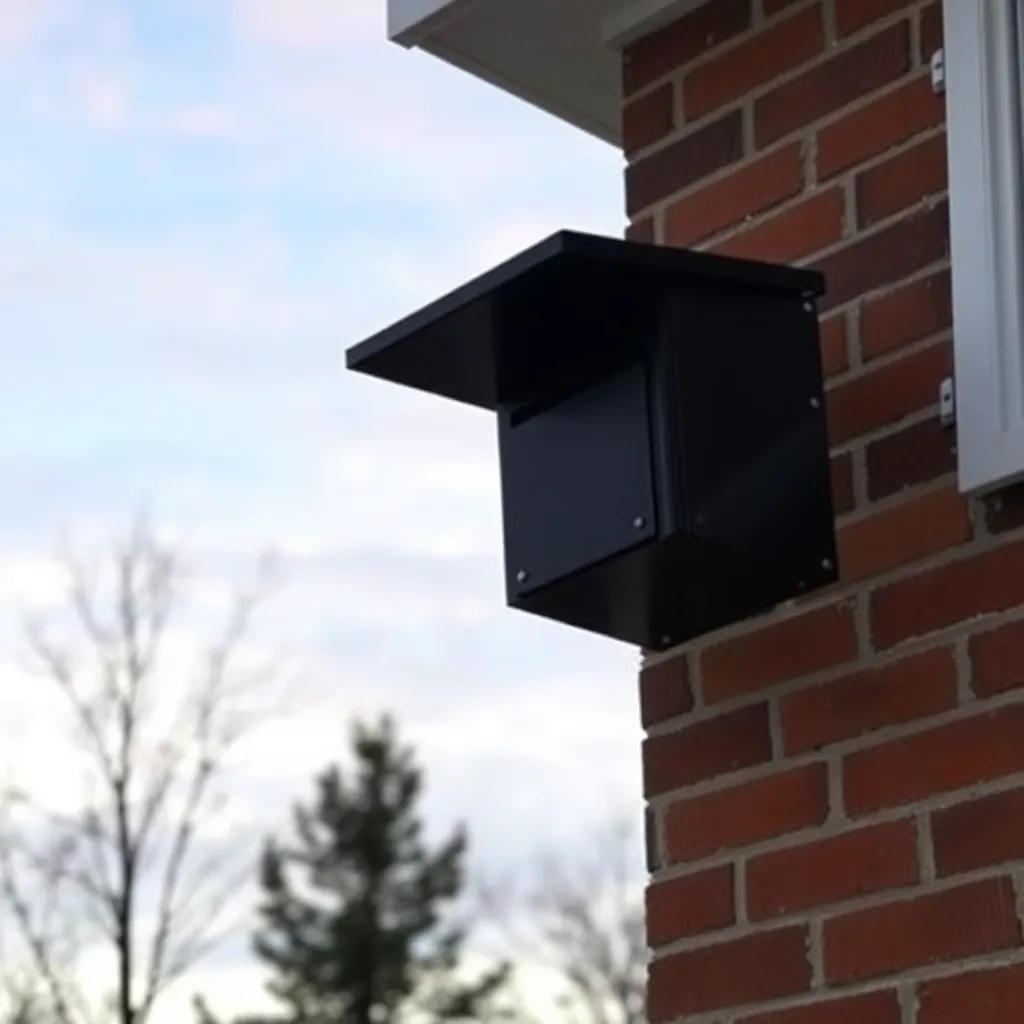
Exterior finish (critical for solar heat gain):
Paint all exterior surfaces (not the interior of the chambers or the landing zone mesh) with flat black exterior latex paint — two coats. Flat black absorbs the most solar radiation.
Regional exceptions:
- Very hot climates (Texas, Arizona, Nevada, southern California): use medium brown or dark gray instead of black — in these climates, black exteriors can overheat to 105°F+ which kills bats
- Very cold climates (Minnesota, Montana, northern Canada): use black; maximum heat absorption is needed
Roof:
Nail the roof panel to the top of the back panel with two 3-inch galvanized nails. The roof overhangs 2 inches on the sides and front — this sheds rain away from the chamber entrance. The junction between the roof and the back panel must be caulked on the exterior.
Mounting:
Mount on the south face of a building (house wall, garage, barn) rather than a pole whenever possible — buildings provide more stable temperatures than free-standing poles. Use two 3-inch lag screws through the back panel into wall studs. The bat house should not wobble — bats abandon houses that vibrate in wind.
For pole mounting: use two 4×4 posts set 2 feet into the ground, 12 inches apart. Attach the bat house to the front of the posts at 15 feet height. Add a 2-inch wide aluminum drip cap along the bottom of the roof to shed water.
Bat House Plans FAQ
How long until bats move into a bat house?
Typically 1–2 years. Bats are slow to colonize new structures — they investigate potential roost sites over multiple seasons before committing. Occupancy rates in correctly placed and constructed bat houses are approximately 50% in year one, 75% by year two, and 90% by year three. If unoccupied after 3 years, try relocating — solar exposure and proximity to water are the most common failure points.
What bats use bat houses?
In North America: Little Brown Bat and Big Brown Bat are the most common bat house users. Mexican Free-tailed Bat in the Southwest. Evening Bat and Tri-colored Bat in the Southeast. Eastern Small-footed Bat occasionally. Most bat houses attract whichever species is locally most abundant — check your local Bat Conservation International chapter for regional species notes.
Does a bat house need to be on a tree?
No — and trees are often a poor choice. A tree-mounted bat house is shaded during parts of the day, swings in wind (bats abandon vibrating roosts), and may not meet the minimum solar exposure requirement. A south-facing building wall or a dedicated pole in an open yard is better than a tree.
Are bats dangerous?
Bats carry rabies at a rate of less than 0.5% of wild populations — lower than raccoons or foxes. The risk from a bat house mounted on an exterior wall of your house is essentially zero — bats rarely enter buildings and the house gives them no reason to. Do not handle bats without leather gloves; if a bat is found grounded in your yard, call a licensed wildlife rehabilitator rather than handling it.
How do I know if bats are using the house?
Look for guano (droppings) beneath the house — the most reliable indicator. Bat guano is small (similar to mouse droppings but slightly flattened), dark, and crumbles to powder when dry. Evening emergence flights: stand 50 feet away at dusk and watch the house — emerging bats are visible as fast-moving silhouettes against the evening sky. Numbers of bats visible at emergence reflect colony size.

“DIY woodworking enthusiast who started with zero experience and a YouTube tutorial.
I build simple, practical projects for my home and share free plans
so other beginners can skip the guesswork.If I can build it, you can too.”