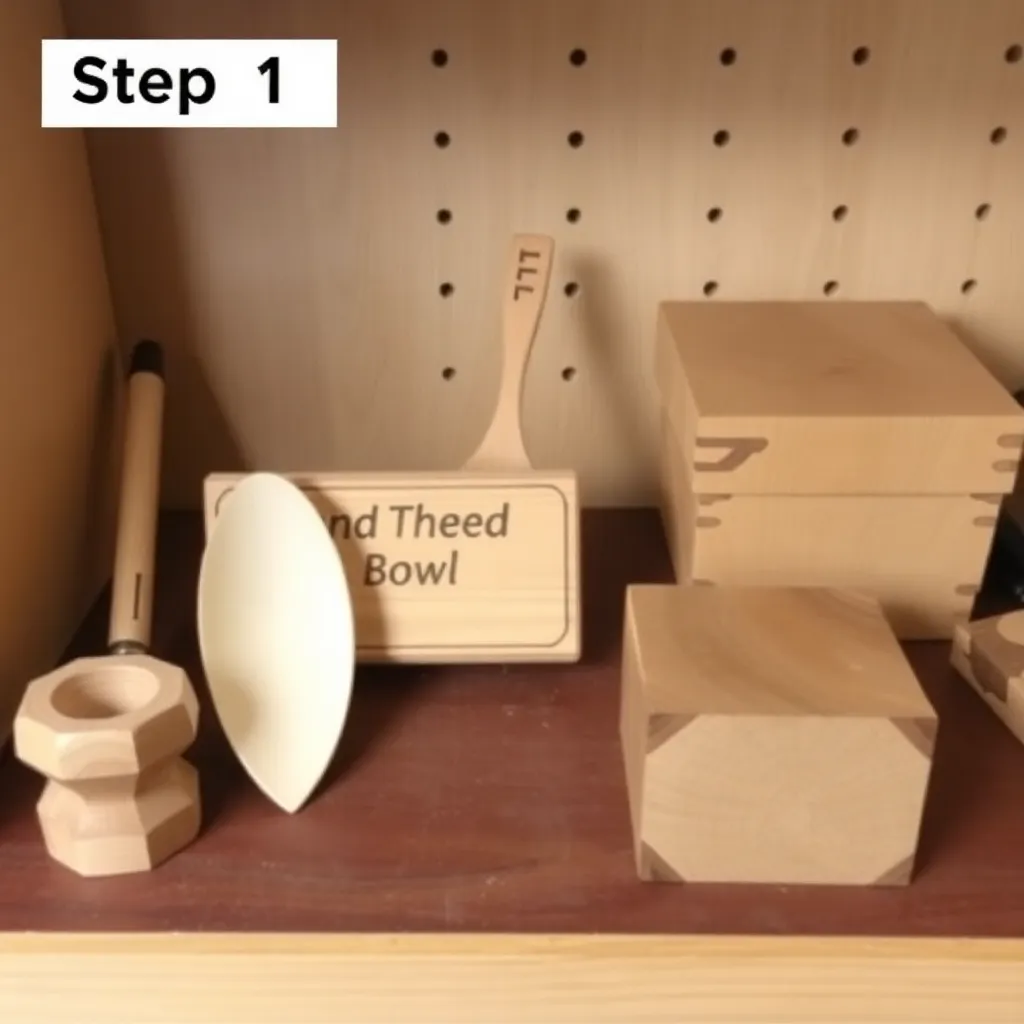
Craft-scale woodworking — projects sized for a weekend or a single evening — builds tool confidence faster than large projects. When you can complete an entire build in two hours, you get immediate feedback on every decision you made. These ten builds cover a spectrum of tools and techniques: scroll saw, lathe, carving, burning, turning, and marquetry. Each one is genuinely beautiful on its own and teaches a technique that transfers to larger work.
Ted’s Woodworking has complete craft plans for all ten of these techniques and hundreds more. Browse Ted’s craft plans →
Step 1: Build a Segmented Wood Bowl (Scroll Saw)
Goal: Learn the scroll saw and produce a decorative bowl in two hours.
Cut a 12-inch circle from ¾-inch walnut plywood on the scroll saw. Cut a second circle 1 inch smaller in diameter. Glue the smaller circle on top of the larger, centered. Continue stacking three more circles, each 1 inch smaller in diameter. After the glue cures, sand all faces and the stepped outside profile with a drum sander attached to a drill. Finish the inside with food-safe mineral oil and the outside with Danish oil. The finished bowl is purely decorative — display it on a counter or give it as a gift.
Milestone: A stacked bowl with a layered profile that shows off the wood grain on each tier.
Step 2: Turn a Pen on a Mini Lathe (Wood Turning)
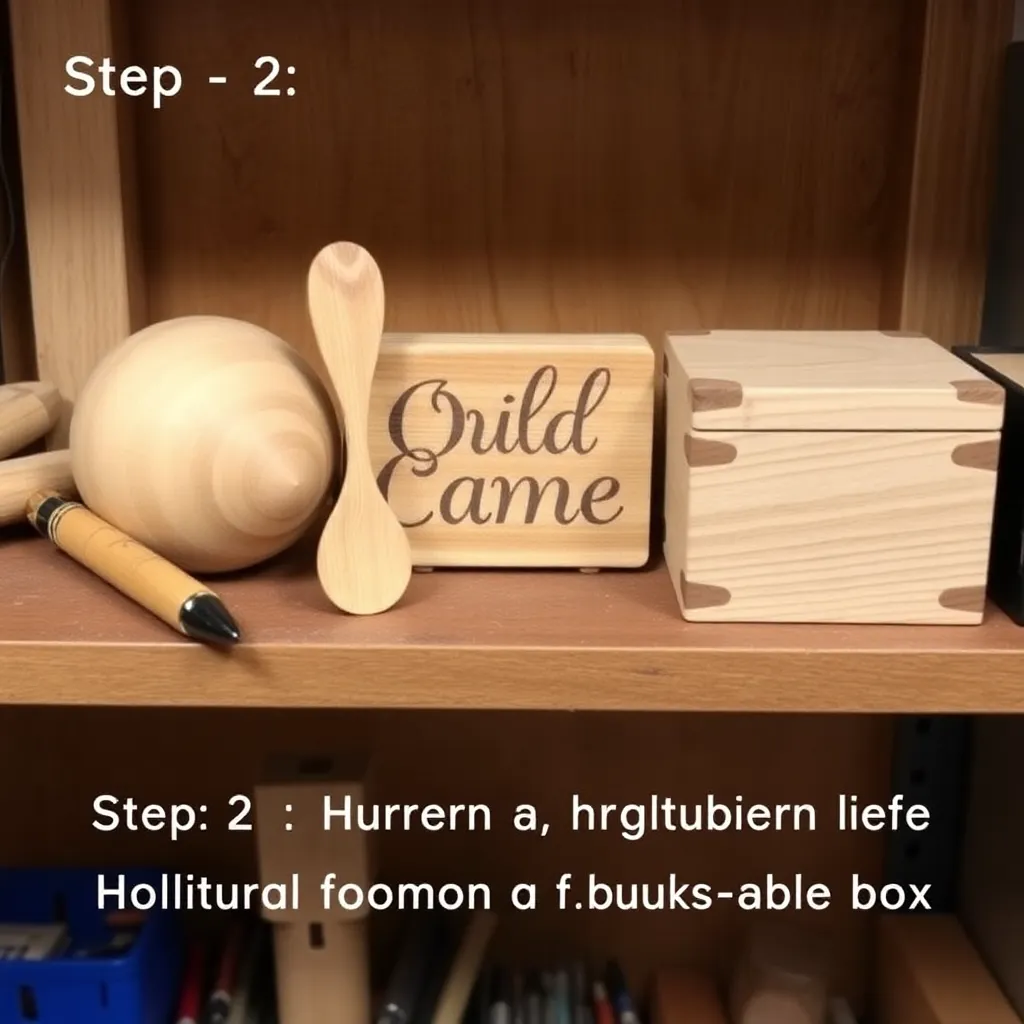
Goal: Learn basic spindle turning on the smallest possible scale — a pen blank.
Buy a pen turning kit ($5–$8) that includes a brass tube and hardware. Select a 3/4 × ¾ × 5-inch exotic wood blank (purple heart, padauk, or figured maple shows well). Drill a 7mm hole through the center of the blank. Glue the brass tube inside with thin CA glue. Mount the blank on a pen mandrel and turn to round on a mini lathe using a ½-inch spindle gouge. Sand through 80/120/220/400/600-grit while the blank spins. Apply three coats of thin CA glue (acts as a finish — extremely durable). Press the hardware together with a pen press.
Milestone: A ballpoint pen with a wood barrel that people will ask you about.
Step 3: Carve a Wooden Spoon (Hand Carving)
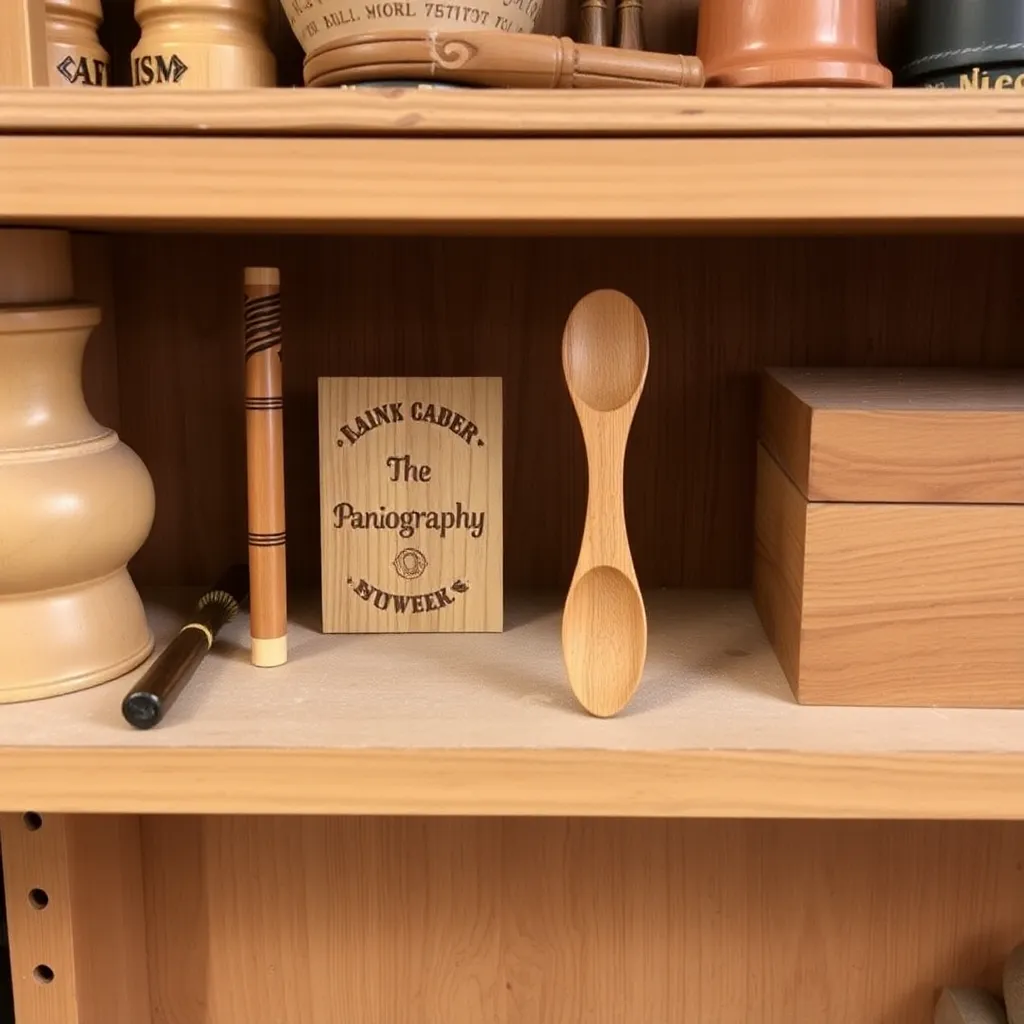
Goal: Learn the three carving cuts and produce a functional kitchen tool.
Select a dry basswood or cherry blank, 1½ × 2 × 9 inches. Rough the profile with a bandsaw or jigsaw — cut the top view (spoon shape) and the side view (handle slope). Hollow the bowl with a curved hook knife or spoon gouge using a scooping pull cut. Shape the handle and refine the bowl with a straight carving knife. Sand to 220-grit inside the bowl where the knife texture is too rough for food use. Apply food-safe mineral oil. The grain of the wood will appear throughout the finished piece — choose straight grain for kitchen spoons and figured grain for display pieces.
Milestone: A spoon you can use to stir coffee or soup without catching splinters.
Step 4: Build a Pyrography Sign (Wood Burning)
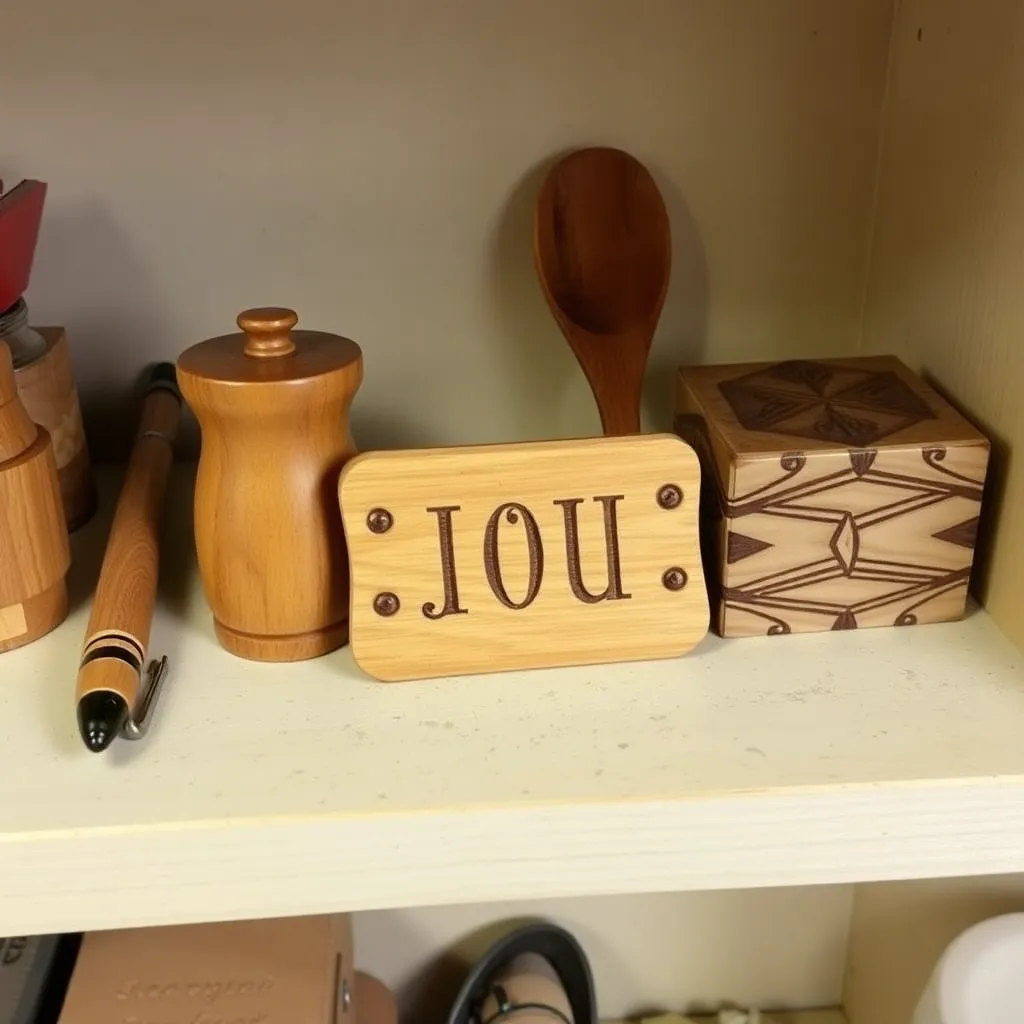
Goal: Produce a personalized piece using a wood burner and practice layout and lettering.
Choose a clear basswood panel, 6 × 12 × ¾ inches. Print or trace your text or design onto tracing paper. Transfer the design to the wood with graphite transfer paper. Outline with a fine-tip burner tip at medium heat. Fill in large areas with a shading tip or ball tip. Work in long, consistent strokes rather than short jabs — this produces uniform color and prevents scorching. Sand lightly with 400-grit to remove any raised grain from the burning process. Apply a coat of matte polyurethane to seal the surface and prevent handling from darkening the unburned areas.
Milestone: A sign with crisp lettering that shows burn depth, not just surface darkening.
Step 5: Build an Intarsia Tile (Intarsia Woodworking)
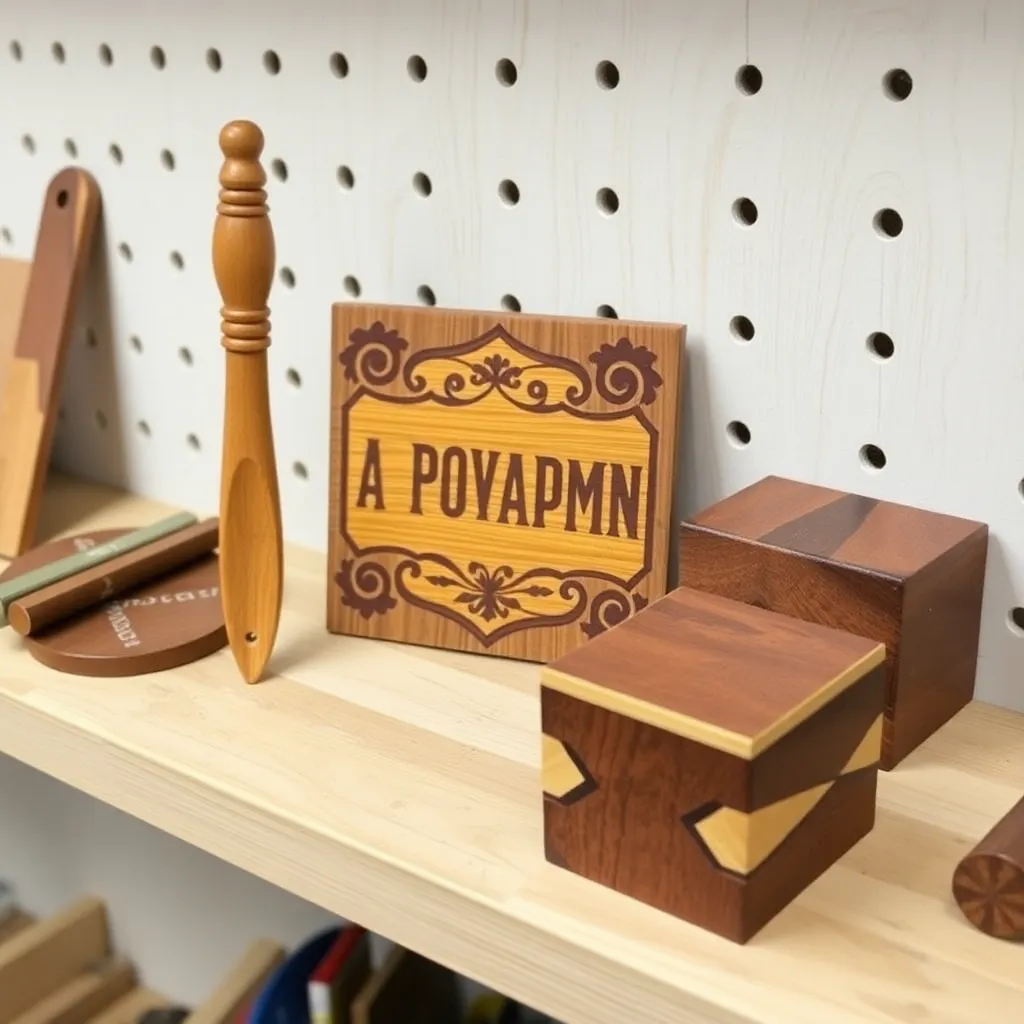
Goal: Learn intarsia — assembling a picture from shaped pieces of different species.
Design a simple silhouette (a bird, a leaf, a mountain range — geometric shapes work better than complex curves at first). Trace each section of the design onto a different wood species — cedar for warm red, maple for light areas, walnut for dark contrast. Cut each piece on the scroll saw. Sand each piece individually, varying the thickness slightly to create a 3D relief effect (background pieces thinner, foreground pieces thicker). Glue pieces to a plywood backing using construction adhesive. Apply a coat of oil to pop the natural wood colors.
Milestone: A tile where the different woods read as a coherent image from 3 feet away.
Step 6: Build a Dovetail Box (Hand Tool Joinery)
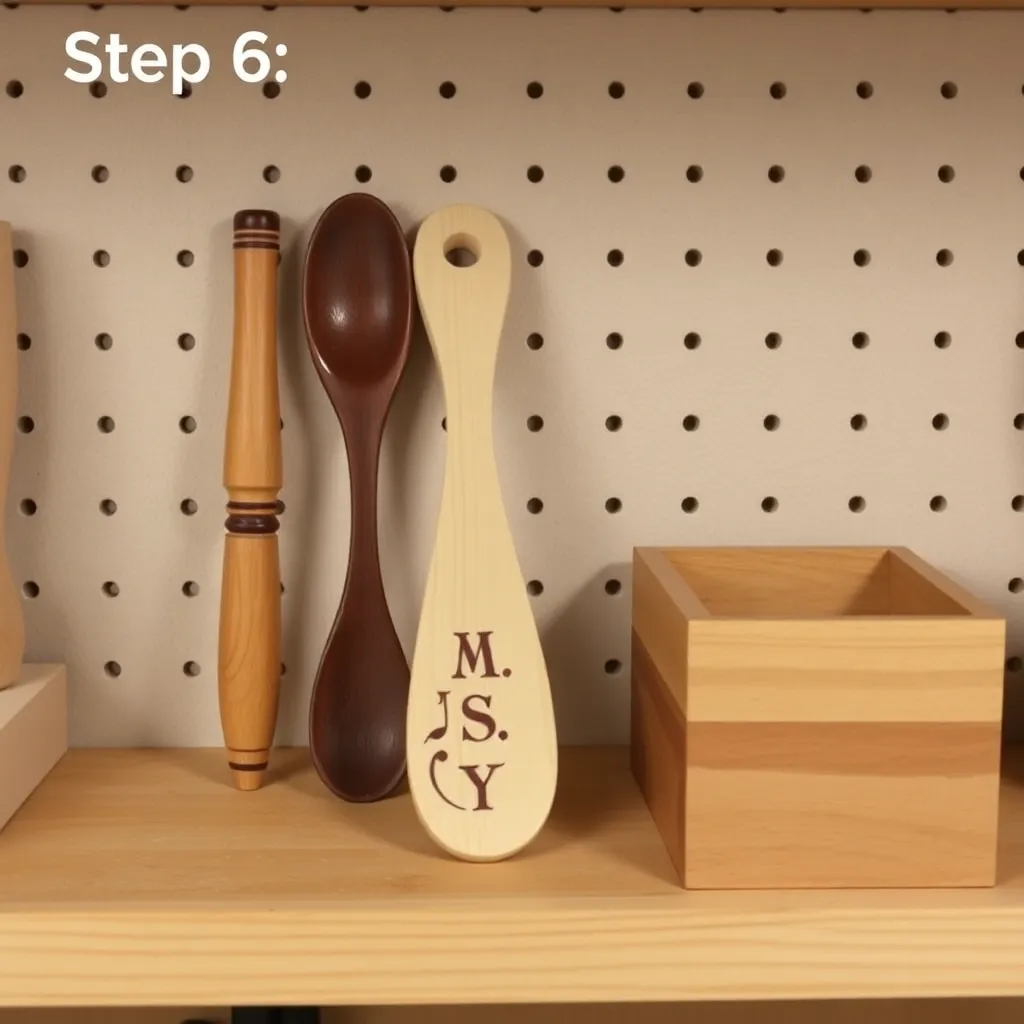
Goal: Cut your first hand-cut dovetails — the benchmark joint that proves hand-tool competence.
Cut four sides from ½-inch cherry or maple: two at 4 × 8 inches, two at 4 × 6 inches. Lay out the dovetails on the end grain with a marking gauge and sliding bevel set to 1:6 (for hardwoods). Saw the tails on the saw keepers with a dovetail saw. Use the tails to mark the pins on the mating piece with a sharp marking knife. Chop the waste from both the tail board and pin board with a sharp ¼-inch chisel, working from both faces. Test fit dry — a perfect fit should require a light mallet tap. Glue with Titebond applied thin. Add a ¼-inch plywood bottom in a routed rabbet.
Milestone: A box where the dovetail gaps are under 1/32 inch when held up to light.
Step 7: Build Marquetry Coasters (Marquetry / Veneer Work)
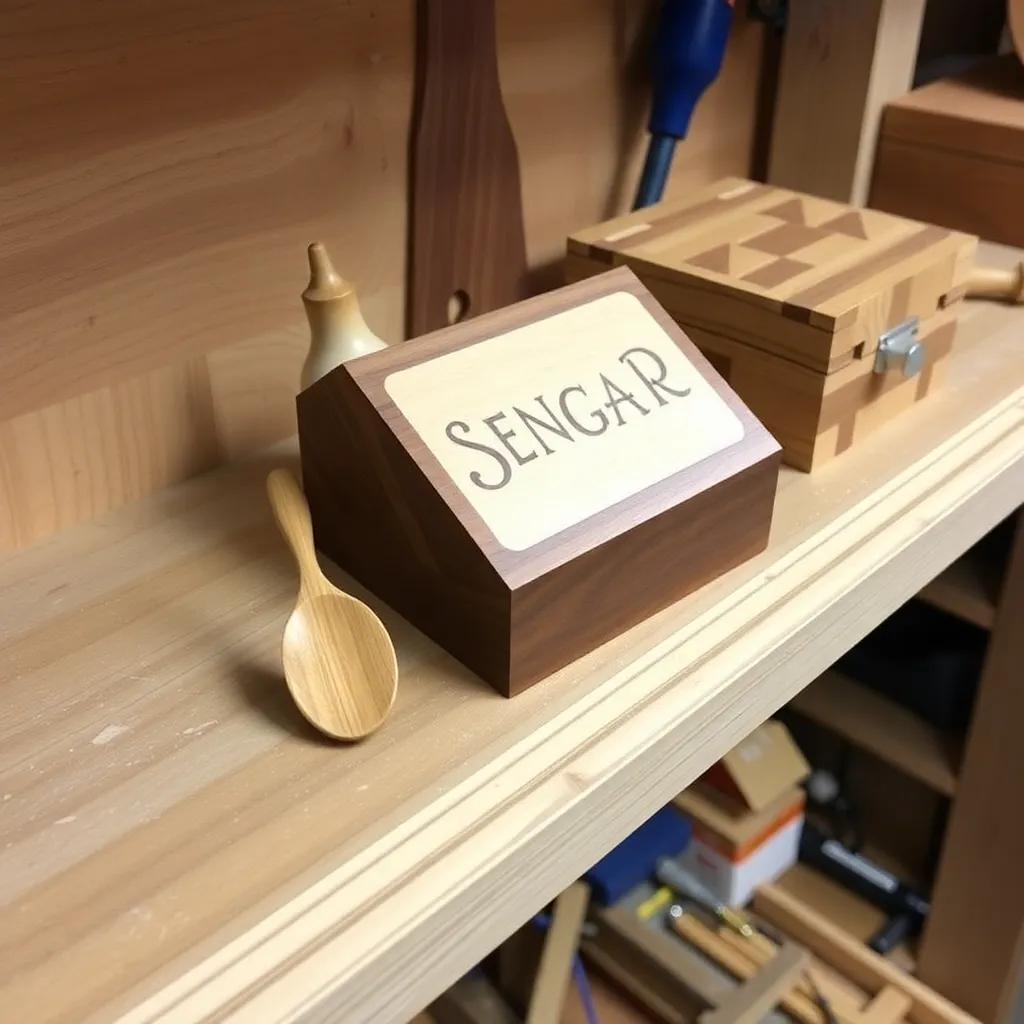
Goal: Learn marquetry — cutting and assembling thin wood veneer — on a small, low-stakes project.
Buy a pack of mixed wood veneer sheets (¼mm thick). Cut four ½-inch squares each from four different species (maple, walnut, cherry, padauk). Arrange in a checkerboard 2×2 grid. Tape the joints with veneer tape on one face. Apply white or yellow glue to both the veneer back and a 4-inch square of ¼-inch MDF. Place a weight on top for 30 minutes. When cured, remove the tape. Sand flush. Cut to final size on the table saw (a flush-trim router bit also works). Apply three thin coats of wipe-on polyurethane. Add felt pads to the bottom.
Milestone: A set of four matched coasters with flush, gap-free veneer joints.
Step 8: Whittle a Knife Handle (Whittling / Timber Framing)
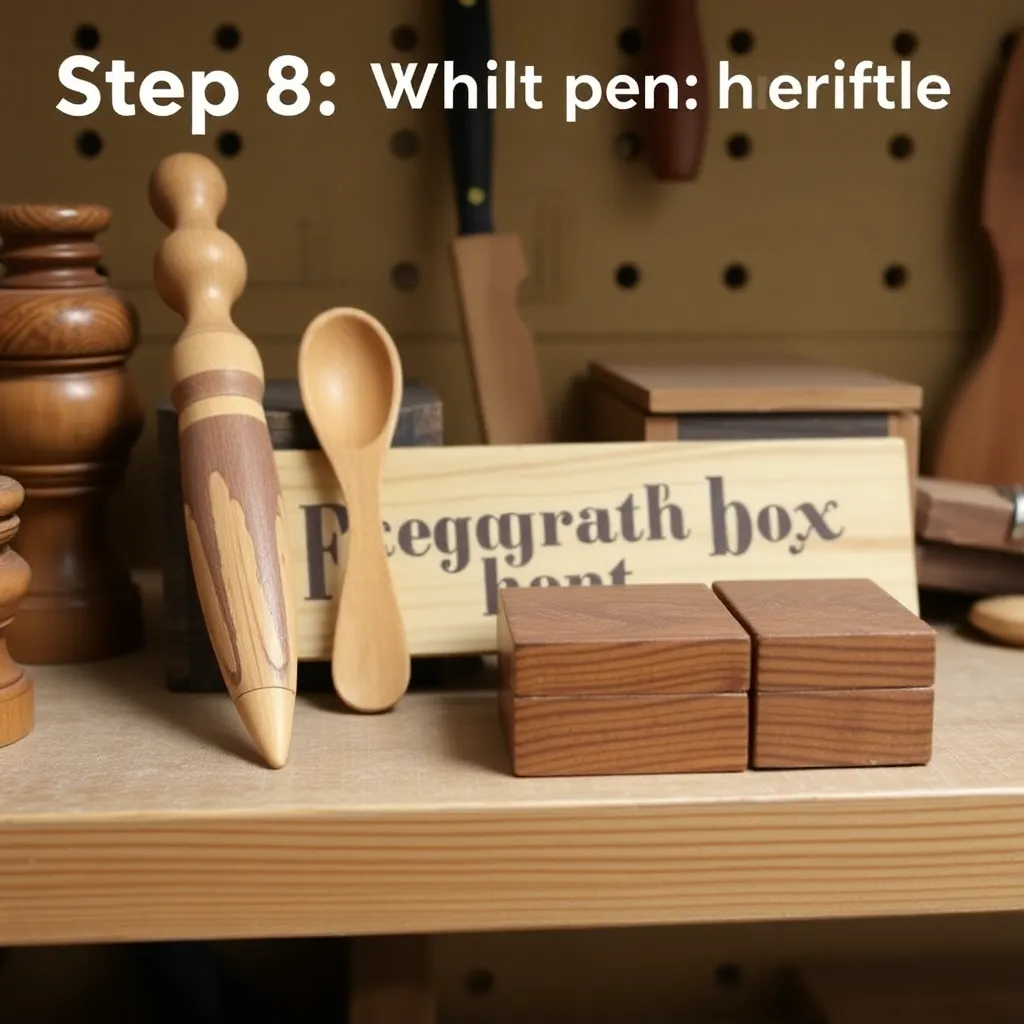
Goal: Whittle your first functional object and practice knife control.
Buy a blank knife handle scale from an online knife supply — a ⅜ × 1½ × 5-inch piece of stabilized wood. Drill handle pin holes with a drill press at positions matching the blade’s full tang holes. Shape the handle profile with a carving knife, working end-to-end with long strokes. Thin the heel area (nearest the blade) more than the end — this creates a natural hand-stop feel. Round all edges and remove any flat spots. Sand to 400-grit. Apply a penetrating oil finish (Danish oil or tung oil). Pin the scales to the tang with brass pins and finish with epoxy.
Milestone: A handle that fits your specific hand and shows no tool marks in natural light.
Step 9: Build a Chip-Carved Frame (Chip Carving)
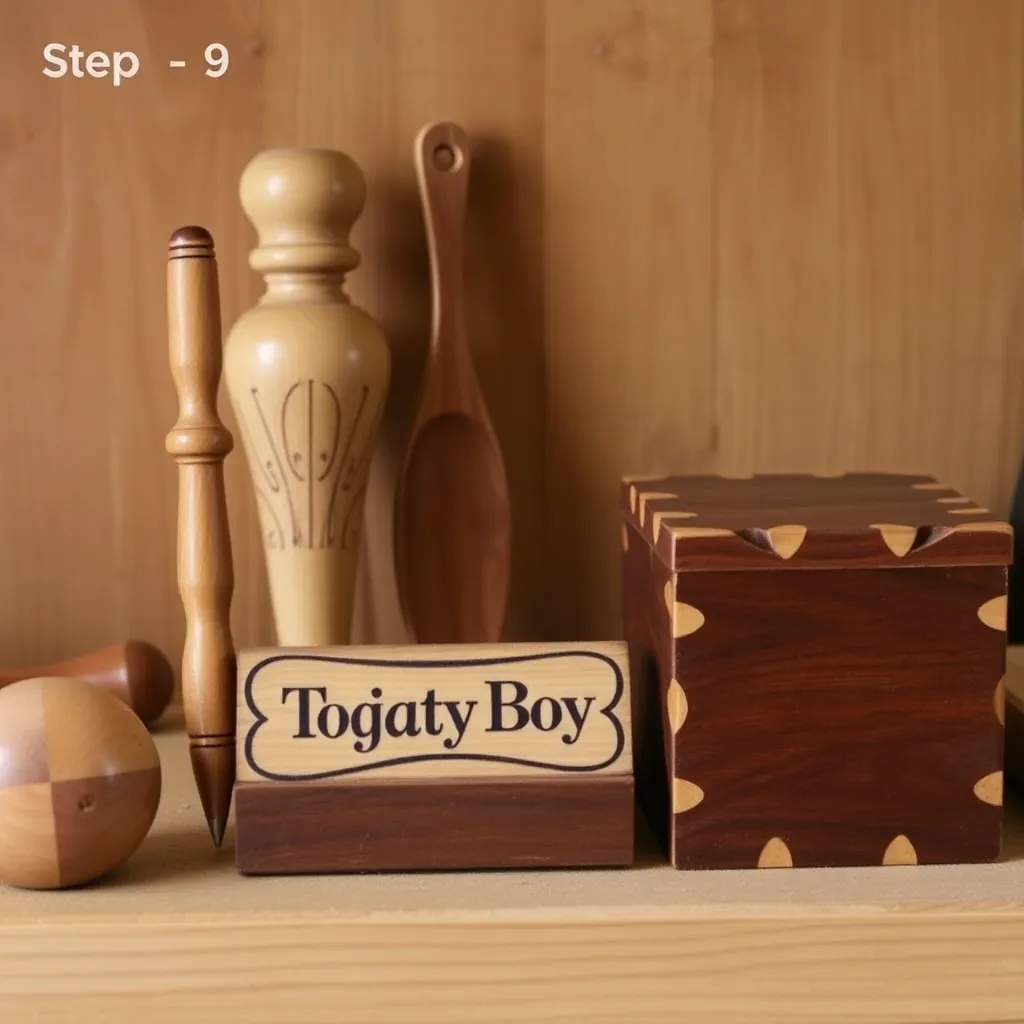
Goal: Learn chip carving — the most accessible relief carving technique — on a simple frame.
Buy a clear basswood or butternut blank, 6 × 8 × ¾ inches with a photo opening already routed (or rout it yourself with a ¼-inch straight router bit). Lay out chip-carving triangles along the outer border in pencil using a ruler and protractor — equilateral triangles 1 inch on a side. Make two cuts per triangle with a chip carving knife: the stop cut (straight into the wood at 65°) and the sweeping cut (from the opposite corner, rolling the knife as you pull). The chip pops out cleanly when both cuts meet at the apex. Stain the carved frame darker to make the pattern read from across the room.
Milestone: A frame border where every chip is clean-sided, not crumbled.
Step 10: Build a Burned and Dyed Decorative Panel (Surface Treatment)
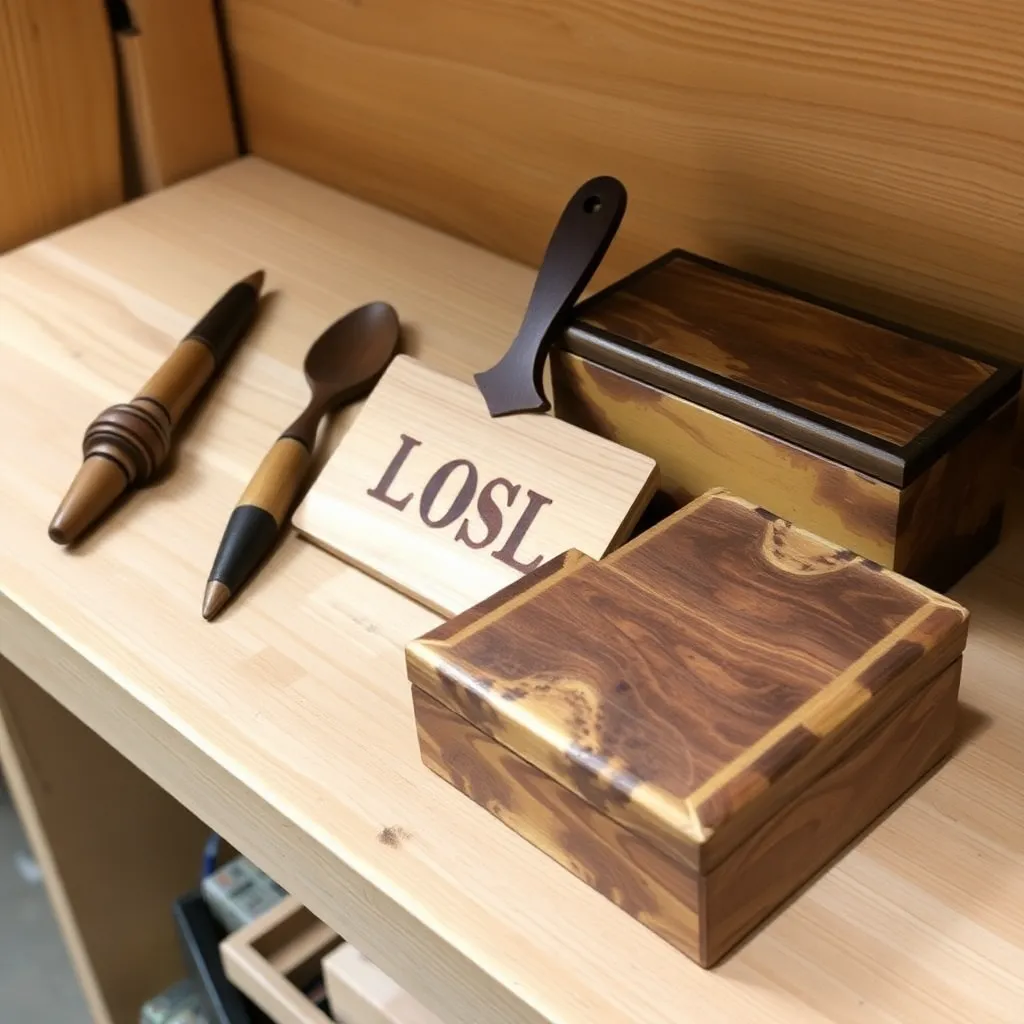
Goal: Combine two finishing techniques — burning and dye — to make a wall piece.
Shou sugi ban (charring): take a straight-grained pine board and char the surface with a propane torch held 4–6 inches away, moving continuously. Let cool for 5 minutes. Wire-brush against the grain to remove loose char and reveal the grain underneath — burned pine shows highly dramatic figure. Apply a coat of exterior clear finish (teak oil or spar urethane) to lock the carbon in place. Optionally, apply a diluted water-based wood dye (blue, teal, or green works well against charred wood) before the topcoat. Mount on the wall with a French cleat.
Milestone: A panel with a surface texture that no paint or stain can replicate.
Woodworking Crafts FAQ
Do I need a full woodworking shop for craft-scale projects?
No. Projects 1, 3, 4, 8, and 9 in this guide require only a hand tool set — knives, chisels, and a carving mallet — plus a flat surface to work on. Project 2 (pen turning) requires only a mini lathe ($250–$400). The full-shop tools (table saw, router table, drill press) only become relevant for projects 6 and 7. A dedicated craft space can be as small as a kitchen table with a bench hook clamped to the edge.
What is the fastest woodworking craft to learn?
Pyrography (wood burning) — you can produce a clean finished piece within 2–3 hours on your first attempt, with no specialized woodworking knowledge required. The learning curve is in controlling heat and stroke speed, which becomes intuitive within an hour of practice. Chip carving is equally accessible and requires only a single specialized knife.
How do I finish small craft pieces without brush marks?
Use wipe-on finishes rather than brush-on: wipe-on polyurethane, Danish oil, and shellac flakes dissolved in denatured alcohol. Apply with a lint-free cloth in circular motions, then wipe excess with the grain. CA glue (super glue applied in multiple thin coats while the piece turns on a lathe or spins in place) produces the highest gloss with no brush marks at all. For flat panels, a foam roller produces fewer marks than a brush.
What is the best wood for beginners to carve?
Basswood is the standard recommendation — it’s soft, tight-grained, consistent throughout, and cuts cleanly with minimal force. Butternut and white pine carve nearly as well. Avoid oak, maple, and other hardwoods until carving technique is established — harder woods are not proportionally more difficult, they’re categorically different in the force required.

“DIY woodworking enthusiast who started with zero experience and a YouTube tutorial.
I build simple, practical projects for my home and share free plans
so other beginners can skip the guesswork.If I can build it, you can too.”