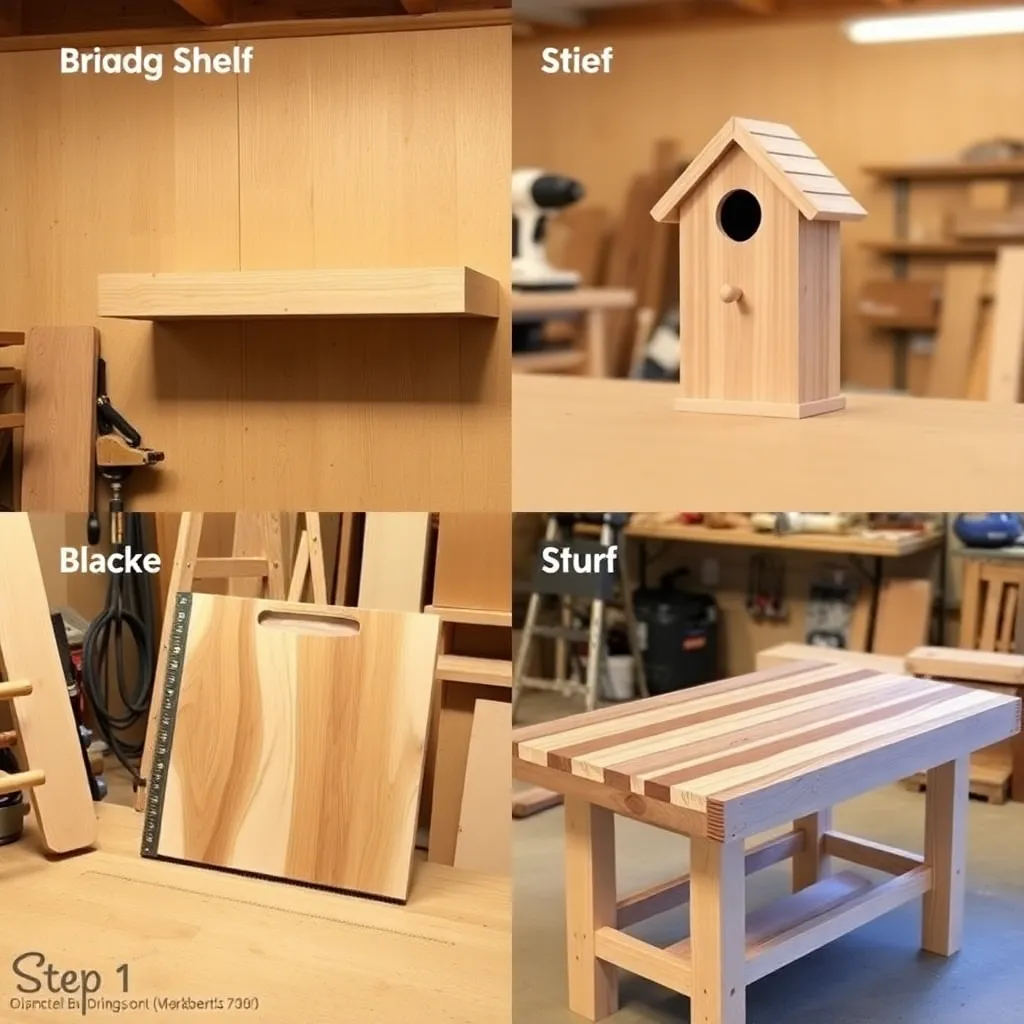
The best woodworking project is the one you finish. That means starting with a project sized for your current tools, your current space, and your current skill level — not the projects you see on Instagram after three years of practice. This guide covers ten builds organized by the skills they teach, from a simple floating shelf you can hang in an afternoon to a workbench that becomes the foundation of a real workshop.
Ted’s Woodworking has 16,000+ step-by-step plans for every skill level — including a free beginner guide with the first five projects in sequence. Get Ted’s beginner plans →
Step 1: Build a Floating Shelf (Skill: Measuring and Drilling)
Goal: Get your first project on the wall and build the discipline of measuring twice.
Cut one 1×6 pine board to 24 inches. Sand with 120-grit, then 220-grit. Paint or stain before hanging — easier than working around wall hardware. Find studs with a stud finder (or a strong magnet for screws in drywall). Hold a level across two wall-mount brackets, mark, and drill pilot holes. Drive 2½-inch screws into studs. Set the shelf on brackets and drive two screws up through each bracket into the shelf. Test with 20 pounds of weight. If it holds, you’ve learned the two skills — measuring and drilling — that every subsequent project requires.
Milestone: A level shelf on the wall that holds books or plants without sagging.
Step 2: Build a Picture Frame (Skill: 45° Miter Cuts)
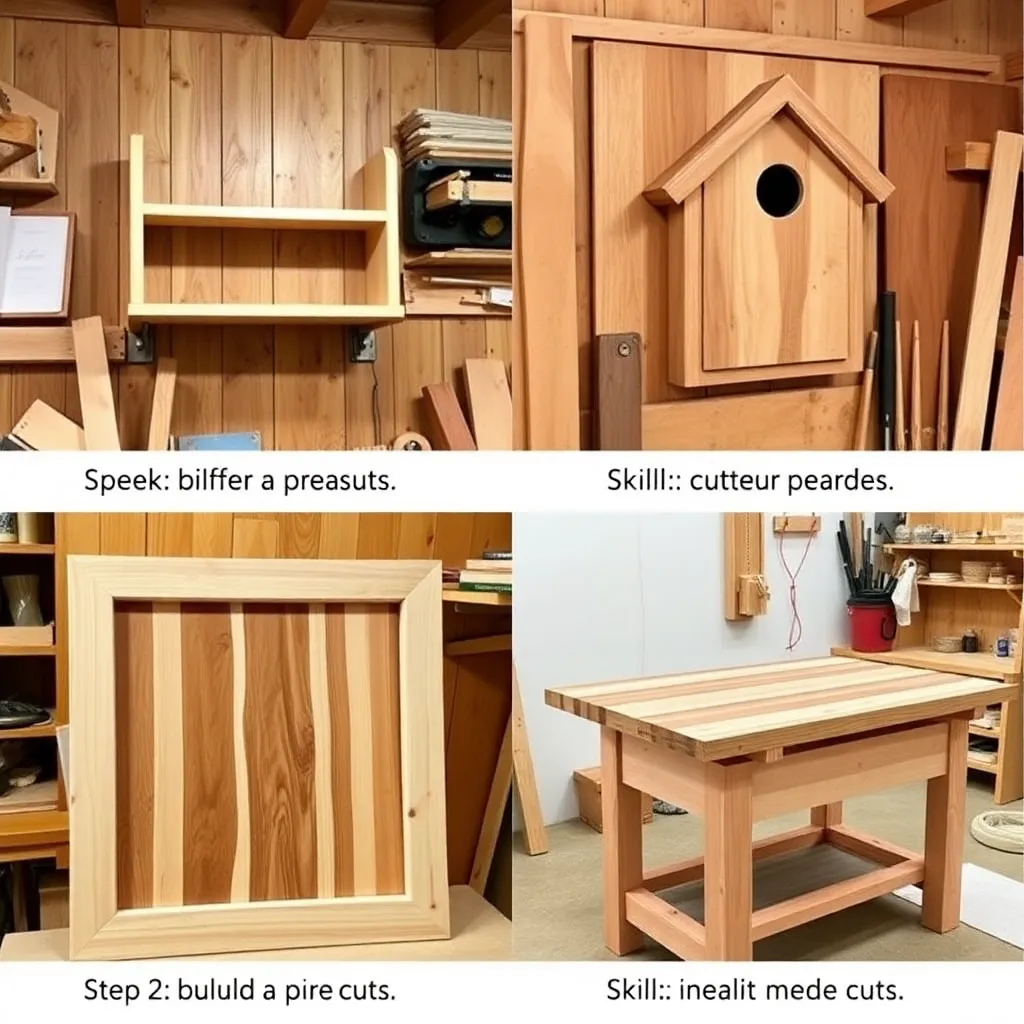
Goal: Make your first precise angled cuts and learn to handle the miter saw confidently.
Buy a 6-foot piece of 1×2 picture-frame molding. Set a miter saw (or miter box and hand saw) to 45°. Cut four pieces with matching angle pairs: two at 10 inches (short side, measured at the long point), two at 12 inches. Test-fit the corners without glue — all four gaps should be essentially invisible. Glue with wood glue, clamp all four corners at once with a strap clamp or rubber band, and let dry for an hour. Tack ½-inch brads at each corner. Sand the face and paint or stain. Add a sawtooth hanger on the back.
Milestone: A frame with tight miters that makes you look twice at store-bought frames.
Step 3: Build a Birdhouse (Skill: Box Assembly and Right Angles)
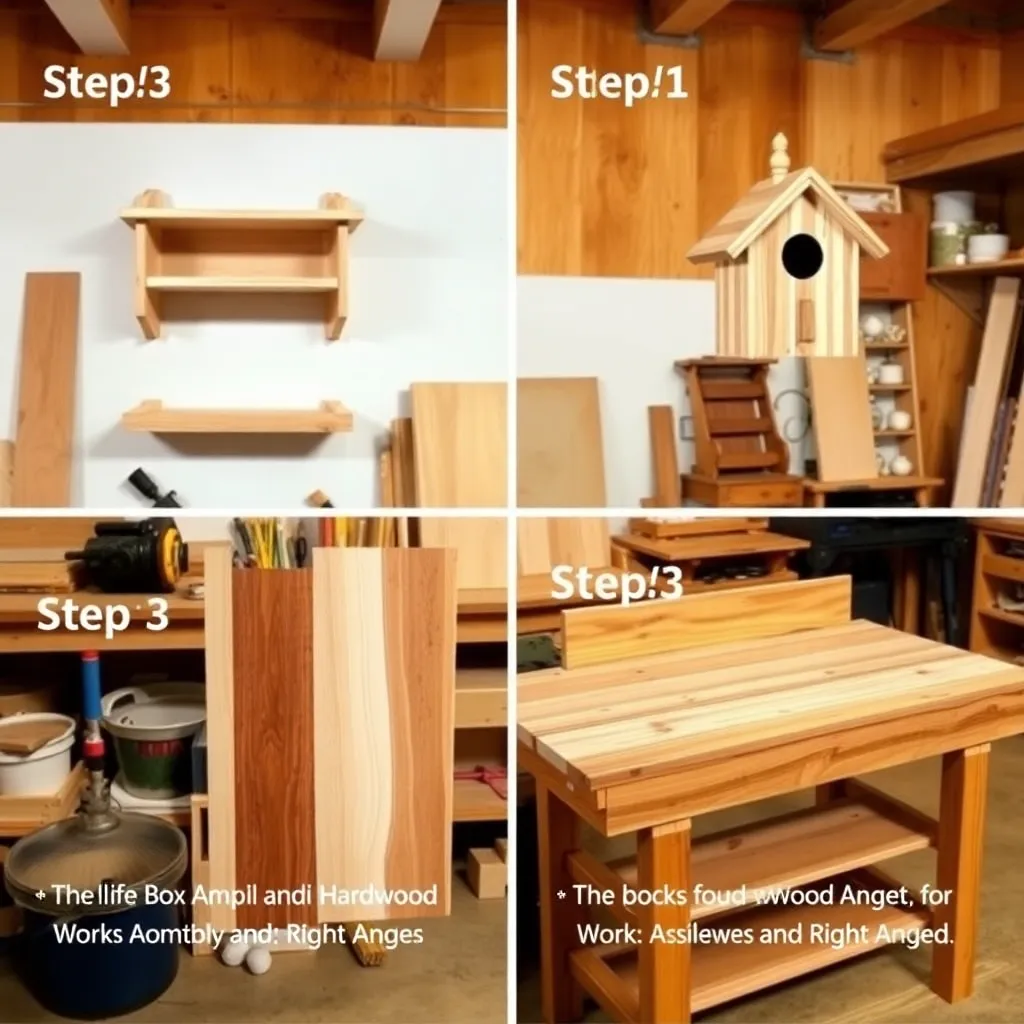
Goal: Build a three-dimensional box, your first actual structure.
Use cedar 1×6 (rot-resistant outdoors). Cut parts: front/back 7 × 9 inches with a gabled top, two sides 5½ × 7 inches, floor 4 × 5 inches, roof two pieces 5½ × 8 inches. Drill a 1½-inch entrance hole 6 inches from the floor. Assemble with 1¼-inch exterior screws and waterproof wood glue. Check for square with a framing square after each wall goes on — corners that are out of square will make the roof difficult to fit. Sand and finish with an exterior clear coat or leave cedar natural.
Milestone: A freestanding weatherproof structure with square corners.
Step 4: Build a Shoe Rack (Skill: Pocket Screw Joinery)
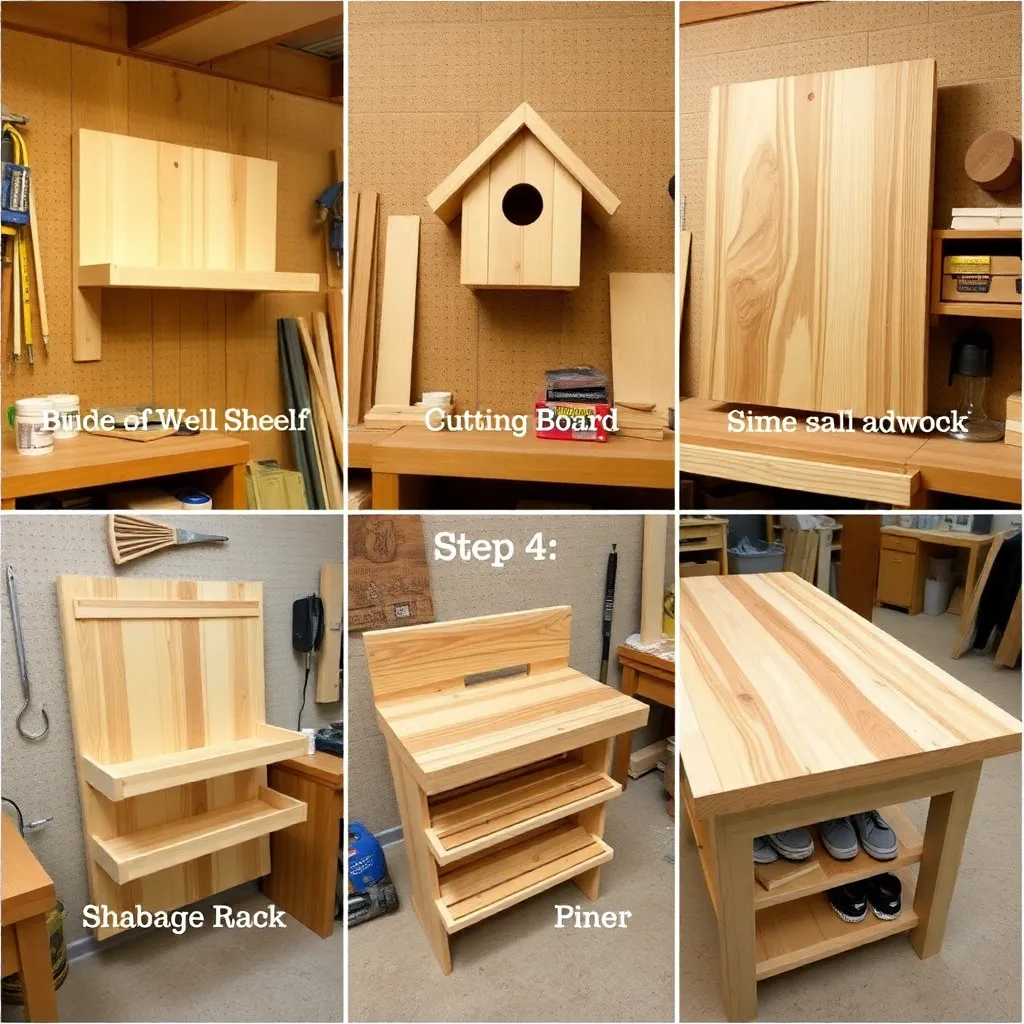
Goal: Learn pocket hole joinery — the fastest way to build furniture without visible fasteners.
Buy a Kreg R3 or 520 Pocket Hole Jig (~$40) and follow the setup guide to drill pocket holes on 1×4 rails. Build three horizontal rails from 1×4 pine at 30 inches wide. Connect them to two side uprights from 1×6 pine at 16 inches tall using pocket screws at the top, middle, and bottom positions. Add a 1×4 shelf between each pair of rails. The finished rack should hold 6–8 pairs of shoes without wobbling. Paint or apply polyurethane. Felt pads on the bottom protect floors.
Milestone: A piece of furniture with no visible fasteners on the face.
Step 5: Build a Storage Cabinet (Skill: Panels, Dadoes, and Doors)
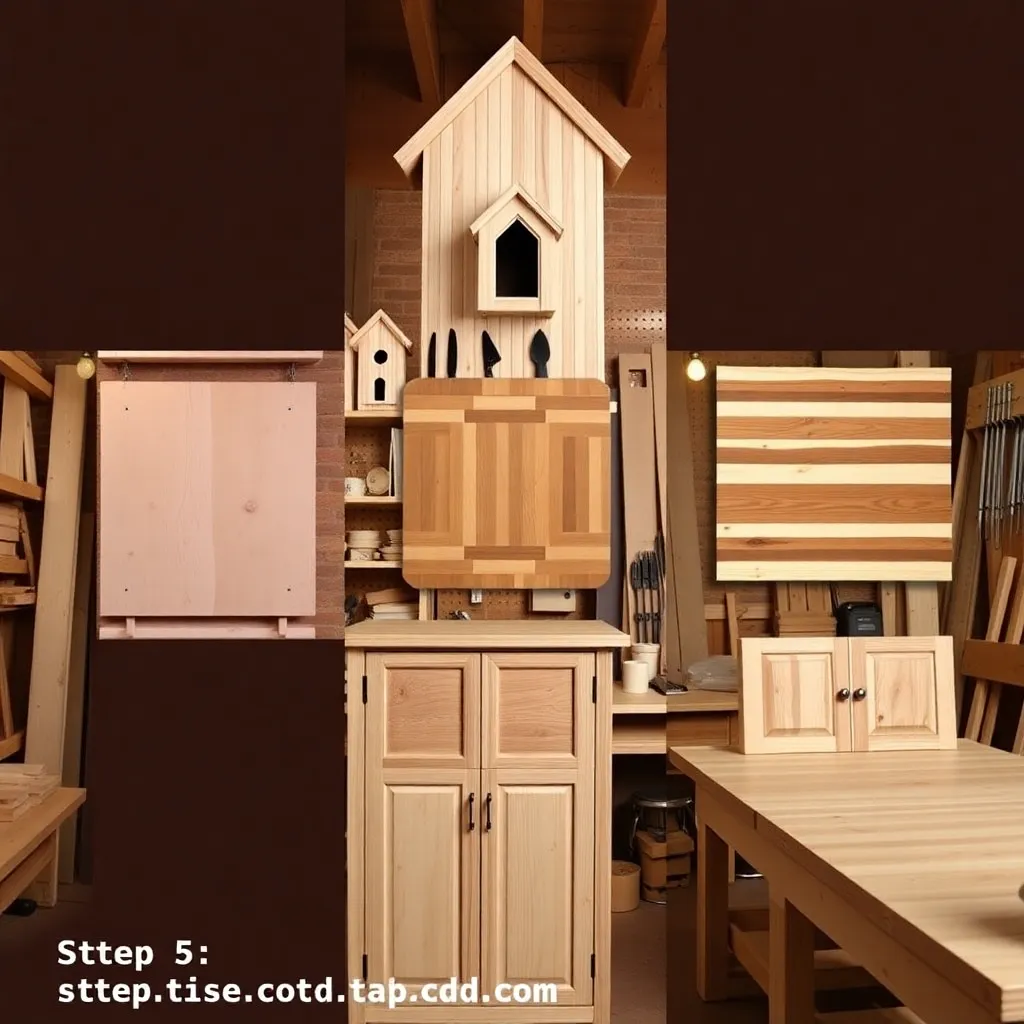
Goal: Build a full case piece with a back panel, shelves, and doors.
Use ¾-inch birch plywood for the case: sides 12 × 48 inches, top/bottom 12 × 24 inches, back from ¼-inch plywood. Route or table-saw a ¼-inch dado ¼ inch deep along the inside back edge of each side piece to accept the back panel. Assemble the case with pocket screws. Cut two shelves from ¾-inch plywood at 23¼ × 11¼ inches and add adjustable shelf pin holes with a drill and pegboard jig. Build two face-frame doors from 1×2 pine with pocket screw joints. Hang doors with European hinges (no mortise required). Add a magnetic catch and a pull knob.
Milestone: A standing cabinet with adjustable shelves and closing doors.
Step 6: Build a Coffee Table (Skill: Leg Joinery and Tabletops)
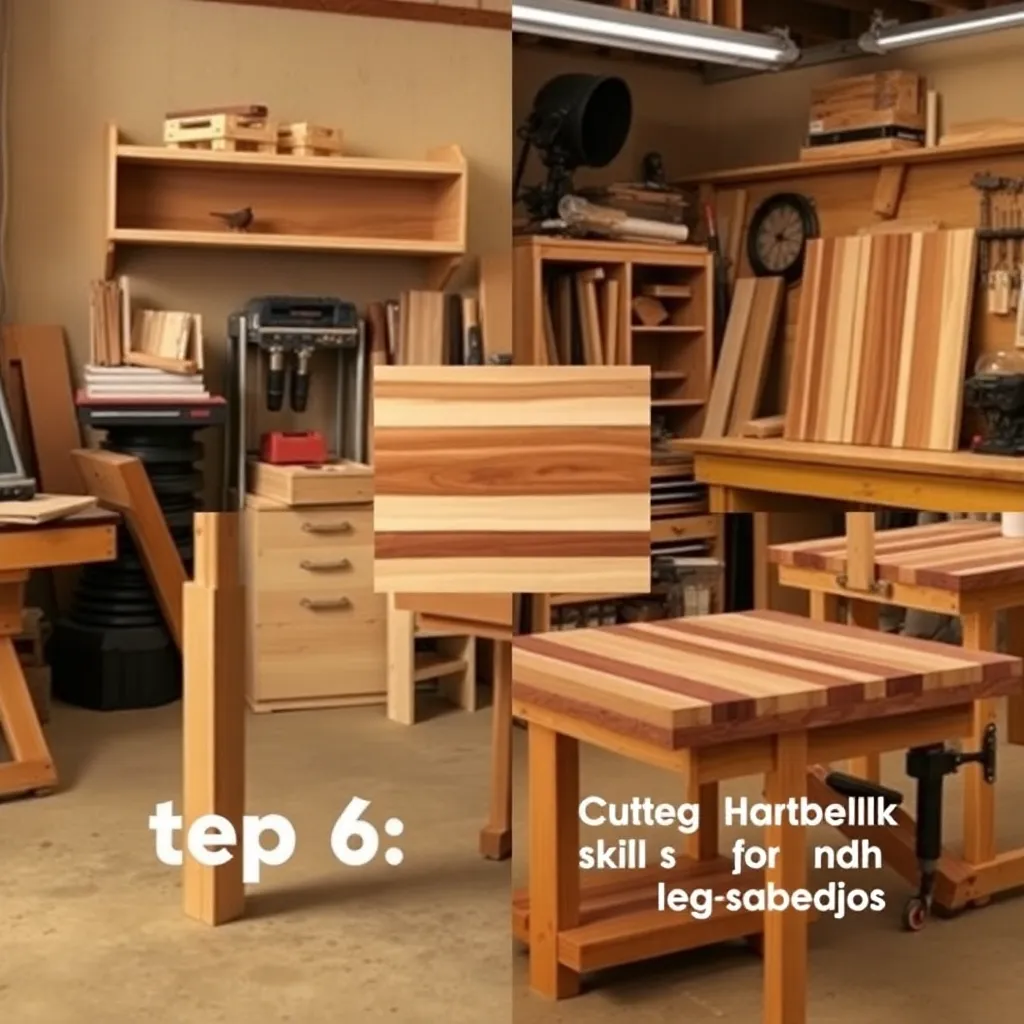
Goal: Build the most common piece of furniture and the most transferable skills in woodworking.
Build a simple farmhouse coffee table: two side aprons 1½ × 3½ × 18 inches, two end aprons 1½ × 3½ × 24 inches, four legs from 4×4 pine at 18 inches tall, and a top from glued-up 1×6 pine boards at 22 × 48 inches. Connect aprons to legs using pocket screws and glue on the inside. Attach the top with figure-8 fasteners (allows the top to expand/contract with humidity). Sand through grits 80, 120, 180. Apply two coats of polyurethane or an oil-wax blend, sanding with 320-grit between coats.
Milestone: A finished piece of furniture you’d show guests.
Step 7: Build a Cutting Board (Skill: Glue-Ups and Hand-Planing)
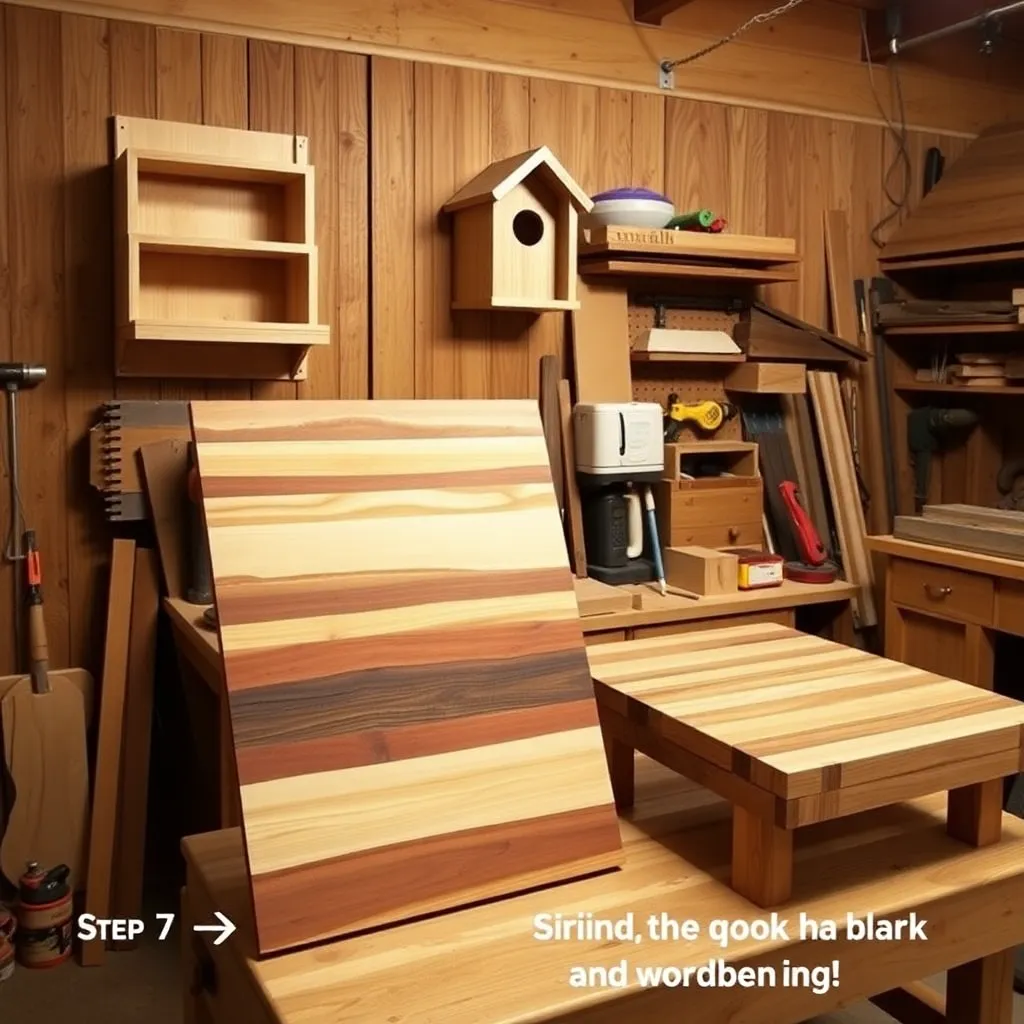
Goal: Learn the glue-up technique — critical for tabletops, panels, and slabs.
Buy a mixed pack of hardwood shorts from a lumber yard: maple, walnut, and cherry. Cut all pieces to equal length (12 inches). Arrange alternating species and glue up face-to-face using Titebond II. Clamp across the width with bar clamps, placing the clamps alternately above and below to prevent bowing. After 24 hours, use a hand plane or belt sander to flatten both faces. Cut the ends square on a miter saw. Round all edges with a ¼-inch roundover router bit. Sand to 220. Apply food-safe mineral oil (not polyurethane). Let absorb overnight, wipe off excess.
Milestone: A board with perfectly flush glue lines that feels smooth under your hand.
Step 8: Build a Workbench (Skill: Structural Frame Construction)
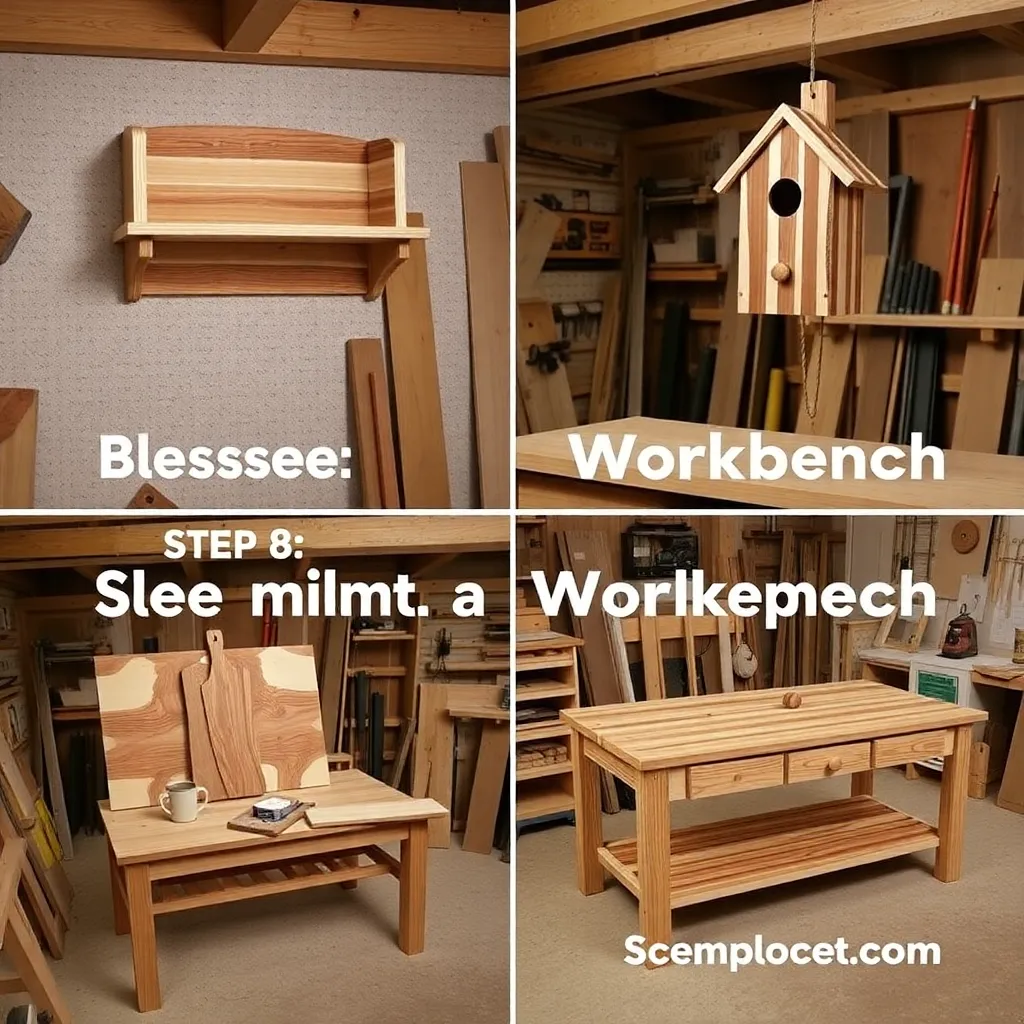
Goal: Build the tool that makes all future projects easier.
A sturdy beginner workbench: four 4×4 legs at 34 inches tall, connected by 2×4 stretchers on the sides (two per side, mortised into the legs with pocket screws) and across the front and back at top and bottom. Add a 2-layer top: ¾-inch plywood base plus ¾-inch hardboard surface for a replaceable wear layer. Bolt through the legs from the outside with ½-inch carriage bolts for maximum rigidity. The finished bench should not rack when you push sideways on it with 100 pounds of force — if it does, add diagonal cross-bracing on the lower shelf.
Milestone: A bench that holds still while you work on it.
Step 9: Build a Raised Garden Bed (Skill: Outdoor Joinery and Ground Contact)
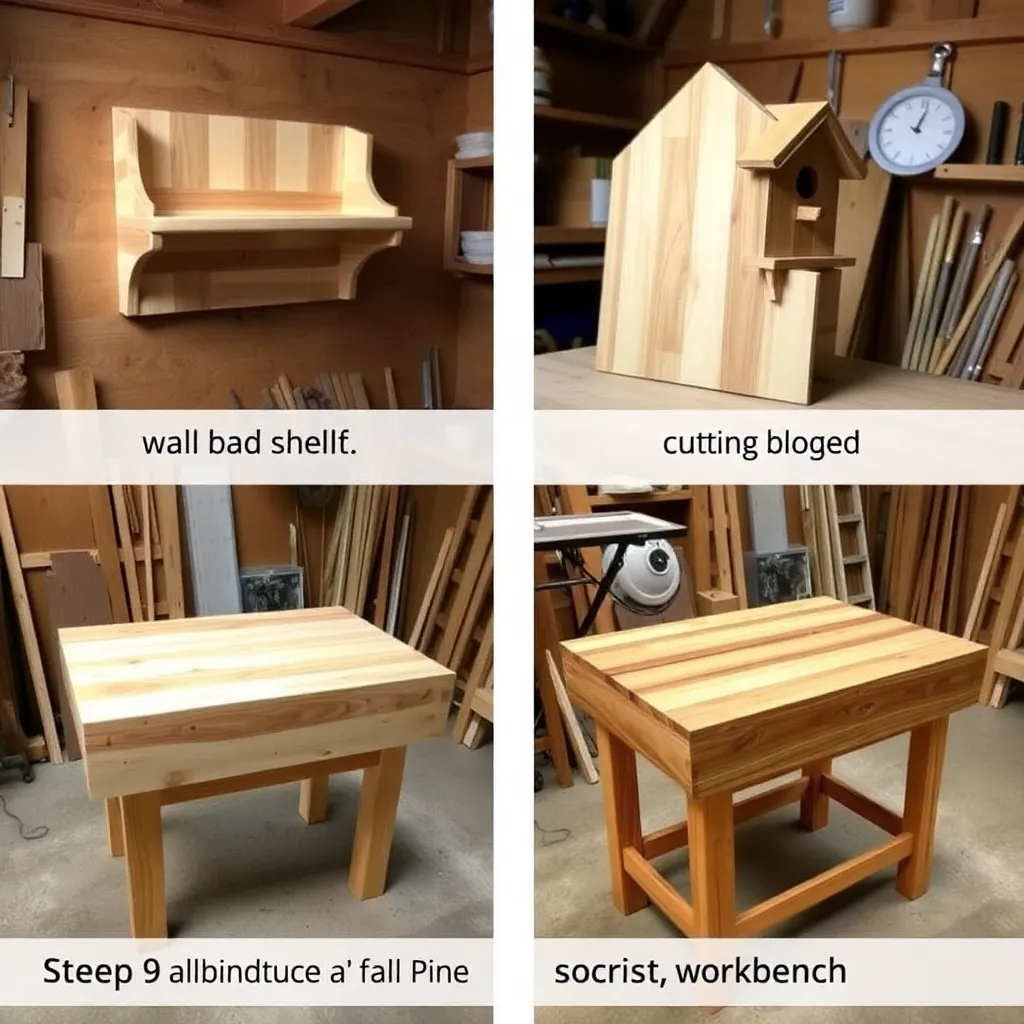
Goal: Apply woodworking to an outdoor structure and learn which materials survive weather.
Use cedar, redwood, or pressure-treated pine rated for ground contact (look for UC4A or UC4B on the tag — not UC3B). For a 4×8 bed: two side boards 1½ × 7¼ × 96 inches (1×8 cedar), two end boards 1½ × 7¼ × 45 inches. Rip corner posts from 4×4 at 10 inches tall. Attach boards to posts with 2½-inch exterior screws and no glue (outdoor pieces need to move with the seasons). Double-stack the boards for an 18-inch-deep bed. Level the finished bed on its site before filling with soil.
Milestone: A weatherproof structure that you can leave outside year-round.
Step 10: Build a Live-Edge Side Table (Skill: Slab Work and Finishing)
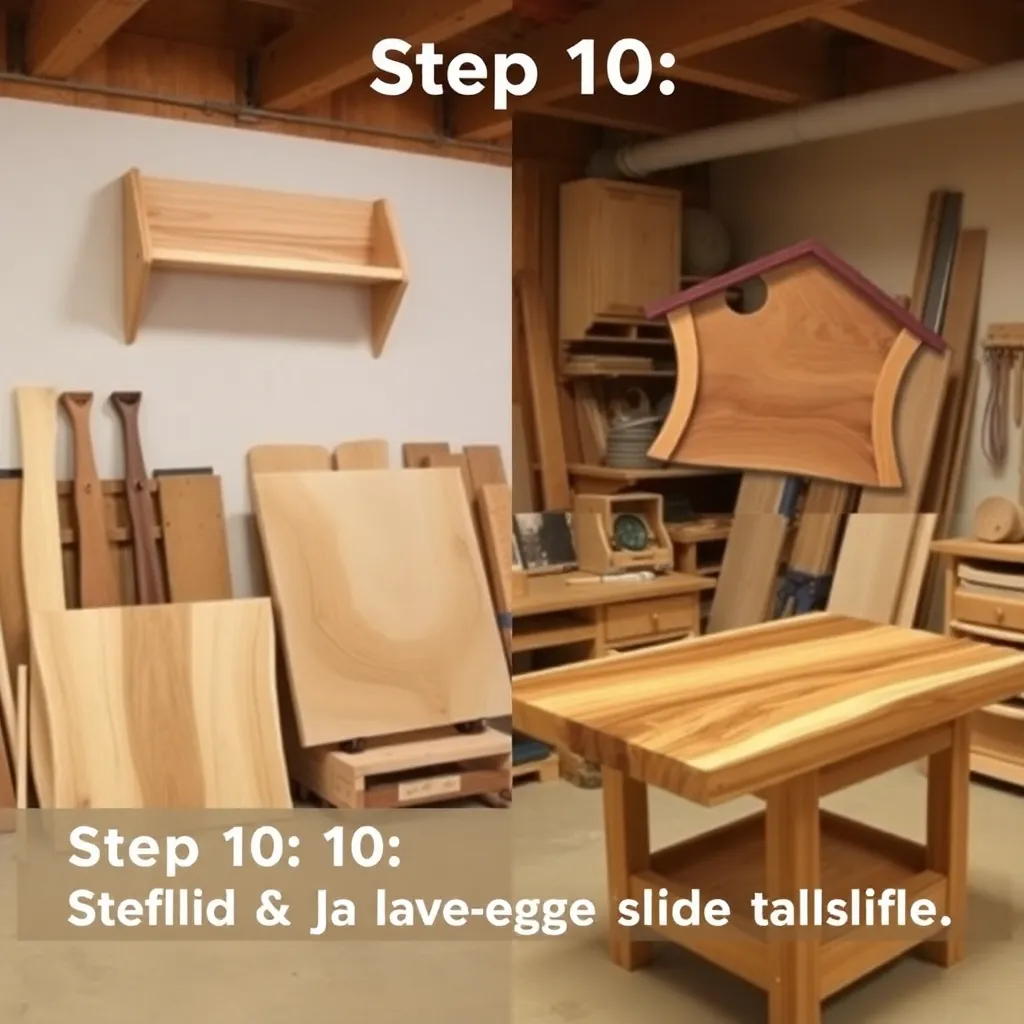
Goal: Let the wood be the design — your first true furniture statement.
Source a live-edge slab at a local mill or hardwood dealer — a piece 12–18 inches wide, 24 inches long, ¾–1 inch thick works for a side table. Remove the bark with a chisel and wire brush. Fill cracks and voids with tinted epoxy. Flatten the slab with a router sled if you don’t have a wide planer (search “router sled flattening” — a simple build). Build hairpin legs ($20–$40 per set online) — attach with four screws per leg. Finish with three thin coats of hardwax oil, rubbing each coat in and buffing off the excess after 5 minutes.
Milestone: A piece unique to the specific tree it came from.
Woodworking Projects FAQ
What should I build first if I have no tools?
Build a floating shelf. You need only a drill/driver ($50–$80 refurbished), a tape measure ($10), a level ($10), and one board from the home center lumber rack. Total materials under $20. Install it in a bedroom or home office, and you’ll know immediately whether you enjoy the process of measuring, marking, and driving screws — the skills that every other project requires.
How do I choose the right wood for a project?
Match wood to function: pine for painted indoor furniture (cheap, soft, available), poplar for stained indoor furniture (cheap, smooth), cedar for outdoor projects (rot resistant without treatment), hardwoods (oak, maple, walnut) for tabletops and cutting boards (hard, durable, beautiful). Buy the cheapest wood that meets the project’s durability and appearance requirements — don’t use walnut for a shop shelf or pine for a cutting board.
Do I need a table saw to build furniture?
No. A circular saw with a straightedge guide, a miter saw, and a drill will build the first eight projects in this guide. A table saw adds precision and speed for ripping long, narrow pieces — it becomes essential around Year 2 of serious woodworking but is not required for the first dozen projects. Many professional furniture makers work table-saw-free by choice.
How do I prevent wood from splitting when I drill?
Always drill a pilot hole before driving a screw — especially within 1 inch of the end of a board. Use a pilot bit sized to the screw’s shank (not the threads). In hardwoods, go slightly larger. Drive screws at low speed — high speed generates friction heat and is harder to control. In very dry or dense wood, wax the screw threads before driving.

“DIY woodworking enthusiast who started with zero experience and a YouTube tutorial.
I build simple, practical projects for my home and share free plans
so other beginners can skip the guesswork.If I can build it, you can too.”