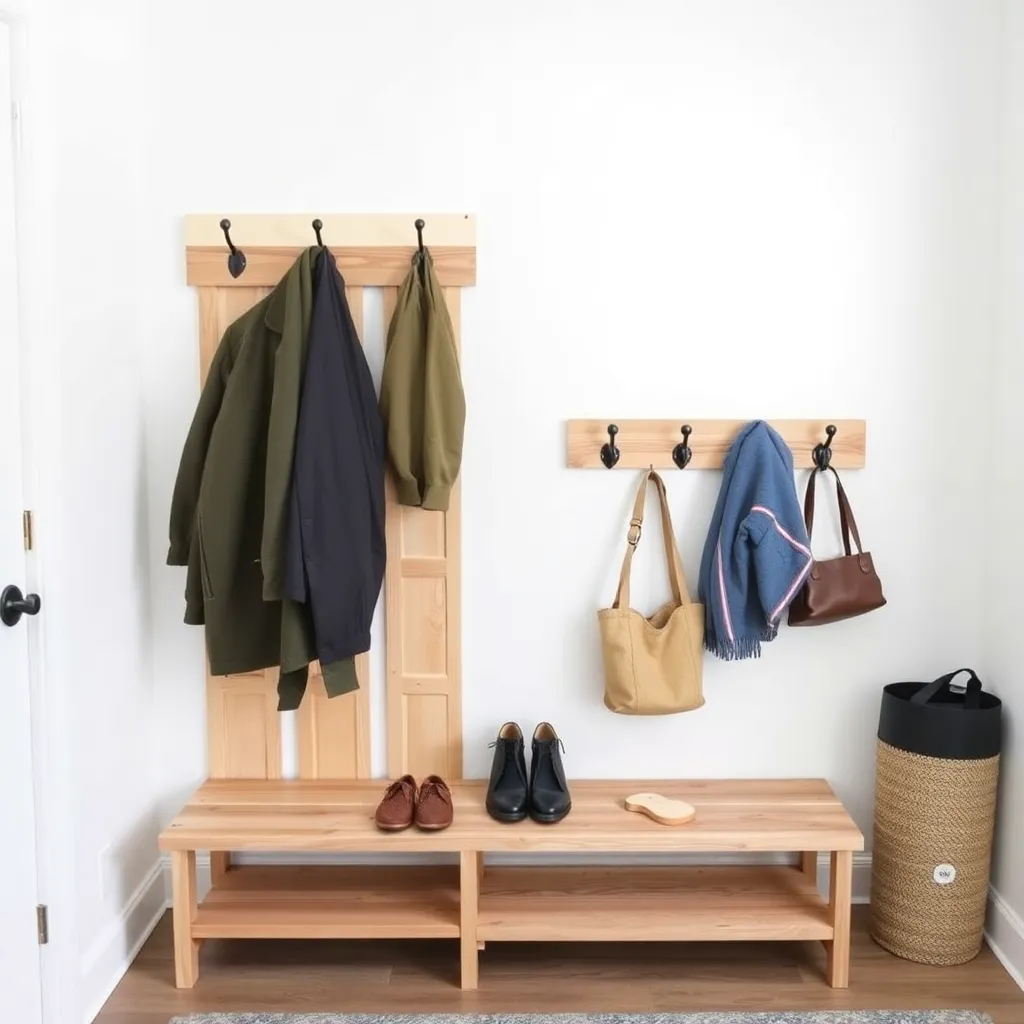
The best weekend project is one that solves a real problem in your home — something you walk past every week and think “I should do something about that.” These fifteen builds cover every room and every common storage problem, using 2×4s, 1×6s, and 1×8s from the home center. All are completable in a single afternoon with a drill and a saw.
Ted’s Woodworking has complete plans, cut lists, and step-by-step instructions for all fifteen of these builds. Browse Ted’s weekend plans →
Step 1: Build a Coat Rack (Entry)
Goal: Give every coat in the house a specific home.
Cut a 1×6 pine board to 36 inches. Rout a decorative edge on the top (cove or roundover bit). Sand to 220. Apply paint or stain. Install four Shaker pegs ($1–$2 each) by drilling ¼-inch holes at 8-inch spacing and driving the peg tenon in with a dab of CA glue. Attach two sawtooth hangers on the back or mount directly to wall studs with 2½-inch screws through the board from the front (countersink the screw heads and fill with wood putty before painting).
Milestone: A mounted rack with enough pegs for all four members of a household.
Step 2: Build a Key and Mail Organizer (Entry)
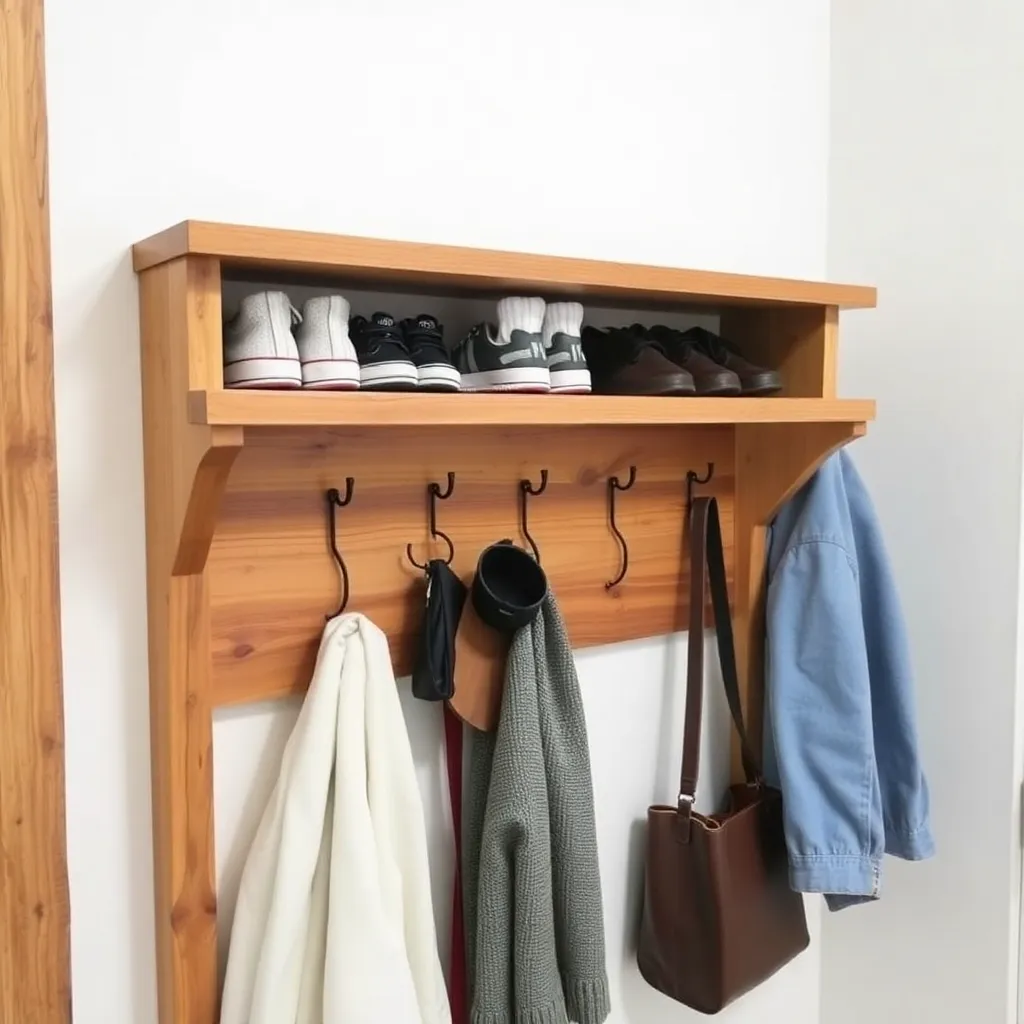
Goal: End the “where are my keys?” problem permanently.
Build from ¾-inch oak plywood: a back panel 10 × 16 inches, a shallow mail ledge 3 × 16 inches attached at the bottom at a 10° forward tilt, and three Shaker hooks along the top. Drill pilot holes and attach with pocket screws from behind. Sand to 180. Apply two coats of polyurethane. Mount with two D-ring hangers into studs. Optionally add a small shelf board ½ inch above the hooks to hold a tray for sunglasses.
Milestone: A mounted organizer where keys and mail both have a dedicated place.
Step 3: Build a Phone and Tablet Charging Station (Kitchen or Bedroom)
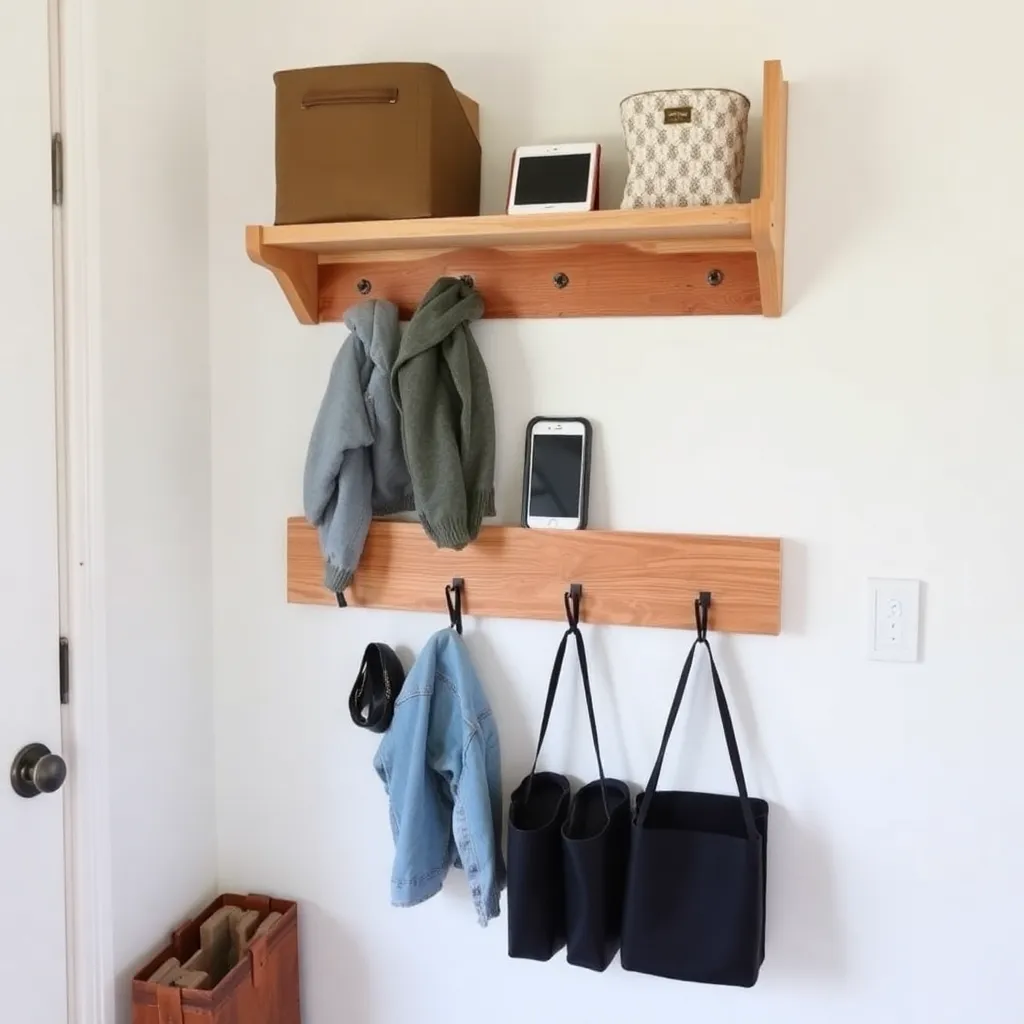
Goal: Eliminate cable clutter from the nightstand or kitchen counter.
Build a box from ½-inch oak or maple: 6 × 9 × 4 inches tall. Route a ⅝-inch slot in the back panel before assembly (drill a starter hole with a Forstner bit, then jigsaw the slot) for the power strip cord. Drill 1-inch holes in the side for individual device cables. Assemble with pocket screws. Drill a grid of ¾-inch holes in the top panel (drill press or doweling jig keeps them straight) — set devices in the holes with their cables feeding through. Place a power strip inside the box. Apply finish before assembly is complete so the inside is coated.
Milestone: A station that hides cables and charges up to 6 devices simultaneously.
Step 4: Build a Sofa Table (Living Room)
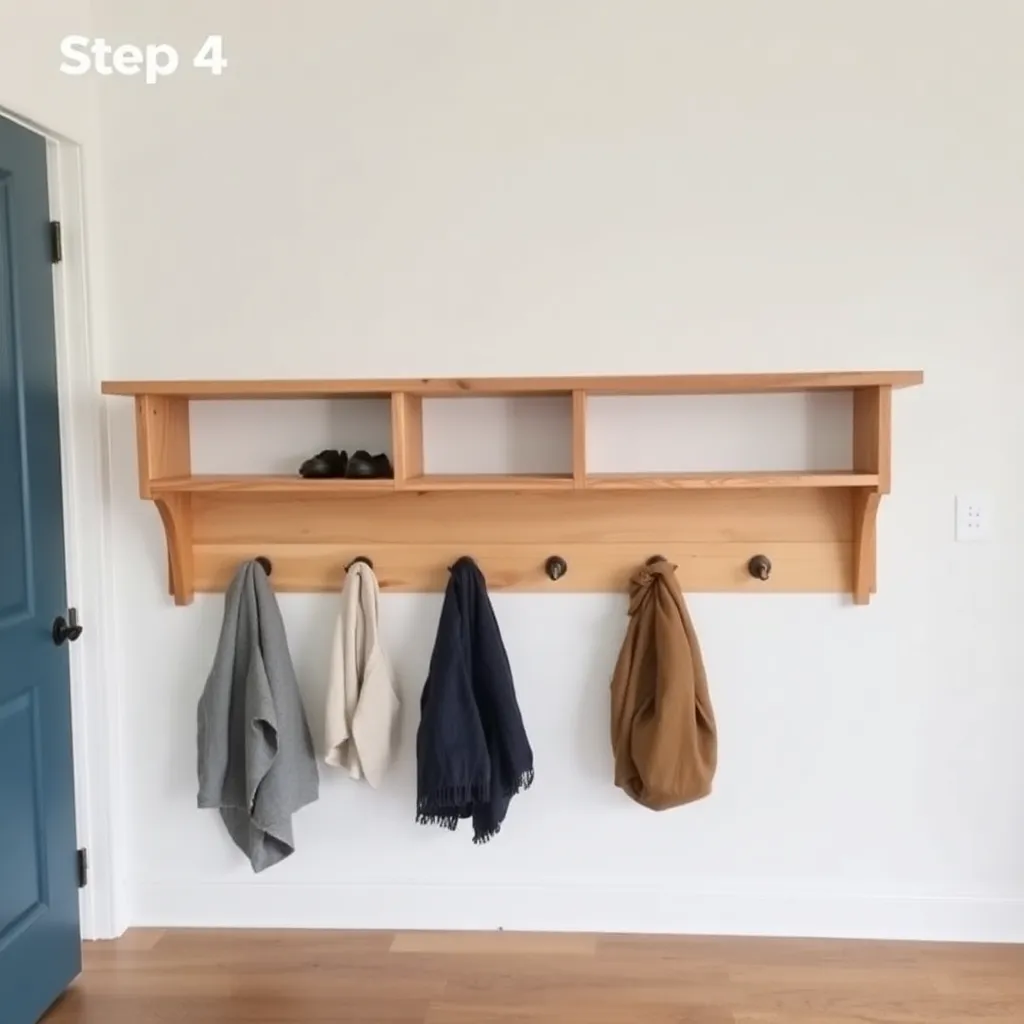
Goal: Fill the awkward space behind the sofa and add a surface for lamps or plants.
Standard behind-sofa height is 30–32 inches (matching sofa back height). Build from 2×4 construction lumber: four legs at 30 inches, two long aprons 1½ × 3½ × 54 inches, two short aprons 1½ × 3½ × 10 inches. Connect aprons to legs with pocket screws on the inside. Build the top from 2×6 lumber glued edge-to-edge to reach 14 inches wide, at 60 inches long. Attach to the base with figure-8 fasteners. Sand and finish — paint white or gray is the most versatile for most living rooms.
Milestone: A table that fits behind the sofa without touching the wall or the sofa cushions.
Step 5: Build a Shoe Rack (Entry or Mudroom)
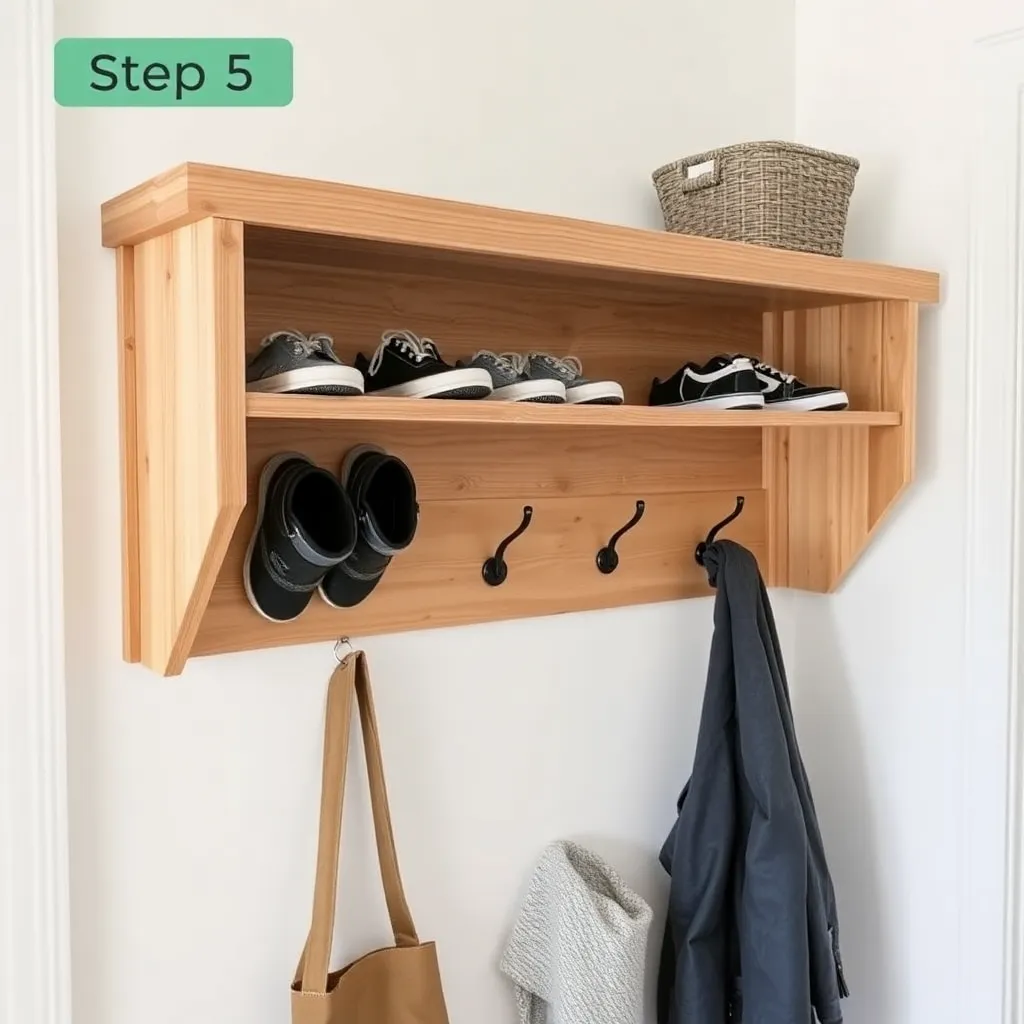
Goal: Fit 12–16 pairs of shoes in the space currently occupied by a pile.
Build four 30-inch rails from 1×4 pine — two per tier. Add two side uprights from 1×6 at 16 inches. Connect with pocket screws at 6-inch and 14-inch heights. Add a second tier by extending the uprights to 28 inches and adding rails at 22 and 28 inches. Total capacity: 16 pairs of shoes on two tiers. Add angled lower rails (tilt forward 15°) to display shoes heel-to-toe rather than side-by-side — fits more shoes per linear foot. Finish to match the room or paint white for a clean look.
Milestone: Every shoe in the house stored without one shoe touching another.
Step 6: Build a Plant Stand (Living Room or Patio)
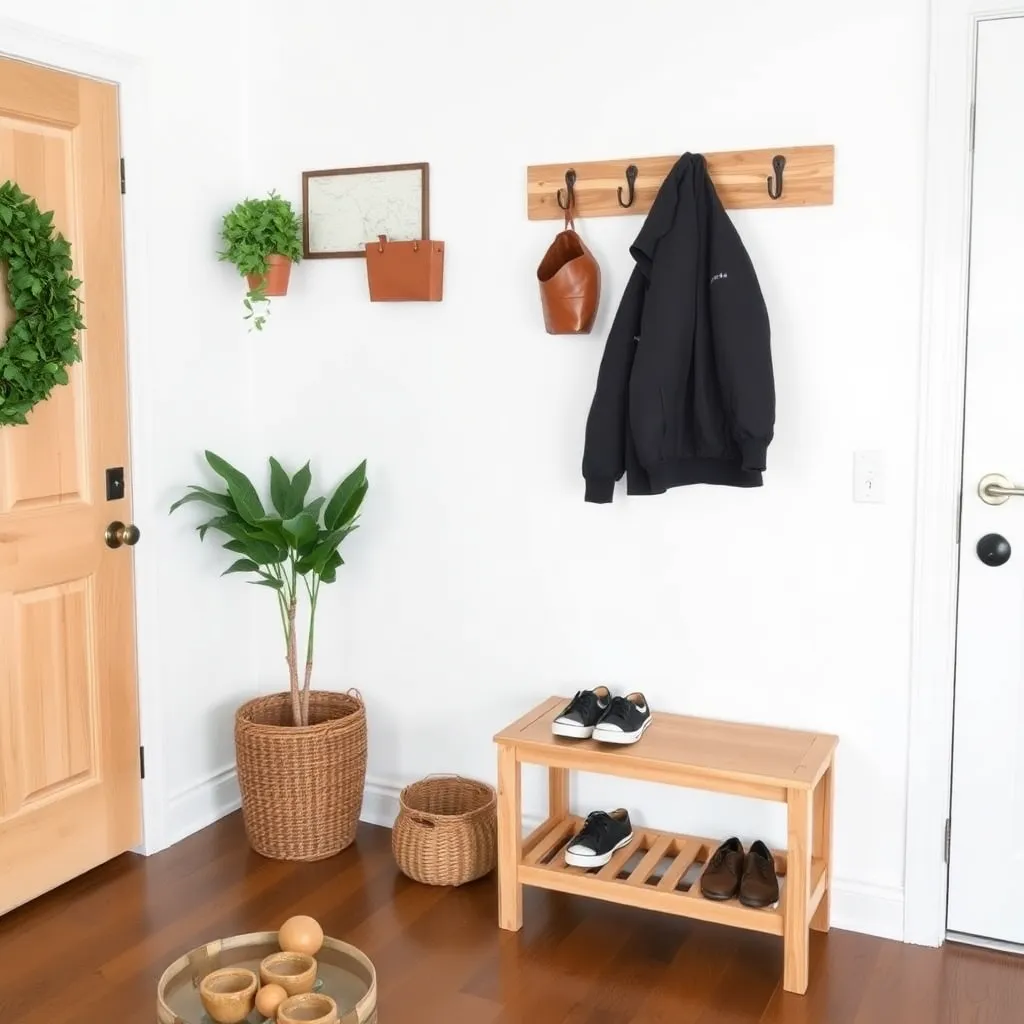
Goal: Bring plants to eye level and create visual height in a room.
Build a tapered stand from ¾-inch hardwood plywood: base 12 × 12 inches, top 8 × 8 inches, four angled legs connecting them cut at a 10° taper (table saw bevel or jigsaw cut with a guide). Assemble with pocket screws through the base and top panels. Apply three coats of polyurethane — plants drip water, so the finish must be fully waterproof. Felt pads on the bottom protect flooring. For a patio version, use cedar and exterior finish.
Milestone: A stand that brings a 12-inch pot to a display height of 24–30 inches.
Step 7: Build a Bottle Opener Board (Kitchen)

Goal: Build a wall-mounted opener and cap catcher in under an hour.
Cut a 1×6 pine or oak board to 12 inches. Rout a decorative edge on three sides. Drill a 3-inch catchment hole below the opener position. Cut a small box to catch the caps from ¼-inch plywood (4 × 4 × 2 inches) and attach with two screws below the hole. Mount a heavy-duty wall-mounted bottle opener ($8–$12 online) above the hole. Finish the board with stain and polyurethane. Mount with two screws into a stud. Apply two sawtooth hangers on the back as backup.
Milestone: A mounted opener that catches every cap without one hitting the floor.
Step 8: Build a Hardwood Trivet (Kitchen)
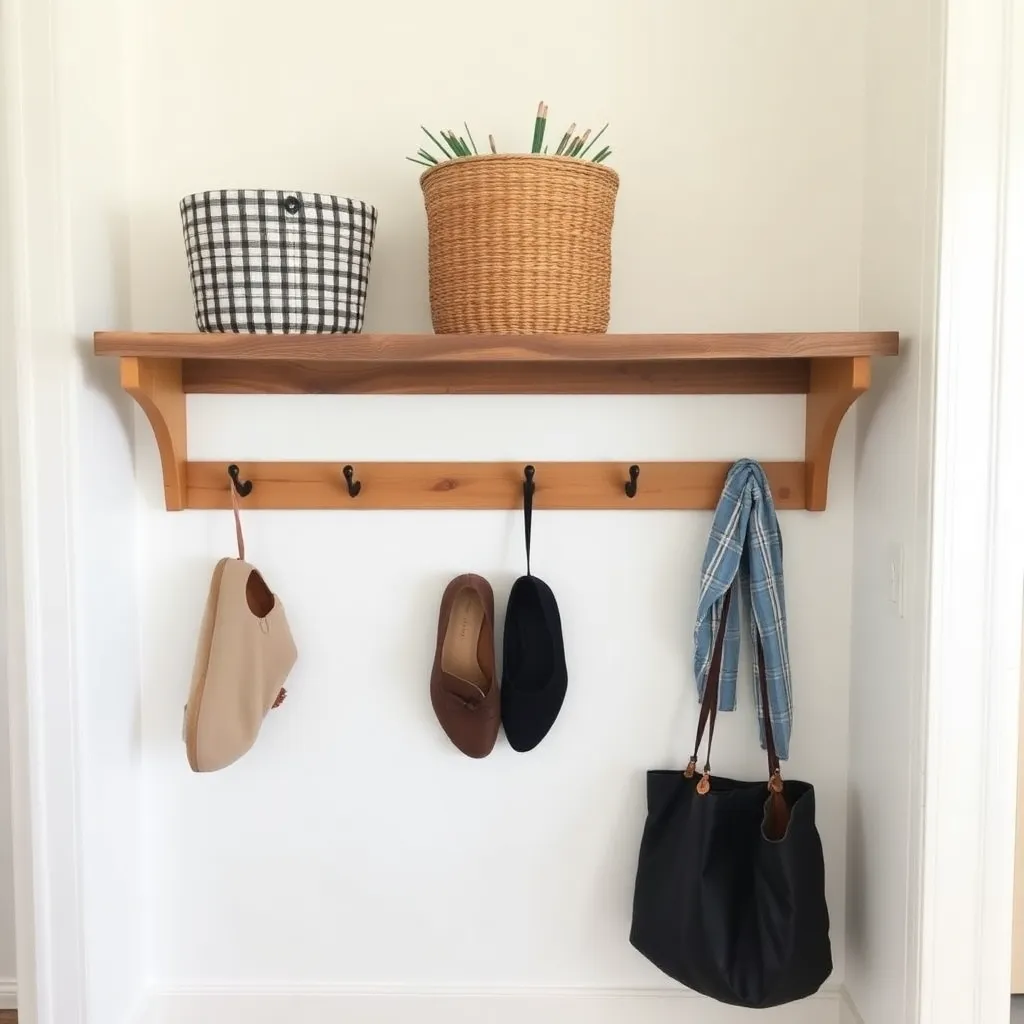
Goal: Practice a tight glue-up on a small scale and protect the kitchen table.
Cut ¾-inch maple and walnut into ½-inch strips at 6 inches long. Alternate species and glue side by side. Clamp with bar clamps. After curing, sand both faces to 220-grit. Route a ¼-inch roundover on all edges. Apply four coats of food-safe polyurethane, sanding with 400-grit between coats. Add four cork feet (peel-and-stick, $3 for a pack of 20). The finished trivet should have zero gaps between the strips — visible glue lines mean the clamp pressure was insufficient.
Milestone: A trivet with an alternating pattern and perfectly flush glue lines.
Step 9: Build a Serving Board (Kitchen)
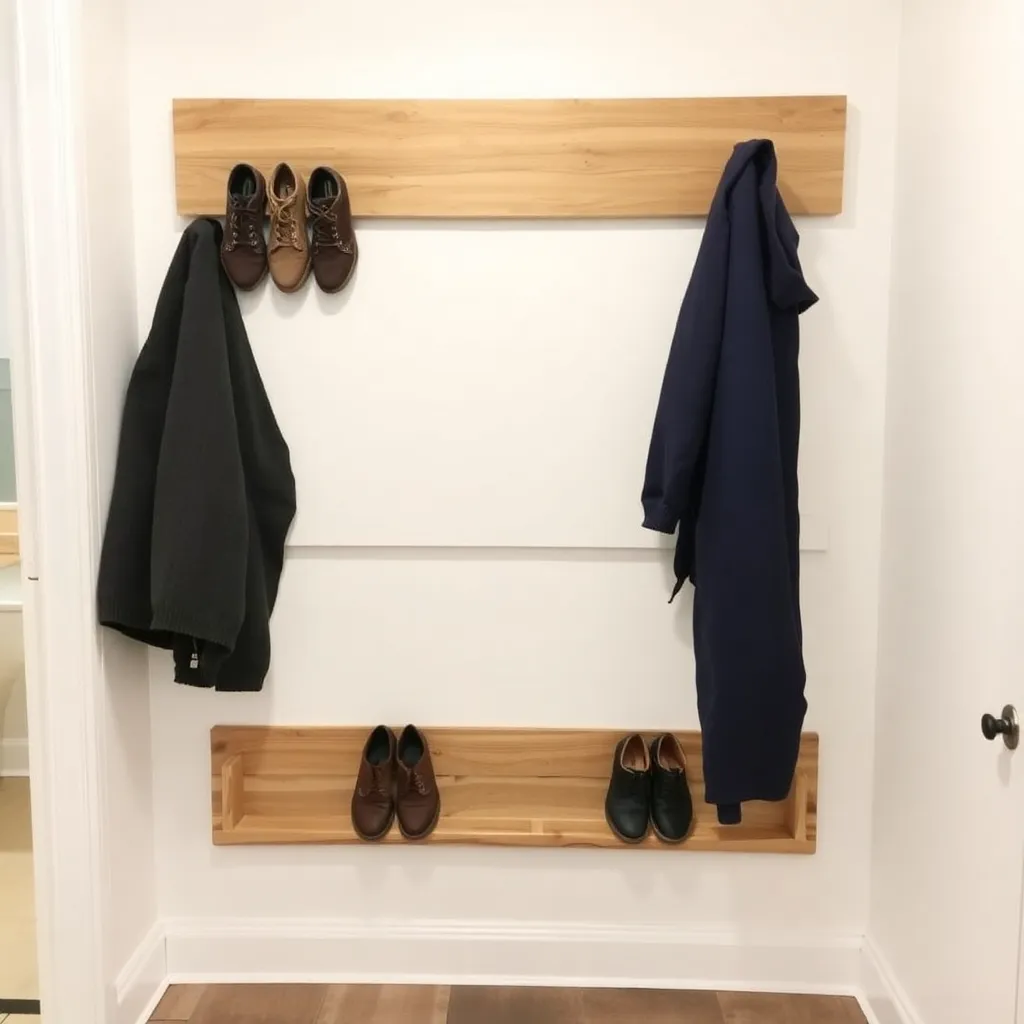
Goal: Build a long-format board that handles charcuterie presentations and looks good on a table.
Glue up three 1×4 oak boards at 18 inches long. After curing, plane or sand flat. Route a deep cove profile on the long edges and a roundover on the short ends. Add a juice groove by routing a ¼-inch × ¼-inch channel ½ inch from each long edge. Add a handle by routing a 1½-inch hole 1 inch from one short end, centered, and rounding the handle shape with a spindle sander. Apply four coats of food-safe mineral oil, letting each coat soak overnight.
Milestone: A board with a juice groove and a handle that fits a full charcuterie spread.
Step 10: Build a Towel Ladder (Bathroom)
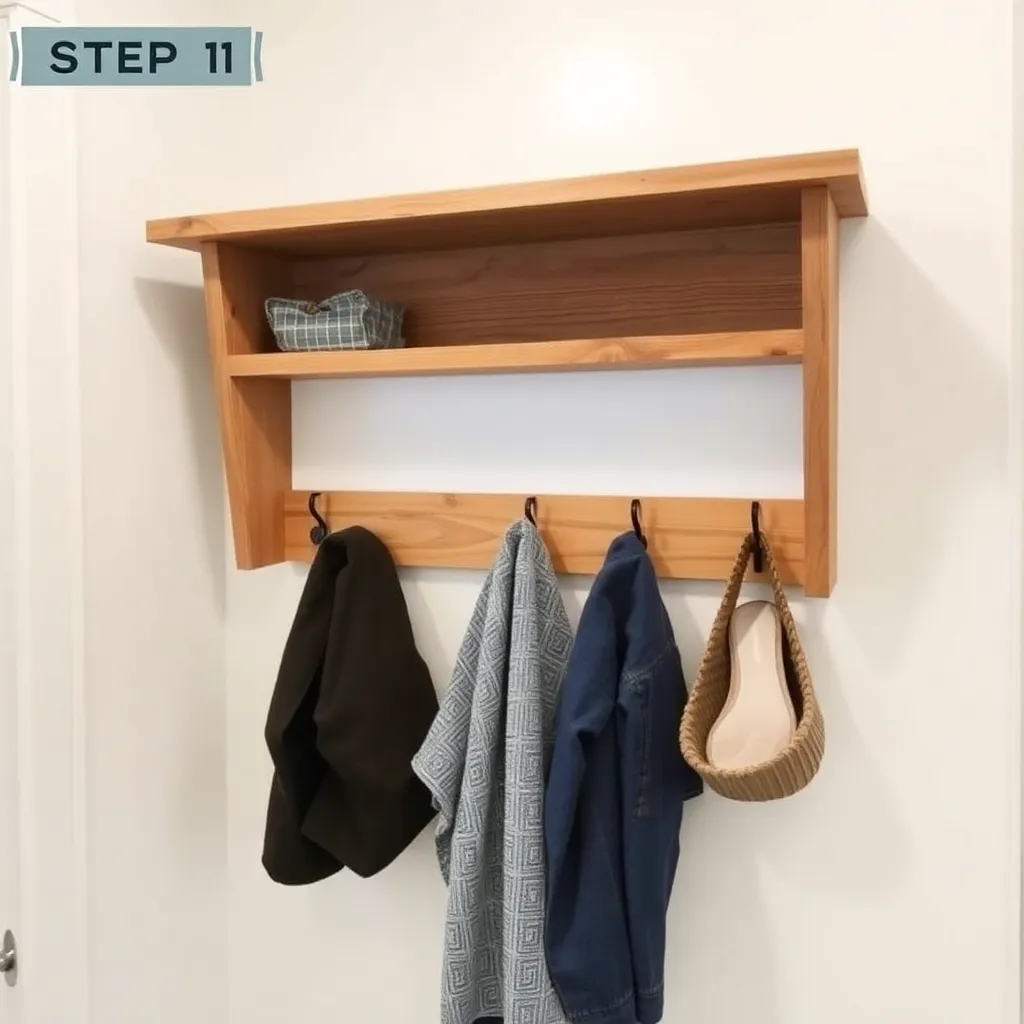
Goal: Add towel storage without drilling into tile and without a towel bar.
Two side rails from 1½ × 1½-inch square stock at 60 inches. Five rungs from 1-inch dowel at 20 inches, set into ¼-inch holes drilled every 12 inches in the rails. Dry-fit all rungs into rails. Apply glue to each dowel hole and assemble simultaneously — use a rubber mallet to drive in all five rungs before the glue sets. Clamp across the width until fully cured. Lean against the bathroom wall at a 10° angle from vertical. Apply three coats of polyurethane to handle humidity. A 5-rung ladder holds 5 towels without any towels touching.
Milestone: A ladder that stands steady against the wall without sliding on the floor.
Step 11: Build a Bath Caddy (Bathroom)
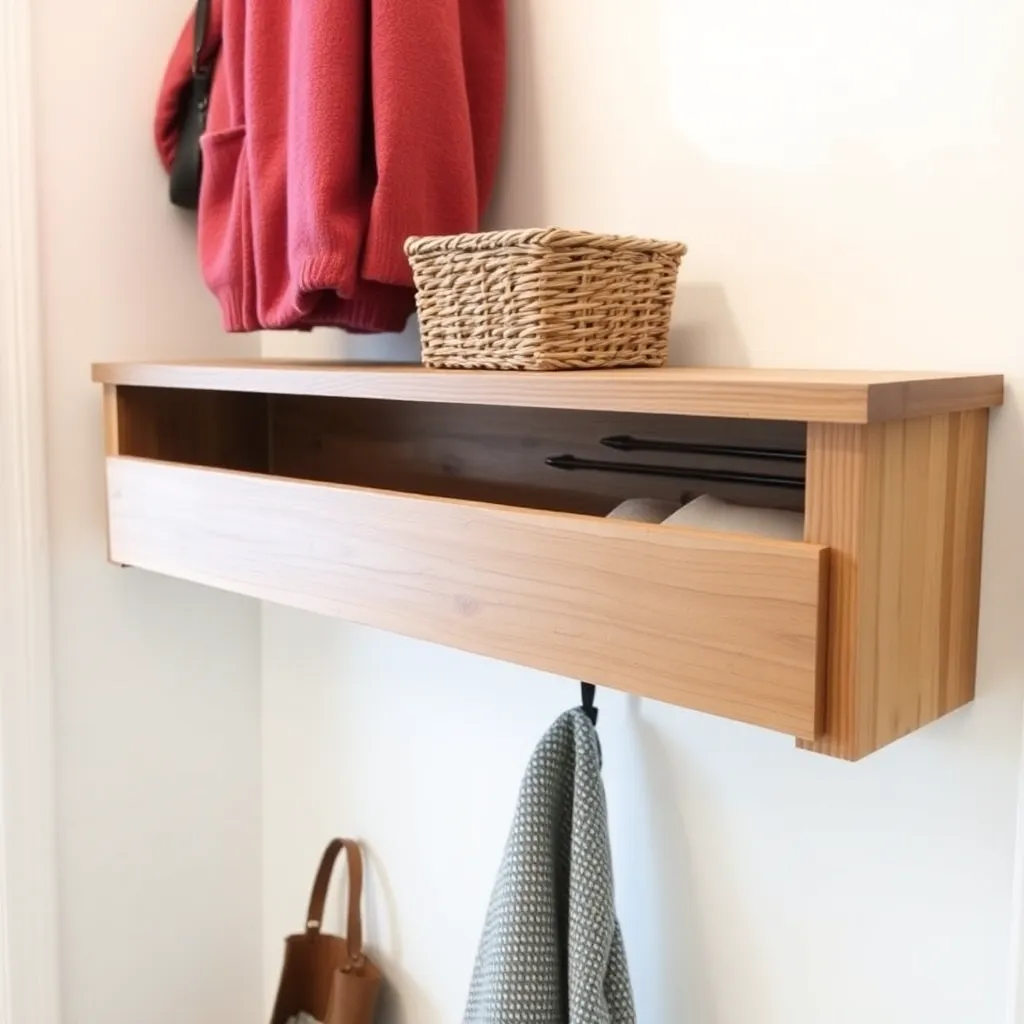
Goal: Build a teak caddy that spans the bathtub and holds soap, book, and wine glass.
Build from teak (naturally water-resistant without finish) or waterproofed cedar. Measure inside your tub — standard is 30–32 inches. Cut two runners at that measurement from 1½ × 1½ teak stock. Add five slats from ¾ × 1½ teak, spaced ¼ inch apart, spanning between runners. Attach with stainless steel screws from below. Add two metal book ledges ($8 each) to hold a book or tablet. Drill a 1-inch hole for a wine glass stem. Apply teak oil (not polyurethane — teak oil penetrates, poly will peel in a wet environment).
Milestone: A caddy that fits the tub without slipping and holds a full-size book and glass.
Step 12: Build a Wine Rack (Kitchen or Dining Room)
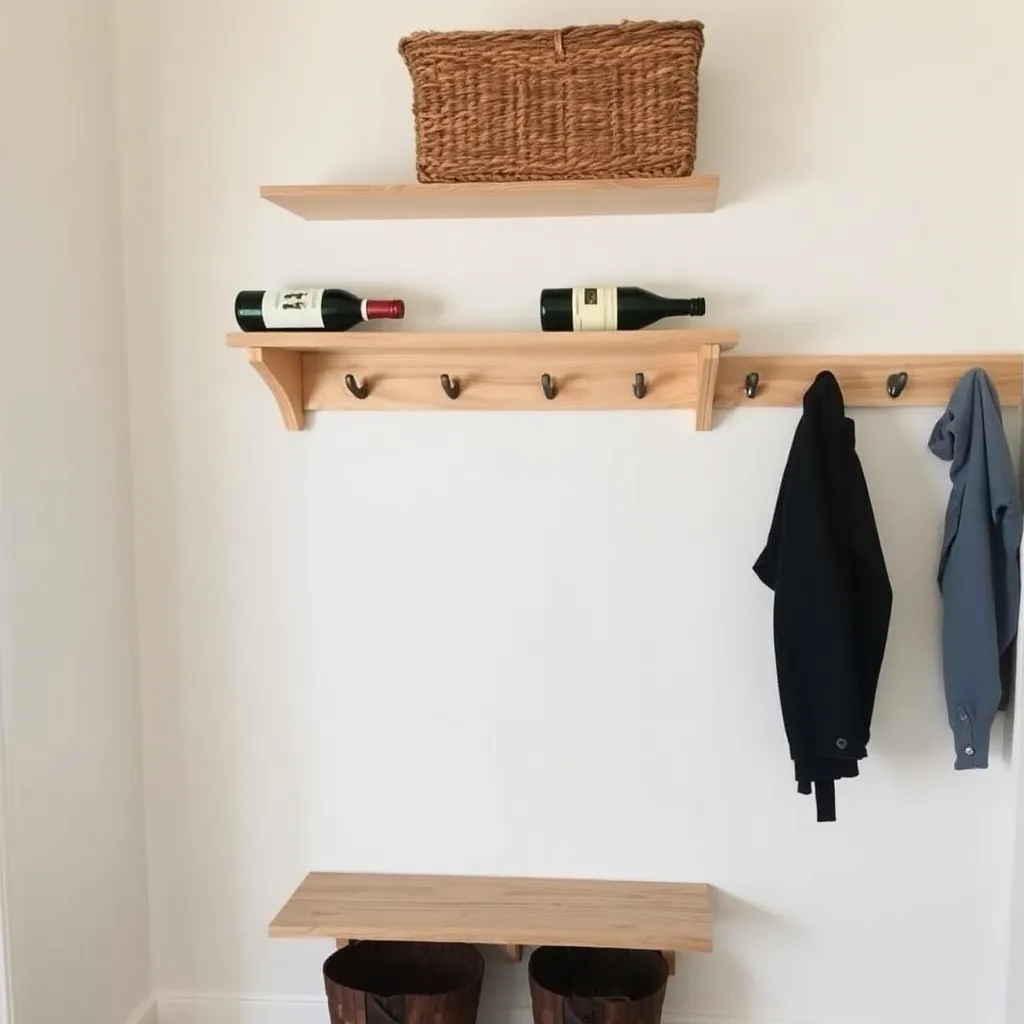
Goal: Store 12 bottles without taking up counter space.
Build from ¾-inch oak plywood: two side panels 12 × 30 inches with three horizontal dividers. Cut twelve 4-inch diameter semicircles along the top edge of each divider using a circle jig on the router or a Forstner bit for rough layout and jigsaw for final shape. Space them 4½ inches center-to-center. Slide each divider into dadoes (¾-inch × ⅜-inch grooves) cut into the side panels. Glue and clamp. Add a back from ¼-inch plywood. Apply stain and polyurethane. Mount with a French cleat to the wall or use as freestanding on the counter.
Milestone: A rack holding 12 bottles horizontally with corks submerged, no wobble.
Step 13: Build a Kids’ Step Stool (Children’s Room)
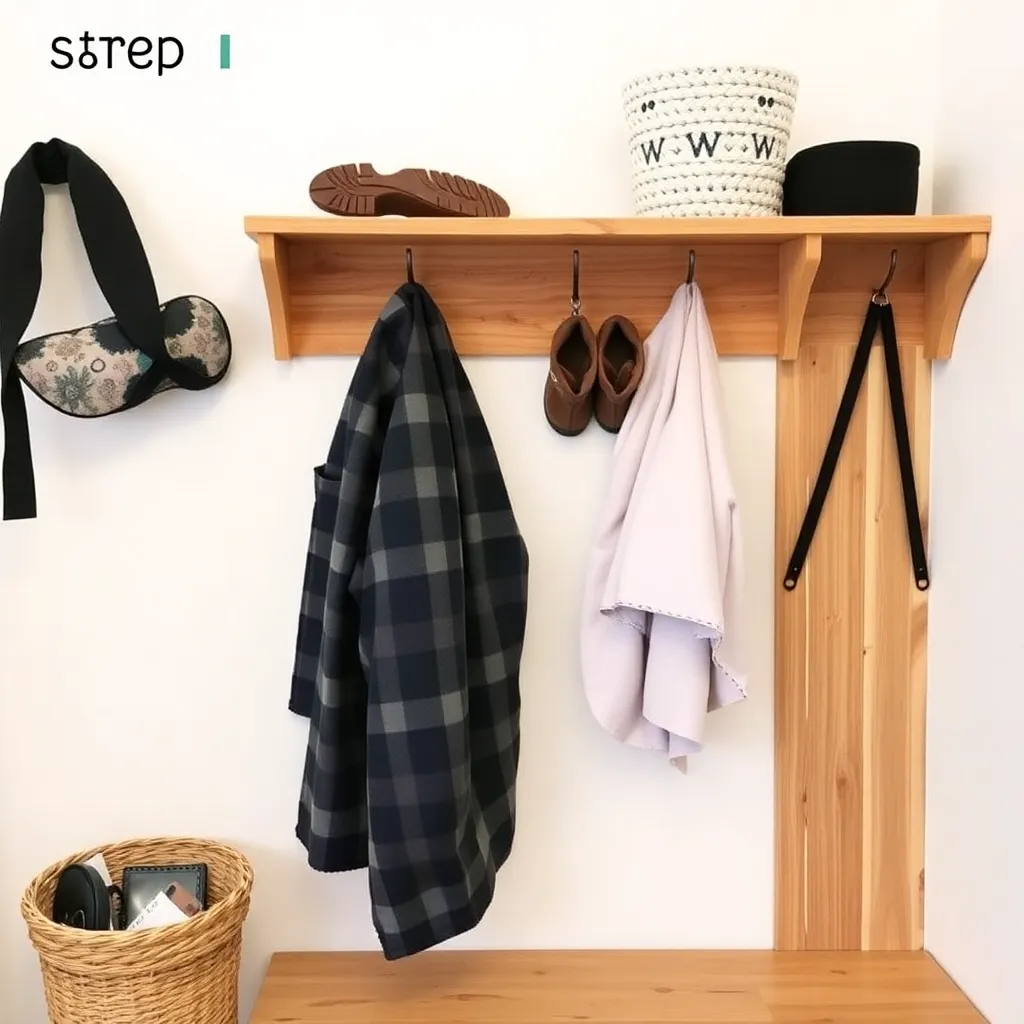
Goal: Build a two-step stool sized for a 3–7-year-old and designed to be safe.
Use ¾-inch hardwood plywood (softer plywoods crush under repeated foot impact). Cut two side panels 10 × 16 inches with a cut-out carrying handle at the top (oval hole, 1 × 3 inches). Cut two steps: bottom at 10 × 12 inches, top at 10 × 8 inches. Attach steps to sides with pocket screws and construction adhesive — the adhesive layer adds rigidity and prevents pocket screw holes from becoming stress points. Sand all edges to 120-grit and route a ⅛-inch roundover on every accessible edge — eliminates splinter risk. Apply a non-toxic paint in the child’s favorite color and two coats of polyurethane.
Milestone: A stool that an adult can stand on without it deflecting.
Step 14: Build a Floating Nightstand (Bedroom)
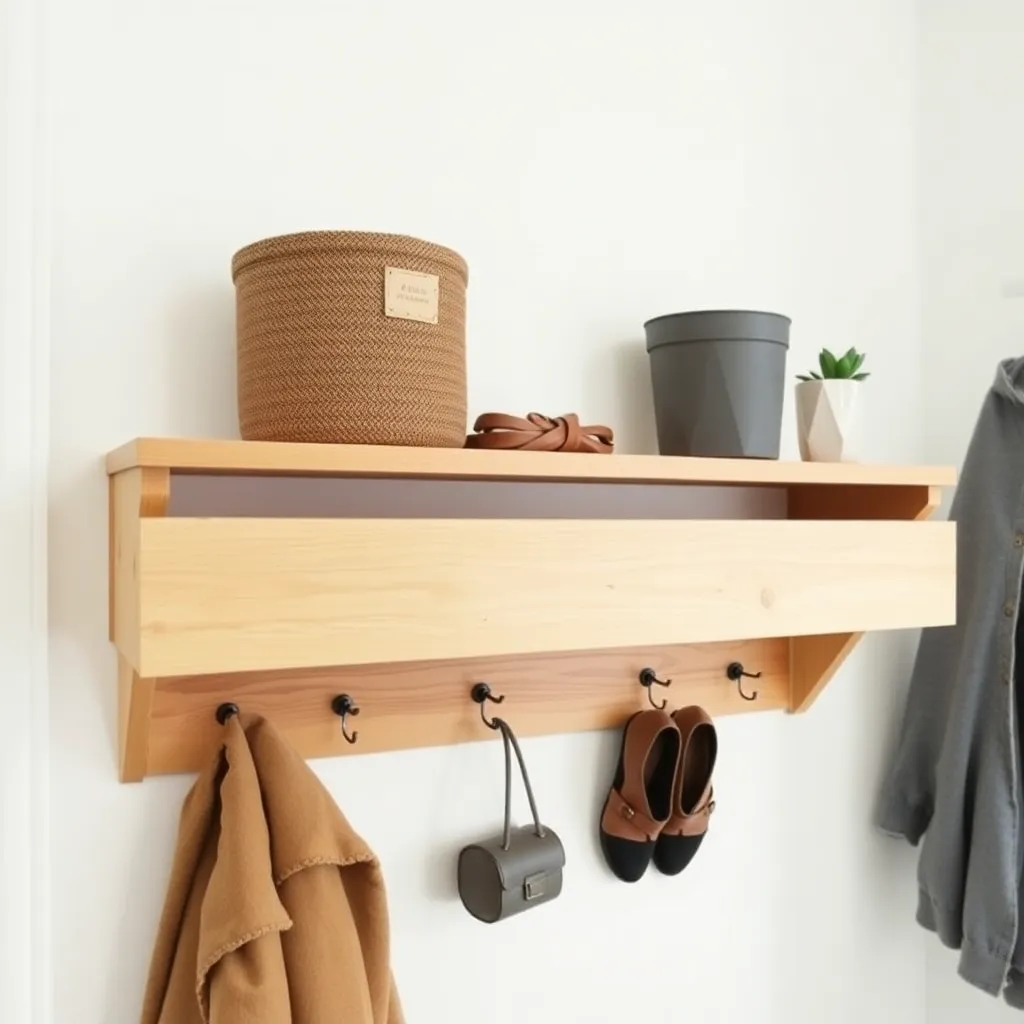
Goal: Eliminate the bulky nightstand and clear floor space with a wall-mounted version.
Cut a ¾-inch oak plywood shelf at 12 × 18 inches. Route a decorative cove edge on the three exposed sides. Build a three-sided drawer from ½-inch maple (no back, pull slides open on the tray) at 10 × 14 × 2½ inches with a ¼-inch plywood bottom. Attach two undermount drawer slides to the underside of the shelf and the drawer sides. Mount the shelf to the wall at the correct height (typically 24–26 inches from the floor) using a French cleat into two studs. Apply finish before installation.
Milestone: A mounted shelf with a working drawer that holds everything a nightstand holds.
Step 15: Build a Farmhouse Dining Bench (Dining Room)
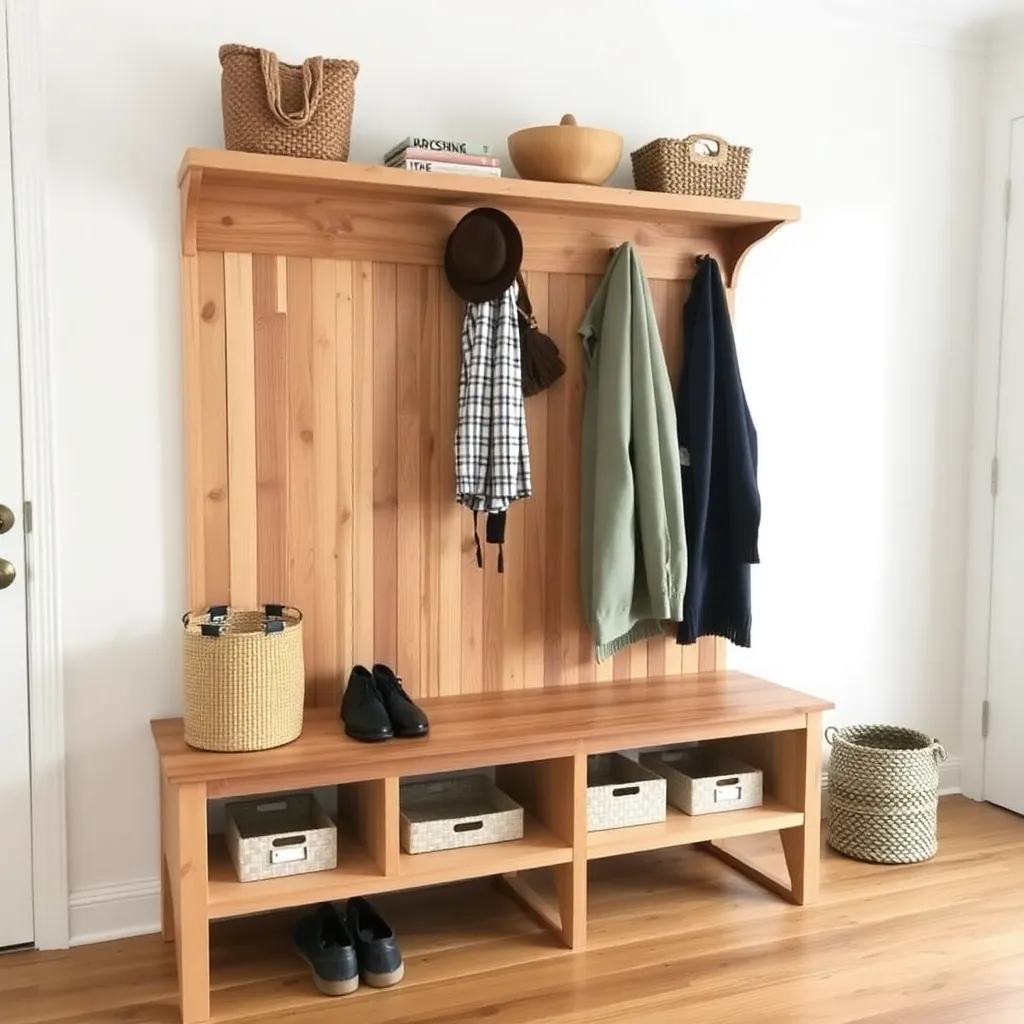
Goal: Add seating to a dining table without buying chairs.
Build from 2×4 and 2×6 construction lumber for a rustic look. Top: three 2×6 boards at 60 inches, glued and pocket-screwed side-by-side. Legs: two 2×4 H-frames — each with two vertical 2×4 legs at 17 inches and one horizontal 2×4 stretcher at 15 inches. Attach the leg H-frames to the top at 6 inches from each end using 3-inch screws. Add a 2×4 center stretcher connecting the two leg frames below the seat for rigidity. Sand the top to 120-grit — 220 is unnecessary for a rustic bench. Apply exterior deck stain for durability.
Milestone: A bench that seats four adults without flexing when they sit down simultaneously.
Wood Projects FAQ
How much does it cost to build vs buy furniture?
For basic pieces (shoe rack, coat rack, simple shelf), DIY costs 20–40% of retail because materials are cheap and the labor is your time. For higher-end pieces (coffee table, dining bench, wine rack), DIY costs 30–60% of comparable retail quality, while significantly exceeding the quality of comparable-price retail pieces. The savings increase as your efficiency improves — your fifth coffee table costs a third of what your first one cost.
Can I build furniture without a garage or workshop?
Yes — most of these fifteen projects can be built with a miter saw on sawhorses in a driveway or parking space. The pieces that absolutely require a flat, stable surface for assembly (cutting boards, glue-ups) can use a kitchen table with a protective cover. Dust and noise are the real constraints for apartment living, not space.
What is the most versatile finish for indoor wood projects?
Wipe-on polyurethane is the most practical: it applies thin, dries fast, doesn’t brush-mark, and is compatible with any wood type and stain. Apply three coats (sanding with 320-grit between coats 1 and 2 only), and the result is durable, cleanable, and looks intentional without looking plasticky. For pieces that get wet (bath caddy, kitchen items), use full-strength oil-based polyurethane instead of wipe-on.
How long does a beginner take to build a coffee table?
The first coffee table typically takes 6–10 hours across two days: 3 hours cutting and prepping, 2 hours assembling and clamping, 3 hours finishing across two coats with drying time between. By the third coffee table, that same builder is typically down to 3–4 hours. The time investment in learning is front-loaded — the skills compound quickly once the measuring and assembly sequence becomes intuitive.

“DIY woodworking enthusiast who started with zero experience and a YouTube tutorial.
I build simple, practical projects for my home and share free plans
so other beginners can skip the guesswork.If I can build it, you can too.”