A downloadable woodworking plan in PDF format is more reliable to build from than a web page — it won’t change, won’t go offline, and can be printed at full scale for a template. But not all downloadable plans are complete enough to build from. This guide covers what separates a buildable plan PDF from one that will frustrate you partway through, plus the best sources for each project type.
Ted’s Woodworking is the largest downloadable plan library at 16,000+ plans — all PDF, all with complete cut lists and assembly steps. Browse Ted’s plans →
Step 1: Evaluate the Cut List
Goal: Confirm the plan tells you exactly what lumber to buy before you start.
A complete cut list has five columns: Part name (what the piece does), Quantity (how many needed), Thickness, Width, and Length. All five must be present. A cut list missing any column forces you to derive the missing dimension from the drawing — adding time and risk of error.
Example of a complete cut list entry:
Part         Qty    T      W      L
Side Panel   2      ¾"     11¼"   36"
Red flags:
- “Cut to fit” anywhere in the cut list — means the builder must measure a dimension that depends on a previous step
- Nominal sizes not converted to actual (listing “1×12” instead of “¾ × 11¼”)
- Missing the quantity column — easy to overlook in a text-only plan
- “As needed” for fastener quantities — vague, causes mid-project hardware runs
Milestone: You can calculate the total lumber order from the cut list alone, without touching the drawing.
Step 2: Check the Drawing Quality
Goal: Verify the plan includes the views needed to build the piece without guessing.
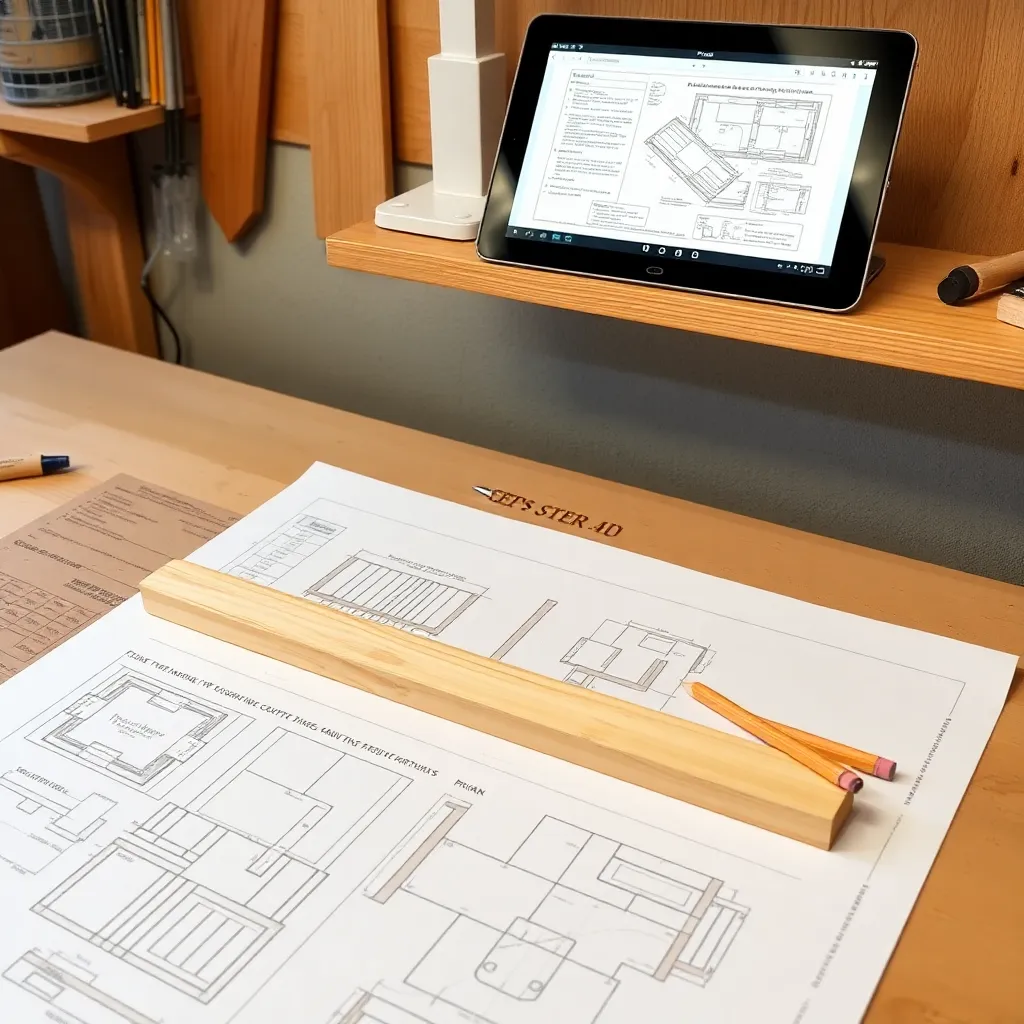
A minimum buildable plan includes: a front elevation (what the piece looks like from the front), at least one side or section view, and an exploded or assembly view showing how parts connect. Higher-quality plans also include:
- Top view (for tables, benches, cabinets)
- Detail callouts (close-up views of joinery or complex connections)
- Full-size templates for curved parts
- Hardware placement shown on the drawing (not just described in text)
Drawing resolution matters in PDF: a plan scanned from a magazine at 72 DPI and saved as PDF will appear blurry when zoomed or printed. Look for plans with dimensioned CAD drawings, not photographed hand sketches — CAD scales cleanly at any zoom level.
Milestone: You can read every joint and connection from the drawing without zooming in to a blurry image.
Step 3: Verify the Materials and Hardware List
Goal: Confirm you know every supply needed before the first trip to the hardware store.
A complete materials list for a downloadable plan includes:
Lumber: Species, thickness, width, and total linear footage by board size. Example: “8 linear feet of 1×6 cedar” or “One sheet ¾-inch birch plywood.”
Sheet goods: Plywood sizes, thickness, and grade (birch vs. BC vs. OSB — each is different).
Hardware: Every fastener by size, type, and quantity. “Box of 1¼-inch #8 flat-head wood screws” is complete; “screws” is not.
Adhesive: Whether waterproof glue is required (Titebond II or III) or if standard wood glue is fine.
Finish: Specific product recommendations (stain color name and brand, finish type and sheen), not just “apply finish.”
A plan missing the hardware list forces you to estimate fastener requirements — the most common cause of mid-project hardware runs.
Milestone: You can build a complete shopping list from the downloadable plan alone, before cutting anything.
Step 4: Confirm the Skill Level and Tool List
Goal: Know before downloading whether you have the tools and skills to build the project.
Every quality downloadable plan should state:
- Skill level (beginner / intermediate / advanced) with brief justification — “Intermediate: requires use of a dado stack or router table”
- Required tools listed explicitly — not “tools as needed”
- Time estimate per phase (rough cutting, assembly, finishing)
- Notes on alternatives for specialty tools — “A Kreg jig can substitute for the mortise-and-tenon joint if preferred”
A plan that requires a table saw, router table, and drill press but labels itself “beginner” is either mislabeled or poorly written. Before downloading, look for a photo or render of the finished project alongside a tool list — if the piece is complex but the tool list is vague, the plan is incomplete.
Milestone: You know, before opening the PDF, whether this plan is appropriate for your shop and skill level.
Step 5: Test the Scale Accuracy Before Printing Templates
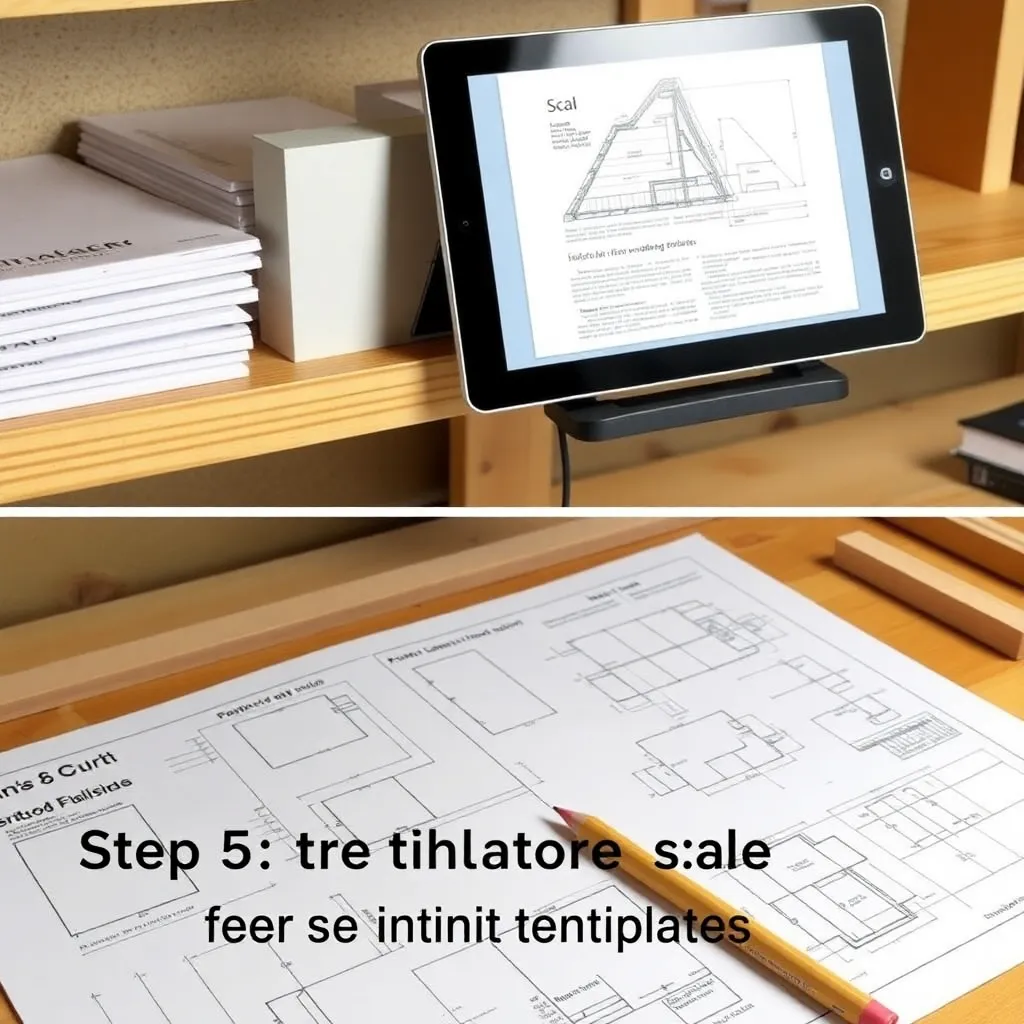
Goal: Confirm the PDF prints at correct scale so templates are usable.
Most downloadable plan PDFs include a calibration mark — a 1-inch square or a marked dimension line somewhere on the page. Before printing any full-size template:
- Print one page of the plan on your printer
- Measure the calibration mark with a ruler
- If it measures correctly, the plan prints to scale on your printer
- If it’s off, adjust the print scale in your PDF viewer (100% is not always 100% physical size — look for “Actual size” or “No scaling” in the print dialog)
If the plan has no calibration mark, print any dimensioned view and measure a known dimension (a labeled 12-inch length, for example) to verify scale before printing template pages.
Milestone: Every printed template is accurate to within 1/16 inch before you trace it onto wood.
Step 6: Organize Downloaded Plans for Future Use
Goal: Build a personal plan library that’s searchable and accessible from the shop.
Store downloadable plans in a folder structure organized by project type:
/Woodworking Plans/
  /Furniture/
    /Tables/
    /Chairs/
    /Storage/
  /Outdoor/
    /Structures/
    /Furniture/
  /Shop/
    /Jigs/
    /Benches/
  /Small Projects/
Name each plan file descriptively: `farmhouse-dining-table-36×72-pine.pdf` tells you more than `plan_073.pdf`. Add the source in the filename or in a tag if your OS supports it — plans from different sources have different quality levels and it helps to know the provenance.
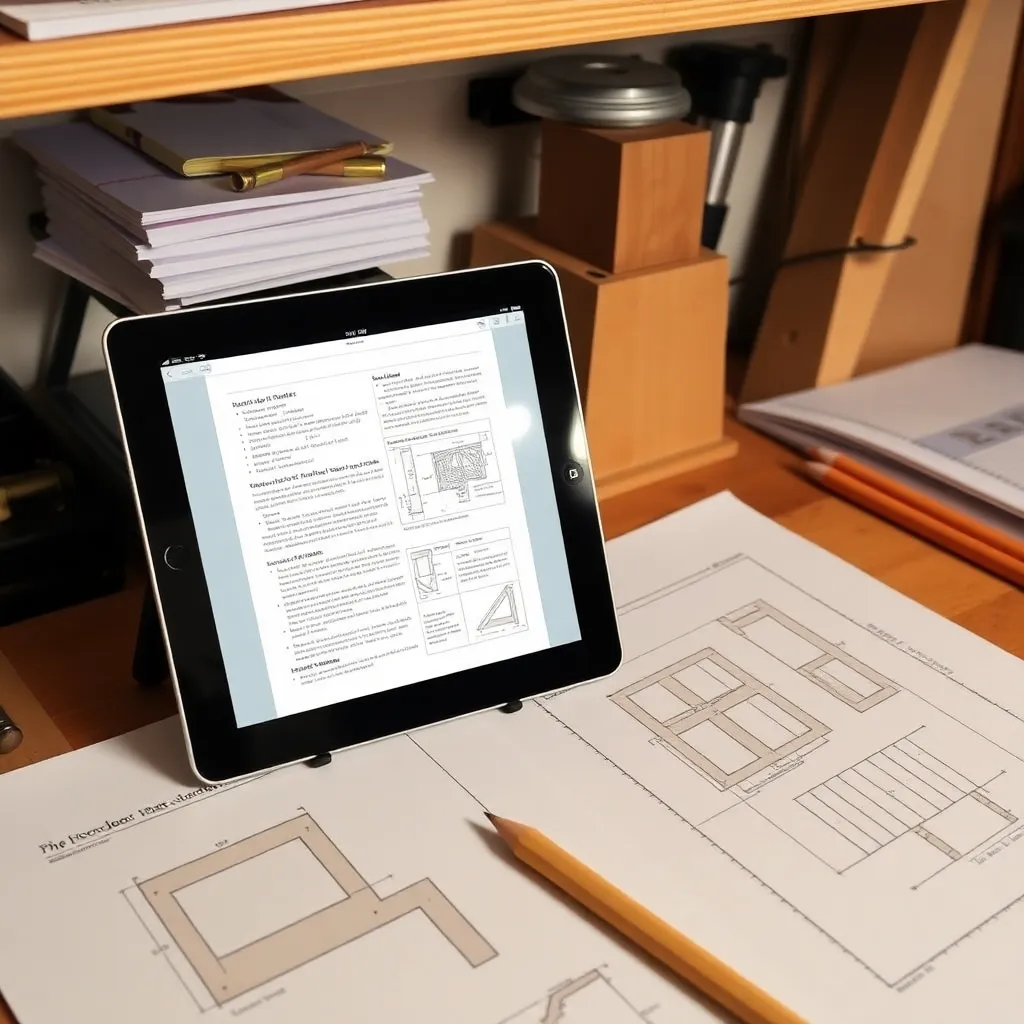
For a tablet in the shop: sync the folder to a cloud drive (Google Drive, Dropbox) and access from a cheap Android tablet or iPad — tap to zoom any detail without printing everything. A screen protector and a cheap stand keeps the tablet usable with sawdust hands.
Milestone: You can find any downloaded plan within 30 seconds, from any device, in the shop.
Downloadable Woodworking Plans FAQ
What is the best free source for downloadable woodworking plans?
The most reliable free downloadable sources: Ana White (anawhite.com — free PDF plans, complete cut lists, clear photos), Rockler (rockler.com/free-woodworking-plans — quality plans, some require free account), and the USDA Forest Products Laboratory (fpl.fs.usda.gov — engineering-grade plans for outdoor structures). For a paid library, Ted’s Woodworking ($67 one-time) is the most comprehensive at 16,000+ plans.
Are downloadable plans better than online plans?
For building, yes — a PDF doesn’t change or go offline, can be printed as a full-scale template, and can be annotated as you build. A web page can be edited, have links break, or disappear entirely. The most practical approach: find a plan online, download the PDF version, and build from the PDF — using the web page only to check comments from other builders about fit issues or corrections.
Can I share or sell plans I’ve downloaded?
Free downloadable plans: generally yes for personal use, but check the license. Most individual bloggers allow sharing with attribution; commercial publishers (Fine Woodworking, Popular Woodworking) do not allow redistribution. Paid plans (Ted’s, Rockler premium plans): personal use only — selling or sharing is a license violation. If you want to sell plans, you need to create original designs.
How do I convert metric plans to imperial?
Multiply all metric measurements by 0.03937 to convert millimeters to inches (or divide by 25.4). Most design software lets you switch the dimension display unit without changing the model. For a quick shop conversion, tape a millimeter/inch ruler to your miter saw’s fence and read both scales simultaneously. Most home center lumber and hardware in the US is only available in imperial dimensions — it’s often easier to re-dimension a metric plan to the nearest standard US lumber size than to try to find metric-sized wood.

“DIY woodworking enthusiast who started with zero experience and a YouTube tutorial.
I build simple, practical projects for my home and share free plans
so other beginners can skip the guesswork.If I can build it, you can too.”