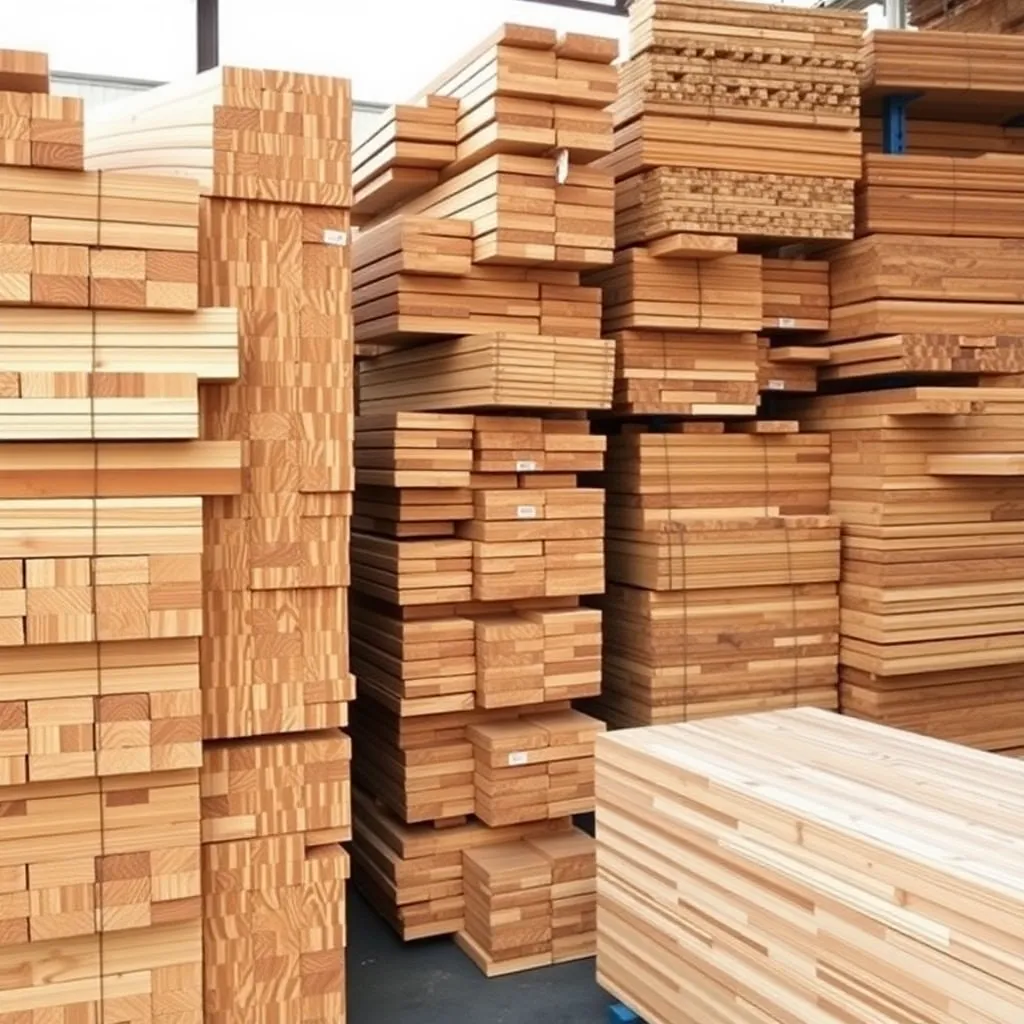
Every woodworking project starts at the lumber rack. Understanding how wood planks are named, measured, and graded prevents the most common beginner mistake — buying the wrong board — and helps you read any woodworking plan accurately. This guide covers dimensional lumber sizes, grade stamps, species selection, and how to choose the right plank for furniture, outdoor projects, and structural builds.
Ted’s Woodworking includes material lists and lumber specifications for all 16,000+ plans — no guesswork at the lumber yard. Browse Ted’s plans →
Step 1: Understand Nominal vs Actual Lumber Dimensions
Goal: Know what you’re actually buying before you arrive at the store.
Lumber is sold by “nominal” size — the dimension before it was dried and planed — but the actual size is smaller. The most important conversions:
| Nominal Size | Actual Size |
|---|---|
| 1×2 | ¾” × 1½” |
| 1×4 | ¾” × 3½” |
| 1×6 | ¾” × 5½” |
| 1×8 | ¾” × 7¼” |
| 1×10 | ¾” × 9¼” |
| 1×12 | ¾” × 11¼” |
| 2×4 | 1½” × 3½” |
| 2×6 | 1½” × 5½” |
| 2×8 | 1½” × 7¼” |
| 4×4 | 3½” × 3½” |
This distinction is critical: if a woodworking plan calls for a “1×6 board” at 12 inches wide, it’s describing two 1×6s glued together (each 5½ inches wide = 11 inches actual, close enough with a glue joint). Every plan uses nominal dimensions — always check actual dimensions when planning cuts.
Milestone: You can read a plan’s cut list and know exactly what to pull from the lumber rack.
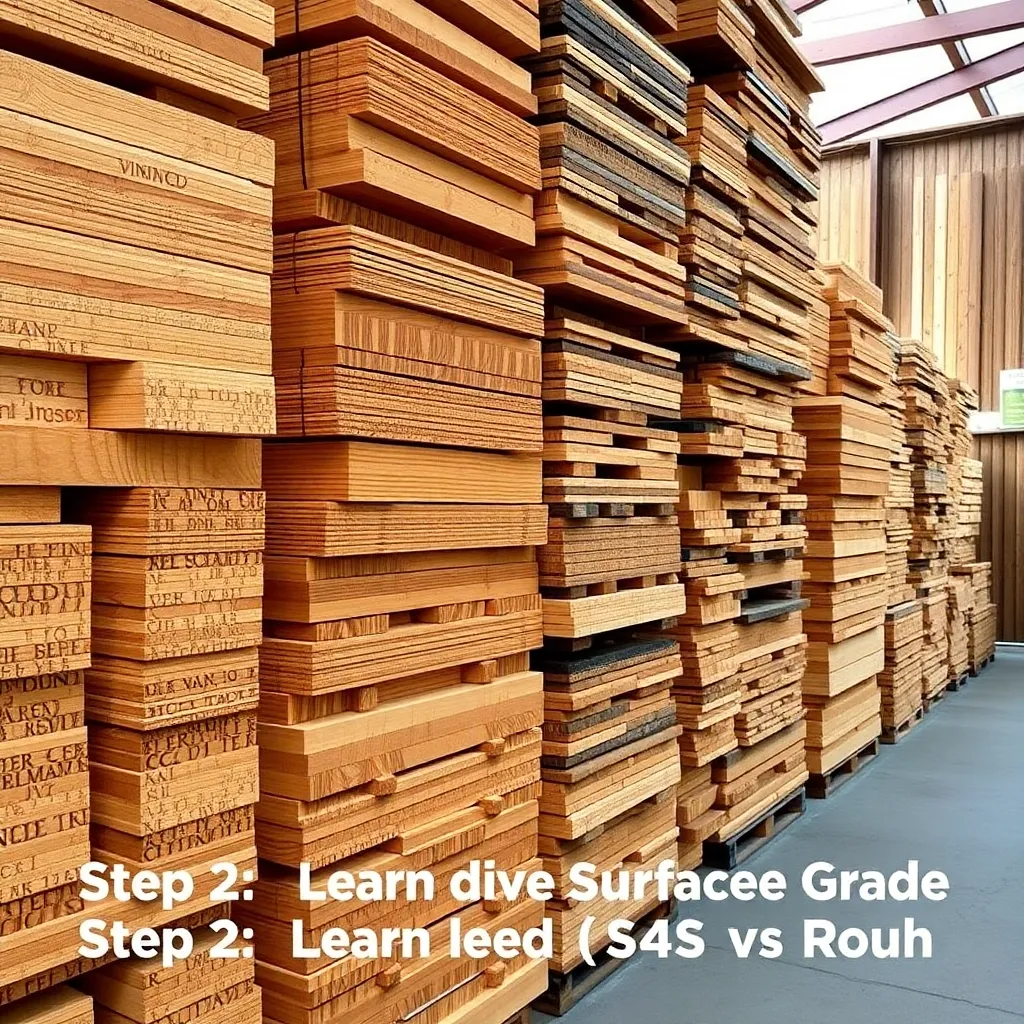
Step 2: Learn the Surface Grades (S4S vs Rough)
Goal: Know which lumber finish is right for your project.
Home center lumber is almost always S4S (Surfaced Four Sides): all four faces have been run through a planer and jointer so they’re smooth, flat, and square. S4S lumber is the right choice for 95% of DIY woodworking projects — it requires no additional milling and can go directly from the rack to the saw.
Rough-sawn lumber is thicker, wider, and cheaper per board foot — but it has rough faces, may be slightly cupped, and requires milling (jointing + planing) before use. It’s sold at specialty lumber yards and is the right choice if you have a jointer and planer and want to work with wider or thicker stock than home center carries.
Face-glued panels (edge-glued pine panels, sold in 1×12, 1×16, and 1×18 widths at home centers) are S4S boards that have already been glued edge-to-edge — useful for wide tabletops or cabinet sides without doing your own glue-up.
Milestone: You can look at any lumber and immediately identify whether it’s ready to use or requires milling.
Step 3: Read a Lumber Grade Stamp
Goal: Understand what the stamp on every piece of dimensional lumber means.
A grade stamp appears on all dimensional lumber and contains: the mill number (who made it), the grade, the moisture content designation, and the species group. The grades most relevant to woodworking projects:
Pine/Spruce (Home Center):
- Select or #1: Few knots, relatively straight grain — best appearance for painted furniture
- #2 Common: Some knots and grain variation — typical for framing lumber, acceptable for rustic builds
- #3 Common: Many knots, some may be loose — avoid for furniture, acceptable for hidden structural members
Appearance Boards (also at Home Center):
- Premium: Nearly clear, minimal knots — good for stained furniture
- Select Pine (Clear): No visible knots — most expensive pine, best for natural finish
The stamp also shows MC15 (moisture content under 15%, suitable for interior use) or KD (kiln-dried). Avoid unmarked lumber if moisture content matters — wet lumber shrinks and warps as it dries.
Milestone: You can select a lumber grade appropriate for the project’s appearance requirements and budget.
Step 4: Choose the Right Species for the Project
Goal: Match wood species to the project’s function and finish requirements.
| Species | Hardness | Best For | Cost |
|---|---|---|---|
| Pine | Soft | Painted furniture, framing, beginners | $ |
| Poplar | Medium-soft | Painted furniture, stained interior | $$ |
| Cedar | Soft | Outdoor projects, aromatic closets | $$ |
| Red oak | Hard | Stained furniture, floors | $$$ |
| Hard maple | Very hard | Cutting boards, tabletops, workbenches | $$$ |
| Walnut | Hard | Premium furniture, natural finish | $$$$ |
| Cherry | Hard | Heirloom furniture, natural finish | $$$$ |
| Teak | Hard | Premium outdoor furniture | $$$$$ |
Practical guide:
- Paint the piece: Pine or poplar — both take paint equally well, pine is cheaper
- Stain the piece, indoor: Poplar (smooth, consistent) or red oak (beautiful open grain)
- Outdoor use: Cedar or pressure-treated pine (check the UC rating for the application)
- Food contact: Hard maple (cutting boards, butcher blocks), cherry or walnut (serving boards)
- Maximum durability: Hard maple or white oak (workbench tops, floors, high-traffic surfaces)
Milestone: You can walk into any lumber yard and select the right species for any project type.
Step 5: Inspect and Select Individual Boards
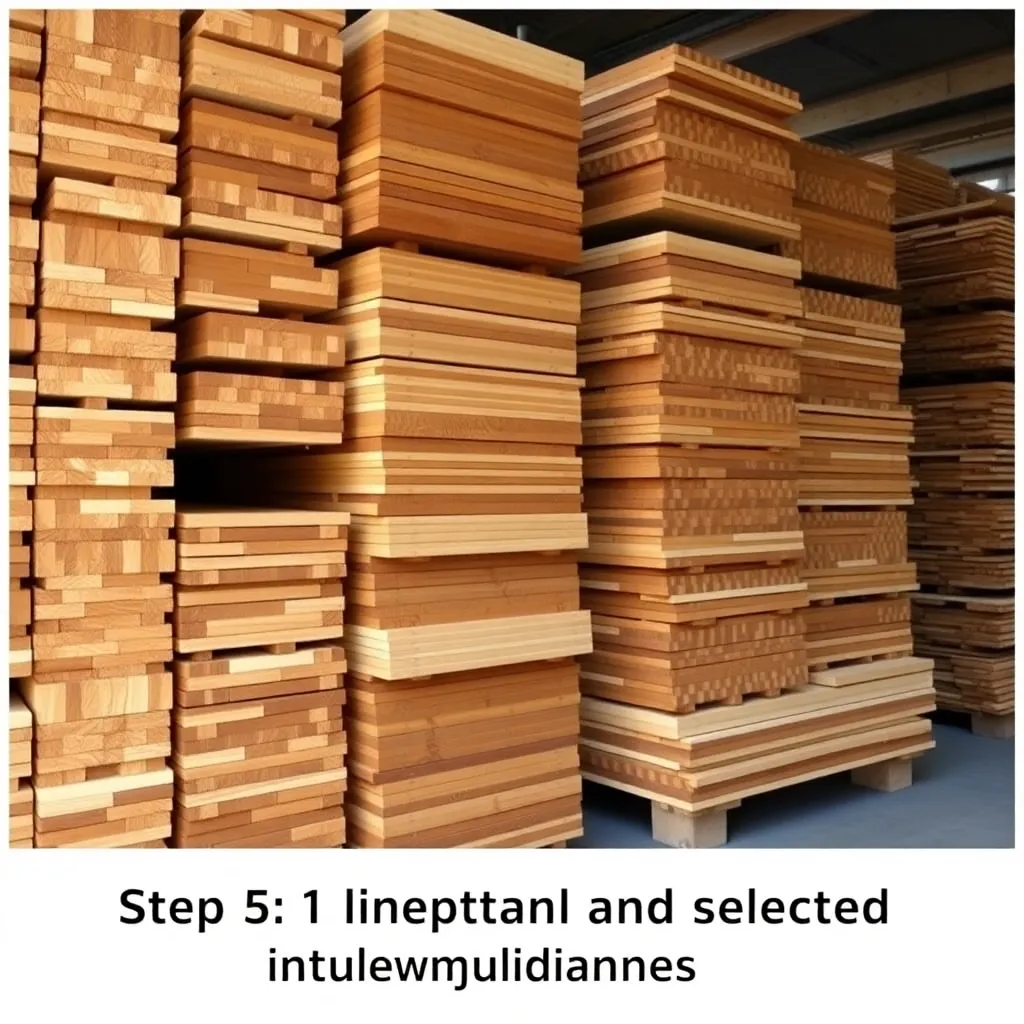
Goal: Get the best boards from the rack, not just any boards of the right size.
Board defects to check and avoid:
Cup: The board curves across its width (like a trough). Hold one end up and sight down the board face. Mild cup can be planed out; severe cup (more than ⅛ inch across 6 inches) should be avoided.
Bow: The board curves along its length (like a banana). Sight down the edge from one end. A slight bow can be cut around; significant bow wastes most of the board.
Twist: Opposite corners are higher or lower than each other. Look down the board from one end. Twist is the hardest defect to correct — avoid twisted boards entirely unless you have a jointer.
Knots: Tight knots (surrounded by intact grain) are acceptable and can be beautiful. Loose knots (dark ring around the knot, slightly loose when pressed) will eventually fall out — avoid in structural or appearance-grade work.
Checks and splits: Cracks along the grain at the ends of boards. Always trim 2–4 inches from each end of a board before measuring for cuts — end checks are common and can extend several inches.
Milestone: Every board you buy is flat, straight, and free of loose knots before it reaches your shop.
Step 6: Calculate How Much Wood to Buy
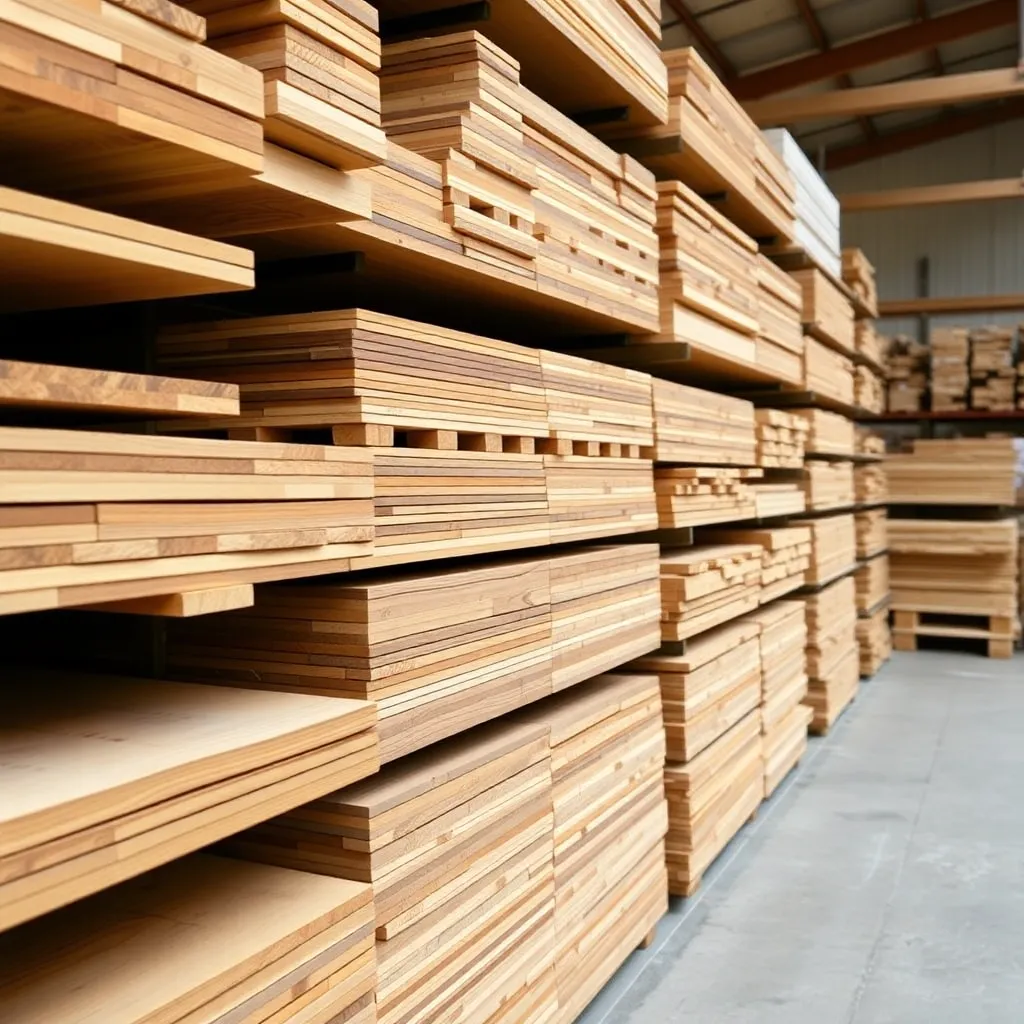
Goal: Arrive at the lumber yard knowing exactly how many boards you need.
For a project using a cut list (as all good woodworking plans include):
- Group cuts by board size (all 1×6 cuts together, all 2×4 cuts together)
- Lay out the cuts on standard lumber lengths (8, 10, 12, and 16 feet) to minimize waste — this is called “optimization” or “ripping a cut list”
- Add 15% to the total linear footage for waste, kerf, defect trimming, and mistakes
- Round up to the nearest whole board
Example: project needs four pieces of 1×6 at 24 inches and four at 18 inches. Total needed: 4 × 24 + 4 × 18 = 96 + 72 = 168 inches = 14 linear feet. Add 15%: 14 × 1.15 = 16.1 feet. Buy three 1×6 × 6-foot boards (18 feet total) — one extra for safety.
Milestone: You arrive at the lumber yard with a board count, buy exactly what you need, and have one spare board for mistakes.
Wood Planks FAQ
Why is a 2×4 not actually 2 inches by 4 inches?
Lumber is named by its green (freshly cut, unseasoned) dimension. After drying and planing, a 2×4 loses about ½ inch on each face, resulting in the actual 1½ × 3½ inch dimension. This sizing convention is over a century old and is the same across all home centers and lumber yards in North America. Hardwood lumber at specialty stores is sometimes sold in “true” dimensions — always verify before ordering for a specific plan.
What does “board foot” mean?
A board foot is a volume measurement: 1 foot × 1 foot × 1 inch = 144 cubic inches. It’s used for pricing hardwoods at specialty lumber yards. To calculate board feet: (thickness in inches × width in inches × length in inches) ÷ 144. A 1-inch thick × 6-inch wide × 8-foot long board = (1 × 6 × 96) ÷ 144 = 4 board feet. Home center dimensional lumber is priced per linear foot (by length only), not per board foot.
Can I use construction lumber (framing lumber) for furniture?
Yes — but manage expectations. Construction-grade 2×4s and 2×6s are typically #2 pine with knots, varying grain, and higher moisture content than appearance-grade lumber. They work well for painted furniture with a rustic aesthetic (farmhouse tables, benches, industrial shelving). For stained furniture or pieces with high visual standards, step up to Select or Premium pine, or use a hardwood like poplar or red oak.
How do I store lumber to prevent warping?
Store lumber flat and supported every 12–16 inches along its length — not cantilevered at only two points. In an unconditioned garage, stack with “stickers” (small spacer strips, ¾ inch thick) between each layer to allow airflow. Keep lumber off concrete floors (concrete is damp). Never store lumber standing vertically (leaning against a wall) — gravity will bow it permanently within weeks.

“DIY woodworking enthusiast who started with zero experience and a YouTube tutorial.
I build simple, practical projects for my home and share free plans
so other beginners can skip the guesswork.If I can build it, you can too.”