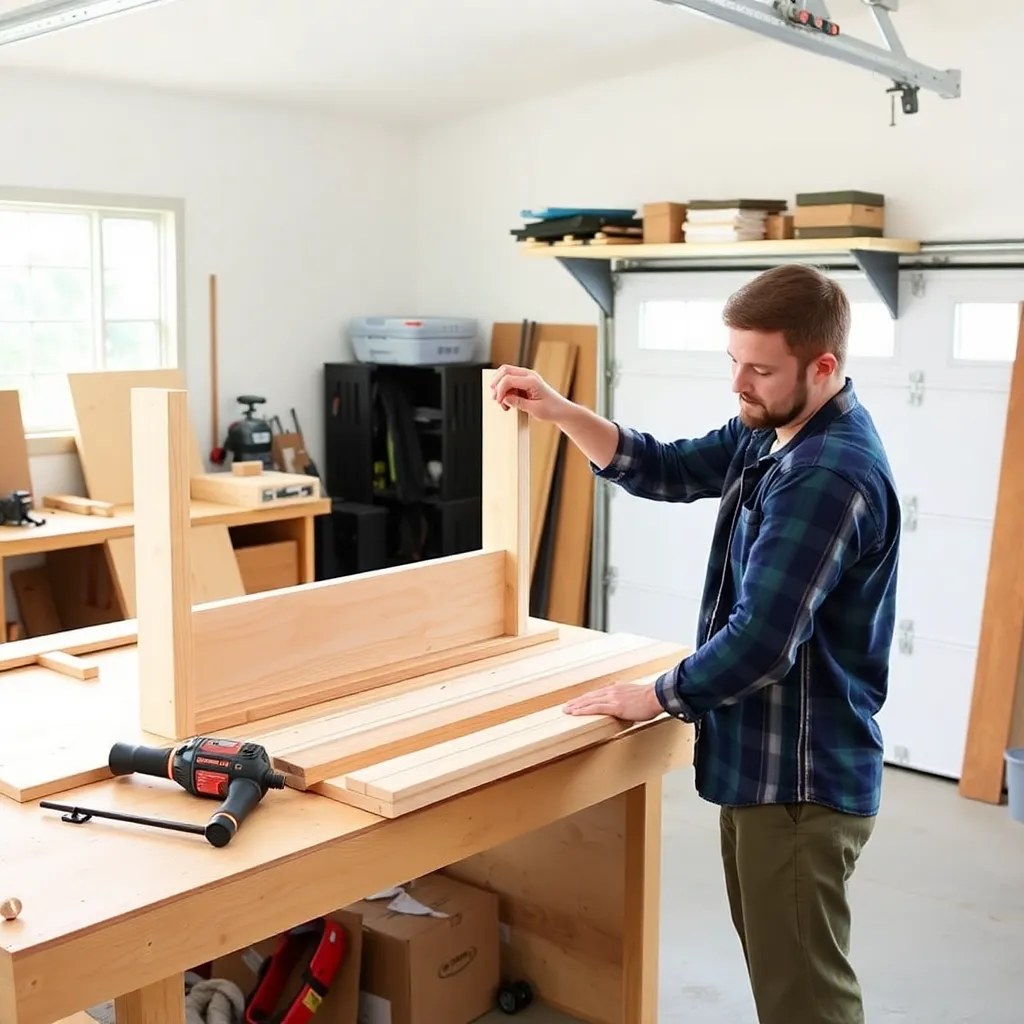
The problem with most beginner woodworking plans online isn’t that they’re free — it’s that they’re incomplete. A plan that shows the finished piece but skips the cut list, the assembly sequence, or the hardware list forces the beginner to fill in the gaps with knowledge they don’t have yet. These ten plans are complete: each includes a cut list, a tools list, a step-by-step assembly sequence, and finish recommendations.
Ted’s Woodworking has 16,000+ complete plans — if you need guaranteed step-by-step instructions for any build, it’s the fastest way to get there. Browse Ted’s plans →
Step 1: Build a Floating Wall Shelf
Cut list: One 1×6 pine board at 24 inches. Two L-brackets or keyhole brackets.
Tools: Drill/driver, stud finder, level, tape measure.
Mark two stud locations on the wall with a stud finder. Hold the shelf in position and mark bracket screw holes. Drill pilot holes. Drive 2½-inch screws into studs through the bracket. Set the shelf on the brackets. Drive two ¾-inch screws up through each bracket into the shelf underside. Finish: Sand to 220-grit, apply two coats of wipe-on poly.
Time: 1 hour. Materials: ~$12.
Milestone: A wall shelf that holds 30 pounds without movement.
Step 2: Build a Wall-Mounted Coat Rack
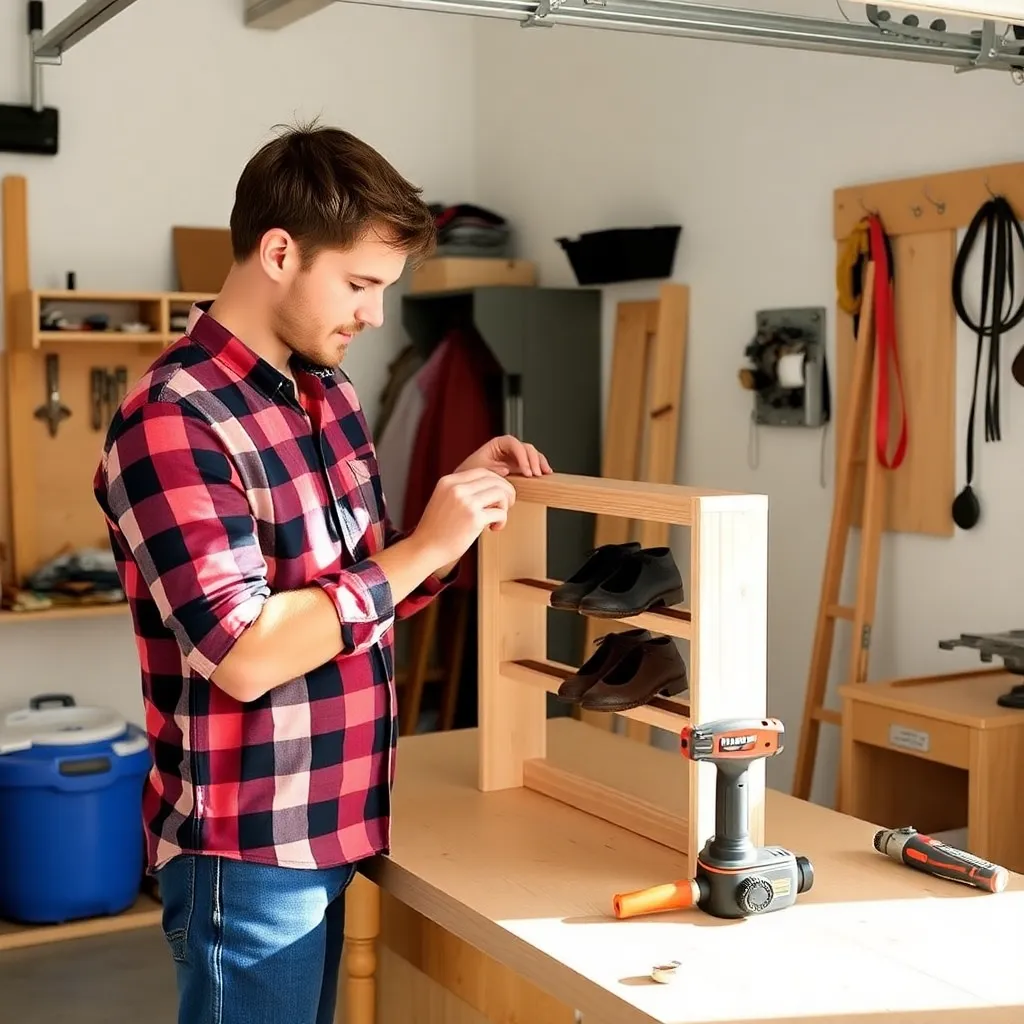
Cut list: One 1×6 pine at 36 inches. Four Shaker pegs with ⅜-inch tenons.
Tools: Drill/driver, stud finder, level, ⅜-inch drill bit, tape measure.
Drill four ⅜-inch peg holes at 8-inch spacing, centered on the board width. Apply a small amount of wood glue to each peg tenon and drive into the holes with a rubber mallet. Let cure for 1 hour. Sand to 220-grit. Stain or paint. Mount to wall studs with two 2½-inch screws countersunk and filled with wood putty before painting.
Time: 2 hours. Materials: ~$18.
Milestone: A coat rack that holds four coats without the pegs pulling out.
Step 3: Build a Classic Birdhouse
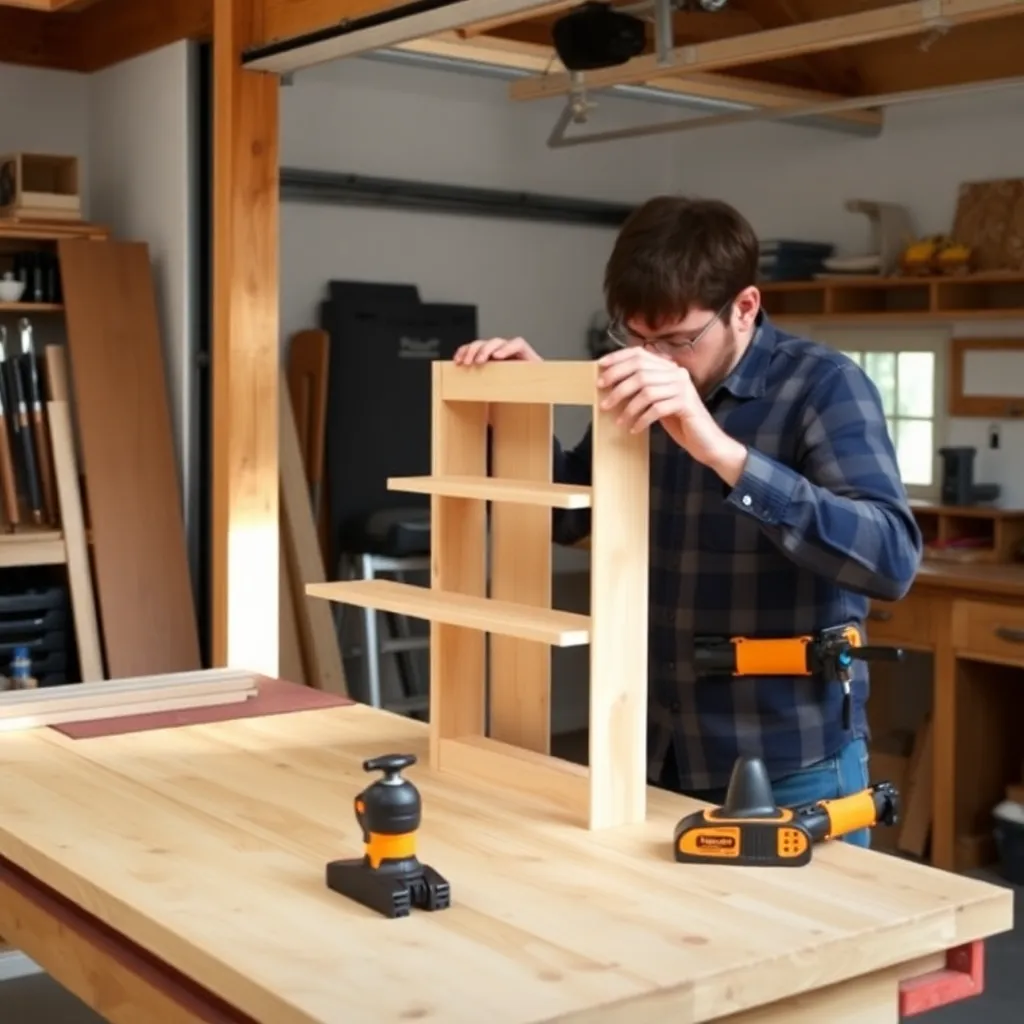
Cut list (⅝-inch cedar): Front/back 7 × 9 inches (gabled top, 45° cuts at peak). Two sides 5½ × 7 inches. Floor 4 × 4¾ inches. Roof two pieces 5½ × 8 inches.
Tools: Miter saw, drill/driver, 1½-inch Forstner bit, clamps.
Drill a 1½-inch entrance hole 6 inches from the floor center on the front piece. Assemble front, back, and sides with 1¼-inch exterior screws and waterproof wood glue. Check square with a framing square. Attach floor with two screws from each side (leave one side unglued for seasonal cleanout). Attach roof panels with screws from the top. Finish: Leave cedar natural or apply exterior teak oil.
Time: 2–3 hours. Materials: ~$14.
Milestone: A freestanding, weatherproof birdhouse with a cleanable floor.
Step 4: Build a Simple Shoe Rack
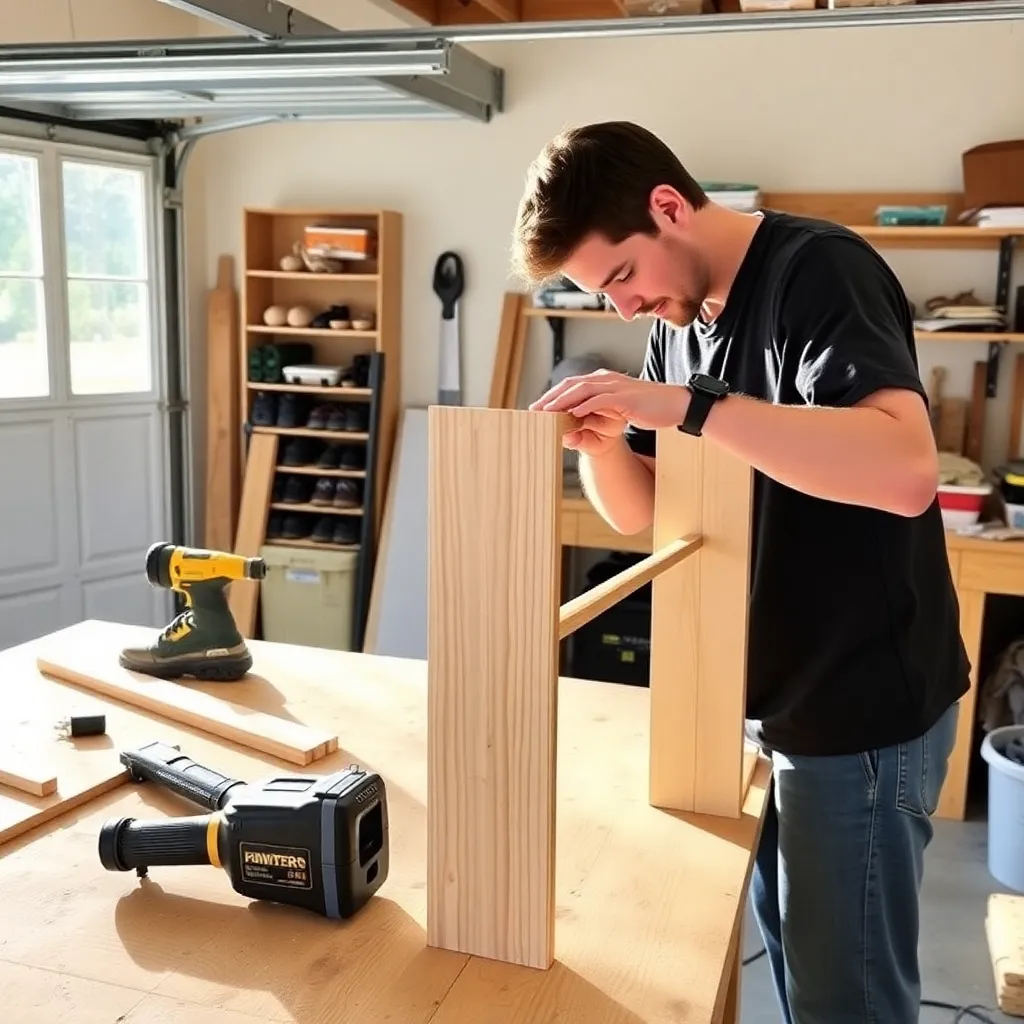
Cut list (1×4 pine): Two uprights 1×6 at 15 inches. Four horizontal rails 1×4 at 30 inches.
Tools: Miter saw or circular saw, Kreg pocket hole jig, drill/driver, clamps.
Drill two pocket holes at each end of all four rails. Connect two rails to each upright at 6 and 14 inches from the bottom with 1¼-inch pocket screws. Stand the completed sides up and connect front/back rails to create two tiers. Check for square by measuring diagonals — both should be equal. Finish: Sand to 180-grit, paint or apply one coat of polyurethane.
Time: 2–3 hours. Materials: ~$20.
Milestone: A rack that holds 8 pairs of shoes without wobbling.
Step 5: Build a Small Wooden Box
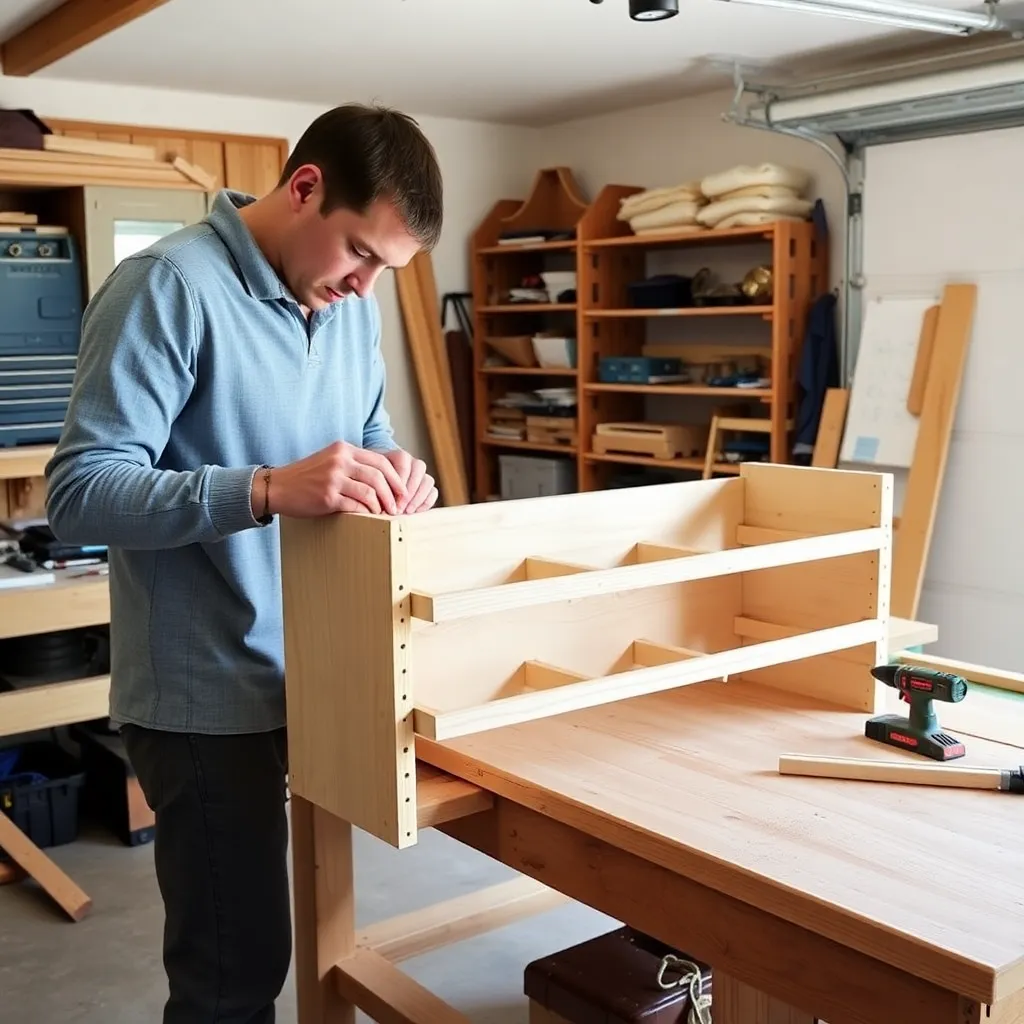
Cut list (½-inch oak or pine): Front/back 4 × 10 inches. Two sides 4 × 6 inches. Bottom ¼-inch plywood at 5½ × 9½ inches. Lid ⅜-inch plywood at 6 × 11 inches.
Tools: Table saw or circular saw, miter saw, router (optional, for rabbet), drill/driver.
Assemble four sides with wood glue and ¾-inch pin nails. Square up and let cure. Route a ¼-inch × ¼-inch rabbet on the inside bottom edge of all four sides and fit the plywood bottom (glue, no nails). Sand all faces to 220. Apply two coats of shellac. Optionally hinge the lid with a small brass piano hinge.
Time: 3 hours. Materials: ~$15.
Milestone: A box with square corners, a fitted bottom, and no visible nails on the face.
Step 6: Build a Wooden Plant Stand
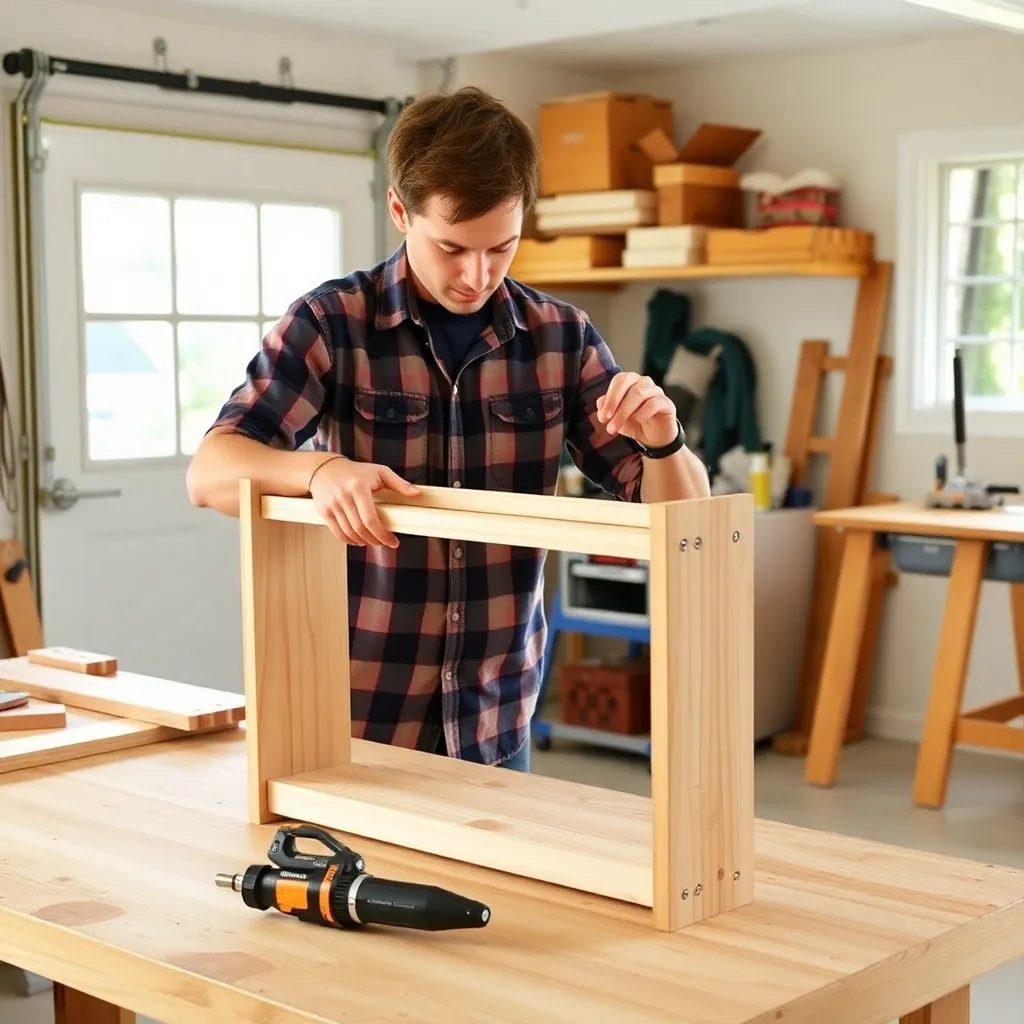
Cut list (¾-inch plywood): Top 10 × 10 inches. Bottom 14 × 14 inches. Four tapered legs from 1½ × 1½ × 18-inch stock (taper cut on table saw: 1½ inch at top, 1 inch at bottom on two adjacent faces).
Tools: Table saw or jigsaw, drill/driver, pocket hole jig.
Drill two pocket holes on each leg top. Attach legs to the top panel with pocket screws, positioned ½ inch from each corner. Attach bottom panel with pocket screws from below. Apply three coats of polyurethane — plants drip water. Add four felt pads to the leg bottoms.
Time: 3 hours. Materials: ~$18.
Milestone: A stand that holds a 12-inch pot at 18–20 inches height without tipping.
Step 7: Build a Wall-Mounted Picture Frame
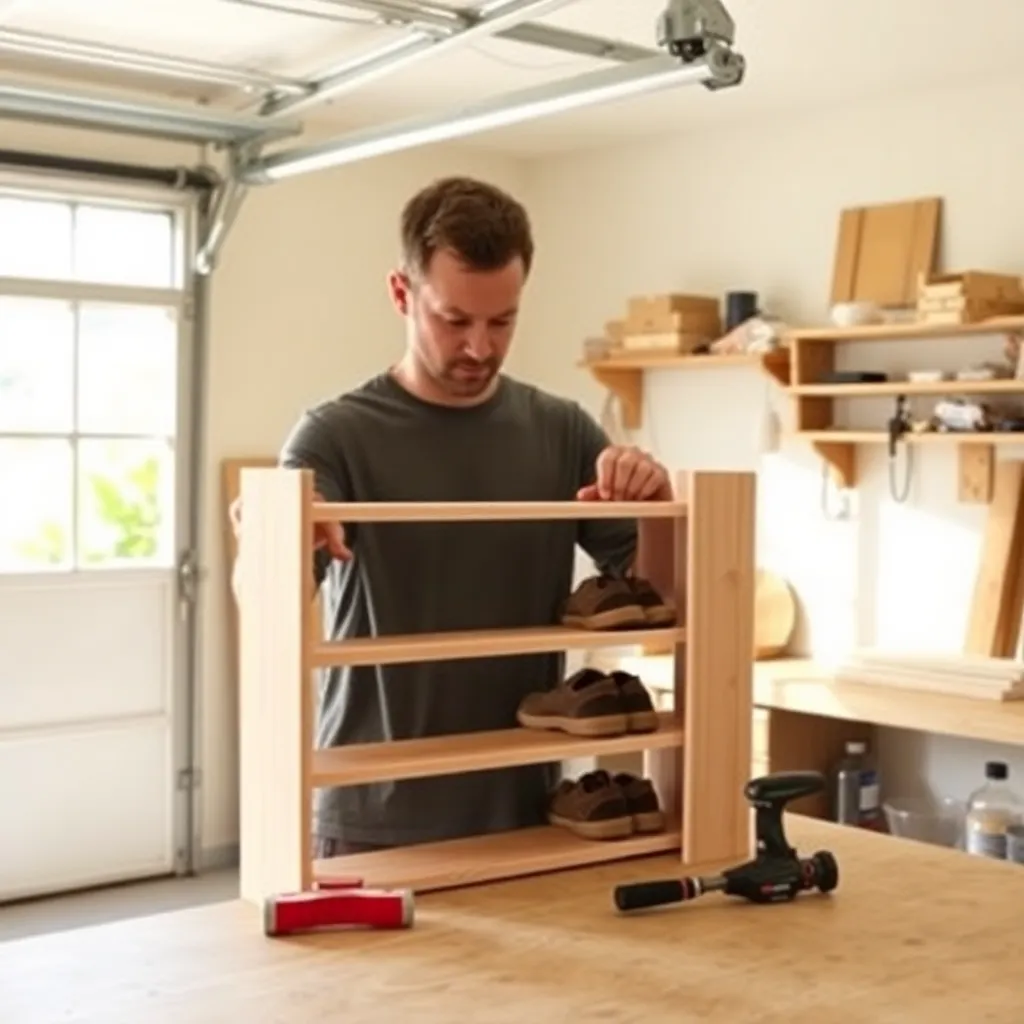
Cut list: 1×2 poplar or oak molding: two pieces at 11 inches (long point), two at 9 inches (long point). Miter both ends at 45°.
Tools: Miter saw, corner clamps, pin nailer or rubber band, ½-inch brads.
Test-fit all four corners dry — gaps should be minimal. Apply wood glue to all eight miter faces. Assemble two L-shapes first, then bring the two L-shapes together. Clamp with corner clamps or a strap clamp for 30 minutes. Drive two ½-inch pin nails at each corner from the back. Sand to 220-grit. Add a ¼-inch plywood backing cut to 7 × 9 inches.
Time: 2 hours. Materials: ~$10.
Milestone: A frame with four tight miters holding an 8×10 photo.
Step 8: Build a Key Holder
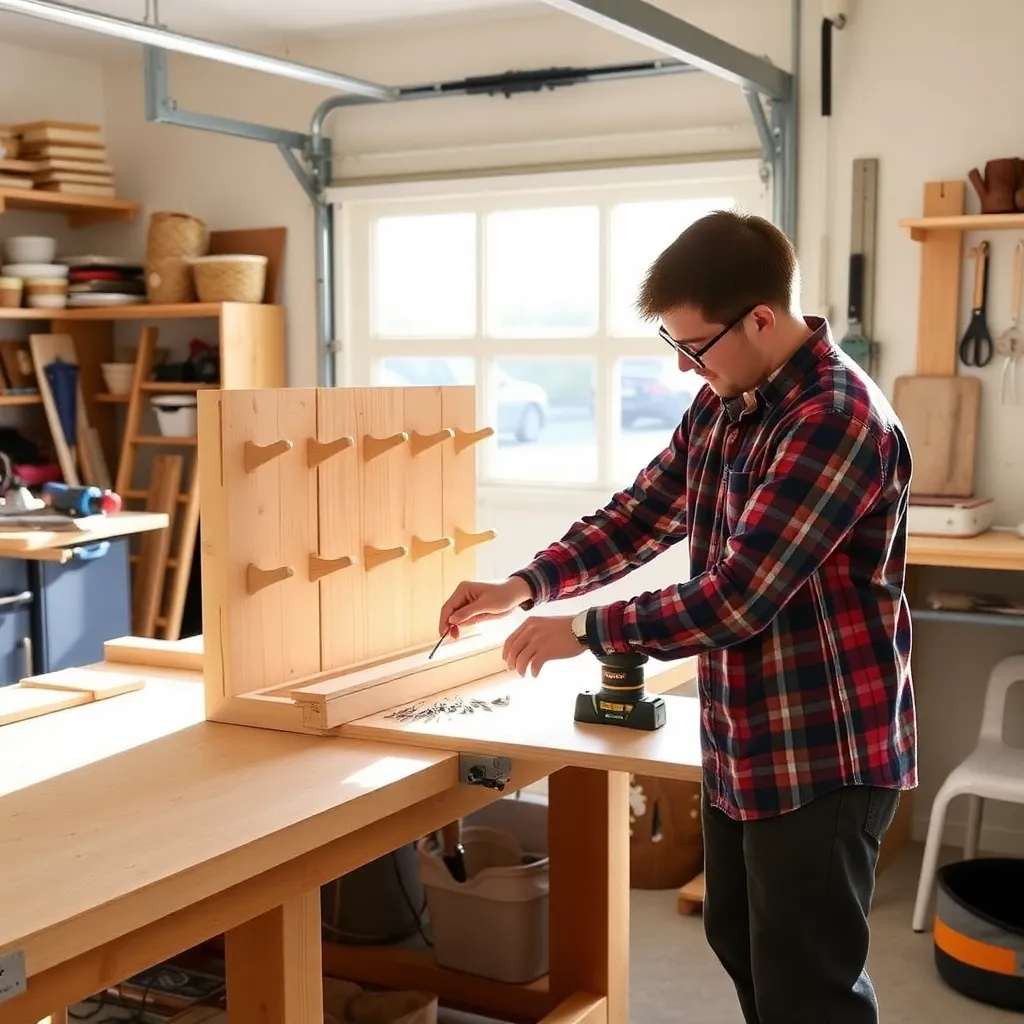
Cut list: One 1×6 pine at 16 inches. Three small cup hooks.
Tools: Drill/driver, router (optional), jigsaw.
Mark and cut a decorative arch at the top using a jigsaw (trace a paint can lid for a consistent curve). Sand all edges to 220-grit. Apply stain or paint. Drill three ⅛-inch pilot holes for cup hooks at 4-inch spacing along the bottom half. Drive cup hooks by hand — don’t use pliers, which will mar the finish. Mount with two 2½-inch screws into a stud, countersunk from the back.
Time: 1.5 hours. Materials: ~$9.
Milestone: A mounted holder with three hooks that holds keys within reach of the door.
Step 9: Build a Kids’ Step Stool
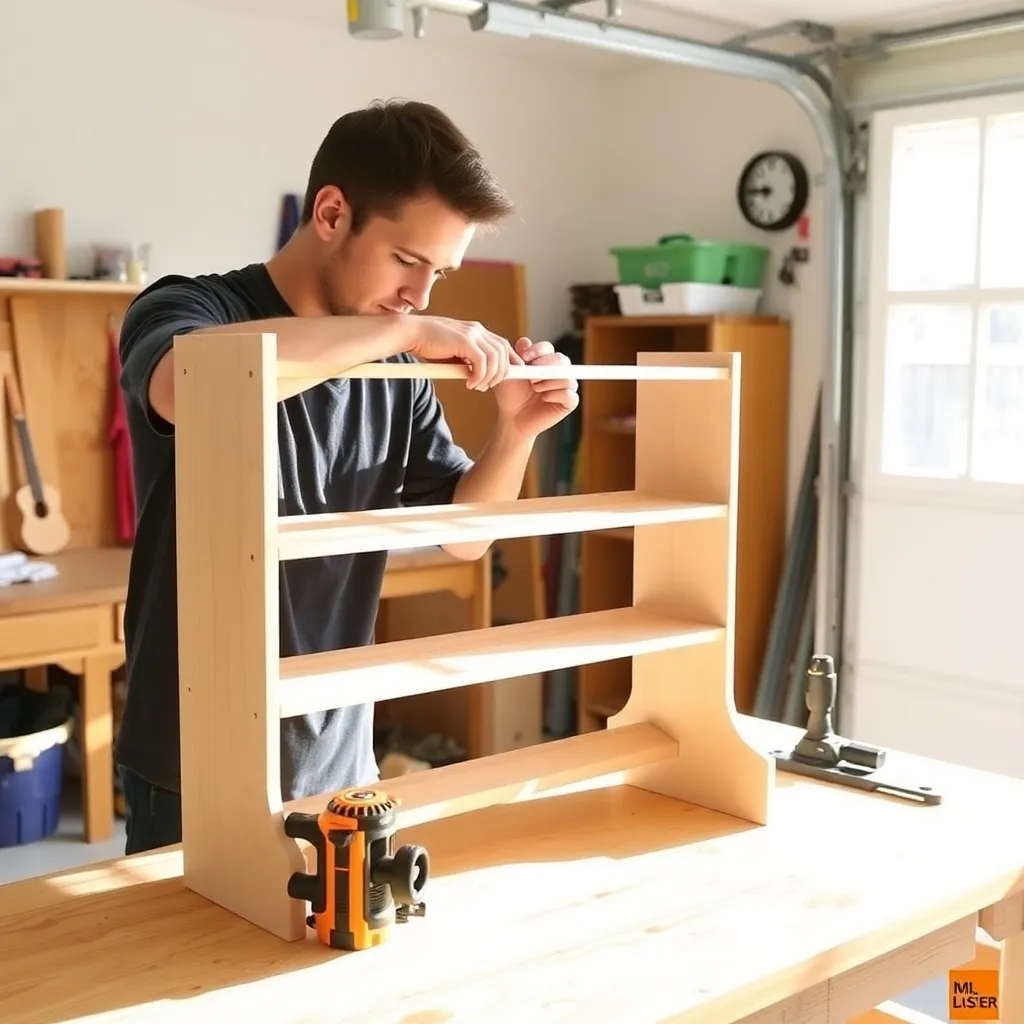
Cut list (¾-inch birch plywood): Two side panels 10 × 14 inches with a carrying handle cutout (1 × 3-inch oval, 2 inches from the top). Bottom step 10 × 12 inches. Top step 10 × 7 inches.
Tools: Jigsaw, drill/driver, Forstner bit (for handle cutout starter hole), pocket hole jig, sander.
Cut the handle opening: drill a starter hole with a 1-inch Forstner bit, then jigsaw the oval. Round the oval edges with a drum sander bit. Attach the bottom step between the two sides at 4 inches from the floor using pocket screws and construction adhesive. Attach the top step at 10 inches from the floor. Round all exposed edges with a ⅛-inch roundover bit or sanding block. Apply non-toxic paint and two coats of polyurethane.
Time: 3 hours. Materials: ~$22.
Milestone: A stool that an adult can stand on without it flexing.
Step 10: Build a Simple Workbench
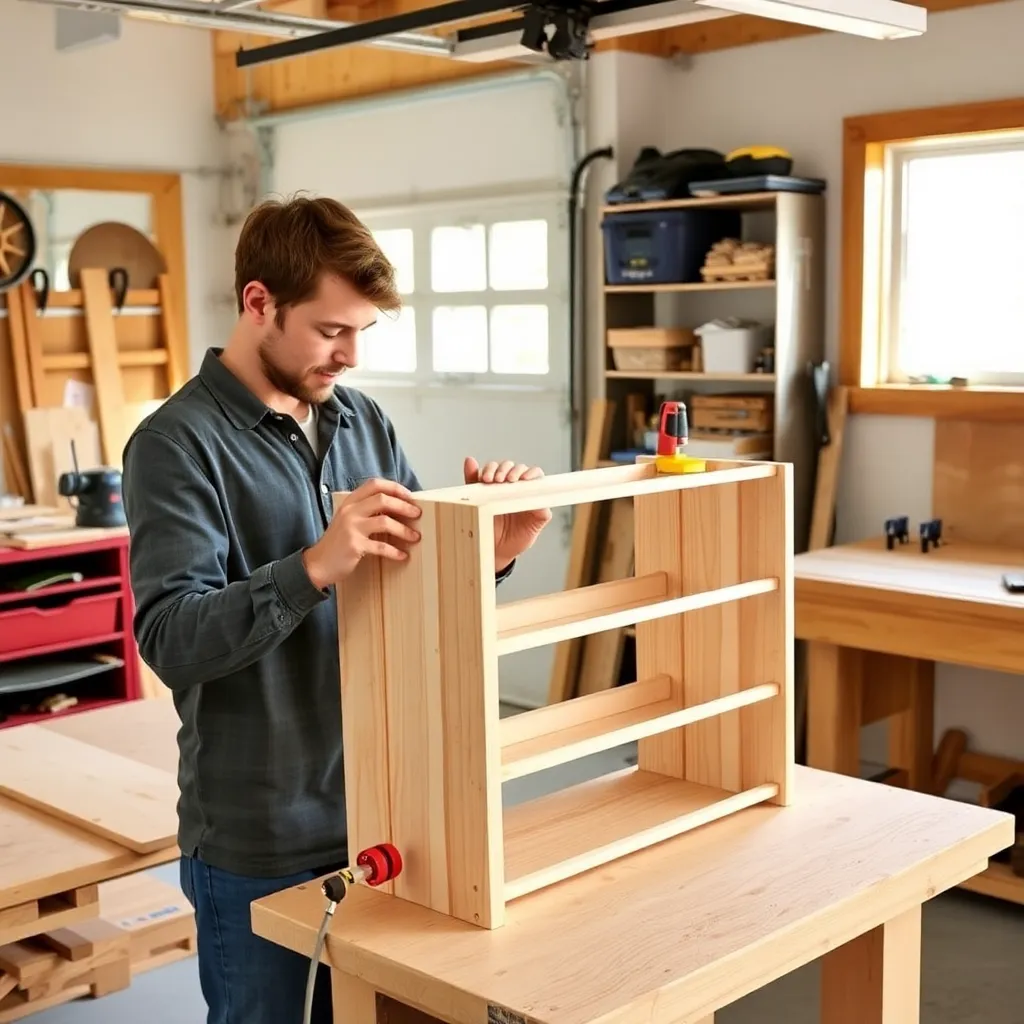
Cut list: Four 4×4 legs at 34 inches. Four 2×4 side aprons at 48 inches. Two 2×4 end aprons at 24 inches. Two ¾-inch plywood top layers at 25 × 49 inches.
Tools: Circular saw, drill/driver, clamps, speed square.
Connect two legs to two side aprons at the top using pocket screws and construction adhesive. Add a lower stretcher at 6 inches from the floor on each side. Connect the two H-frames with end aprons top and bottom. Glue both plywood layers together and secure to the frame with 2½-inch screws from below. Sand the top to 80-grit — smooth enough to prevent splinters. Apply one coat of Danish oil to the top.
Time: 6 hours over two days. Materials: ~$65.
Milestone: A bench that holds still when you push sideways on it with 50 pounds of force.
Free Plans for Beginners FAQ
Which of these ten projects should I build first?
Build the floating wall shelf (Project 1) — it’s one board, a drill, and four screws. It teaches the two foundational skills in all ten projects: measuring accurately and drilling cleanly. Complete it and you’ll know immediately whether you enjoy the process. If you enjoy it, Project 4 (shoe rack) or Project 2 (coat rack) are the natural second builds.
What tools do I need to start?
Projects 1–3 and 8 require only a drill/driver, a tape measure, and a stud finder — tools most people already own. Projects 4–7 add a miter saw or circular saw ($60–$120) and a Kreg pocket hole jig ($40). Project 10 (workbench) adds no new tools beyond those in Projects 4–7. Build in sequence and tools acquire naturally as projects demand them.
How accurate do my measurements need to be?
For structural builds (shelves, racks, workbenches), ⅛-inch accuracy is sufficient. For furniture that needs to close or align (boxes with lids, cabinet doors), ¼₆-inch or finer accuracy matters. The tools that help: a marking gauge for consistent parallel lines, a sharp marking knife instead of a pencil for fine lines, and a stop block clamped to the miter saw for repeated identical cuts. A dull pencil line is 1/16-inch wide — wider than most tolerances in furniture.
What finish should I use on beginner projects?
Wipe-on polyurethane is the most beginner-friendly finish: apply with a rag, no brush marks, dries in 2 hours, recoatable same day. Apply three coats (sand lightly with 320-grit after the first coat only). It’s durable enough for all ten projects in this guide. Avoid spray lacquer (fumes, explosive) and oil-based brush-on poly (long drying times, difficult application) until you have more experience.

“DIY woodworking enthusiast who started with zero experience and a YouTube tutorial.
I build simple, practical projects for my home and share free plans
so other beginners can skip the guesswork.If I can build it, you can too.”