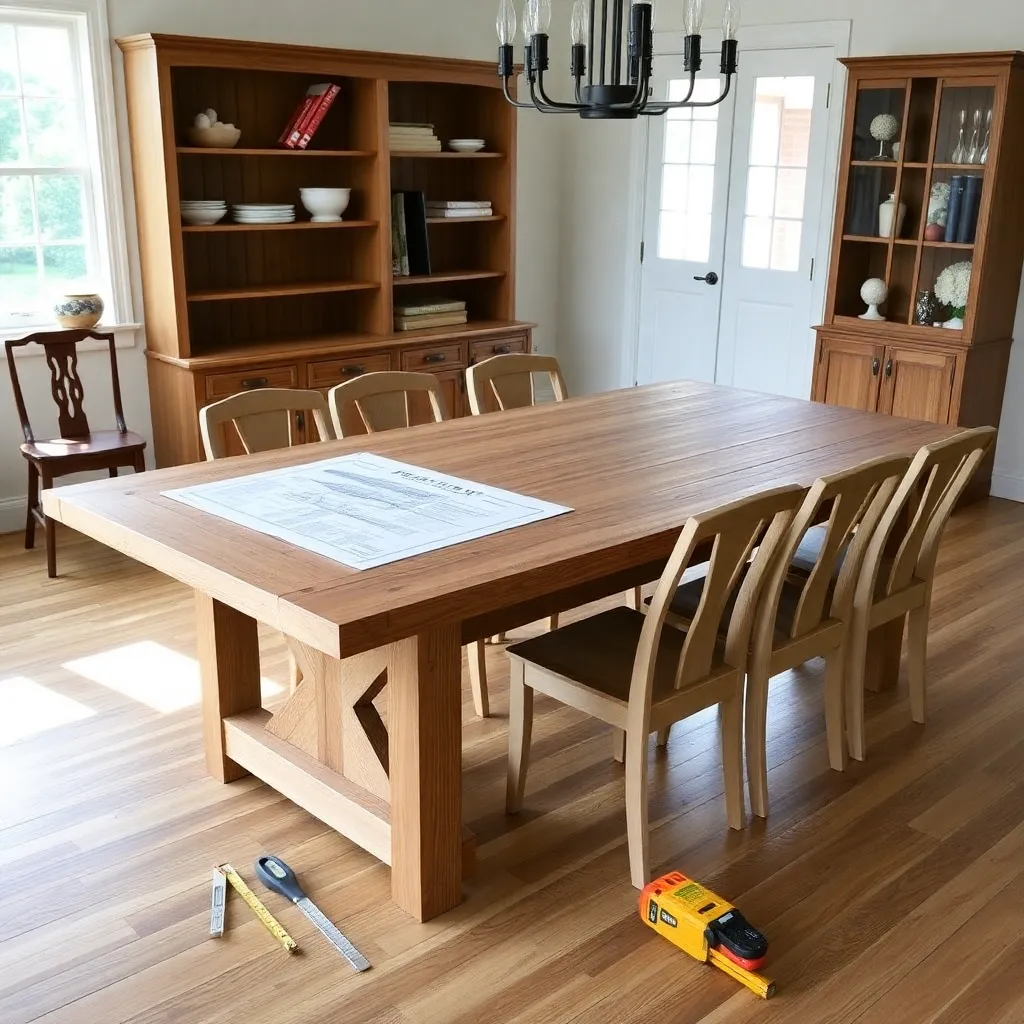
Building furniture from a free plan only works when the plan is complete — cut list, materials list, assembly sequence, and hardware specifications all present. These six furniture builds include everything needed to go from an empty shop to a finished piece: exact dimensions, wood species options, required tools, step-by-step assembly, and finish recommendations.
Ted’s Woodworking has full-detail plans for all six furniture types here, plus 16,000 more builds with photos and dimensions at every step. Browse Ted’s plans →
Step 1: Build a Farmhouse Dining Table
Dimensions: 36 × 72 × 30 inches tall. Seats 6.
Cut list (pine or Douglas fir):
- Top: five 2×6 boards at 72 inches, glued edge-to-edge
- Legs: four 4×4 posts at 28½ inches
- Aprons: two long aprons 2×4 at 65 inches, two short aprons 2×4 at 29 inches
Connect aprons to legs with pocket screws on the inside, glued. Attach the glued-up top with figure-8 fasteners (allows seasonal expansion). Sand the top to 100-grit, then 150, then 180. Apply two coats of Minwax Jacobean stain and three coats of wipe-on polyurethane. Add non-slip felt feet.
Tools: Circular saw, miter saw, drill/driver, pocket hole jig, bar clamps, orbital sander.
Materials cost: ~$85–$110. Build time: Two days.
Milestone: A table that seats six adults and doesn’t wobble when leaned on.
Step 2: Build a Mid-Century Modern Coffee Table
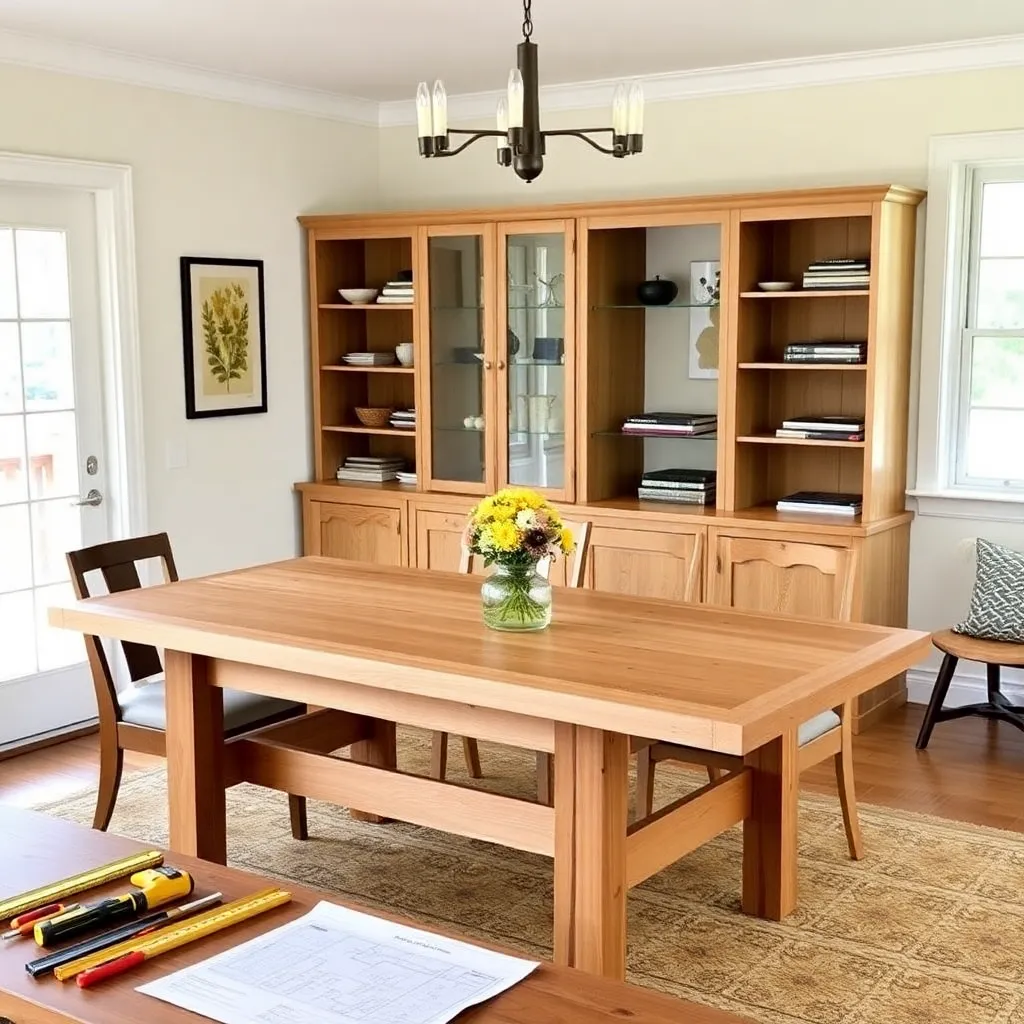
Dimensions: 48 × 22 × 16 inches tall.
Cut list (walnut or stained oak):
- Top: ¾-inch plywood or glued-up 1×6 boards at 22 × 48 inches
- Legs: four 1½ × 1½ × 15-inch tapered legs (taper from 1½ to ¾ inch on two faces)
- Aprons: two long 2½ × 45 inches, two short 2½ × 19 inches, all from ¾-inch stock
Taper legs on a table saw with a tapering jig. Connect aprons to legs with mortise-and-tenon or pocket screws (pocket screws faster for beginners). Attach top with figure-8 fasteners. Sand to 220-grit. Apply three coats of Danish oil for a natural hand-rubbed look.
Tools: Table saw (or hire out the tapers), miter saw, drill/driver, pocket hole jig, orbital sander.
Materials cost: ~$65–$95. Build time: One weekend.
Milestone: A table with tapered legs that sits flush and level on all four feet.
Step 3: Build a Media Console
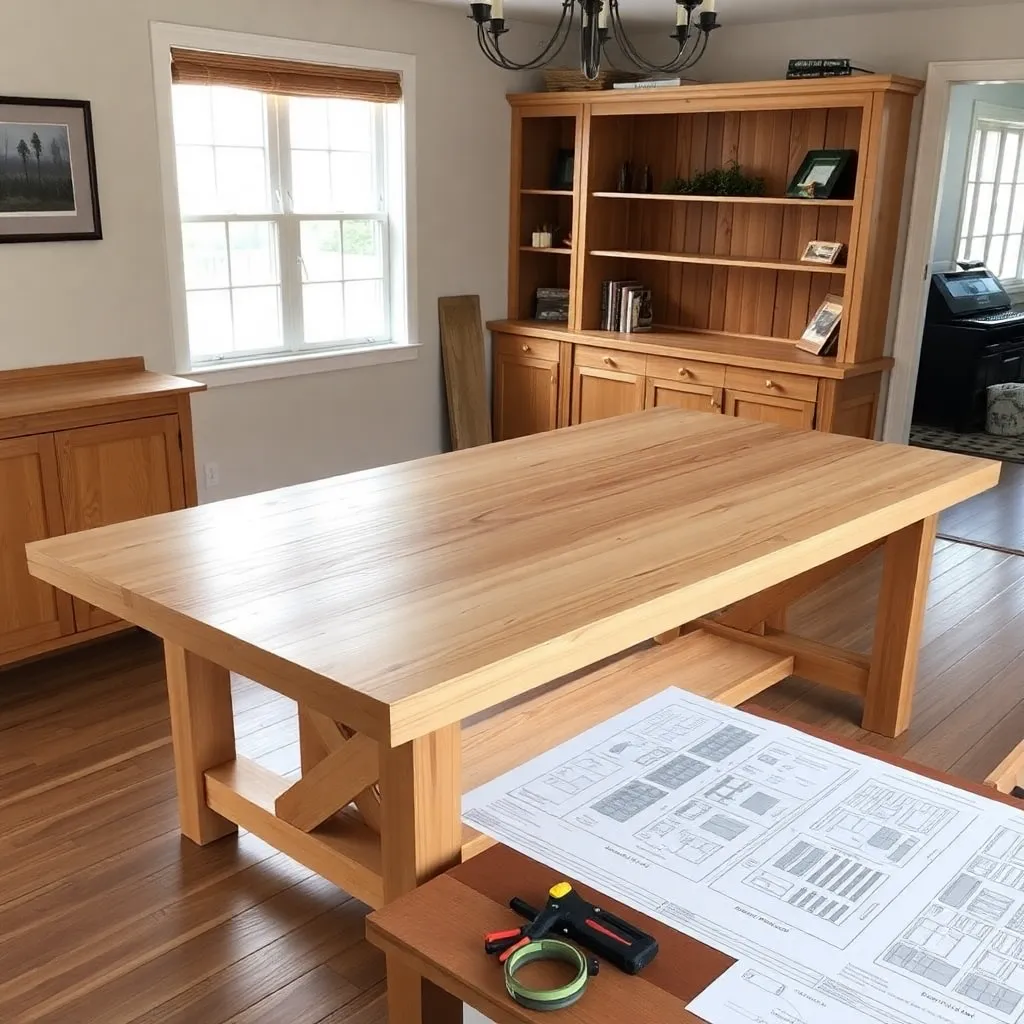
Dimensions: 60 × 18 × 24 inches tall.
Cut list (¾-inch plywood with solid wood edging):
- Two side panels 18 × 24 inches
- Top and bottom 18 × 60 inches
- Two fixed shelves 17 × 59¼ inches
- Back panel ¼-inch plywood at 24 × 60 inches
- Four doors 10 × 22 inches from ¾-inch plywood with 1×2 hardwood frames
Assemble case with ¾-inch pocket screws and glue. Install back panel in a ¼-inch × ¼-inch rabbet along the inside back edges of sides, top, and bottom. Apply iron-on veneer edge tape to all plywood edges. Hang four doors with European hinges (no mortise required). Apply satin polyurethane throughout.
Tools: Circular saw with straightedge guide, pocket hole jig, router, drill/driver, iron.
Materials cost: ~$120–$160. Build time: Two weekends.
Milestone: A console with closing doors that holds a TV up to 65 inches wide.
Step 4: Build a Five-Shelf Bookcase
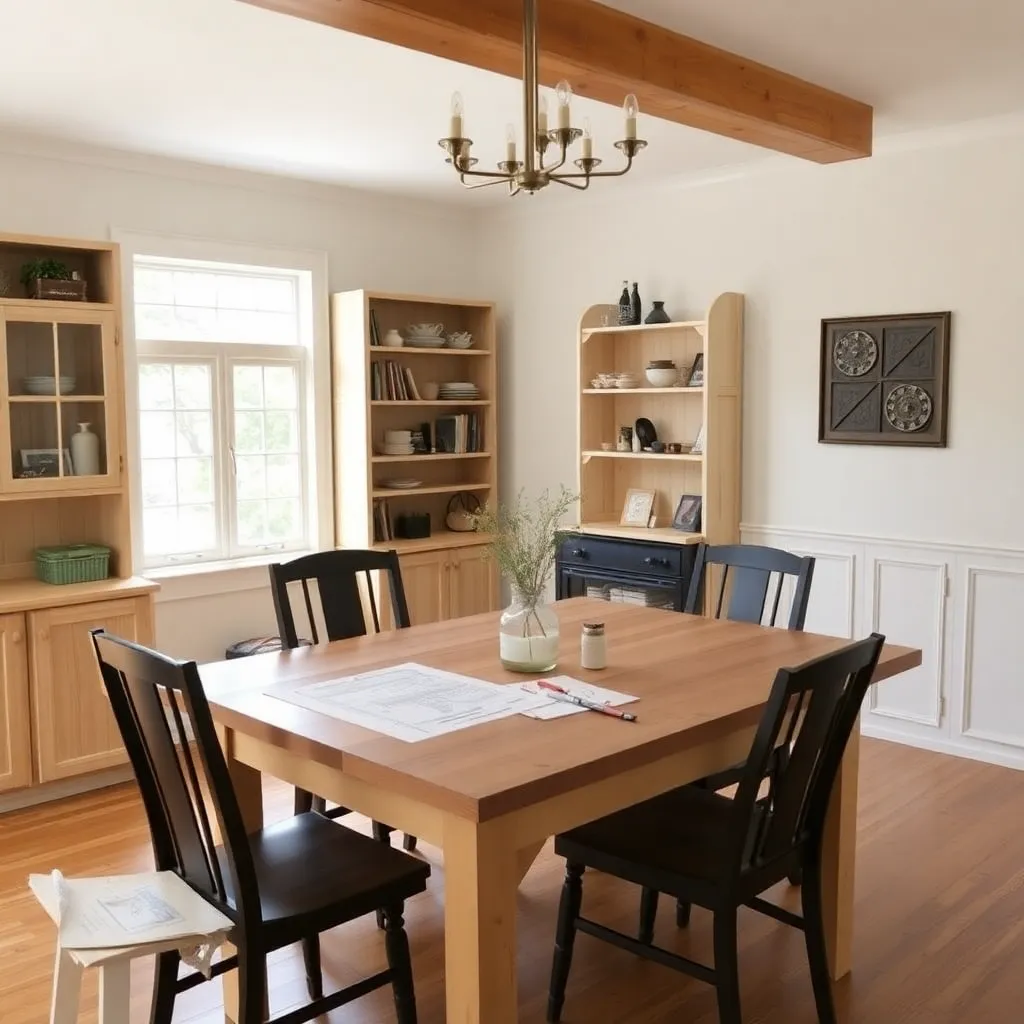
Dimensions: 36 × 12 × 72 inches tall.
Cut list (¾-inch hardwood plywood):
- Two side panels 12 × 72 inches
- Top and bottom 12 × 34½ inches
- Five adjustable shelves 11¼ × 34½ inches
- Back ¼-inch plywood at 34½ × 72 inches
- Face frame: 1×2 hardwood strips glued and nailed to all front edges
Cut ¼-inch × ¼-inch dado along the back inside edge of side panels for the back panel. Drill shelf pin holes (20mm or 5mm) on all four inside walls using a drilling template or pegboard jig. Assemble with pocket screws and glue. Apply face frame. Paint or apply polyurethane. Add anti-tip hardware to the wall (required for child safety).
Tools: Circular saw with guide, pocket hole jig, drill/driver, drill press (helpful for shelf pins).
Materials cost: ~$95–$135. Build time: One weekend.
Milestone: A bookcase that holds 200 paperbacks without sagging shelves.
Step 5: Build a Platform Bed Frame
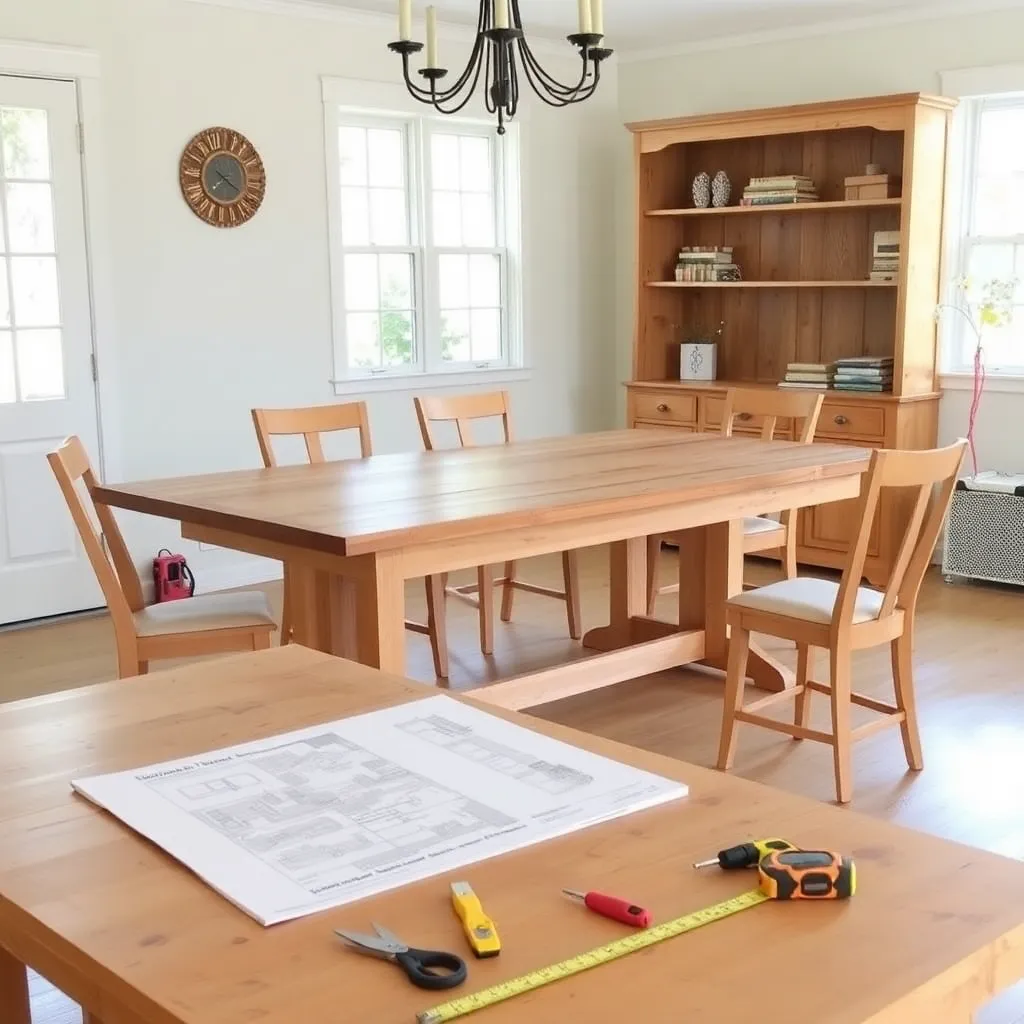
Dimensions (Queen): 61 × 82 × 14 inches tall.
Cut list:
- Headboard: three 1×10 pine boards at 65 inches glued side-by-side, framed with 1×4 border
- Two side rails: 2×6 at 82 inches
- Foot rail: 2×6 at 63 inches
- Six legs: 4×4 at 12 inches
- Slats: twelve 1×4 pine at 61 inches spaced every 5 inches
Connect rails to corner legs with 3-inch structural screws and metal corner brackets. Add two center legs under the side rails at 41 inches from each end. Lay slats across the rails and secure with two screws each — no slat movement under load. Build and attach headboard with two ½-inch all-thread bolts through headboard posts into the side rails.
Tools: Miter saw, circular saw, drill/driver, clamps, socket wrench for all-thread.
Materials cost: ~$110–$150. Build time: One weekend.
Milestone: A bed frame that holds 800 pounds (person + mattress) without the slats deflecting.
Step 6: Build a Storage Ottoman
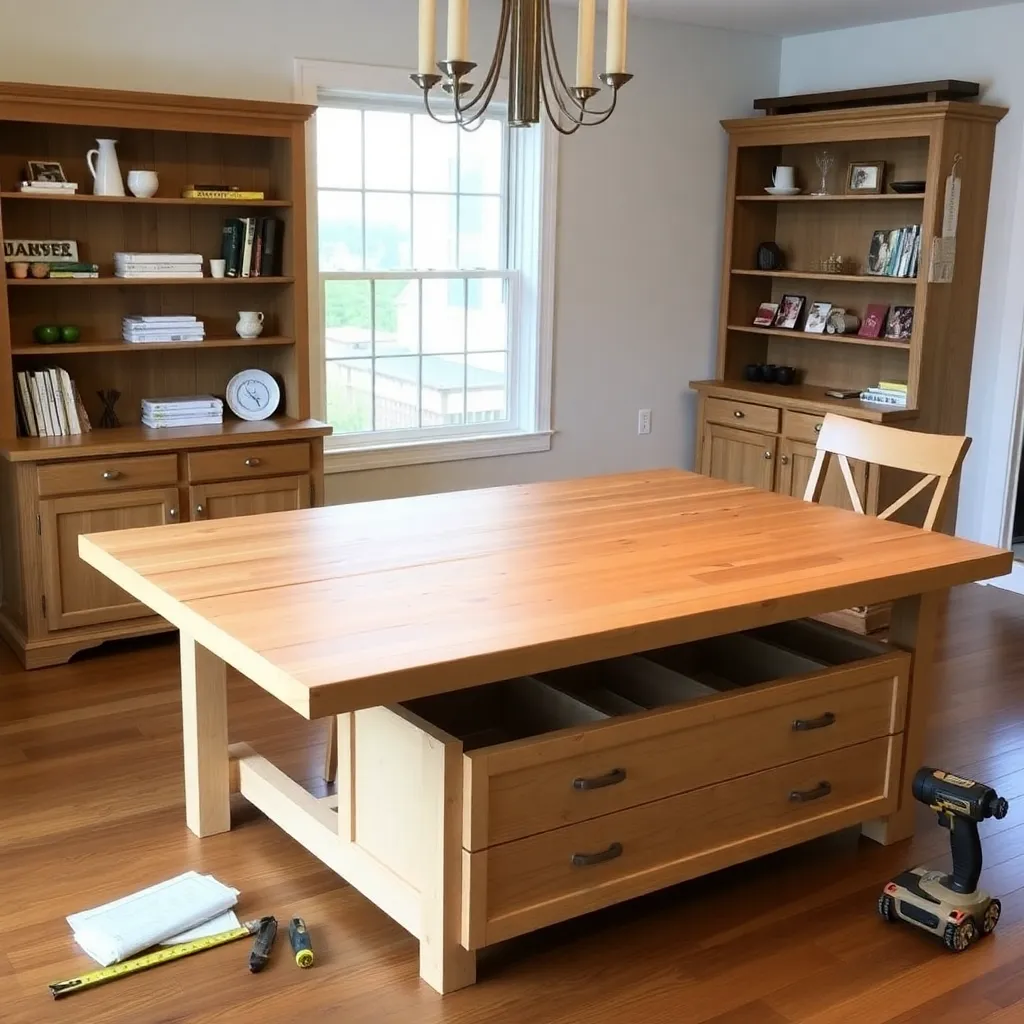
Dimensions: 36 × 20 × 18 inches tall.
Cut list (¾-inch plywood for box, hinged lid):
- Two long sides 18 × 35¼ inches
- Two short sides 18 × 18 inches
- Bottom 18 × 35¼ inches
- Lid ¾-inch plywood at 20 × 37 inches (overhangs each side by ¾ inch)
- Legs: four 3½-inch square furniture legs with threaded inserts (from hardware store)
Assemble box with pocket screws and glue. Install threaded leg inserts in the four bottom corners (drill exact size recommended on the insert package). Install lid with a piano hinge along the back edge. Upholster: cut 3-inch foam to lid size, spray-glue to lid, cover with fabric and staple to the underside.
Tools: Circular saw, drill/driver, pocket hole jig, staple gun, utility knife.
Materials cost: ~$70–$100. Build time: One day.
Milestone: An ottoman that holds 300 pounds as a bench and 50 gallons of blankets inside.
Free Furniture Plans FAQ
What is the easiest piece of furniture to build?
A floating shelf or a simple bench — both require only straight cuts and basic fasteners. Of the six builds above, the coffee table is the most accessible with intermediate tools, and the bookcase is the most practical first case-piece build. The farmhouse dining table is the most impressive result for the skill level it requires — straight cuts, pocket screws, and a glue-up are the only techniques.
Can I use dimensional lumber instead of hardwood plywood?
Yes, for most of the builds above. Solid wood (1×6, 1×8, 2×4 construction lumber) is a legitimate substitute for plywood in furniture — it just requires edge-jointing and gluing multiple boards to achieve wider widths. The advantage of solid wood is beauty and ease of edge treatment; the advantage of plywood is dimensional stability (doesn’t expand and contract seasonally) and cost efficiency for large panels.
How do I make furniture joints without a specialized jig?
Pocket screws (Kreg jig) are the easiest modern joinery method and are used in all six builds above. Alternatives: biscuit joints (biscuit joiner required), dowels (doweling jig), and loose tenons (Festool Domino or homemade jig). For beginners, pocket screws produce the fastest, strongest results with the lowest learning curve.
How much does it cost to build furniture vs buying it?
For the six pieces above, material cost ranges from $65–$160. Comparable retail pieces (Pottery Barn, West Elm equivalent quality) cost $300–$1,200 each. The furniture you build will typically exceed the quality of comparable-price retail pieces because you control the wood species, the joinery, and the finish. The savings increase significantly as your efficiency improves — your third bookcase costs about half as much time as your first.

“DIY woodworking enthusiast who started with zero experience and a YouTube tutorial.
I build simple, practical projects for my home and share free plans
so other beginners can skip the guesswork.If I can build it, you can too.”