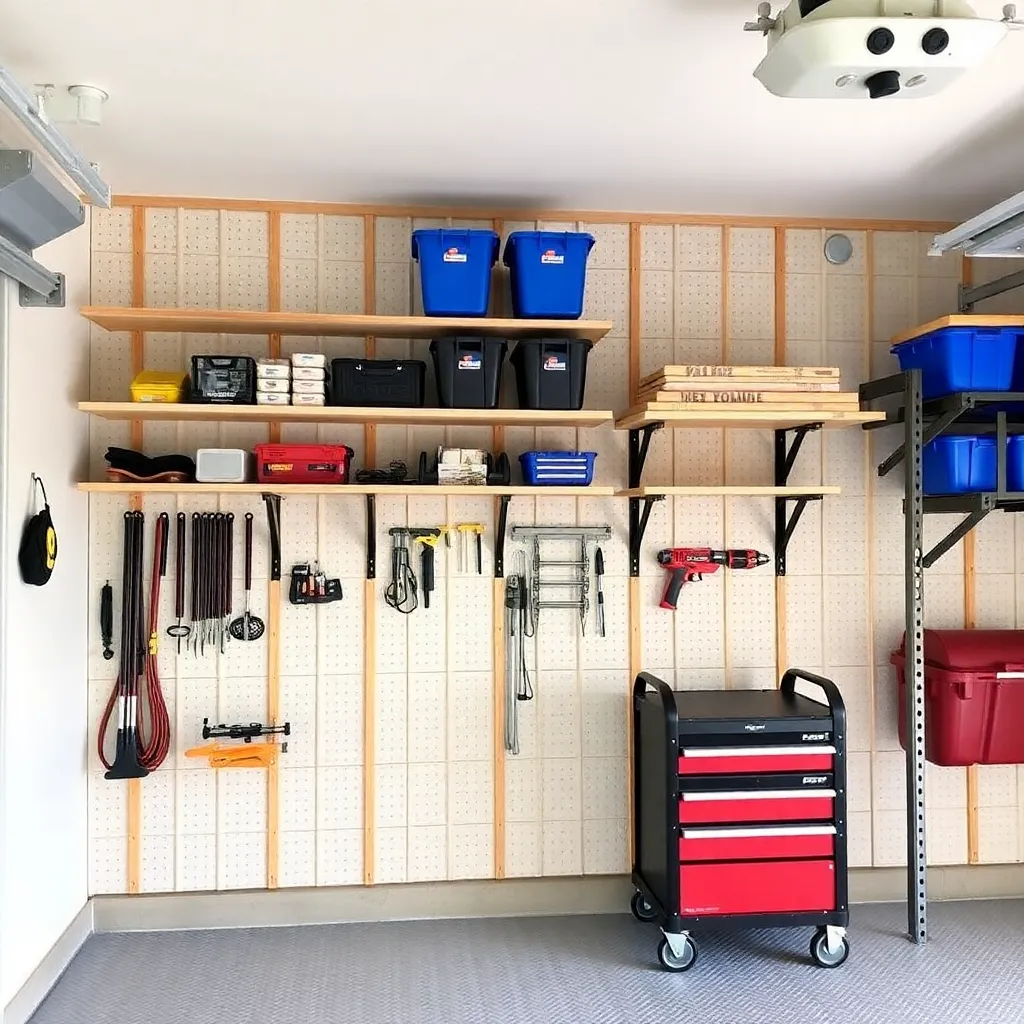
The average one-car garage loses 40% of its floor space to disorganized stuff that has no designated home. Six targeted storage builds can recover most of that space — not by throwing things away, but by moving them off the floor and onto walls and ceiling. These builds use common lumber and basic hardware and produce a garage that’s faster to work in and easier to keep clean.
Ted’s Woodworking has full garage and workshop storage plans for every garage size. Browse Ted’s storage plans →
Step 1: Build a Wall Shelf System (Garage Wall Storage)
Goal: Get everything off the floor and onto the walls using adjustable shelving.
Install a French-cleat wall system across one full garage wall. Rip ¾-inch plywood into 3-inch strips with a 45° bevel on each piece. Screw horizontal strips (bevel up, facing out) to the studs every 6 inches from floor to ceiling. Build simple shelves by cutting ¾-inch plywood shelves at whatever width you need and adding a matching cleat on the back. Set shelves on the wall cleats — they’re self-locking and require no brackets. Standard layout: bottom two rows for heavy items (car supplies, garden chemicals), middle rows for frequently used tools, top rows for seasonal items. Total weight capacity per stud: 50–100 lbs when properly anchored.
Milestone: A full garage wall covered from 12 inches off the floor to ceiling, fully adjustable without any additional screws.
Step 2: Build a Pegboard Organizer (Tool Wall)
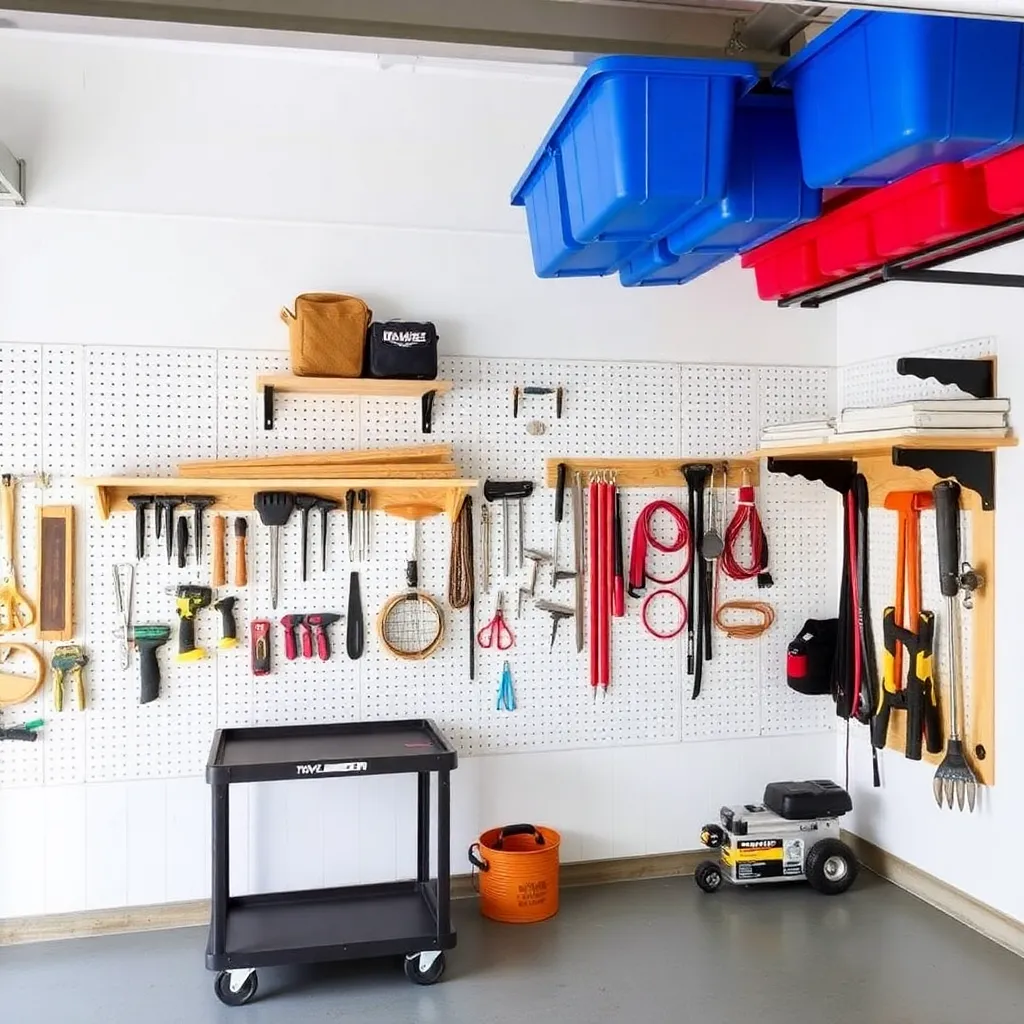
Goal: Keep hand tools visible and accessible with no drawers to open.
Mount ¼-inch standard pegboard (available in 4 × 8-foot sheets) by first installing a 1×2 frame around the perimeter and 1×2 furring strips every 24 inches across the middle — the pegboard mounts to these so it floats ½ inch off the wall (required for hooks to engage properly). Cut the pegboard to fit between wall studs (48 inches is standard stud spacing). Mount with ¾-inch screws through the pegboard into the furring strips. Use commercial pegboard hooks for tools, and paint tool outlines on the pegboard to mark where each tool returns — this makes it immediately obvious when a tool is missing.
Milestone: Every hand tool visible from the garage entrance, each tool in its outlined position.
Step 3: Build a Rolling Tool Cart (Mobile Storage)
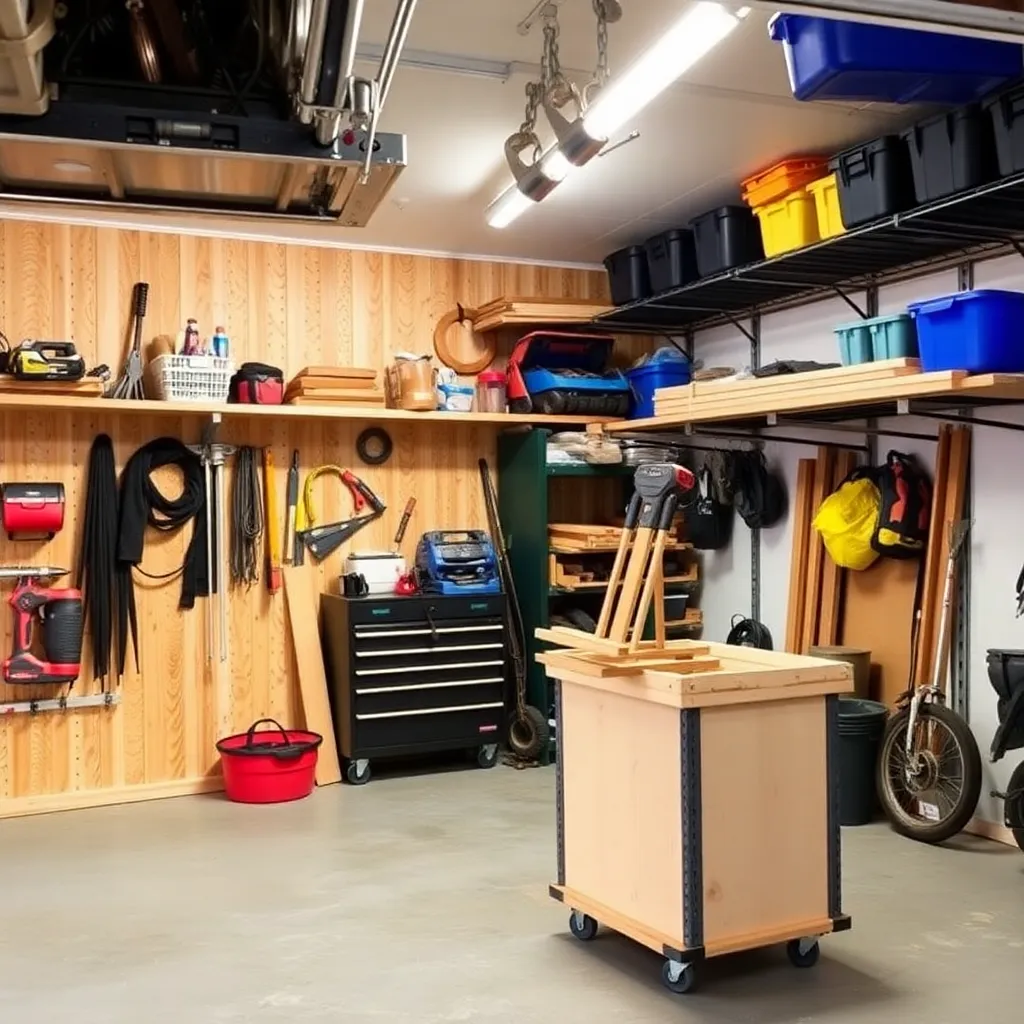
Goal: Build shop storage that moves to where you’re working rather than making you walk to it.
Build from ¾-inch plywood: the main cabinet 16 × 24 × 36 inches with three drawer openings. Each drawer: 15 × 22 × 3 inches (shallow drawers are more useful than deep ones for hand tools — everything stays visible). Add full-extension drawer slides (3/4 extension slides: cheap; full-extension: worth the extra $5 per pair). Build the drawer boxes from ½-inch maple plywood with pocket-screw corners. Attach drawer fronts from ¾-inch plywood with two screws through the drawer box. Add a ¾-inch maple plywood top with a coat of polyurethane. Mount four 3-inch swivel locking casters — two locking, two fixed.
Milestone: A cart that rolls to the active work area and holds a full set of hand tools without rearranging at each project.
Step 4: Build a Lumber Storage Rack (Material Organization)
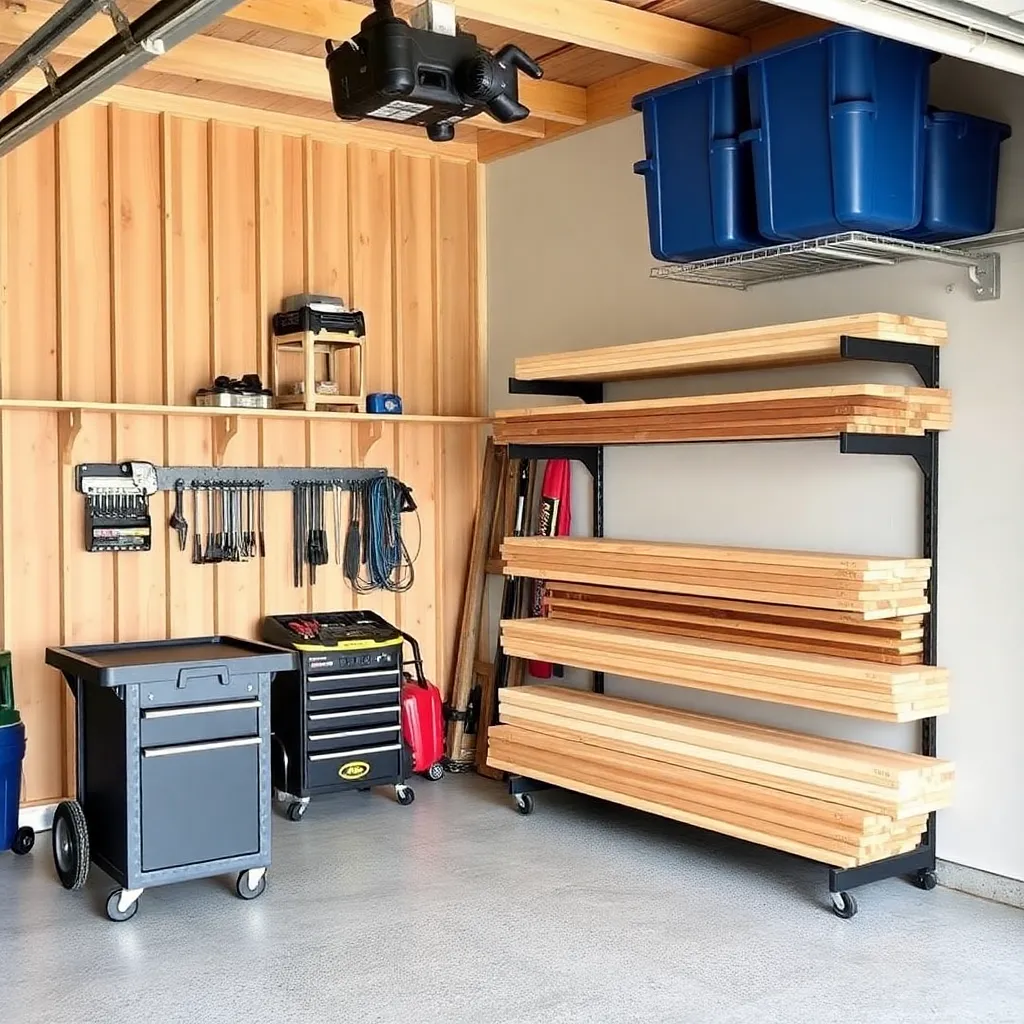
Goal: Store lumber horizontally so every board is accessible without moving others.
A cantilever rack mounted to one garage wall. Install a 2×6 ledger board into every stud across a 10-foot wall span. Add horizontal arms from 2×4, 24 inches long, through-bolted to the ledger at three heights: 18, 42, and 66 inches from the floor. Each arm holds boards laid flat across its length. The key detail: add a 2×4 diagonal brace from the end of each arm back to the wall at a 45° angle, bolted to the same ledger. Without this brace, the arms deflect under load. Per-tier capacity: 200–300 lbs with proper bracing. Store cutoffs in labeled bins on the bottom tier, full-length boards on the upper tiers.
Milestone: A rack where each board is independent — pulling one board doesn’t disturb the rest.
Step 5: Build a Power Tool Cabinet (Protected Storage)
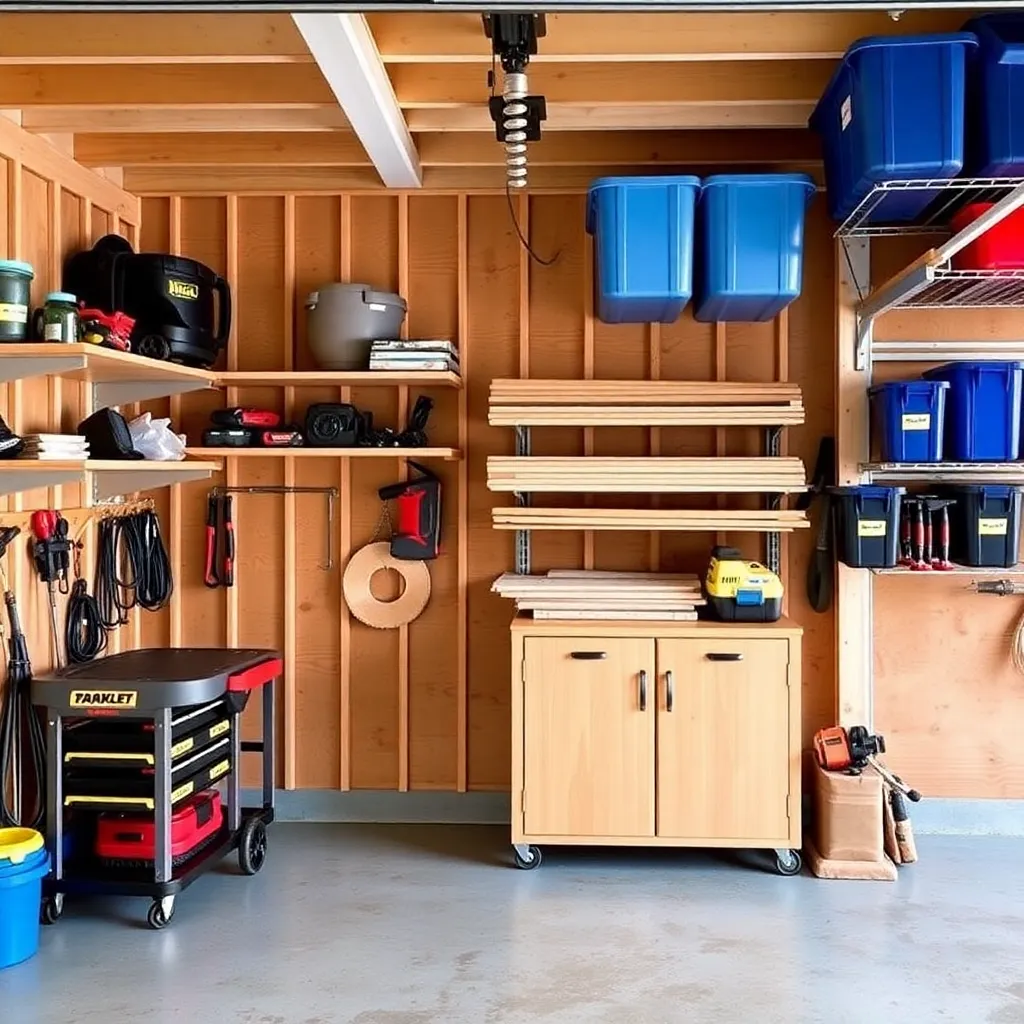
Goal: Store power tools safely with dust protection and a charging station.
Build from ¾-inch plywood: a wall cabinet 24 × 36 × 12 inches deep. Add two shelves inside spaced 8 and 16 inches from the bottom. Install piano hinge doors from ¾-inch plywood (two doors, each 12 × 36 inches). Add a foam insert cut to fit each tool’s footprint — this prevents tools from sliding and provides dust protection. Run a single outlet strip through the back panel (drill a ¾-inch hole for the cord) so tools can stay plugged in for charging without opening the door. Add a padlock hasp to the door overlap — not a security lock, but it prevents doors from swinging open when you bump the cabinet.
Milestone: Every power tool stored dust-free and on charge, accessible in under 5 seconds.
Step 6: Build an Overhead Storage Platform (Ceiling Storage)
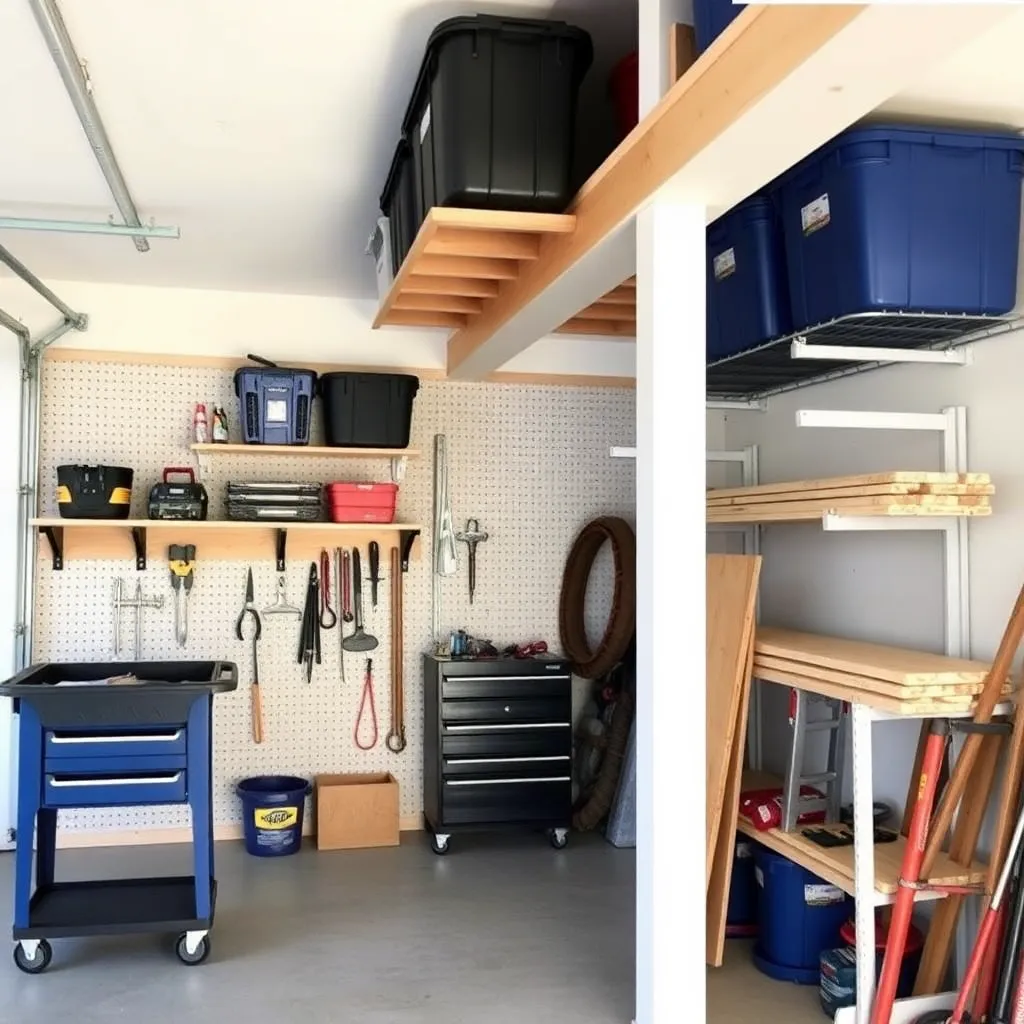
Goal: Move seasonal items to the ceiling and recover floor and wall space for active use.
Install a ceiling-mounted storage platform from 2×4 lumber and ¾-inch plywood. The structure: two 2×6 ledger boards bolted to the garage ceiling joists across the 12-foot width of the garage, spaced 8 feet apart front-to-back. Add 2×4 cross members every 24 inches between ledgers. Deck with ¾-inch plywood cut to the platform size. Access via a locking folding ladder attached to the front ledger. Maximum safe load: 75 lbs per joist, so check joist spacing and size before loading heavily. Store seasonal items (holiday décor, camping gear, off-season sporting goods) in labeled bins on the platform. Nothing heavy that requires frequent access.
Milestone: Platform holding 300 lbs of seasonal storage while both cars fit in the garage below.
Garage Organization Planning Guide
| Item Type | Best Storage Location | Build Required |
|---|---|---|
| Hand tools | Pegboard wall | Pegboard organizer |
| Power tools | Cabinet (dust protection) | Power tool cabinet |
| Long lumber | Horizontal wall rack | Lumber rack |
| Short cutoffs | Bins on rack bottom tier | Lumber rack |
| Garden tools | French cleat hooks | Wall shelf system |
| Seasonal items | Overhead platform | Ceiling platform |
| Car supplies | Lower shelves (near car) | Wall shelf system |
| Frequently used items | Mid-height, front of rack | Wall shelf system |
Garage Organization FAQ
How do I decide what to store in the garage vs throw away?
The one-year rule: if you haven’t used it in 12 months and it’s not seasonal, it’s a candidate for removal. The replacement-cost test: if a broken or duplicated item would cost under $20 to replace, throw it away rather than storing it — storage space costs more than the item. For sports equipment and seasonal gear, each category gets one storage bin — if the bin is full, something leaves before something new arrives.
What is the most impactful garage organization upgrade?
A floor-to-ceiling French-cleat wall system on one full wall — it’s the highest storage-density solution per square foot and is completely reconfigurable as needs change. One full wall (10 × 8 feet) of French cleat can store more tools and equipment than three standard freestanding shelf units while using zero floor space.
How do I keep the garage organized after building storage?
The “everything has a home” principle: every item that enters the garage gets assigned a permanent storage location before it’s used. After a project, tools return to their outlines on the pegboard immediately — not after cleaning up. The visual outline system (painted silhouettes) makes deviations obvious at a glance. A monthly 30-minute sweep catches drift before it accumulates.
Can I build garage storage while my car is still in the garage?
Yes — build one storage system at a time. Start with the French-cleat wall (one day, car moves outside for 3 hours while you drive screws into studs). Add the lumber rack next (another 3-hour project with car outside). The rolling tool cart and power tool cabinet can be built in a basement or on a driveway. The ceiling platform requires the most planning — check joist load ratings before fastening anything to the ceiling.

“DIY woodworking enthusiast who started with zero experience and a YouTube tutorial.
I build simple, practical projects for my home and share free plans
so other beginners can skip the guesswork.If I can build it, you can too.”