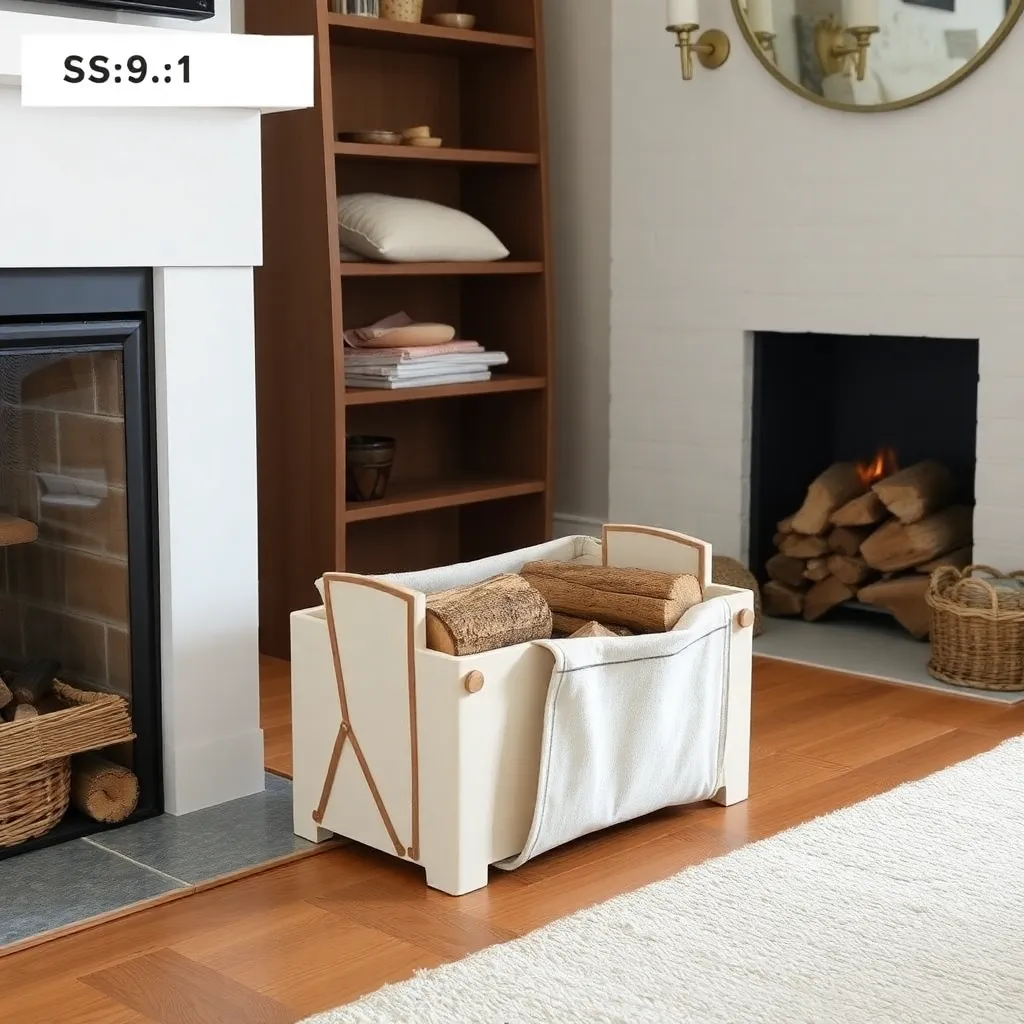
Indoor firewood storage keeps 1–3 nights of wood within arm’s reach, dry, and warm — warm wood ignites faster and burns cleaner than cold wood brought in from outside. A good indoor log holder also keeps bark, sawdust, and wood chips off the floor and looks at home in the living space rather than like a camp supply depot. These plans cover three indoor firewood storage builds: a Scandinavian-style birch log holder in bent metal and wood, a steel-and-walnut modern rack, and a built-in fireside alcove for homes with a dedicated log nook.
Ted’s Woodworking has complete indoor firewood storage plans including built-in alcoves and decorative log holders. Browse Ted’s plans →
Step 1: Choose the Right Indoor Holder
Ted’s Woodworking has over 16,000 step-by-step plans with cut lists, materials lists, and detailed diagrams. Browse Ted’s plans →
Match the holder to the space, the volume of wood you bring inside, and the style of the room:
Fireside log holder (this guide): Holds 1 night’s worth of wood (12–20 lbs). Sits beside the fireplace. Easy to carry when empty, stable when loaded. Best for occasional-use fireplaces.
Rolling log cart: Holds 2–3 nights of wood, has casters, rolls from the back door to the fireplace. Best for wood stoves or fireplaces used daily where carrying individual armloads becomes tedious.
Built-in alcove: Permanently integrated into the room — a nook in the wall or a built-in cabinet surround with a log storage bay. Holds 4–7 days of wood. Best for new construction or major renovation where the architecture can accommodate it.
For most people reading this: the fireside log holder is the right choice — versatile, movable, and buildable in an afternoon.
Step 2: Build the Scandinavian Birch Log Holder
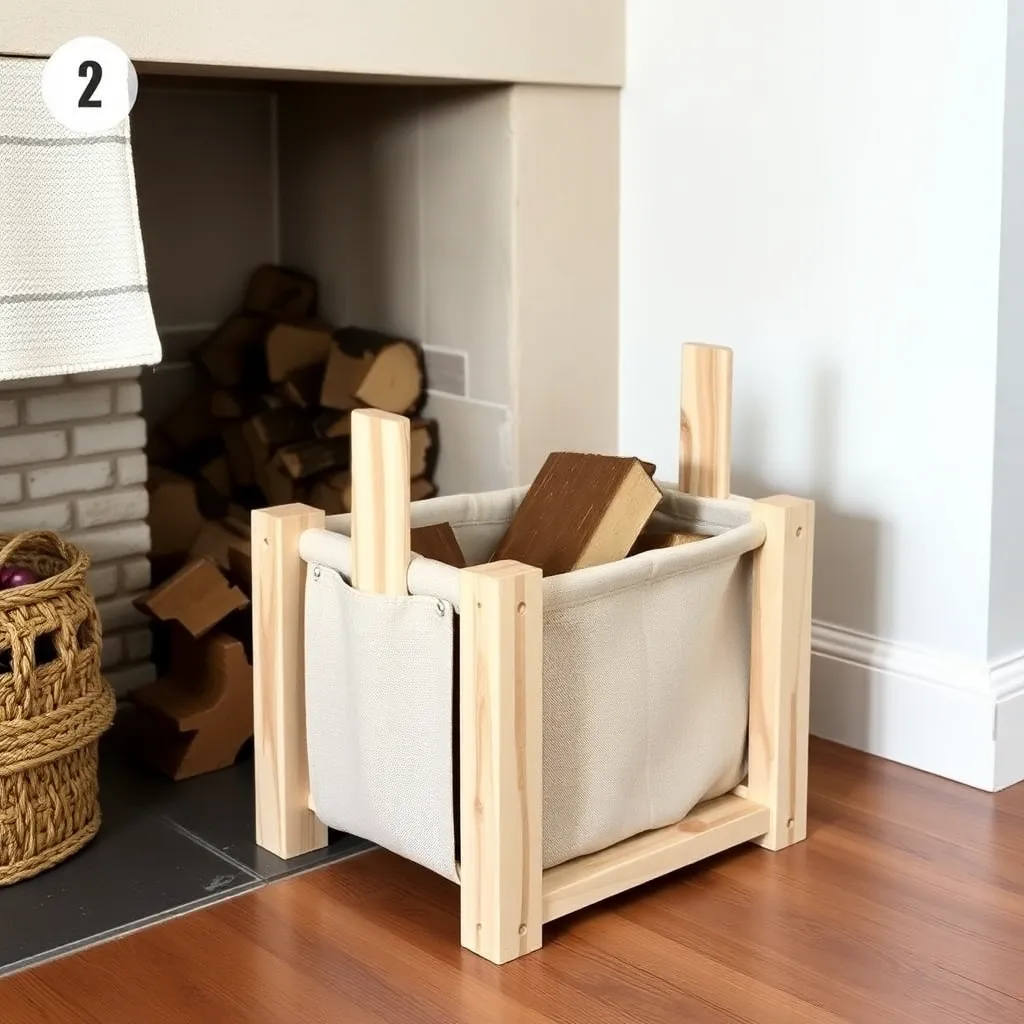
The Scandinavian log holder design uses bent steel rod or flat bar as the structural frame, with birch or light hardwood handles. The result is clean, minimal, and works in any room from a farmhouse to a midcentury modern interior.
Materials:
- 2 × ¼-inch steel flat bar at 36 inches (the two side frames)
- 2 × ¼-inch steel flat bar at 16 inches (the two base crossbars)
- 2 × birch or maple dowel at 14 inches, 1 inch diameter (the handles)
- Weld or bolt at the corners
Frame construction:
Each side frame is a rectangular U-shape: two 12-inch vertical sides connected at the bottom by a 16-inch horizontal base bar. Weld or use ¼-inch bolts at the joints. If you don’t weld: use ¼-inch angle bracket connectors at each corner.
Handle installation:
Drill a 1-inch hole through the top of each side frame (at the top of the vertical sides). Thread the birch dowels through these holes — the dowels become the handles and also tie the two side frames together at the top. The dowels overhang each frame by 2 inches.
Bottom canvas or leather strap:
The log holder cradles the wood on a canvas or leather sling stretched between the two base crossbars. Cut a piece of heavy canvas (12-oz or heavier) or vegetable-tanned leather at 18×24 inches. Fold 2-inch hems at each short end and staple or rivet the hem around the base crossbars. The sling holds the wood and keeps bark fragments off the floor.
Step 3: Build the Steel-and-Walnut Modern Rack
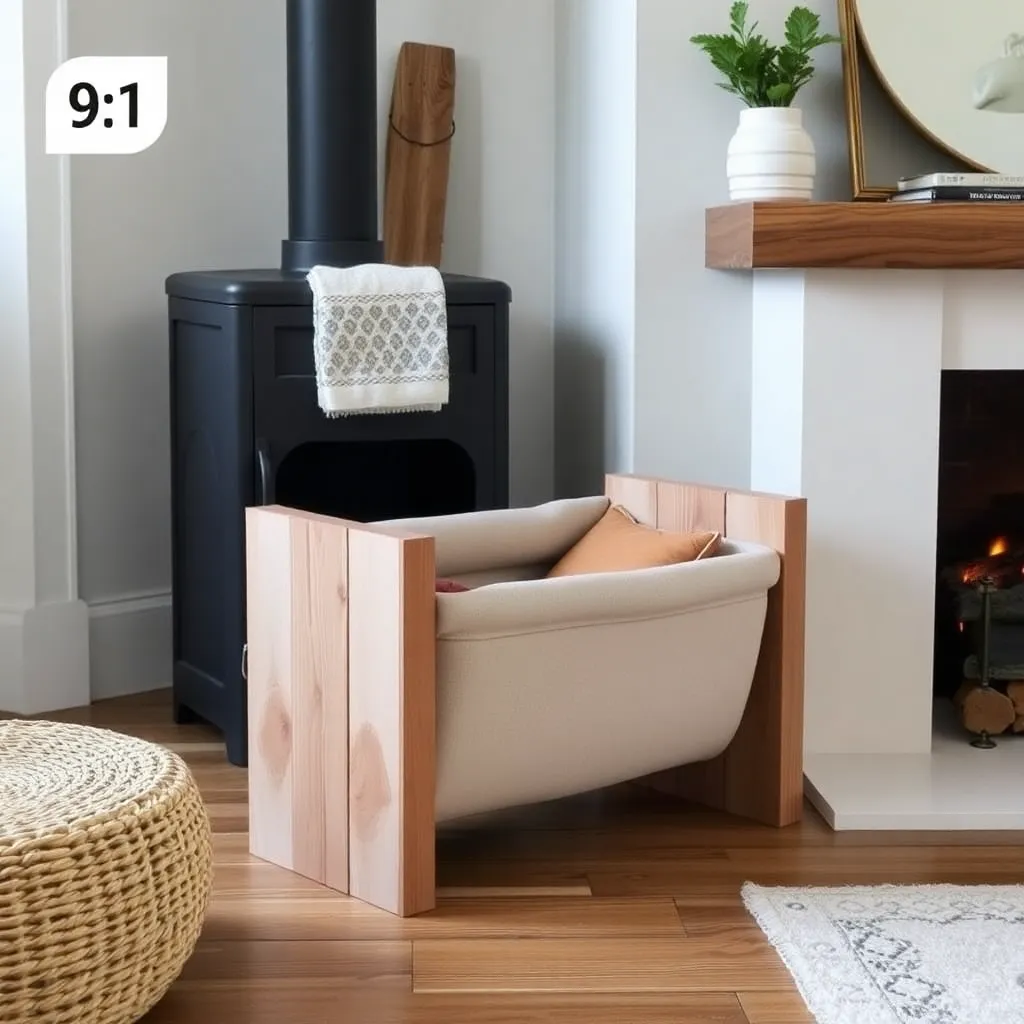
The modern rack combines a welded steel cage frame with a solid walnut handle and base rails — the contrast of dark metal and warm wood suits contemporary and industrial interiors.
Materials:
- ½-inch steel rod (or ½-inch square tube): 120 inches total
- 2 × walnut boards: ¾×2×16 inches (the base rails)
- 2 × walnut dowels or turning blanks: 1 inch diameter × 12 inches (the handles)
- Black matte spray paint for the steel
Steel frame:
Weld or bolt a rectangular frame 14 inches wide × 12 inches deep × 16 inches tall. Add two horizontal crossbars inside the frame at 4 inches and 12 inches from the bottom — these are what the wood rests on.
If you don’t weld: use 1/2-inch conduit and conduit connectors from the electrical section — conduit bends easily and the connectors make rigid joints without welding.
Wood components:
Drill 1-inch holes through the top crossbar of the steel frame at each end. Thread the walnut dowels through — they become the handles. Bolt the walnut base rails to the bottom of the frame to protect the floor from the steel.
Finish: Apply two coats of black matte spray paint to all steel surfaces. Apply one coat of food-safe oil (mineral oil or cutting board oil) to the walnut.
Step 4: Build the Built-In Fireside Alcove
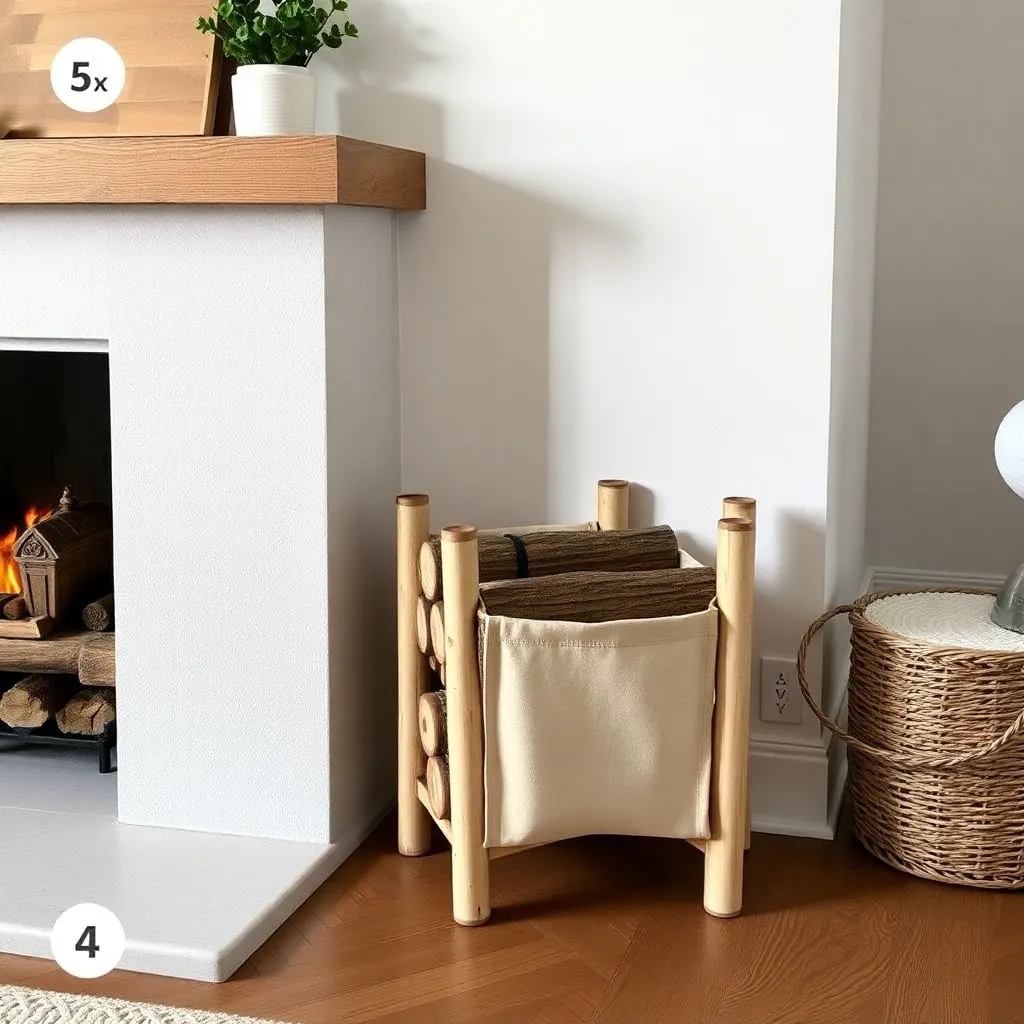
A built-in log alcove is the most integrated solution — the wood storage becomes part of the room’s architecture rather than an object in it. This works best when there’s a natural nook beside the fireplace (a recess in the wall, a gap between the fireplace surround and a built-in cabinet) or when building a new fireplace surround.
Alcove dimensions:
- Width: 18–24 inches (fits 16-inch logs with clearance)
- Depth: 16 inches minimum (enough for a single row of logs)
- Height: 24–36 inches (holds 3–7 days of wood depending on how high you stack)
Construction:
Frame the alcove opening with 2×4 studs if it’s a new build. Line the back and sides with plywood or beadboard paneling. The floor of the alcove should be ¾-inch plywood with a thin piece of sheet metal over it — the metal protects the plywood from bark and ash.
Face options:
- Open face (no door): the simplest — wood is fully visible. Looks great with a clean, orderly stack. Some bark dust falls on the hearth.
- Slatted face: 1×2 or 1×3 strips with 2-inch gaps, running horizontally across the opening. Keeps wood contained, allows ventilation, and lets the stacked logs show through. The most common finish for built-in alcoves.
- Door (mesh or solid): A hinged door with a steel mesh insert keeps bark fully contained. Heavy, but the cleanest option for a formal living room.
Step 5: Manage Bark and Debris
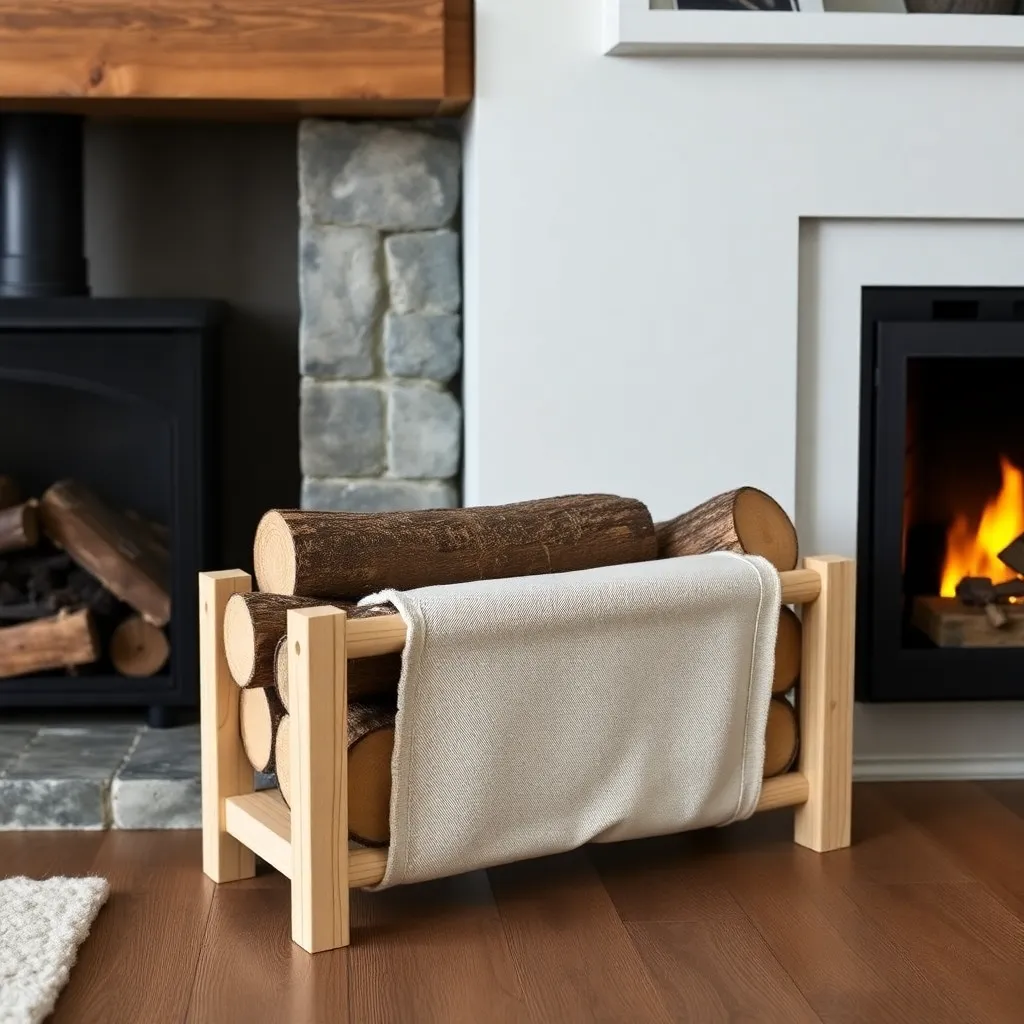
The biggest indoor firewood problem isn’t storage — it’s the bark, sawdust, and wood chips that fall off every log. Three management strategies:
Log tote bag: Carry wood in from outside in a heavy-duty canvas log tote. The tote catches falling debris. Set the tote beside the fireplace as the day’s supply — logs come out one at a time, the tote catches what falls.
Hearth pad or mat: A rubberized or metal hearth pad extends 18 inches in front of the fireplace. Any debris that falls during log handling lands on the pad and sweeps away cleanly.
Weekly turnover: Bring in only as much wood as you’ll burn in 2–3 nights. Keeping rotation fast prevents bark from accumulating and keeps the indoor storage fresh and pest-free. Any wood that’s been inside for more than a week should go back outside.
Ted’s Woodworking has over 16,000 step-by-step plans with cut lists, materials lists, and detailed diagrams. Browse Ted’s plans →
Indoor Firewood Storage FAQ
How much firewood should I keep inside?
1–3 nights of wood — enough so you don’t need to go outside in the middle of a cold evening, but not so much that bark and pests accumulate. For a fireplace used most evenings: about 20–30 pieces of split wood (roughly 30–50 lbs). Replenish every 2–3 days from the outdoor supply.
Does keeping firewood inside attract bugs?
Yes — if you keep it inside for more than 3–4 days, especially unseasoned wood. Insects that overwinter in wood piles (carpenter ants, spiders, bark beetles) will eventually emerge when the wood warms up inside. Use dry, well-seasoned wood, rotate frequently, and keep indoor storage to 2–3 days maximum to minimize pest issues.
Can I store firewood in the basement?
Not recommended for large quantities. Basement storage combines high humidity (keeps wood damp), limited airflow (slows drying), darkness (masks pest issues), and direct connection to the living space (pest problems reach you faster). A small supply of very dry wood in a well-ventilated basement is acceptable; a large stack is not.
What’s the best indoor firewood holder for a small apartment?
A 16-inch-wide × 30-inch-tall floor log holder (like the Scandinavian design above) fits beside most apartment wood stoves and holds enough for 1–2 evenings. Look for a design with a removable liner or canvas sling — this makes cleanup easy. Alternatively, a large galvanized metal tub or wicker basket works as a minimalist alternative with no woodworking required.
Should indoor firewood be covered?
No — indoors, cover is unnecessary and counterproductive. The goal is to let any remaining moisture in the wood evaporate. A covered indoor holder traps humidity and slows the final drying. Leave the wood fully exposed to the warm, dry indoor air.

“DIY woodworking enthusiast who started with zero experience and a YouTube tutorial.
I build simple, practical projects for my home and share free plans
so other beginners can skip the guesswork.If I can build it, you can too.”