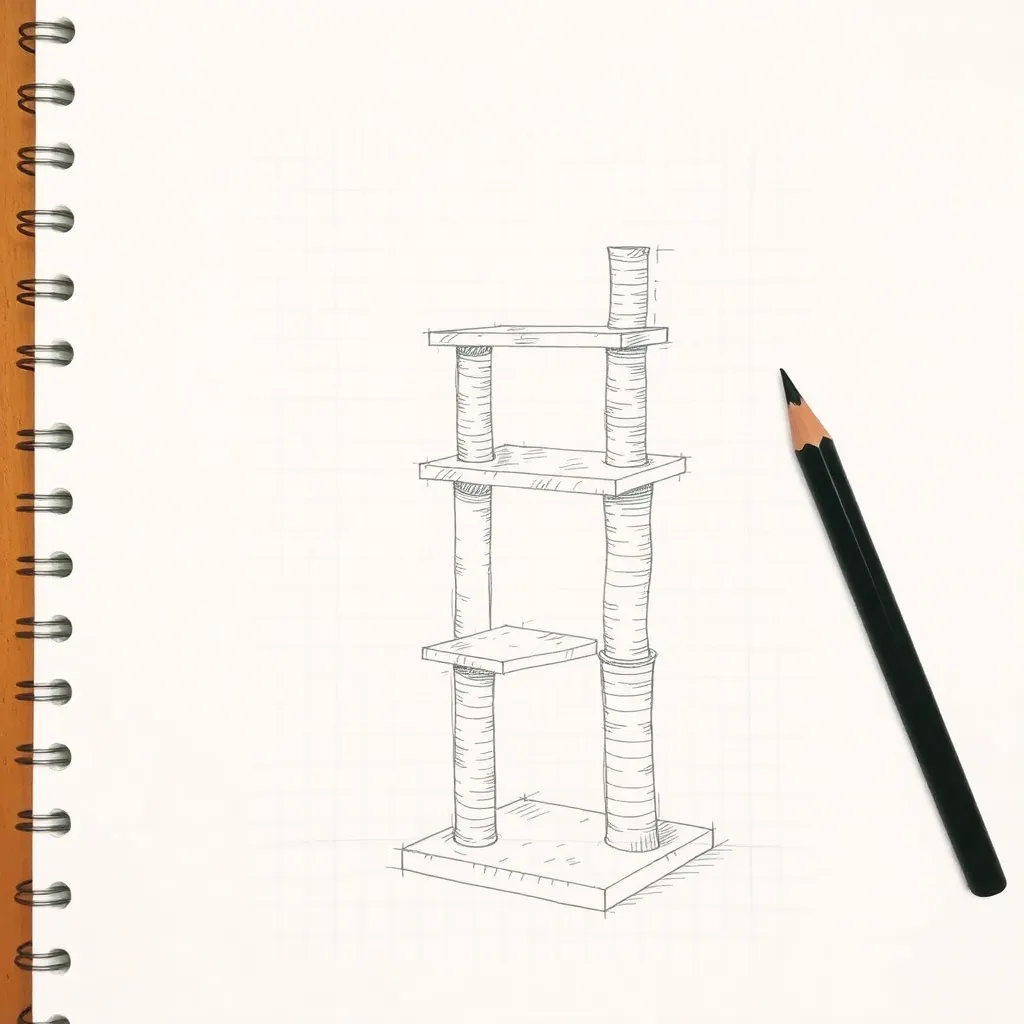
Commercial cat trees are built to a price point: particleboard wrapped in cheap carpet, sisal rope stapled rather than wound, and platforms that wobble under a 15-lb cat within months. A DIY cat tree costs $40–$70 in materials, uses real solid wood platforms the cat can sink claws into, actual sisal rope wound tightly around the full height of the scratching post, and a suspended rope hammock that can take a running cat launching into it without swinging loose. This build is a 5-foot tall cat tree with three solid platforms, one full-height sisal post, one mid-height sisal post, a rope bridge between platforms, and a hammock at the top.
Ted’s Woodworking has cat tree plans in multiple configurations — wall-mounted, freestanding, and modular systems. Browse Ted’s pet plans →
Step 1: Design the Layout and Cut List
A well-designed cat tree has three key principles:
- Stability: The base must be heavy and wide enough that the heaviest cat can launch sideways from the top platform without tipping the unit
- Varied heights: Platforms at 24, 40, and 60 inches give cats a choice and encourage use of all levels
- Scratching surfaces: At least two sisal posts — one full-height for full-body stretching, one mid-height for quick passes
Overall dimensions:
- Height: 60 inches (5 feet)
- Base: 24×18 inches
- Top platform: 14×14 inches
Cut list:
- Base: ¾-inch plywood at 24×18 inches
- Platform 1 (middle): ¾-inch plywood at 14×14 inches
- Platform 2 (top): ¾-inch plywood at 14×14 inches
- Main post: 4×4 Douglas fir at 58 inches (runs base to top platform)
- Secondary post: 4×4 at 36 inches (branches off from the middle platform)
- Platform brackets: 2× short 2×4 sections (if using a branching design) or lag bolts direct
Step 2: Build the Base and Main Post
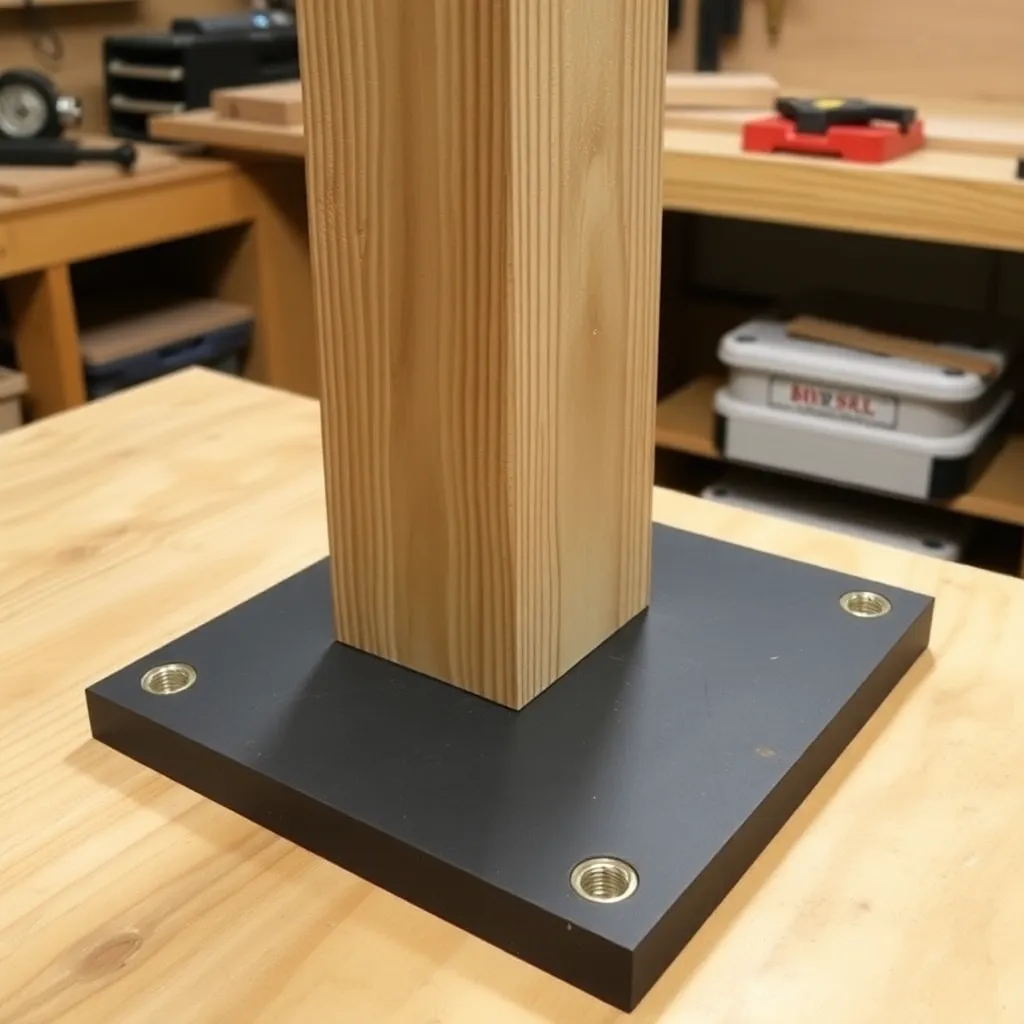
The base and main post assembly is the structural backbone of the entire tree. If this is weak, the whole unit is unsafe.
Base construction:
- Cut the ¾-inch plywood base to 24×18 inches
- Drill a centered hole through the base using a 3½-inch hole saw (this accommodates the 4×4 post with a ½-inch clearance)
- Alternatively: notch a 2×4 frame around the bottom of the post and screw the frame to the underside of the base
Post attachment to base:
Run a ½-inch carriage bolt up through the base into the bottom of the post — drill a pilot hole through the plywood and into the post, countersink the nut on the underside of the base (recess it into a counterbore), and tighten firmly. This is the strongest attachment method and the most common failure point in commercial cat trees (which use simple screws that eventually strip).
For maximum stability, add a second bolt offset 2 inches from the first, on the same axis. Two bolts eliminate any rotation.
Base ballast:
The plywood base can be made heavier by adding a layer of ¾-inch tile board or cement board to the underside — adds 8–12 lbs for no visual change. Alternatively, mount the base to a piece of ¾-inch rubber stair tread material — this grips the floor and prevents any sliding without adding permanent anchoring.
Step 3: Wrap the Sisal Posts
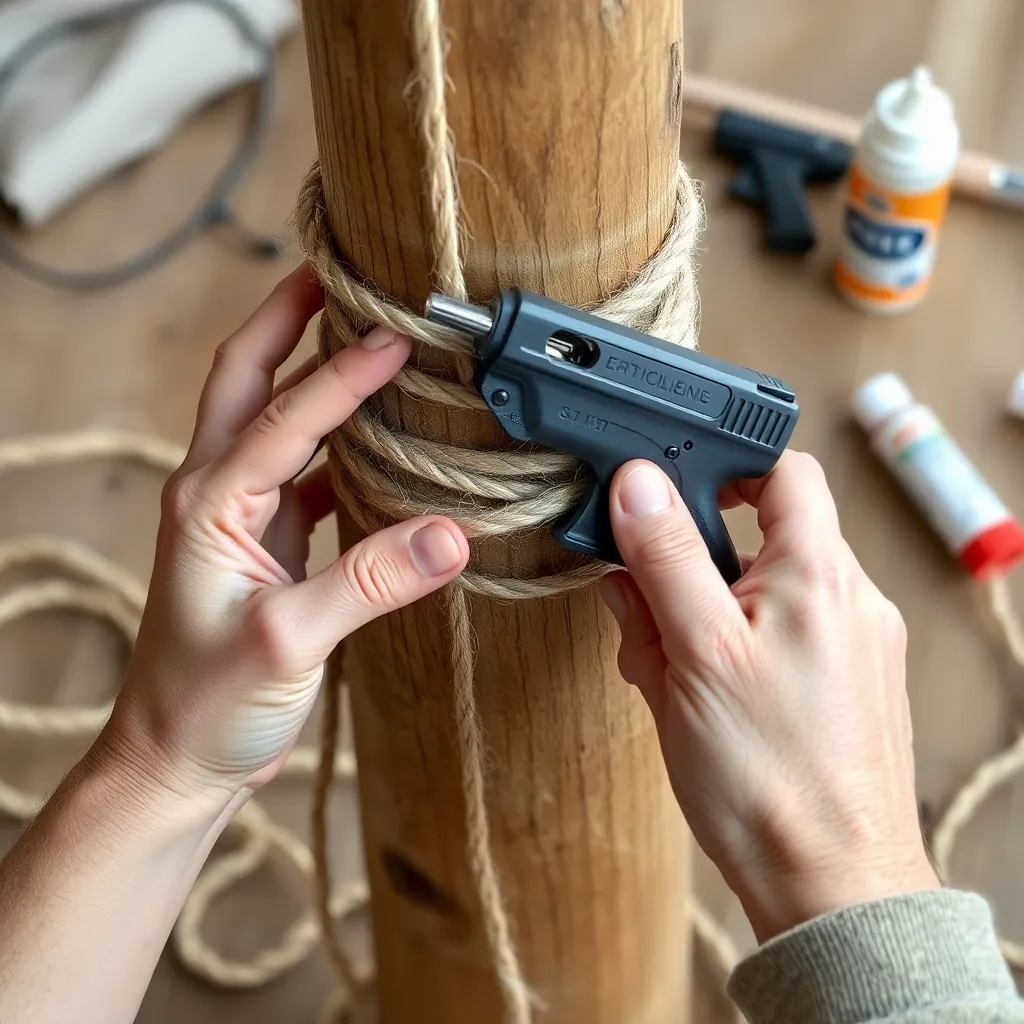
Sisal rope is what distinguishes a cat-usable scratching post from one that a cat ignores. The wrap must be tight, consistent, and attached at both ends so it can’t unravel.
Materials:
- 100 feet of ⅜-inch natural sisal rope (for the full main post, 58 inches wrapped)
- Staple gun with ½-inch staples
- Construction adhesive or wood glue
Wrapping technique:
- Start at the bottom of the post. Apply a bead of construction adhesive along the bottom 2 inches of the post
- Press the first wrap of rope into the adhesive, staple through the rope into the post, and begin winding tightly upward — each coil pressed firmly against the previous one
- Continue winding upward, pulling the rope taut with each turn (wear leather gloves — sisal is rough on hands). No glue needed in the middle section; the compression keeps it in place
- At the top, apply another bead of adhesive on the final 2 inches, press the rope into it, and staple the end firmly
- Trim the rope end flush and tuck it behind the last wrap
Rope quantity per post:
- 58-inch post (full height): approximately 85 feet of ⅜-inch rope
- 36-inch post (secondary): approximately 52 feet
Natural sisal is the only acceptable material — synthetic sisal, carpet, and cardboard are cat preferences in that descending order, but real sisal (from the agave plant) is the material that cats use intuitively without training. The texture, resistance, and fiber structure of natural sisal triggers the scratching instinct; smooth or carpet-covered posts do not.
Step 4: Install Platforms and Fleece Covers
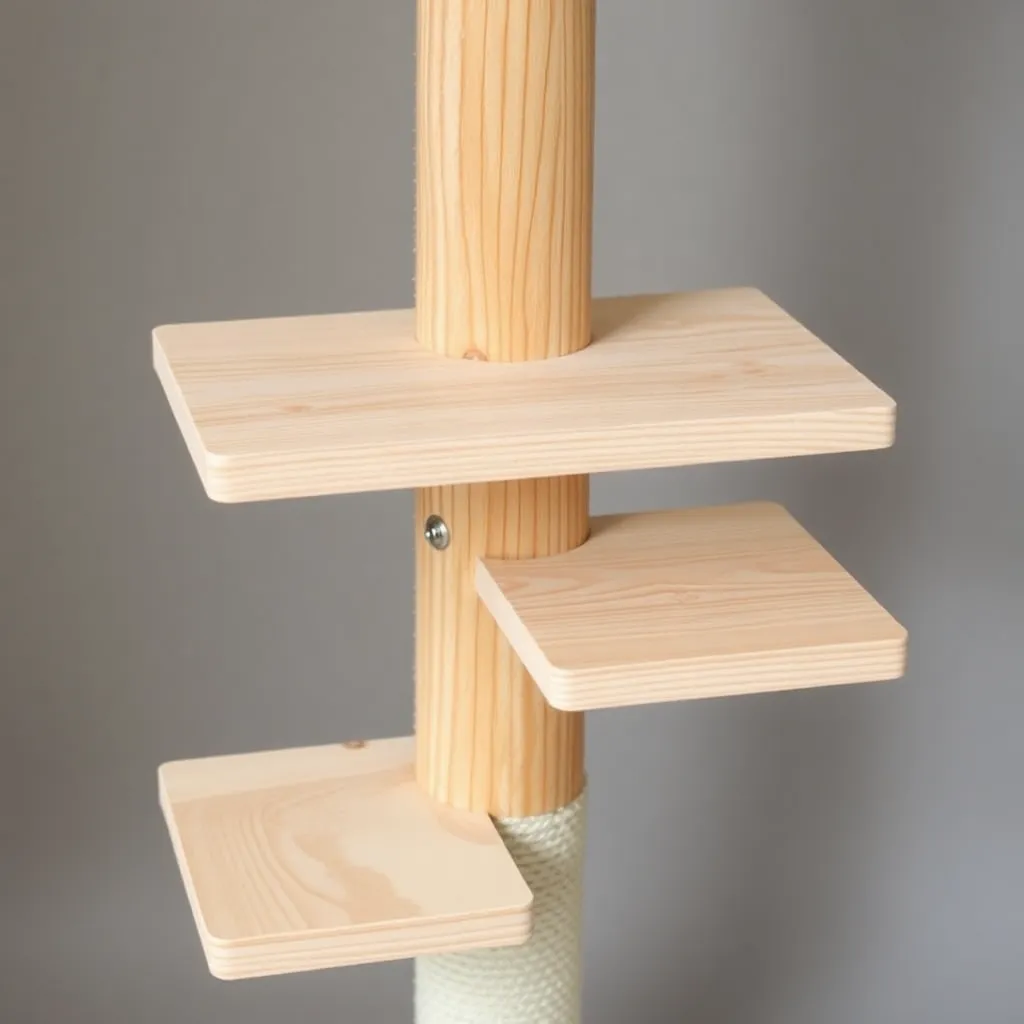
Platform attachment:
For a single-post design: drill through the platform center from the bottom and thread a lag bolt up into the post at the platform height. The lag bolt bears the load and the platform is glued to the post for lateral stability.
For a branching post design: attach the secondary post to the main post at platform 1 height using a heavy-duty beam connector (Simpson Strong-Tie L-angle hardware, rated for the load) and screw the middle platform to both post tops.
Platform heights:
- Platform 1 (middle): 24 inches
- Platform 2 (top): 58 inches (at the top of the main post)
- Optional platform 3 (wall-mount): can be added as a wall-mounted shelf at any height to extend the cat tree into the room
Fleece covers:
Cut fleece circles (or squares) to cover each platform with 1 inch of overhang. Staple the fleece to the underside of the platform every 4 inches around the perimeter — pulling it taut over the edge for a smooth top surface. Fleece is better than carpet for cat trees: it’s machine washable, cats prefer the softer texture for sleeping, and it doesn’t fray when cats knead it.
Step 5: Add the Rope Bridge and Hammock
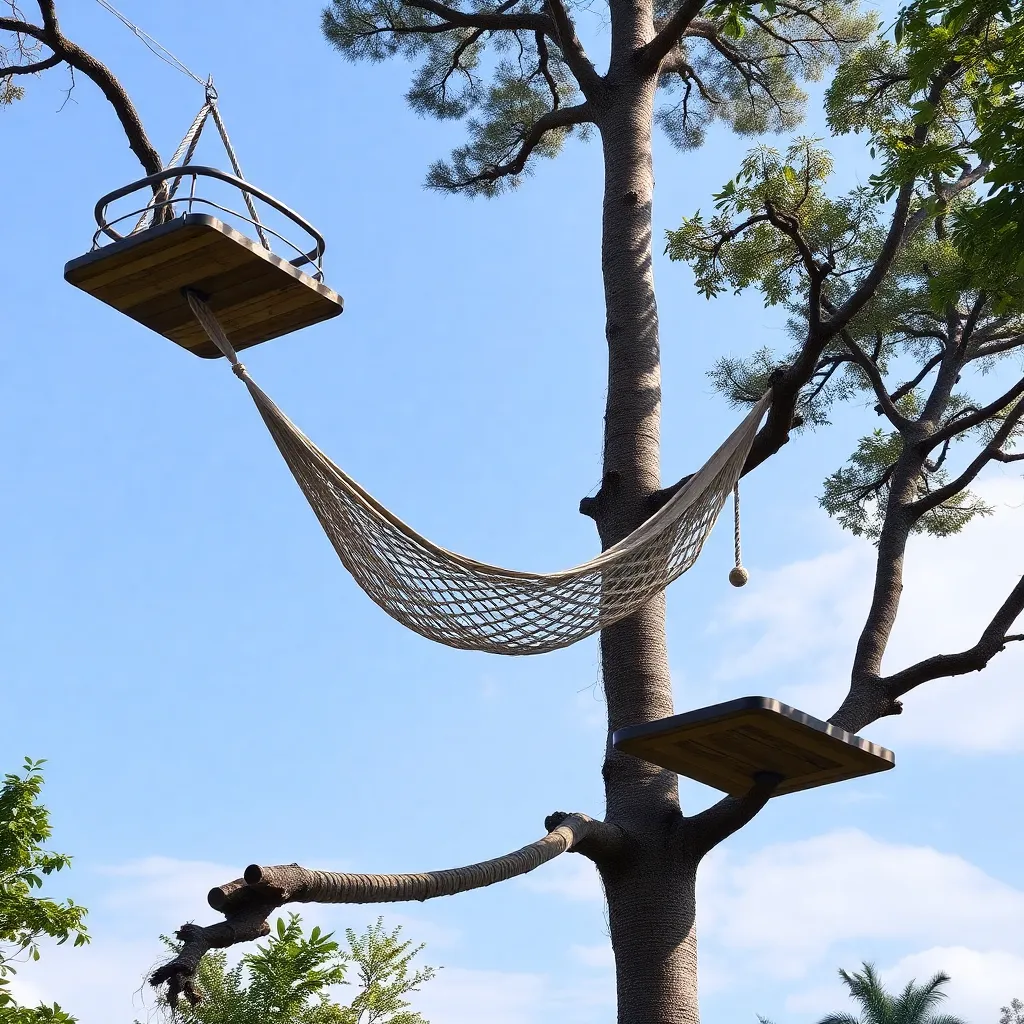
Rope bridge:
A rope bridge between the middle platform and the top platform adds a second path for cats that prefer not to use the main post. It also provides a dangling play surface that cats use for batting and climbing.
- Use ½-inch natural fiber rope or twisted sisal rope
- Drill four holes through the platform edges (two at each platform, 4 inches from the outer edge)
- Cut the rope into 4 equal lengths at the correct angle between the platforms (measure the diagonal distance)
- Thread each rope end through its hole and knot below the platform (knot larger than the hole)
- Space the four ropes to form the sides and rails of a small bridge — cats will walk across and play with the dangling parts
Hammock:
A top-level hammock is the premium sleeping surface that cats will use exclusively once they discover it — hanging nest beds are instinctively desirable to cats.
- Cut a piece of ¼-inch nylon mesh fabric or heavy canvas to 16×16 inches
- Sew a ½-inch hem around all four edges with reinforcing stitching at the corners
- Attach a stainless steel D-ring at each corner (using rivets or heavy thread)
- Mount four stainless steel eye bolts into the top platform near the corners, angled upward
- Hang the hammock with S-hooks connecting the D-rings to the eye bolts — the hammock should hang 4–6 inches below the top platform
The hammock must support 20 lbs with a sharp dynamic load (a cat jumping onto it from the platform). Test with a 25-lb weight (a bag of pet food) hanging in the center before introducing the cat.
Cat Tree Plans FAQ
How do I make a cat tree stable?
The base must be at least 1.5× the width of the widest platform at the highest point — for a 14-inch top platform at 60 inches, the base should be at least 21 inches wide. Weight the base (tile board, rubber mat) and anchor the main post with two bolts rather than screws. Test stability before use: push the top platform sideways with 10–15 lbs of force — the tree should barely move. If it tips, widen the base.
What is the best wood for a cat tree?
Solid wood — Douglas fir, pine, cedar, or oak — for all structural components (posts, platforms, base). Avoid particleboard (absorbs moisture and cat urine, swells, and disintegrates) and MDF (same issues plus heavier). The platforms can be ¾-inch plywood (strong, lighter than solid wood) covered with fleece so the surface doesn’t matter.
How do I get a cat to use a cat tree?
Place the cat tree near the window the cat already watches from. Sprinkle dried catnip on the platforms. Hang a dangly toy from the top platform. Drag an interactive toy (wand toy) up the posts while playing — the cat will follow. Once the cat has been on the tree and used it successfully, they’ll return on their own. Never force the cat onto the tree or carry them to it — let them discover it at their own pace.
How long does sisal rope last on a cat tree?
Well-wrapped natural sisal on an actively used scratching post lasts 1–3 years depending on the number of cats and frequency of use. The first sign of wear is fraying and loosening at the top of the post (cats scratch from the top downward). Re-wrap just the worn section by removing the frayed rope, cleaning the post, and winding new rope over the original lower section. A $15 roll of sisal restores a well-used post completely.
How tall should a cat tree be?
As tall as the room allows — cats prefer the highest available point in a room. A 5-foot tree is the minimum for a cat that needs a perch above the surrounding furniture. For a cat-focused room, a floor-to-ceiling cat tree (using an adjustable tension pole) gives cats access to the 8-foot level that they consider their ultimate territory. If ceiling height is limited, extend the tree horizontally with wall-mounted platforms at the same height as the top of the tree.

“DIY woodworking enthusiast who started with zero experience and a YouTube tutorial.
I build simple, practical projects for my home and share free plans
so other beginners can skip the guesswork.If I can build it, you can too.”