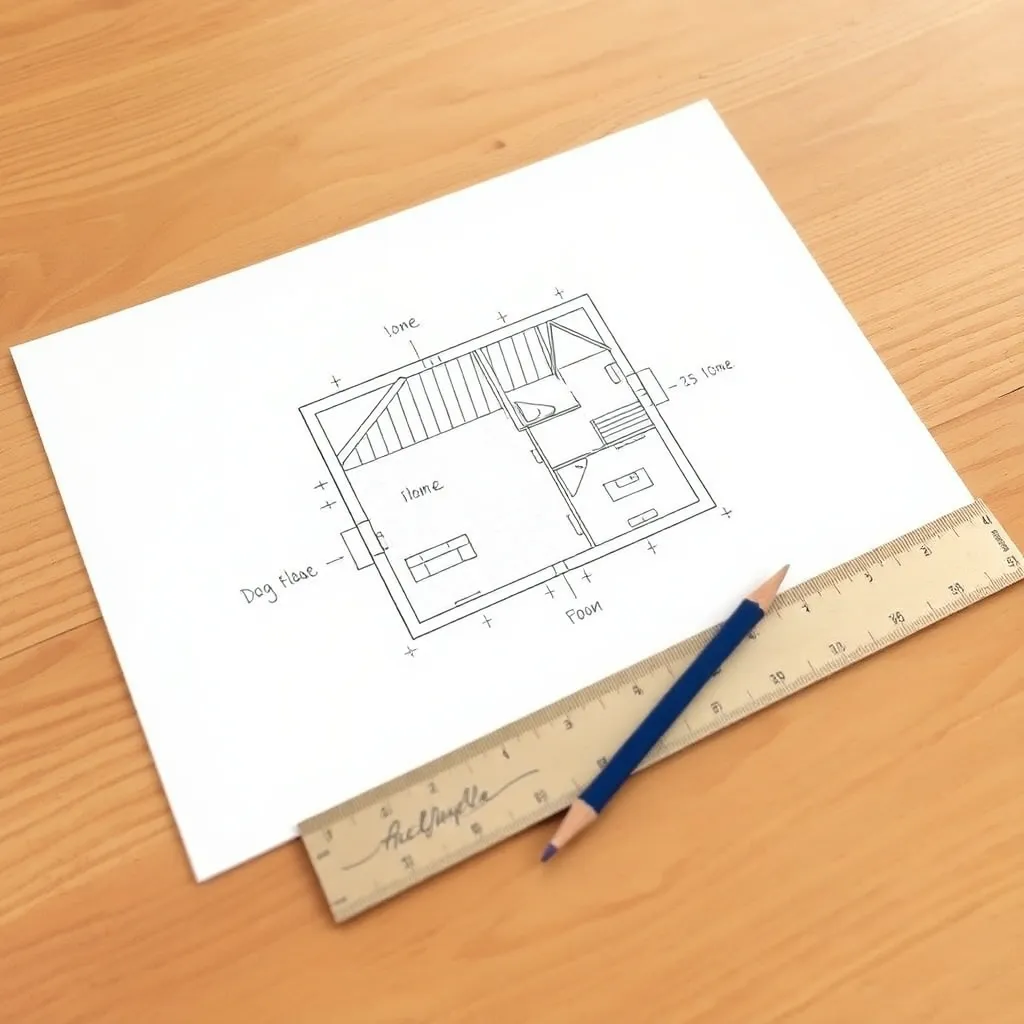
A well-built dog house is warmer in winter, cooler in summer, and drier in rain than any commercial plastic kennel. The difference is in the materials: exterior-grade lumber and plywood breathe, insulate with added materials, and last decades — plastic off-gasses in heat, cracks in cold, and warps in UV light. These plans cover a classic gabled dog house sized for medium to large dogs (30×24-inch interior floor), with a hinged roof for easy cleaning, an offset door to block wind from reaching the sleeping area, and a removable floor board that can be replaced or covered with a winter insulation layer.
Ted’s Woodworking has dog house plans in every size — small to extra-large — with cut lists, insulation options, and finishing guides. Browse Ted’s dog house plans →
Step 1: Size the Dog House to Your Dog
The interior floor size is the starting dimension — everything else flows from it. Too small: the dog can’t turn around. Too large: the dog’s body heat doesn’t warm the space in winter.
Interior sizing formula:
- Floor length = dog’s length (nose to tail base) × 1.5
- Floor width = dog’s shoulder width × 2.5 (or length × 0.8 — whichever is smaller)
- Interior height = dog’s shoulder height × 1.5
For a 60-lb Labrador or similar medium-large breed:
- Floor: 30 inches long × 24 inches wide
- Interior height at the door: 18 inches
- Door opening: 14 inches wide × 14 inches tall (the dog’s shoulder height — they’ll duck slightly to enter)
Door position: Offset the door to one end of the front wall (not centered). This allows the dog to curl up in the far corner away from the door, completely out of the wind and rain.
Roof pitch: A 4:12 pitch (4 inches rise for every 12 inches of run) sheds rain and snow well without making the roof panels awkward to cut. This produces a roof peak 8 inches above the wall height.
Step 2: Build the Floor Platform
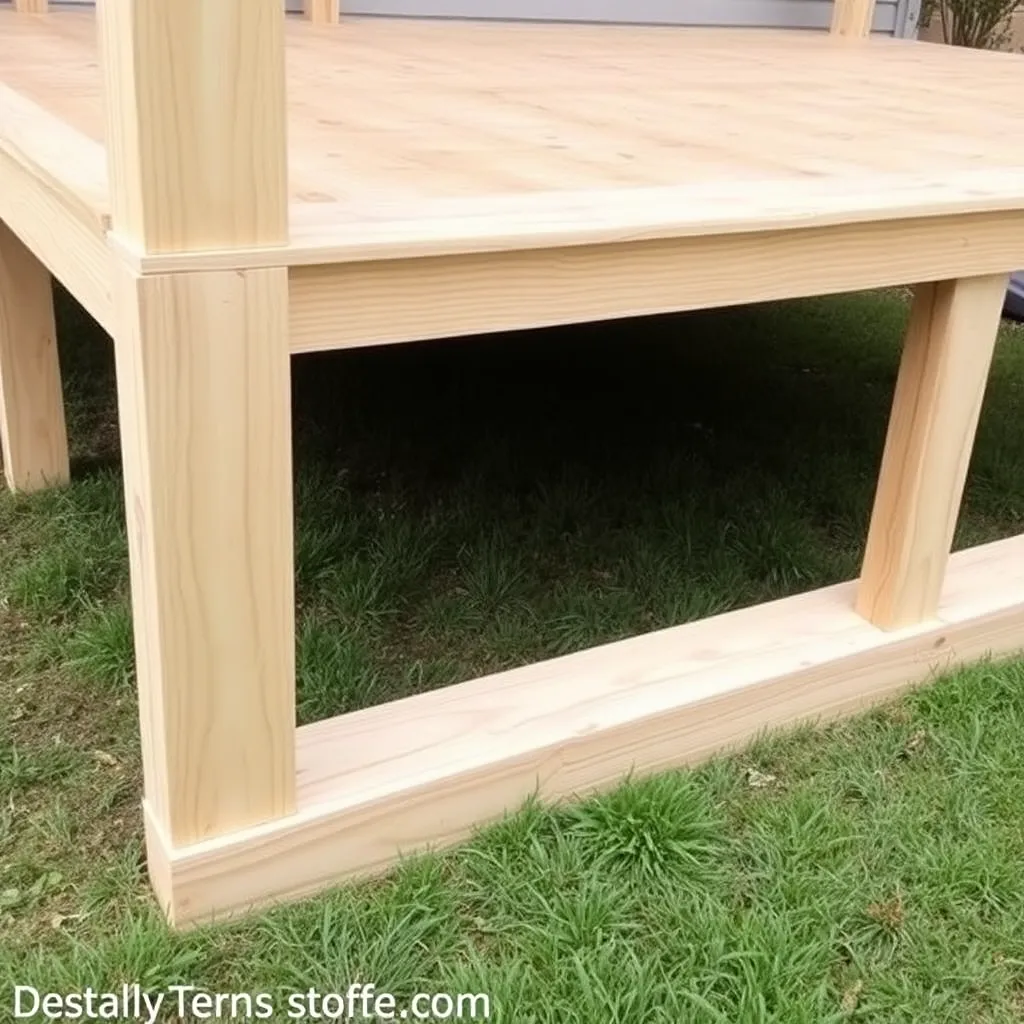
The floor must be elevated off the ground — ground moisture rots wood and chills the dog in winter. A simple skid foundation keeps the floor dry and allows airflow.
Floor platform cut list:
- 2 × skids: pressure-treated 2×4, 32 inches long (runs under the floor front to back)
- 3 × floor joists: 2×4 at 26 inches (runs side to side between the skids, spaced evenly)
- 1 × floor deck: ¾-inch exterior-grade plywood at 30×26 inches
Assembly:
- Lay the two skids parallel, 24 inches apart (inside measurement)
- Nail or screw the three joists across the skids (one at each end, one in the middle)
- Screw the floor deck to the joists with 1½-inch deck screws
The assembled floor platform is 30 inches long × 26 inches wide × 3½ inches tall. The ¾-inch plywood floor deck is removable — don’t glue it — so it can be pulled out for seasonal cleaning or replaced with an insulated panel in winter.
Step 3: Frame the Walls
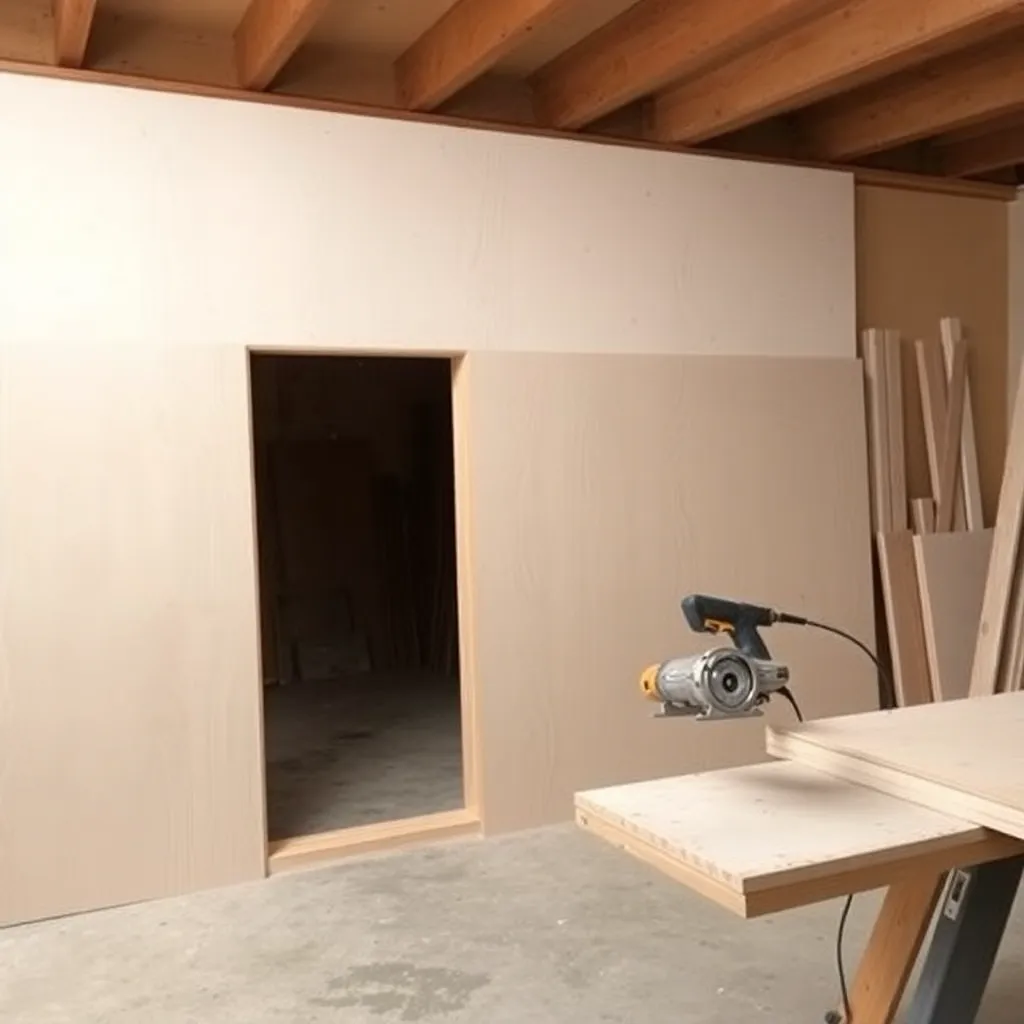
The walls are ¾-inch exterior plywood panels, held together at the corners with 2×4 nailers.
Wall cut list:
- Front wall: ¾-inch exterior plywood at 26×20 inches (20 inches = interior height + floor platform height)
- Back wall: same as front wall
- Two side walls: ¾-inch exterior plywood at 32×20 inches
Door cutout (front wall):
- Position: 4 inches from the left edge of the front panel
- Size: 14 inches wide × 14 inches tall, starting 2 inches up from the bottom of the front panel
Use a jigsaw to cut the door opening. Save the cutout piece — it can be shaped into a door flap if desired.
Corner nailers:
Nail a vertical 2×4 (18 inches long) inside each corner of the floor platform. The side walls screw to the front of these nailers; the front and back panels screw to their sides. This creates a rigid box corner without requiring special hardware.
Assembly order: Attach front and back panels to the floor platform first (screwing into the skids and corner nailers), then attach the side panels, screwing them into the corner nailers.
Step 4: Build and Install the Hinged Roof
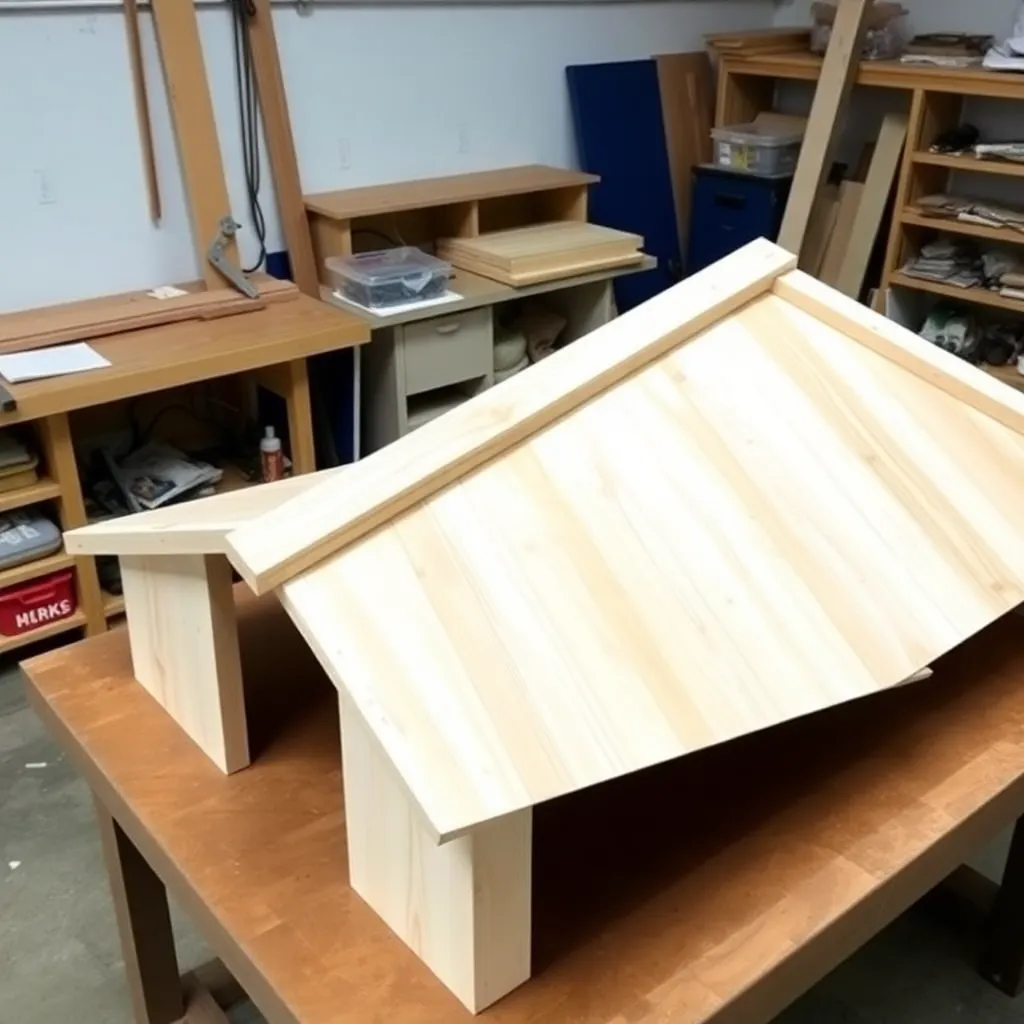
A hinged roof lifts open for easy cleaning — the single most useful feature for a dog house. Without a clean-out access, the interior accumulates fur, moisture, and odor that never gets addressed.
Roof frame:
- Ridge board: 2×4 at 30 inches
- Two rafters per side: 2×4 cut at the correct angle for a 4:12 pitch
- For a 4:12 pitch with a 26-inch span: rafter length = approximately 14½ inches with a 4-inch plumb cut at the top and 2-inch level cut (bird’s mouth) at the bottom
Roof panels:
- Two panels: ¾-inch exterior plywood at 16×30 inches each (width covers the pitch + a 1½-inch overhang on each side)
Hinge installation:
Build the roof as two separate panels connected to the ridge board. Install two heavy-duty exterior butt hinges (3-inch) on the left roof panel — one hinge connects to the left side wall top plate, one connects to the left rafter. This allows the entire right roof panel (and the ridge board) to lift up and prop open with a wooden dowel or chain stop.
Roofing:
Cover the plywood panels with self-adhesive roofing underlayment (peel-and-stick) and cap the peak with an aluminum ridge cap. This weather-seals the roof completely and lasts 10+ years without maintenance.
Step 5: Finish and Weatherproof the Dog House
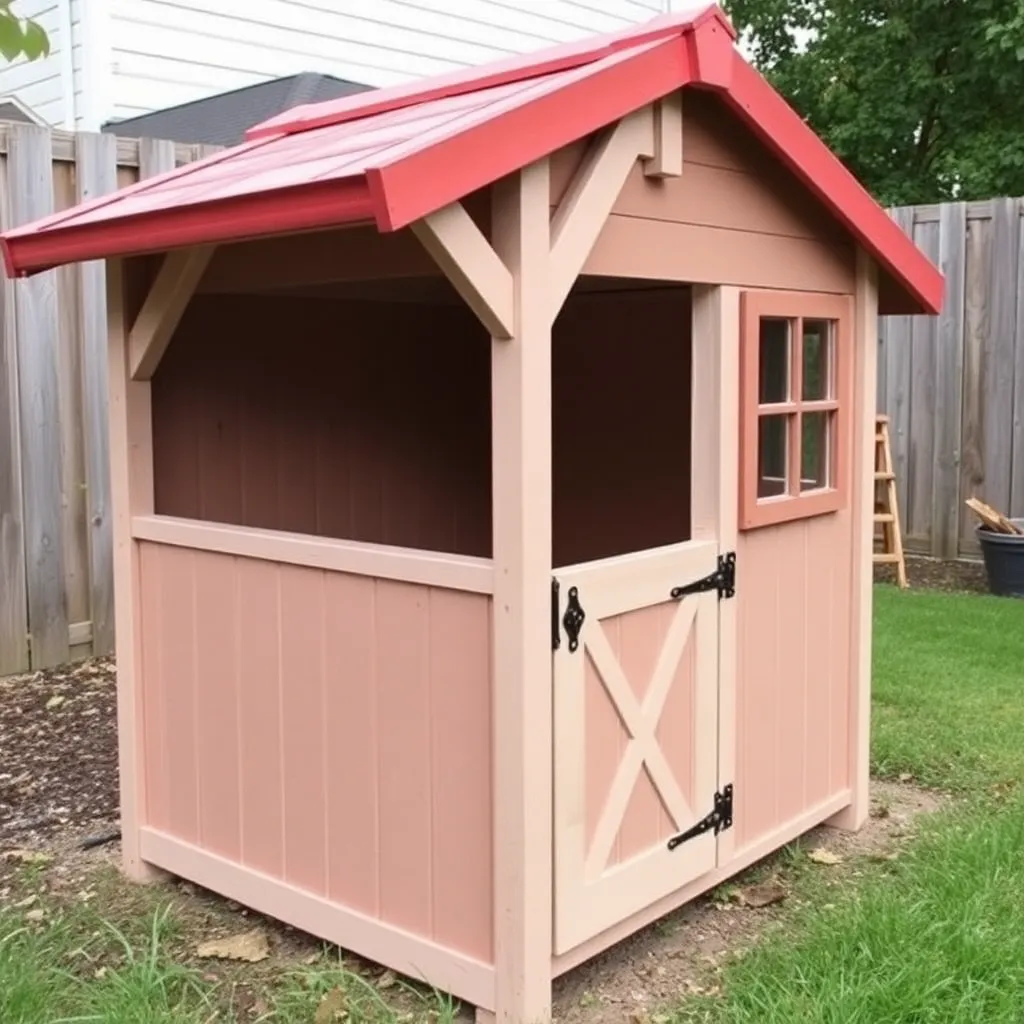
Caulk all exterior joints: Apply exterior paintable caulk along every joint between panels before painting. This is the most important weatherproofing step — small gaps allow water infiltration and air infiltration in winter.
Paint:
- Apply a coat of exterior latex primer to all exterior surfaces (including the underside of the floor deck)
- Apply two coats of exterior latex paint in any color — dark colors absorb heat (good in cold climates), light colors reflect heat (good in hot climates)
- Do NOT paint the interior — the paint smell is unpleasant for dogs and any finish that chips becomes a chew target
Winter insulation (optional):
For cold climates: cut rigid foam board insulation (½-inch polyisocyanurate) to fit the four walls and roof interior, and cut a new ¾-inch plywood floor board with ½-inch rigid foam laminated underneath. This doubles the insulation value of the structure without any visible change to the exterior.
Placement:
Place the dog house with the door facing away from the prevailing wind direction — in the United States, this is typically facing south or east. Elevate the back of the skids by ½ inch (using a shim or patio paver) to encourage any water that enters to drain toward the door.
Dog House Plans FAQ
What size dog house is right for my dog?
Use the 1.5× formula: the interior floor length should be 1.5× the dog’s nose-to-tail-base length. For a 24-inch dog, the floor is 36 inches long. The door height should be the dog’s shoulder height — the dog will naturally lower its head to enter, which is instinctively comforting (mimics a den entrance). Do not size for the dog’s future weight — dogs instinctively prefer tight quarters when sleeping; a house sized for comfort when awake will feel like an open field when the dog wants to sleep.
What wood should I use for a dog house?
Exterior-grade plywood (CDX or better) for panels and pressure-treated 2×4s for the foundation skids. Avoid pressure-treated wood for surfaces the dog can chew or lie against — use only untreated pine or cedar for the interior floor and walls. Cedar is naturally insect-repellent and weather-resistant — an excellent choice for the entire structure if budget allows ($20–$40 premium over pine and CDX plywood).
How do I insulate a dog house?
Rigid foam board (polyisocyanurate or XPS) cut to fit between wall studs or laminated to the interior of plywood panels is the most effective and easiest option. Cover the foam with a thin plywood or Masonite layer so the dog can’t chew it — rigid foam is very palatable to bored dogs. Avoid fiberglass batt insulation (dogs tear it apart and the fibers are harmful if ingested).
Should a dog house have a floor?
Yes — and the floor should be elevated off the ground. A floor prevents the dog from lying on cold, damp soil and keeps ground moisture out of the structure. Elevate the skids on concrete pavers or use pressure-treated skids directly on the ground to prevent the skids themselves from rotting.
How long will a DIY dog house last?
Cedar exterior with exterior-grade plywood panels, painted with exterior latex, properly caulked, and kept on a solid foundation: 15–25 years. The floor deck is the first component to fail (constant moisture from weather and the dog). Build it as a removable panel so it can be replaced without rebuilding the whole house. A replacement floor deck costs $15–$25 in materials and takes 20 minutes to swap.

“DIY woodworking enthusiast who started with zero experience and a YouTube tutorial.
I build simple, practical projects for my home and share free plans
so other beginners can skip the guesswork.If I can build it, you can too.”