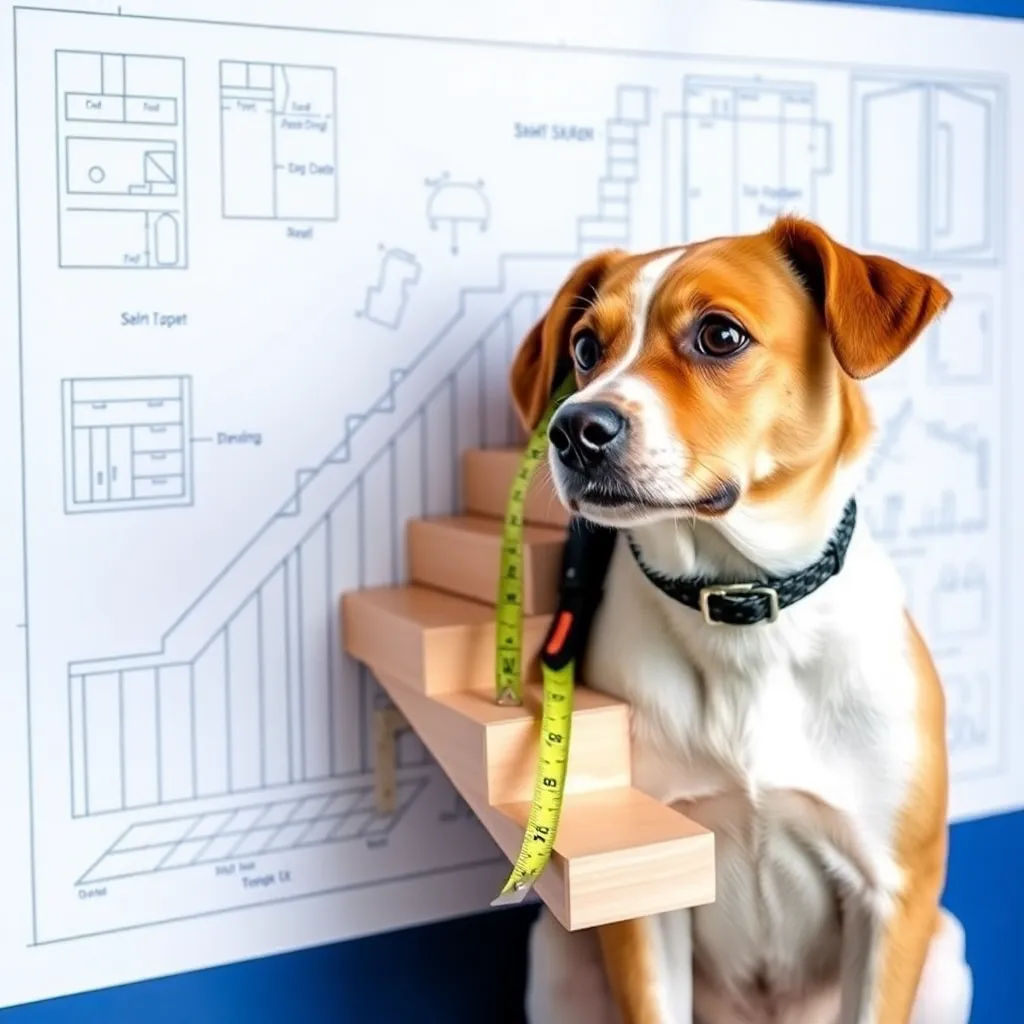
Dog stairs protect joints. Every time a small or senior dog jumps off a bed from 25 inches up, the landing impact compresses their joints with a force several times their body weight. Over years, this accumulates into early arthritis, especially in dachshunds, corgis, and other long-bodied breeds prone to spinal problems. These dog stair plans cover a 3-step plywood staircase that reaches standard bed height (24–26 inches), with non-slip carpet tread on each step, a hidden storage drawer built into the bottom step, and a carpeted side panel that gives dogs a visual guide to the step edges.
Ted’s Woodworking has complete dog stairs and pet furniture plans with cut lists, sizing guides by breed, and finishing instructions. Browse Ted’s pet plans →
Step 1: Size the Stairs for Your Dog and Bed
Dog stairs are not one-size-fits-all. Size them correctly before cutting anything:
Step height (rise):
- Small dogs (under 15 lbs): 5–6 inch rise per step
- Medium dogs (15–40 lbs): 7–8 inch rise per step
- Large dogs (40+ lbs): 8–9 inch rise per step
Step depth (run):
- Minimum 10 inches — enough for the dog’s full paw and some of the leg
- 12 inches is ideal for most dogs and makes the stairs feel less steep
Total height:
- Standard bed height: 24–26 inches (platform beds and box spring + mattress)
- Sofa height: 18–20 inches (2 steps instead of 3)
- Extra-tall beds (30+ inches): 4 steps
For a standard 3-step staircase to 24 inches:
- Rise: 8 inches per step
- Run: 12 inches per step
- Width: 14–18 inches (narrower for small dogs, wider for medium dogs)
Step 2: Cut the Side Panels
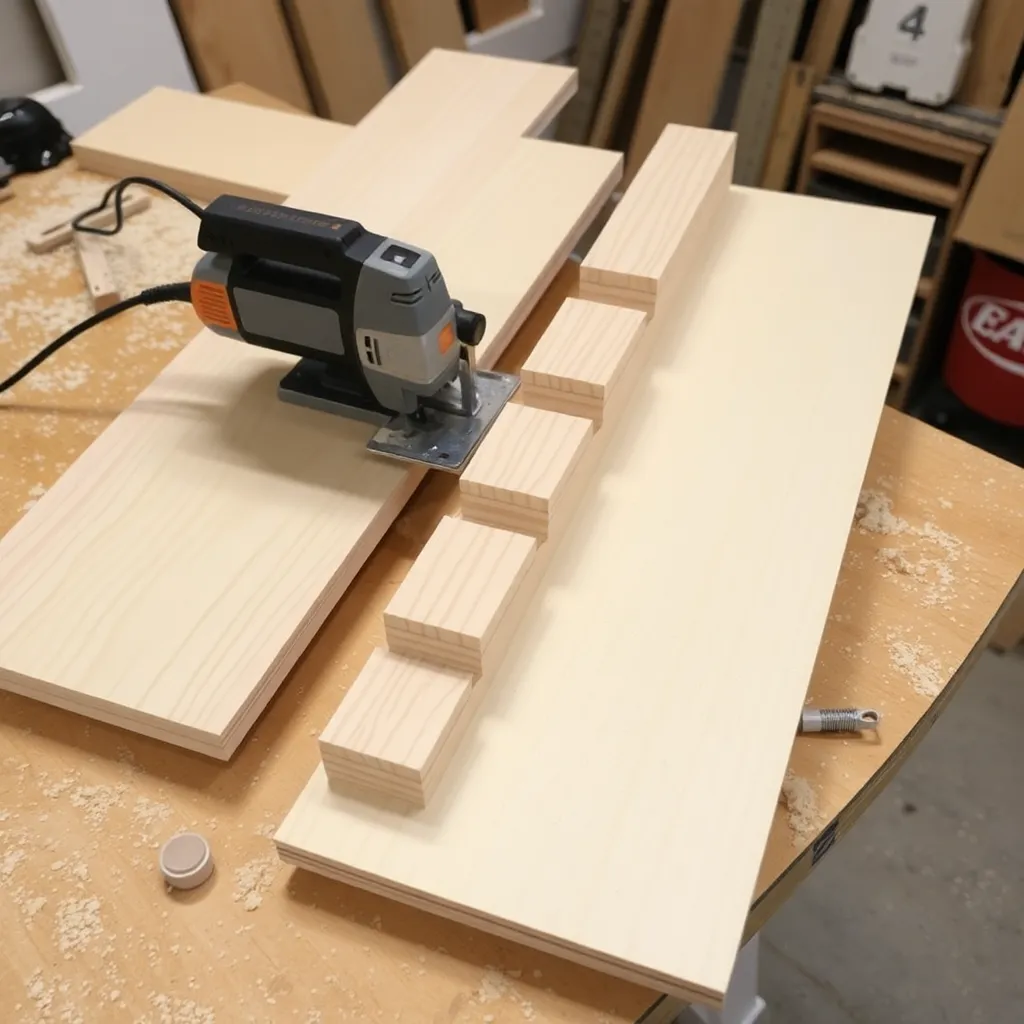
The side panels are the structural backbone of the stairs — everything else attaches to them. Each side panel is a stair-stepped silhouette cut from ¾-inch plywood.
Side panel layout (for 3 steps, 8-inch rise, 12-inch run, 24-inch total height):
- Overall size: 36 inches long × 24 inches tall (one rectangular piece of ¾-inch plywood)
- Cut out three stair steps from the front-top corner:
– Top step notch: 12 inches wide × 8 inches deep from the top-front corner
– Middle step notch: 12 inches wide × 8 inches deep, starting 8 inches below the first notch
– Bottom is full height (no notch — the bottom step rests on the floor)
Draw the stair profile on the plywood with a pencil before cutting. Use a circular saw for the straight cuts and a jigsaw for the inside corners. Cut both side panels using the first as a template — they must be identical.
Step 3: Build the Box and Steps
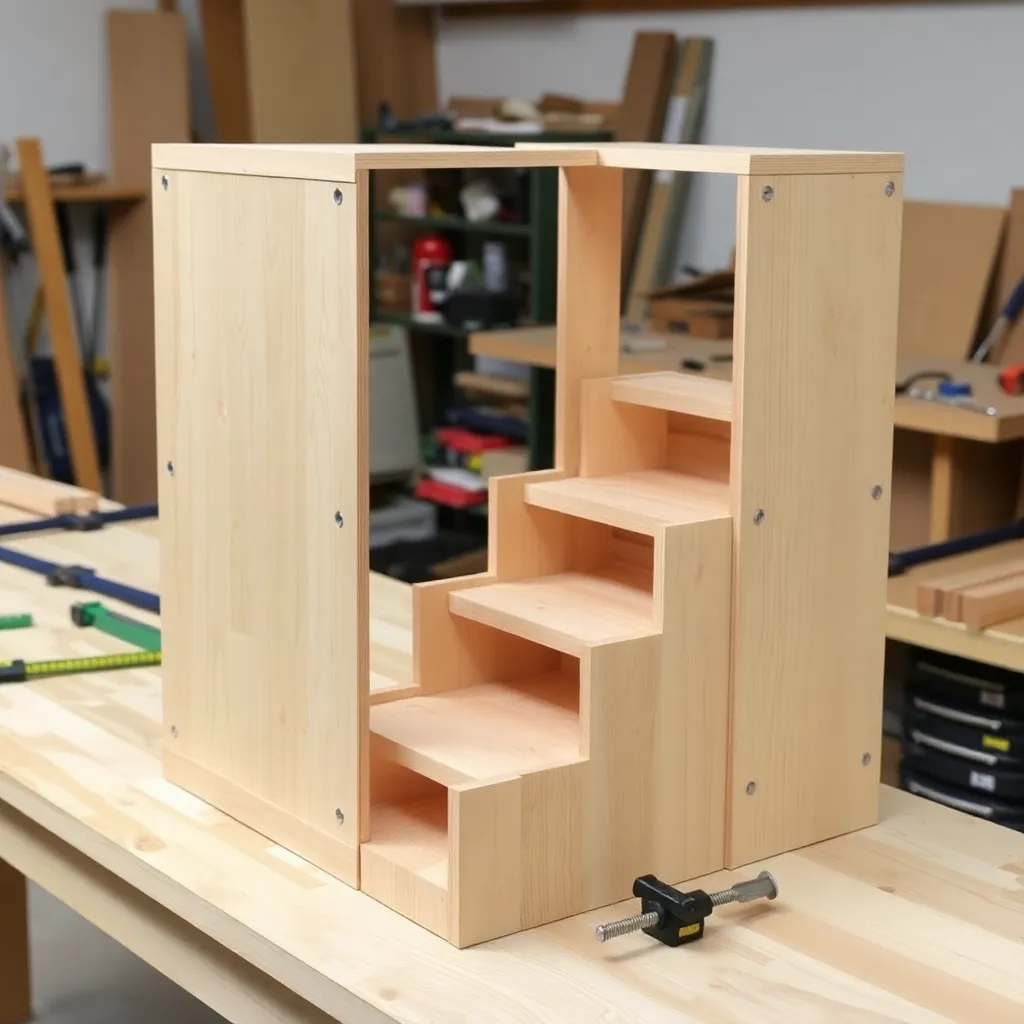
Cut list for the stair structure:
- 2 × side panels: ¾-inch plywood at 36×24 inches (with stair profile cut)
- 3 × step treads: ¾-inch plywood at 12×14 inches (width between side panels)
- 2 × back panels: ¾-inch plywood at 24×14 inches (close the back and provide rigidity)
- 1 × bottom panel: ¾-inch plywood at 36×14 inches (the floor of the unit)
- Optional drawer box: ½-inch plywood sides and ¼-inch bottom
Assembly:
- Attach the bottom panel between the two side panels with glue and 1½-inch pocket screws
- Attach the back panels (one full-height at the very back, one mid-height at the step transition)
- Install each step tread on the horizontal surfaces of the side panel steps — glue and screw from underneath through the side panels
- The three treads create the three steps; the side panels carry their weight to the floor through the bottom panel
Drawer (optional, in the bottom step):
The bottom step cavity is 12 inches deep × 14 inches wide × 8 inches tall — perfect for a small drawer holding dog treats, a grooming brush, or a leash. Build a simple plywood box with ¼-inch bottom and fit it with a full-extension drawer slide. Add a small knob or pull to the drawer front.
Step 4: Sand and Apply Non-Slip Carpet
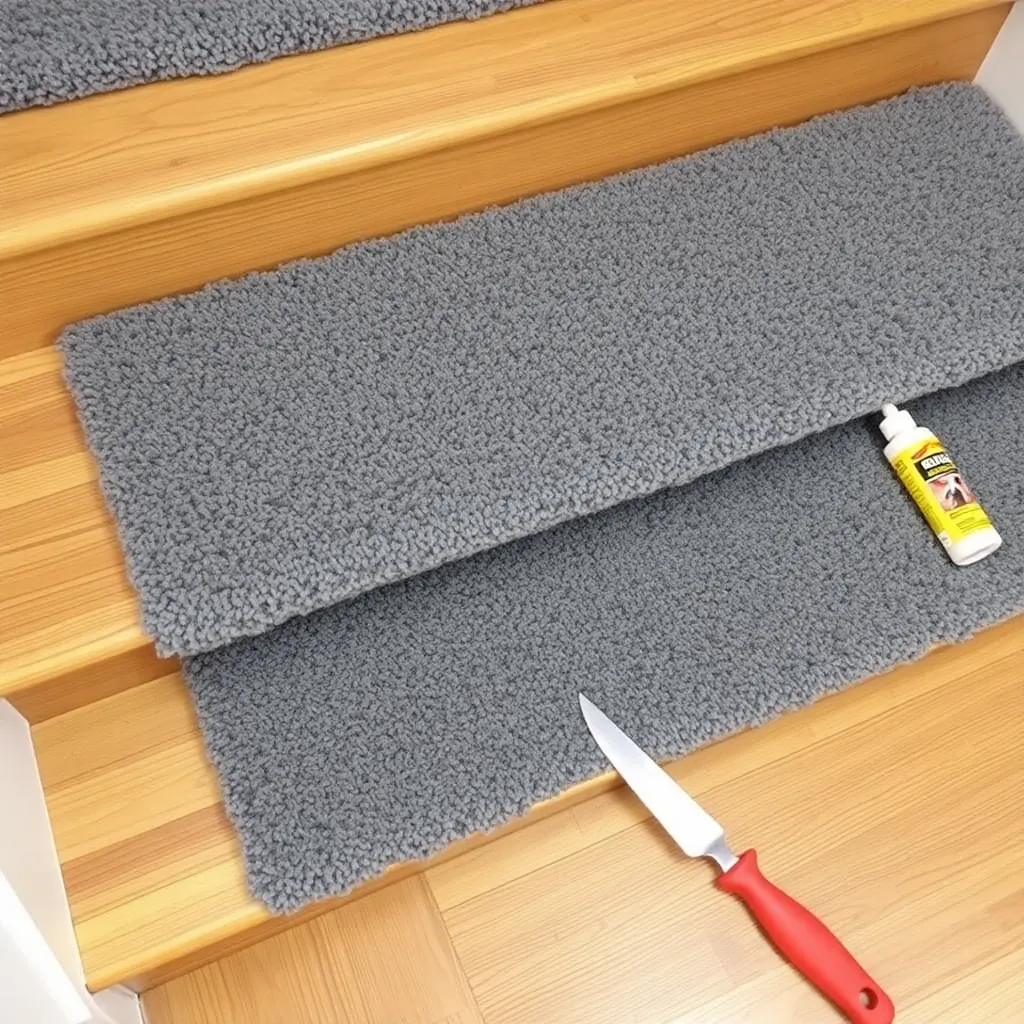
Plywood steps are slippery — dogs will hesitate to use them. Carpet tread on each step provides grip and cushioning.
Carpet installation:
- Sand all exterior surfaces to 120-grit
- Cut carpet pieces to fit each step tread and the side panels if desired
- Use carpet adhesive (applied with a notched trowel) or double-sided carpet tape on each step tread
- Press carpet firmly, trim the edges with a utility knife, and tuck the edges under the front lip of each tread
Indoor/outdoor carpet (sold by the linear foot at home centers) is the best choice — it’s dense, doesn’t fray badly when cut, and is much more durable underfoot than standard carpet. Berber-style carpet in a neutral gray or tan blends into most bedroom decors.
Non-slip alternative: If carpet doesn’t match the room, use ½-inch-thick rubber stair treads (available online for $5–$10 each) glued to each step with construction adhesive. These look clean and provide excellent traction.
Step 5: Finish and Train
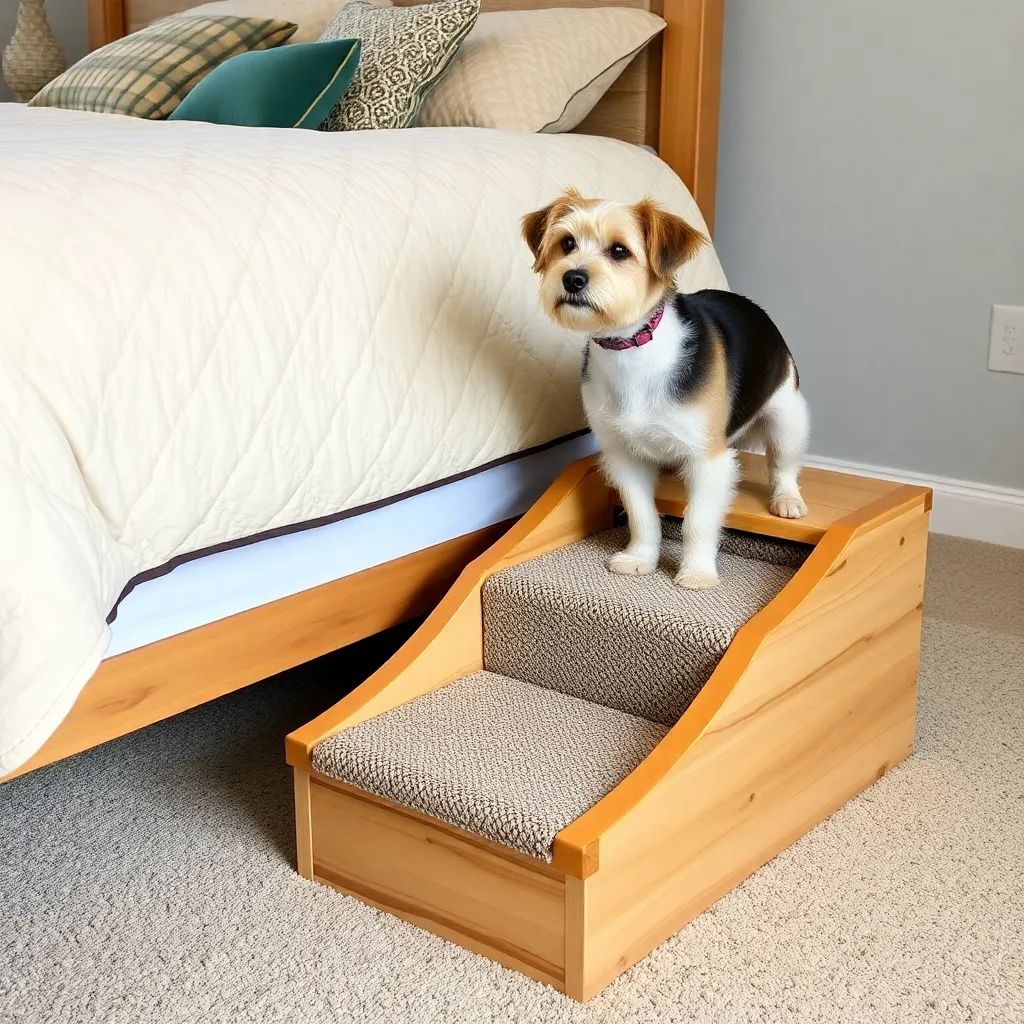
Side panel finish options:
- Paint the side panels to match the bedroom furniture or baseboard color
- Apply wood veneer (iron-on edge banding) to the exposed plywood edges before painting for a clean look
- Leave natural and finish with two coats of water-based polyurethane if you prefer the wood look
Training the dog to use the stairs:
Most dogs need 3–5 sessions to learn to use stairs confidently. Place a treat on each step and encourage the dog up one step at a time. Never force or push a hesitant dog — it will make them fear the stairs. Once the dog goes up willingly, teach the down direction (treat at the bottom of each step). Most dogs are fully stair-confident within a week of daily practice.
Dog Stairs for Bed FAQ
How tall should dog stairs be?
Dog stairs should reach the top surface of the bed or sofa — the dog steps off the top step directly onto the sleeping surface without any jump. Measure from the floor to the top of the mattress (not the bed frame). Standard height: 24–26 inches for a bed with box spring and mattress, 18–20 inches for a sofa.
What is the best step height for dog stairs?
7–8 inches per step for most dogs. Smaller (5–6 inches) for dogs with very short legs or joint problems. Larger (8–9 inches) for large, healthy dogs. If the dog hesitates or struggles to lift their front leg onto the step, the rise is too high — rebuild with a lower rise and add a step.
How wide should dog stairs be?
Minimum 10 inches, ideally 14–16 inches. The stairs should be wide enough for the dog to walk straight without their paws hanging off the sides. For a dog that turns around on the stairs (common in older dogs who have trouble backing down), make the stairs at least 2 inches wider than the dog’s shoulder width.
How do I keep dog stairs from sliding on hardwood floors?
Attach self-adhesive non-slip pads (furniture feet or rug gripper pads) to the bottom of the staircase at the four corners. Alternatively, cut a piece of rubberized shelf liner to the footprint of the stairs and place it under the unit. This is the most common failure point in commercial dog stairs — solving it in the build is more reliable than an add-on.
Can I build dog stairs without power tools?
Yes — all the cuts in this plan are straight lines, doable with a handsaw. The pocket screws require a Kreg jig (which includes a driver bit) but can be substituted with pre-drilled pilot holes and standard wood screws. The entire staircase can be built with a handsaw, drill/driver, and hammer in 4–5 hours.

“DIY woodworking enthusiast who started with zero experience and a YouTube tutorial.
I build simple, practical projects for my home and share free plans
so other beginners can skip the guesswork.If I can build it, you can too.”