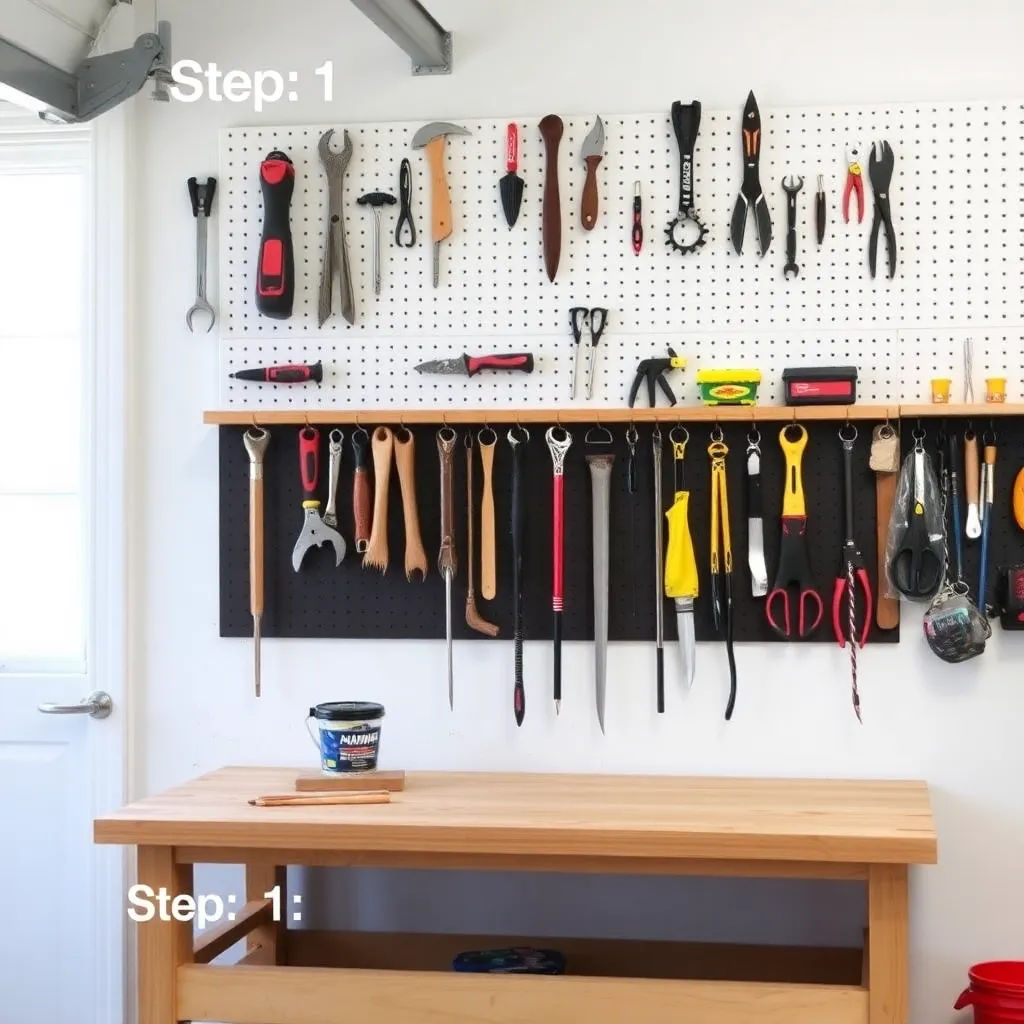
Pegboard Wall Organizer: Mount a Full Tool Wall for Under $60
A pegboard wall organizer is the fastest way to clear a garage workbench of tools piled in front of where you need to work. Mount a 4×8-foot panel of ¼-inch pegboard, add $15 worth of hooks, and every hand tool you own goes on display — visible, accessible, and off the bench. These plans cover the standard 4×8 panel installation with proper standoffs, a painted and framed version that looks like a built-in, and a layout system that organizes tools by work zone so the most-used tools are always within arm’s reach.
Ted’s Woodworking has complete shop organization plans including pegboard layouts, French cleat systems, and wall-mounted tool storage. Browse Ted’s shop plans →
Step 1: Choose the Right Pegboard
Ted’s Woodworking has over 16,000 step-by-step plans with cut lists, materials lists, and detailed diagrams. Browse Ted’s plans →
Not all pegboard is the same. The three main types:
Standard hardboard pegboard (¼-inch): The classic brown or white material sold at every home center. Holds hooks adequately for hand tools up to 5 lbs. Use standard pegboard hooks (available in every size and shape). Cost: $18–$25 for a 4×8 sheet.
Heavy-duty tempered hardboard (¼-inch tempered): Same material but heat-treated — harder, less prone to sagging around hook holes under repeated load. Use this for a shop where tools are removed and replaced constantly. A $3–$5 premium over standard.
Metal pegboard (steel or aluminum): The most durable option, won’t sag or warp in a damp garage. More expensive ($60–$120 per sheet) and heavier. Requires metal-specific hooks. Worth it for a professional shop or a wall that will hold heavy power tools.
For a standard garage: ¼-inch tempered hardboard. It’s the right balance of cost, availability, and durability.
Step 2: Plan the Standoff Spacing
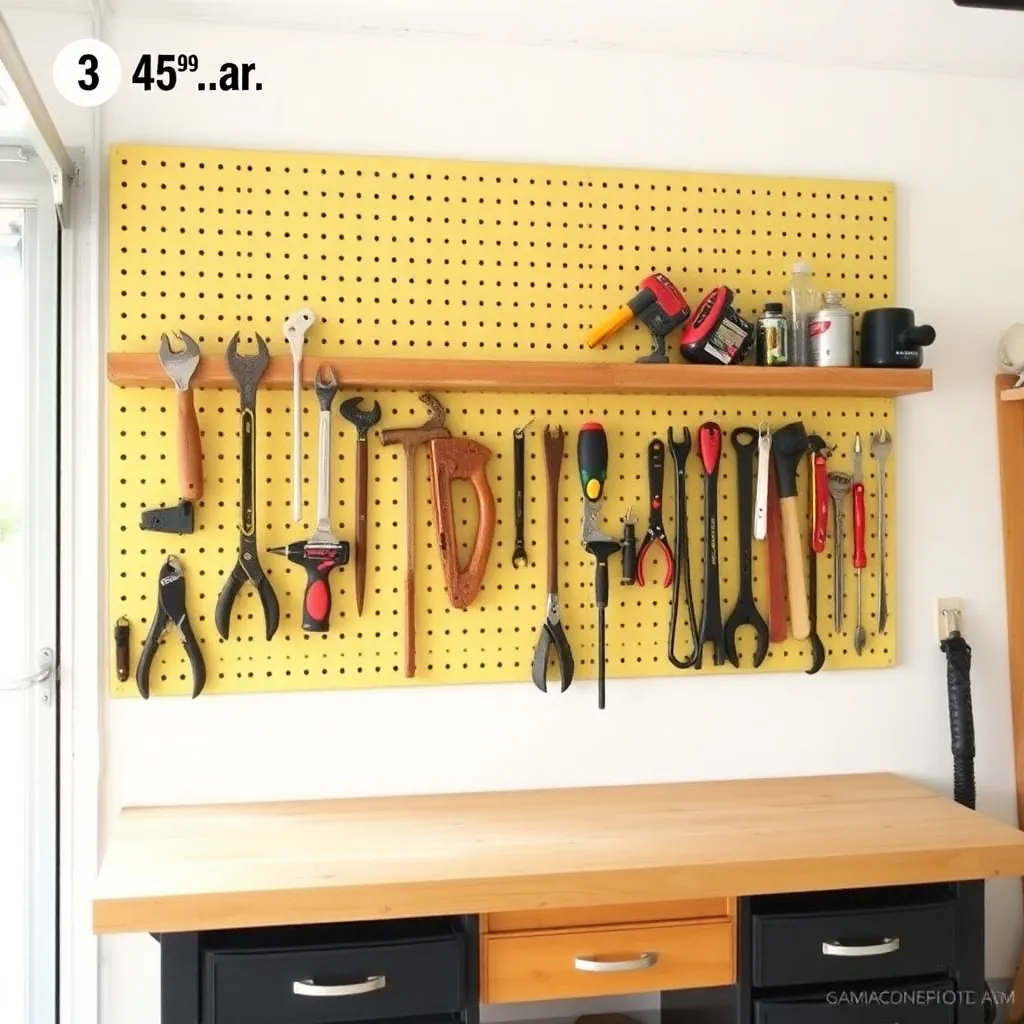
The critical installation mistake is mounting pegboard flush to the wall. Pegboard hooks need clearance behind the panel to catch on the holes — without it, hooks fall out every time you remove a tool.
Required standoff depth: ½ inch minimum, ¾ inch recommended. This allows hooks to engage the holes at the correct angle and stay locked under the weight of tools.
Standoff methods:
- Furring strips: 1×2 or 1×3 lumber strips screwed into studs, then pegboard screwed to the strips. Most common method — creates a ¾-inch standoff.
- Pegboard standoff hardware: Metal or plastic standoffs designed for this purpose (sold with pegboard at home centers). Creates ½-inch standoff.
- Full pegboard frame: A 1×4 frame around the perimeter of the panel (see Step 3). Creates a structural frame that becomes decorative and provides the standoff.
Step 3: Build the Frame (Optional but Recommended)
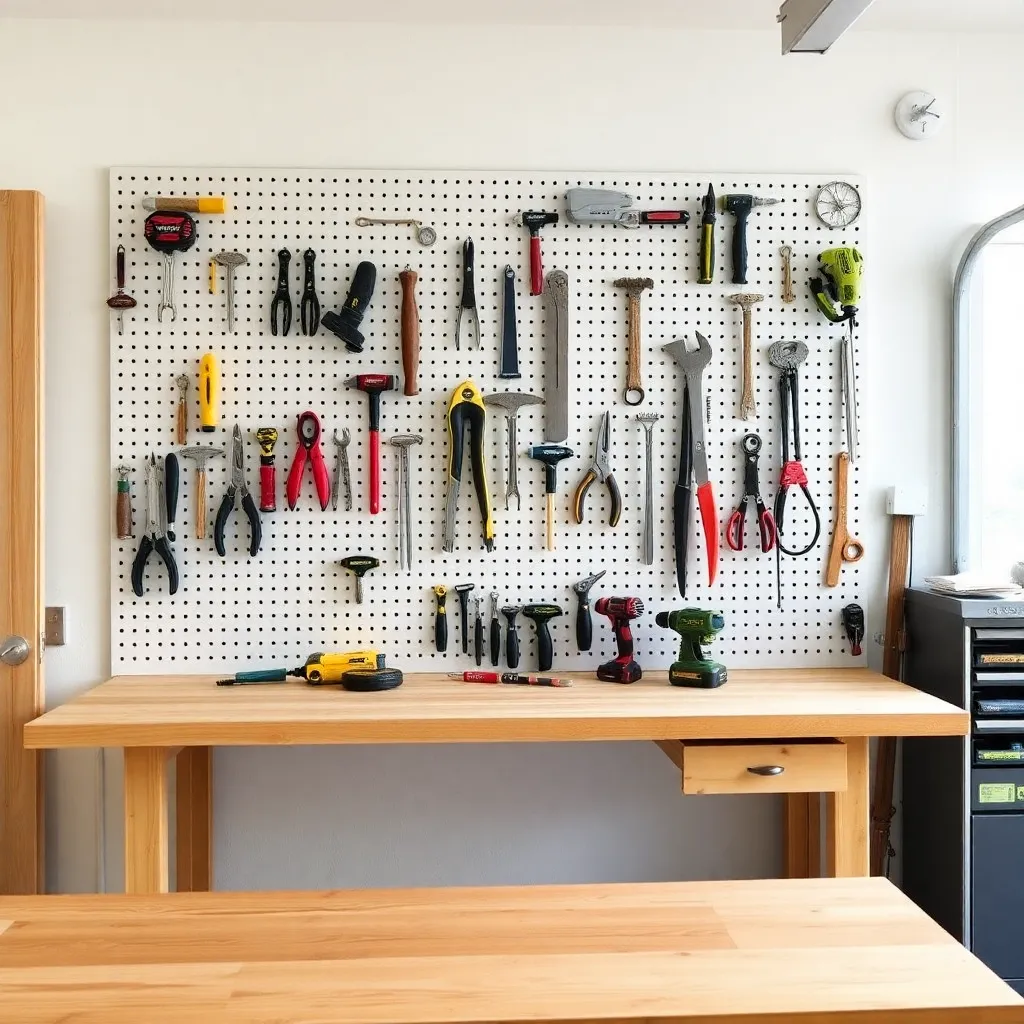
A framed pegboard panel looks finished rather than improvised and makes the installation feel permanent. Use 1×4 pine or poplar for the frame.
Cut list for a 4×8 panel:
- 2 × vertical sides: 1×4 at 48 inches
- 2 × horizontal top and bottom: 1×4 at 93 inches (96 inches minus the two side pieces)
- Optional interior dividers: 1×4 at 44 inches (positioned every 24 inches for added stiffness on wide panels)
Assemble the frame with pocket screws. Drop the pegboard into the frame and fasten from the back with ¾-inch screws into the frame edges. Sand and paint the frame before assembly — it’s much easier than painting around installed pegboard.
Step 4: Mount the Panel to the Wall
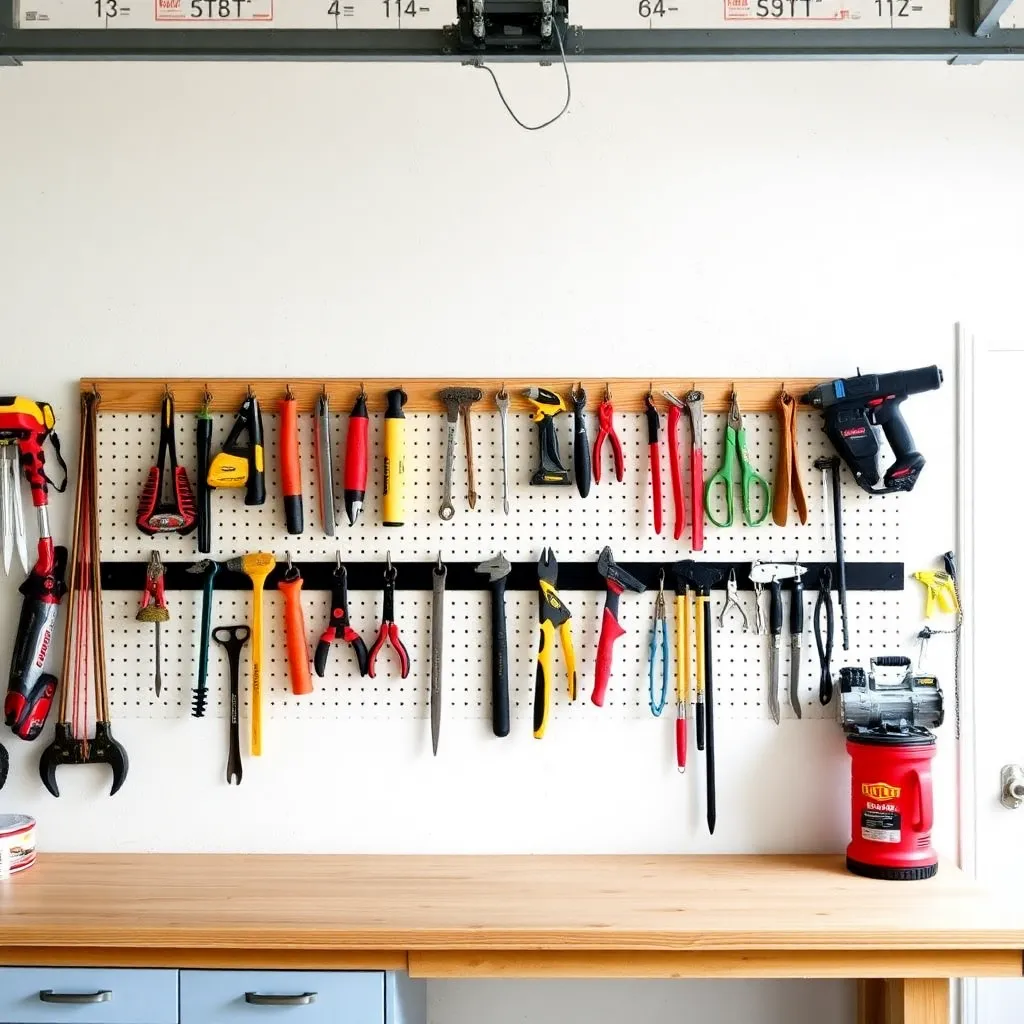
Find wall studs with a stud finder and mark them. Position the pegboard panel where it will hang — typically centered above the workbench, from bench height to ceiling, or in the designated tool zone.
If using furring strips: screw horizontal 1×2 or 1×3 strips into studs at the top, bottom, and every 16 inches in between. Then screw the pegboard to the furring strips with 1-inch screws every 8–12 inches around the perimeter.
If mounting a framed panel: screw the frame directly into studs through the vertical frame pieces. Use 2½-inch screws, two per stud. A 48×96-inch framed panel with tools weighs 25–40 lbs — two studs minimum for secure mounting.
Step 5: Plan the Tool Layout
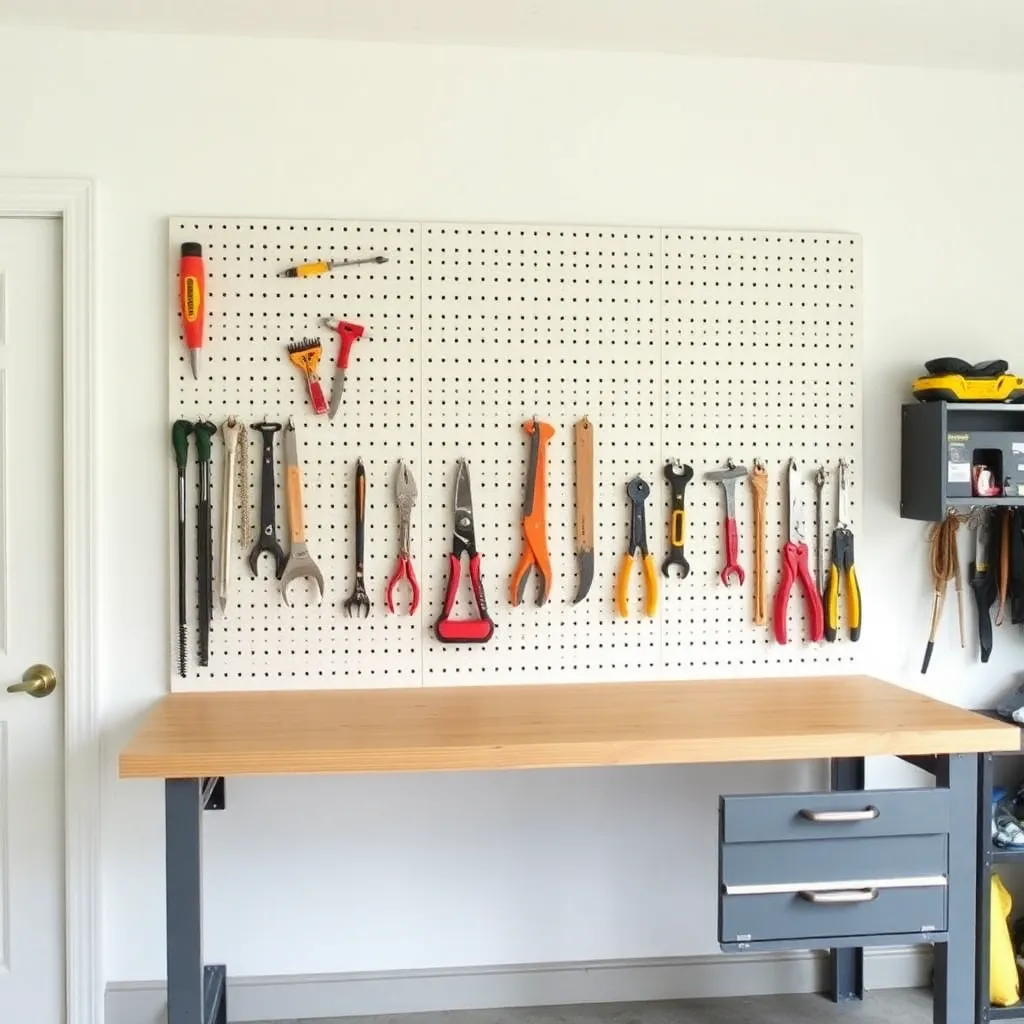
Random hook placement wastes the system. A zone-based layout makes the pegboard work:
Zone layout for a workbench pegboard:
- Center zone (eye level, directly above work area): Most-used tools — hammer, tape measure, pencils, combination square, chisels
- Right zone: Cutting tools — hand saw, utility knife, pull saw, oscillating tool
- Left zone: Clamping and fastening — pliers, clamps, screwdrivers, wrenches
- Upper zone (above eye level): Less-used but regularly needed — levels, specialty squares, measuring tools
- Lower zone (bench height to 12 inches above): Heaviest tools — hand planes, mallets, power drill holster
Trace tool outlines with a marker directly on the pegboard. This makes it obvious when a tool is missing and ensures every hook is in exactly the right position before permanent installation.
Step 6: Install Hooks and Load the Board
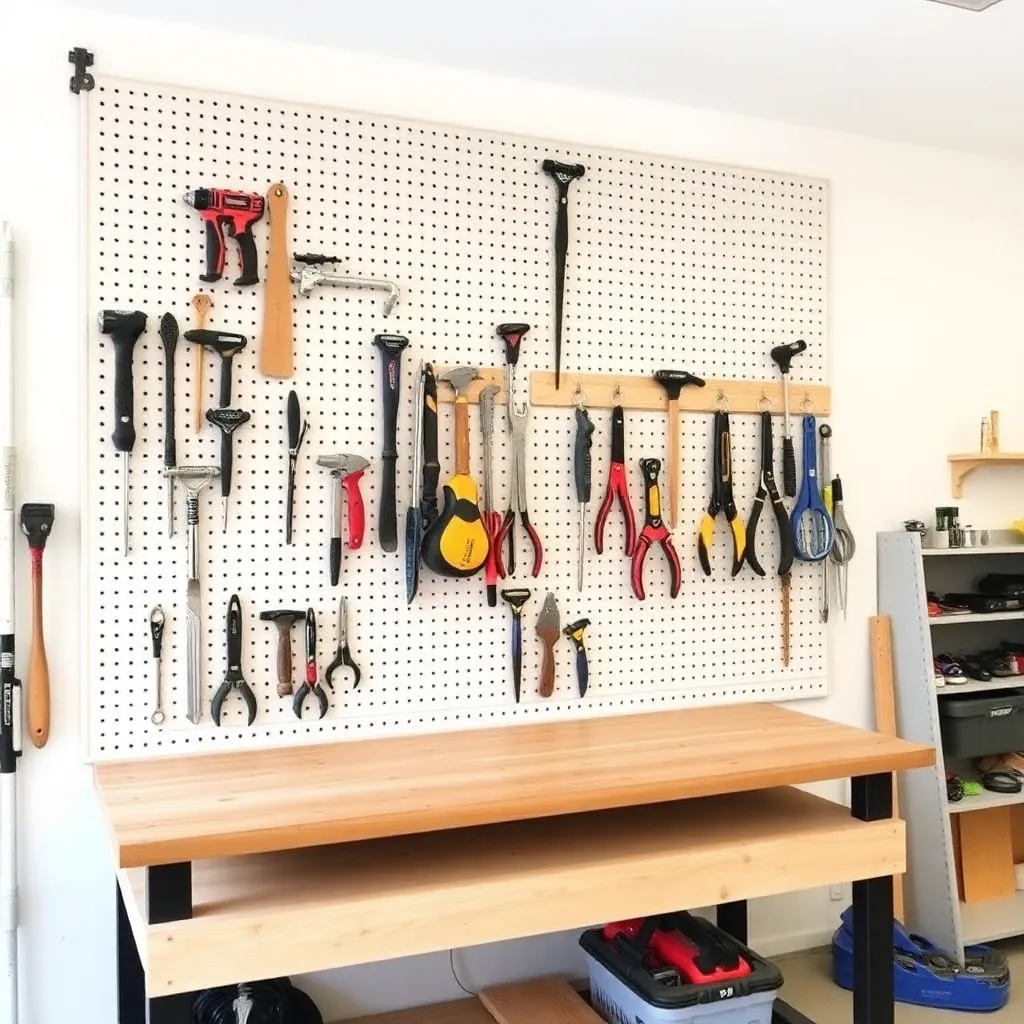
Pegboard hooks come in dozens of configurations. The essential kit:
- Single hooks (¼-inch and ½-inch wire): Hangs screwdrivers, chisels, small tools
- Double hooks: Hangs hammers, clamps, hand saws
- Shelf brackets: Holds small bins (great for drill bits, sandpaper, router bits)
- Tool holder cups: Holds screwdrivers, files, and flat tools vertically
- Specialty holders: L-shaped hook for hand planes, J-hook for extension cords, horizontal bar for pliers
Lock hooks in place with pegboard hook locking clips (sold separately or in kits) — without them, hooks fall out every time you lift a tool. The clips press into the hole below each hook and prevent rotation.
Ted’s Woodworking has over 16,000 step-by-step plans with cut lists, materials lists, and detailed diagrams. Browse Ted’s plans →
Pegboard Wall Organizer FAQ
What size pegboard should I get?
A single 4×8-foot panel (the standard sheet size) holds 30–50 hand tools and is the right size for above a standard 6–8-foot workbench. For a full wall treatment, buy multiple sheets and install them side by side. Cut pegboard with a circular saw and a fine-tooth blade — score and snap also works for straight cuts.
Why do my pegboard hooks keep falling out?
Two reasons: insufficient standoff depth (the hooks need ½-inch clearance behind the board) and missing hook locks. Install proper standoffs and add locking clips to every hook. After that, hooks stay in place permanently until you choose to move them.
What’s the difference between ¼-inch and ⅛-inch pegboard?
⅛-inch pegboard is thinner, floppier, and prone to hole deformation under repeated use. Use ¼-inch (or ¼-inch tempered) for any shop installation. The ⅛-inch material is designed for display fixtures, not tool walls. The price difference is minimal.
Can I paint pegboard?
Yes — paint before installation. Spray paint gives the cleanest finish and gets into the holes without clogging them. Brush or roll painting clogs holes and prevents hooks from seating. Use spray primer followed by spray enamel. White and light gray are the most common colors — they make tools easy to find against a bright background.
How much weight can pegboard hold?
A single hook in a ¼-inch hardboard panel: 5–10 lbs. The limiting factor is the hole integrity, not the hook. Distribute heavy items across multiple hooks (shelf brackets with two hooks each) and you can hold 15–25 lbs per bracket. For heavier power tools, use a French cleat wall instead — it’s stronger and more flexible.

“DIY woodworking enthusiast who started with zero experience and a YouTube tutorial.
I build simple, practical projects for my home and share free plans
so other beginners can skip the guesswork.If I can build it, you can too.”