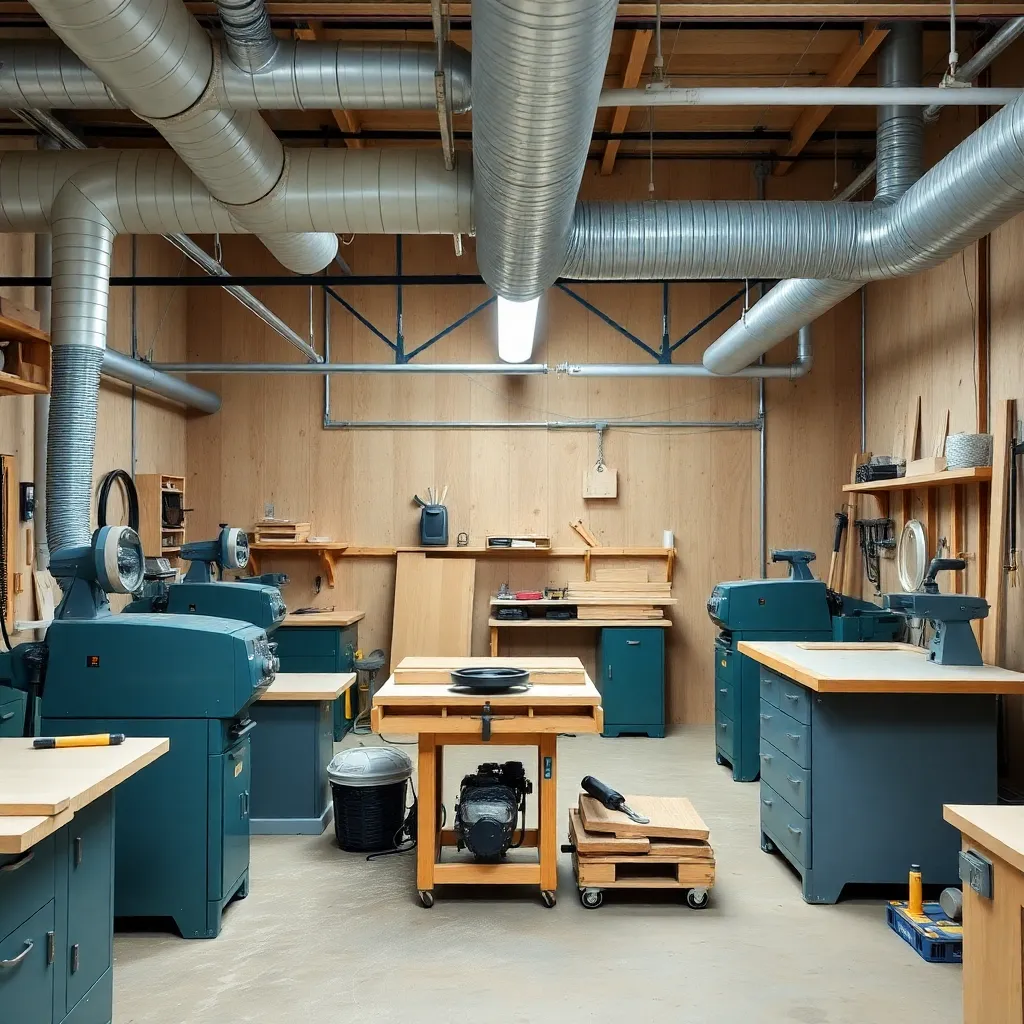
A well-planned workshop is more than a collection of tools — it’s a system where material flows logically from rough stock to finished project, where dust is captured at the source, and where every tool is positioned for safe and efficient use. Getting the layout right before you set the first machine in place saves years of frustration, and pairing that layout with an effective dust collection system protects both your health and your tools.
Ted’s Woodworking has 16,000+ woodworking plans including shop organization guides. Browse Ted’s plans →
This guide is part of our complete Woodworking Shop Setup Guide — covering workbench plans and shop layout and dust collection.
Woodworking Shop Layout
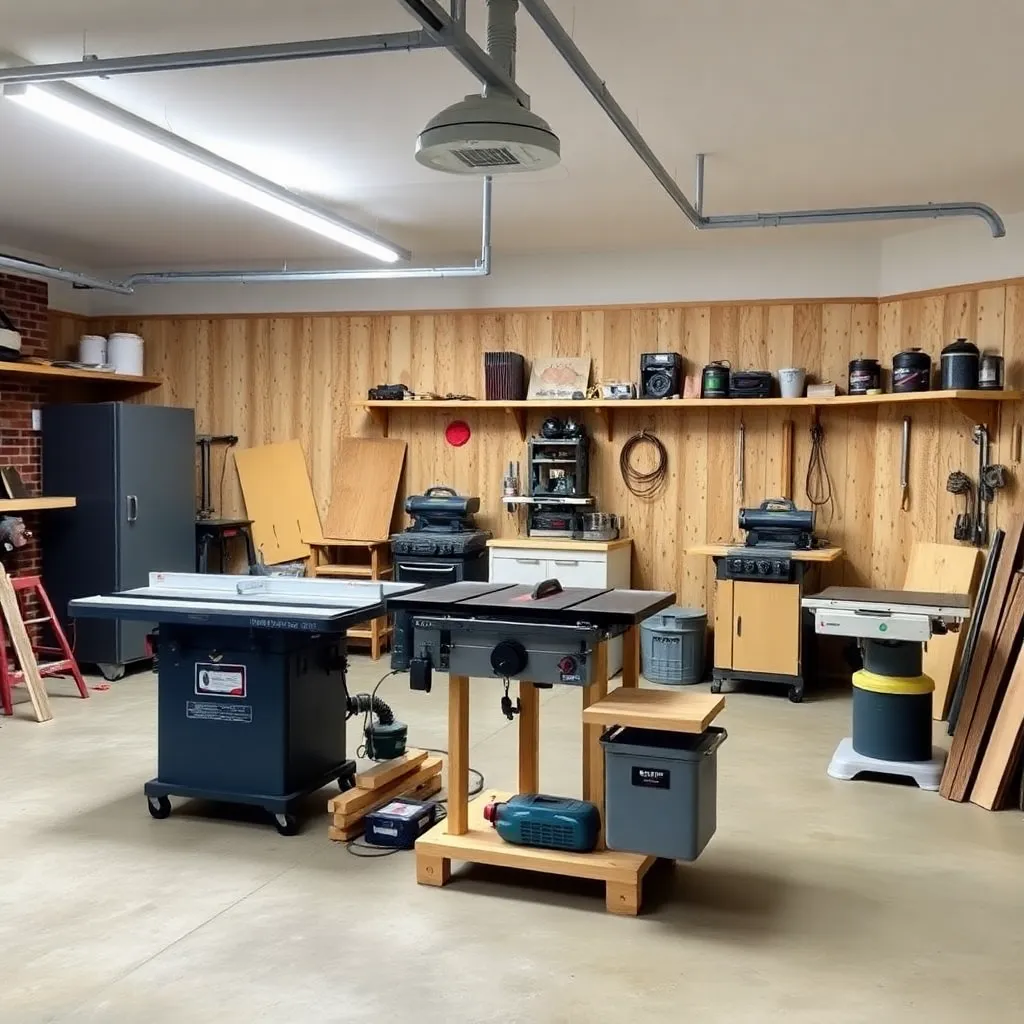
The foundation of an efficient workshop is the layout — where each machine sits in relation to the others, how material flows through the space, and how much clearance each tool has for infeed and outfeed support. A poorly planned layout means constantly moving machines, unsafe material handling, and wasted time.
What’s covered: the three workshop layout zones (rough processing, milling and dimensioning, joinery and assembly), the minimum clearance requirements for each major machine (table saw needs 8 feet outfeed, jointer needs 6 feet infeed and outfeed), one-car vs two-car vs dedicated shop layout planning, the traffic pattern principle (material should flow in one direction without backtracking), and the critical placement decisions (table saw position determines everything else).
The table saw rules the shop: position the table saw first — it requires more clearance than any other machine and is used most frequently. Once the table saw is placed, everything else fits around it.
Woodworking Shop Dust Collection
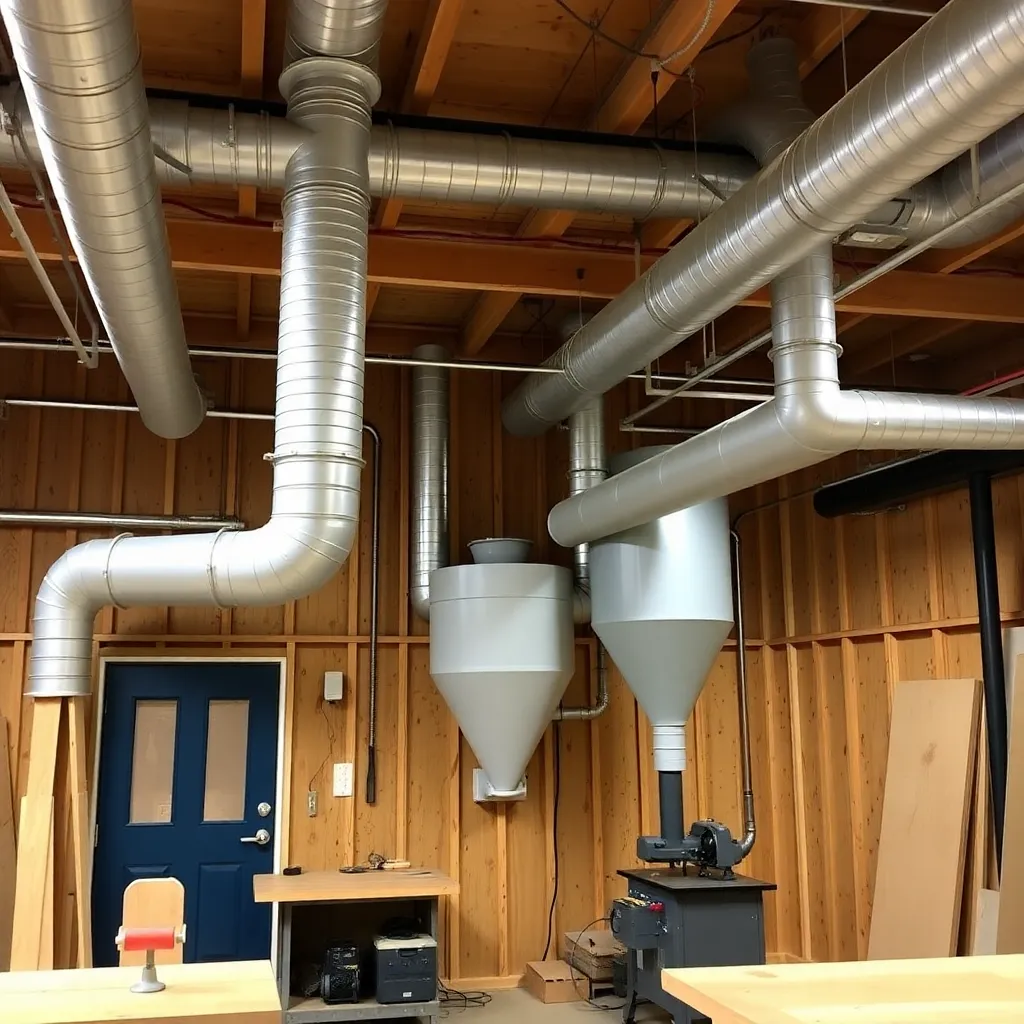
Dust collection is the most important health and safety investment in a woodworking shop — fine wood dust (particles under 10 microns) causes respiratory disease, and many species produce dust classified as carcinogenic. A proper dust collection system captures dust at the source before it becomes airborne, protecting the woodworker and keeping the shop clean.
What’s covered: the difference between dust collection and air filtration (dust collectors capture chips and dust at the source; air filtration units clean airborne particles already in the air — both are needed), the three levels of dust collection (shop vac, single-stage dust collector, two-stage dust collector), CFM and static pressure requirements for different machines, ductwork design and blast gate systems, and the filter micron ratings that matter for health protection (1-micron or better for fine dust).
The critical number: 350 CFM minimum to move chips and dust from most woodworking machines. Most shop vacs produce 100–150 CFM — adequate for sanding but not for a table saw or planer.
Dust Extractor for Woodworking
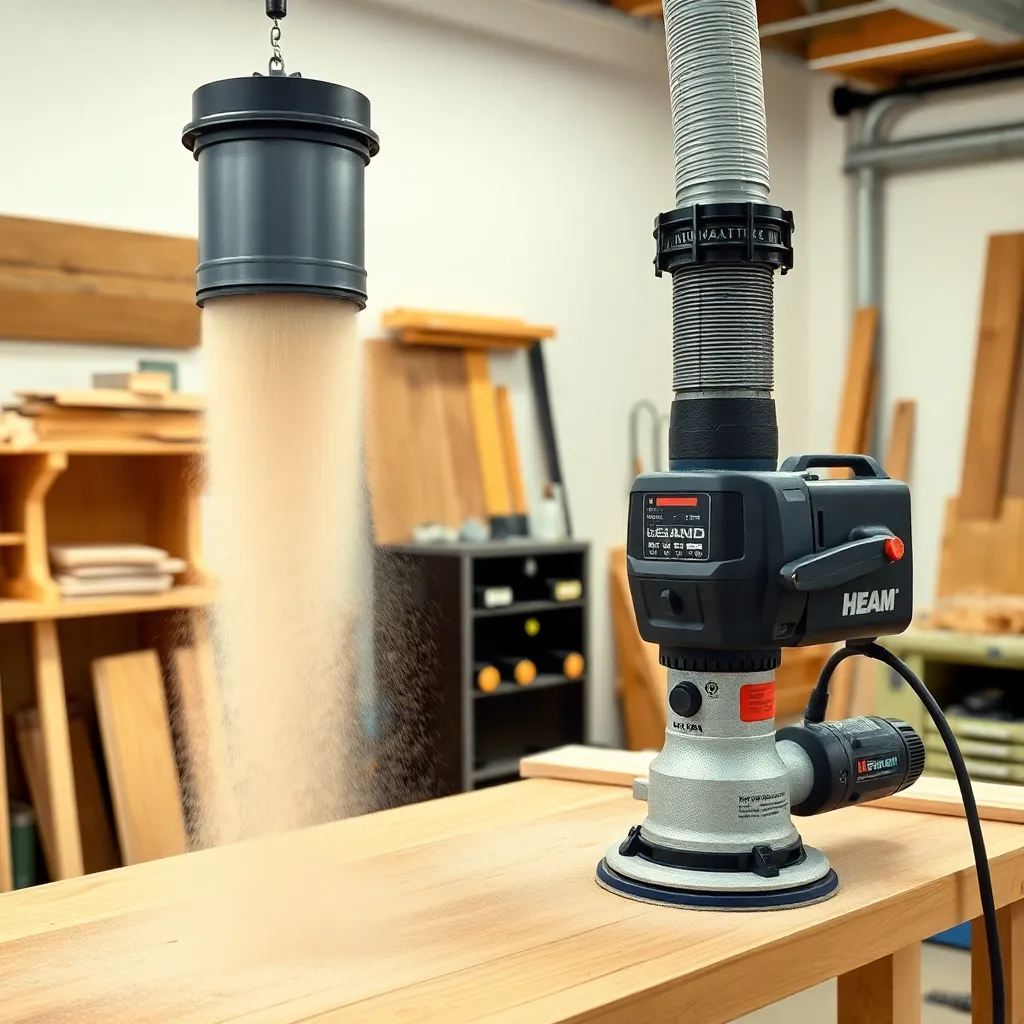
A dust extractor (also called a fine dust extractor or HEPA vac) is the premium solution for portable and hand tool dust collection — it produces high suction in a compact unit with HEPA filtration that captures fine dust particles. Unlike shop vacs, professional dust extractors are designed specifically for continuous woodworking use with tool-triggered power, automatic filter cleaning, and true HEPA filtration.
What’s covered: dust extractor vs shop vac comparison, the Milwaukee M18 FUEL dust extractor (top performer in the cordless category), Festool CT extractors (the professional standard), HEPA vs standard filtration for fine dust, auto-clean filter systems, and matching the extractor to the tool (sanders need fine filtration; routers and planers need higher CFM).
Milwaukee vs Festool: Milwaukee M18 FUEL (cordless, $300–$400) is the best value for a contractor or hobbyist who needs portability; Festool CT 26 or CT 36 (corded, $500–$700) is the professional benchmark for stationary fine-dust collection from sanders and routers.
Dust Collection with Shop Vac
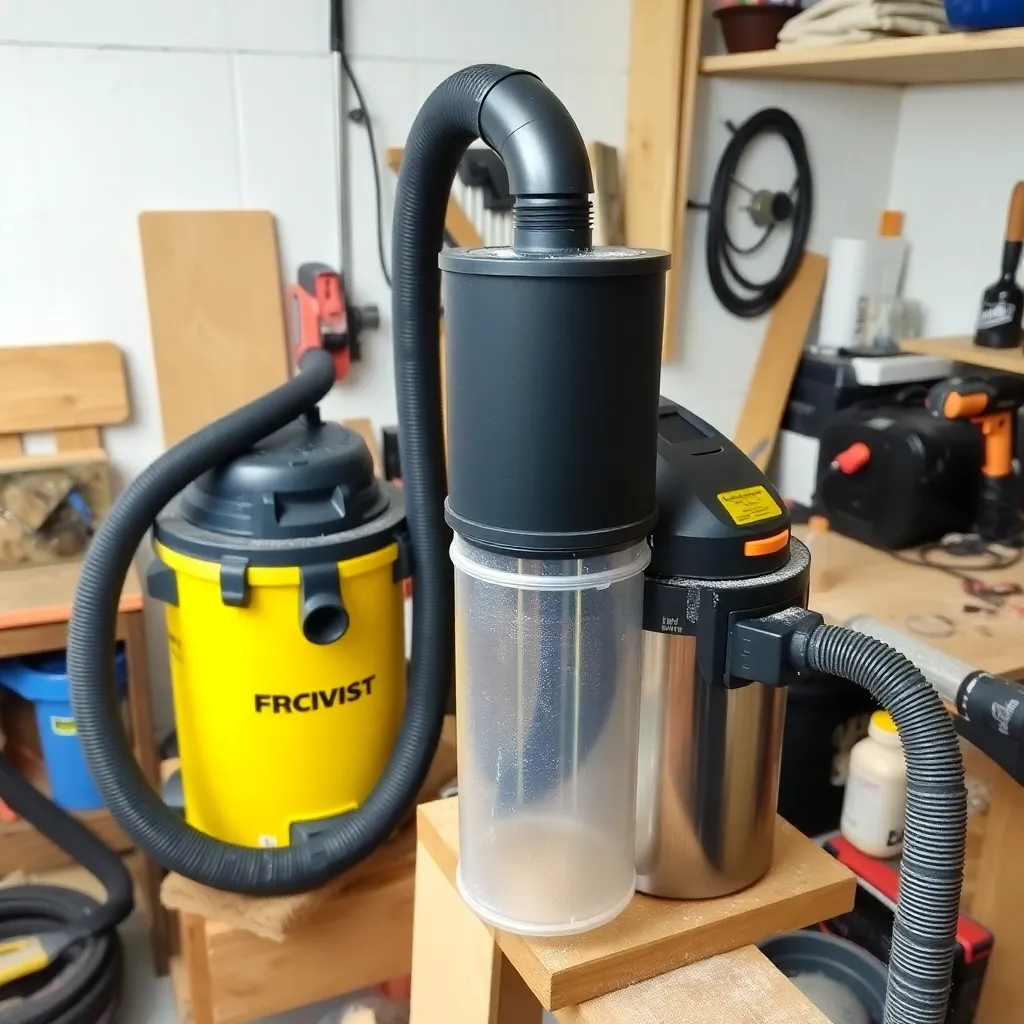
A shop vac is the most accessible dust collection solution for a small shop or beginner — it’s affordable, portable, and already owned by most woodworkers. With the right accessories and filter upgrades, a shop vac can handle sanding, routing, and light machine work effectively. This guide covers how to get the most from a shop vac setup before upgrading to a dedicated dust collector.
What’s covered: the best shop vac filters for fine dust (standard shop vac filters miss particles under 30 microns — upgrade to the HEPA filter for your brand), cyclone separators (add a two-stage cyclone pre-separator to extend filter life dramatically), auto-switching power cords (automatically start the vac when the connected tool starts), and hose adapters for connecting different tools.
The cyclone separator upgrade: a dust deputy or similar cyclone pre-separator ($50–$80) attaches between the tool and the shop vac. 99% of chips and coarse dust collect in a separate bucket; only fine particles reach the shop vac filter. Filter life increases 10x and suction remains consistent much longer between cleanings.
Vacuum for Sanding
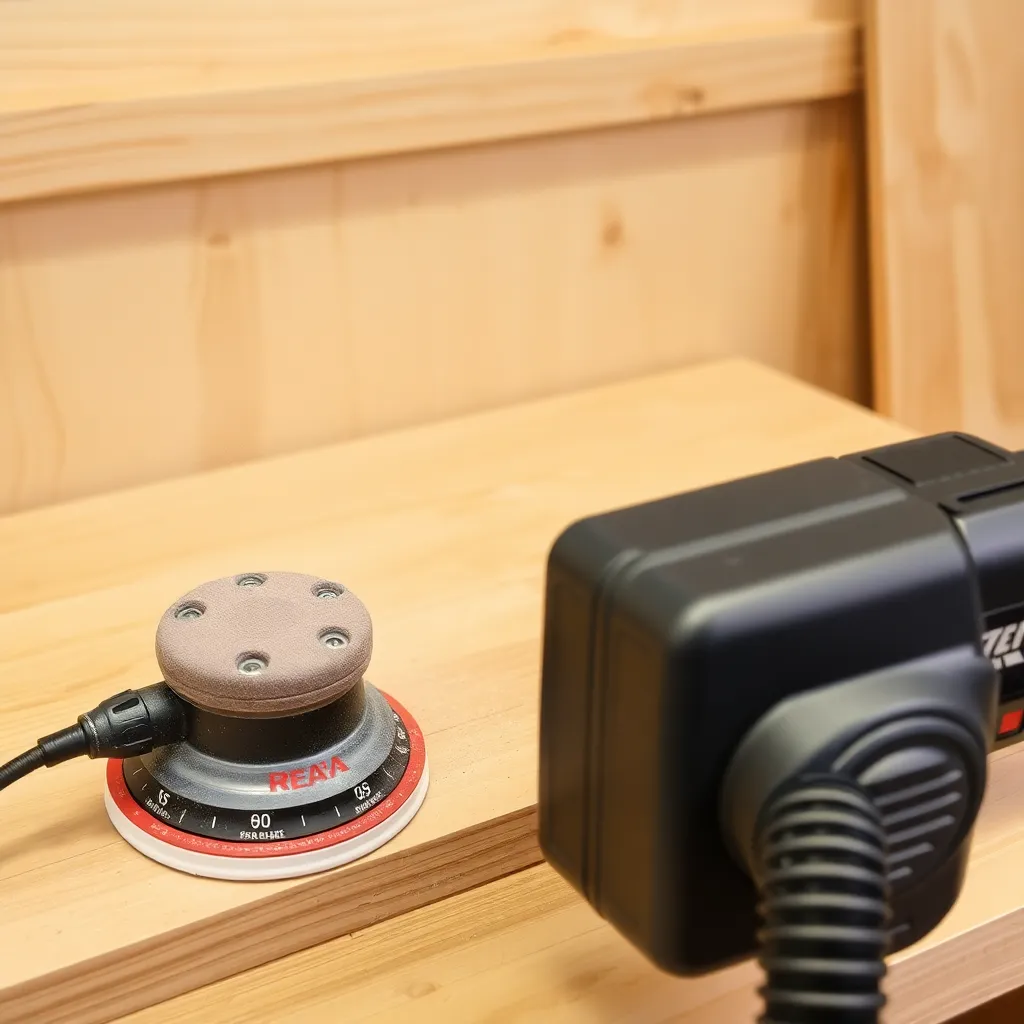
Sanding produces the finest, most dangerous dust in woodworking — random orbital sanders generate dust particles in the 1–10 micron range that stay airborne for hours and penetrate deep into the lungs. A vacuum connected to a sander is not optional for health protection — it’s the most important dust collection connection in the shop.
What’s covered: the best vacuums for sanding (dust extractors with HEPA filtration, not standard shop vacs), vacuum connection methods for random orbital sanders (built-in dust ports, universal hose adapters), the difference between the sander’s built-in dust bag and vacuum extraction (bags catch 70–80% of dust; HEPA vacuum extraction catches 95%+), and how to match hose diameter to sander and vacuum ports.
Recommended setup: a 5-inch or 6-inch random orbital sander with a dedicated dust port connected via a 27mm hose to a HEPA-filtered dust extractor. Run both the sander and the extractor; clean the filter after each session. This setup keeps fine sanding dust out of your lungs and off your finish.
Woodworking Shop Organization
A well-organized shop saves time on every project — tools are where you expect them, lumber is stored without digging, and the work surface is clear and ready. Shop organization is not about aesthetics; it’s about workflow efficiency and safety (a cluttered shop causes accidents).
What’s covered: lumber storage (horizontal vs vertical rack systems, sheet goods storage with tilting carts), tool wall organization (French cleat systems vs pegboard — French cleats win for flexibility), outfeed tables and assembly surfaces, scrap management, finish and chemical storage (away from heat sources, locked if children are present), and the organization principle that everything gets a defined home and goes back after each use.
French cleat system: rip 3/4″ plywood into strips with a 45-degree rip on one edge. Mount strips horizontally on the wall, angled edge up. Build custom holders for any tool that hook onto the cleats — the hooks slide anywhere along the wall and can be rearranged without tools. More flexible than pegboard and holds heavier tools.
Shop Layout and Dust Collection FAQ
What is the best workshop layout for a one-car garage?
A one-car garage (roughly 20×20 feet) is the most common small shop. The most efficient layout: table saw in the center of the space with at least 8 feet of clearance behind it (for full sheet outfeed) and 4 feet on each side; workbench against the back wall; jointer and planer against one side wall in the material flow path (lumber comes in the door, goes to jointer, then planer, then table saw); band saw and drill press against the remaining wall. Store lumber along the garage door wall using a wall-mounted horizontal rack — you can still open the garage door under the lumber. The key constraint in a one-car garage: you can’t have both the table saw centered and a car inside. Commit to a woodworking-first layout and keep the car outside.
How much CFM do I need for dust collection?
The minimum requirement varies by machine: table saw 400–500 CFM, jointer 350–400 CFM, thickness planer 400–500 CFM, band saw 350 CFM, router table 350–400 CFM, random orbital sander 100–150 CFM (fine filtration matters more than CFM for sanders). If you’re running a single machine at a time through a single dust collector, you need a collector that produces at least 500–600 CFM at the machine (accounting for duct losses). A 1.5 HP single-stage collector produces approximately 650–750 CFM at the impeller; expect 400–500 CFM at the end of a 10-foot duct run. For a shop with multiple machines on a branched duct system, a 2 HP or larger collector is needed.
Do I need both a dust collector and an air filtration unit?
Yes — they serve different functions. A dust collector captures chips and dust at the source (at the machine) and prevents it from becoming airborne in the first place. An ambient air filtration unit (ceiling-mounted box with a filter and fan) cleans fine dust that escapes the dust collector and is already airborne. For maximum health protection, you want both: dust collection at every machine to capture 90%+ of dust at the source, and an ambient air filter running continuously (or at least for 30 minutes after you stop sanding) to clean what escapes. A ceiling-mounted air filtration unit with a 1-micron filter costs $150–$300 and can be DIY-built from a box fan and 20×20″ MERV-16 furnace filters for $50.
How do I connect multiple machines to one dust collector?
A branched duct system: install a main duct (4-inch or 6-inch diameter) along the ceiling or wall, with branch lines dropping down to each machine. Each branch has a blast gate — a sliding gate that opens and closes the branch. Open only the gate for the machine you’re currently using; close all others. This concentrates the full suction of the dust collector on one machine at a time. Duct material options: PVC pipe (inexpensive, available everywhere, but requires grounding to prevent static buildup), metal spiral duct (professional standard, self-grounding), and flexible hose (use only for the last 2–3 feet connecting to each machine — never for long runs, as it reduces airflow significantly).

“DIY woodworking enthusiast who started with zero experience and a YouTube tutorial.
I build simple, practical projects for my home and share free plans
so other beginners can skip the guesswork.If I can build it, you can too.”