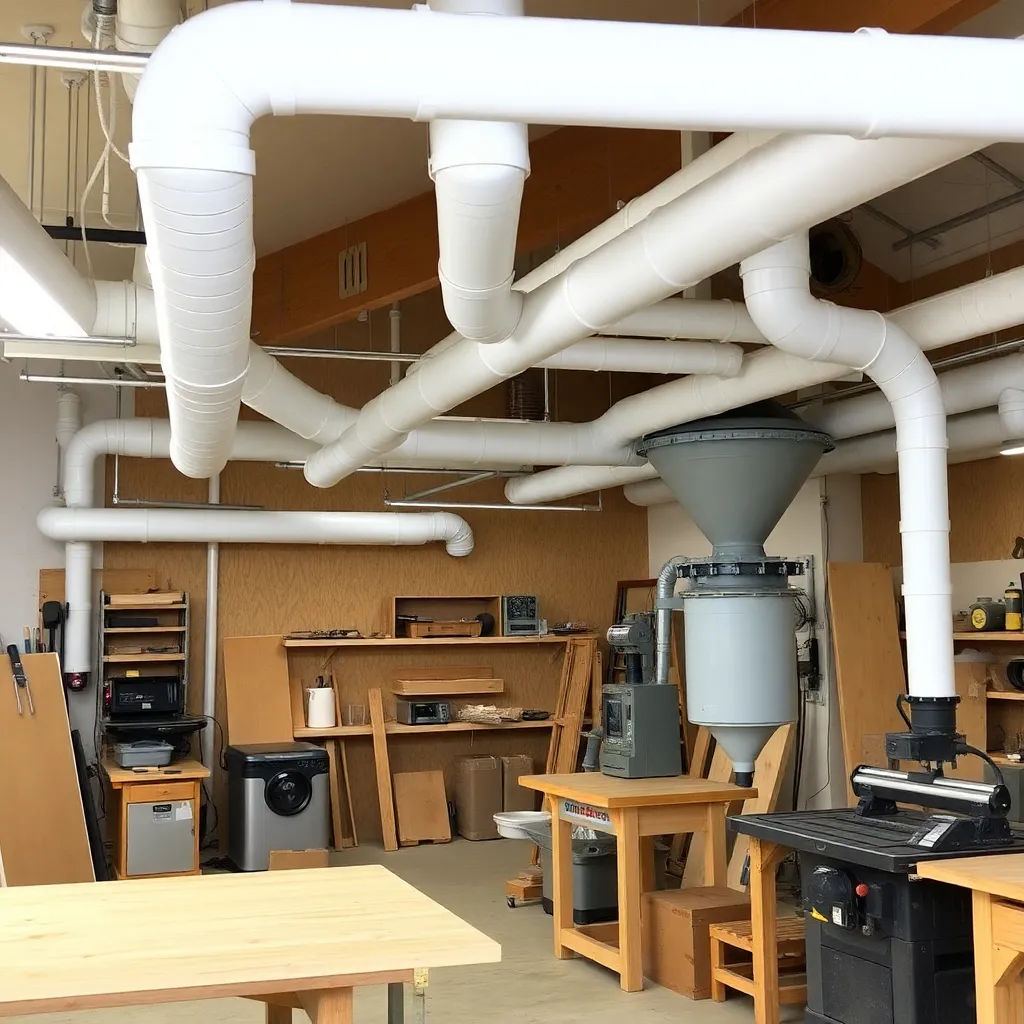
Wood dust is the most serious health hazard in the woodworking shop. Fine particles under 10 microns — generated by sanding, routing, and even hand planing — penetrate deep into the lungs and cause chronic respiratory disease. Many wood species produce dust classified as carcinogenic by IARC. A proper dust collection system captures dust at the source before it becomes airborne, protecting your lungs across decades of woodworking.
Ted’s Woodworking has complete shop setup guides alongside 16,000+ project plans. Browse Ted’s plans →
This guide is part of our complete Shop Layout and Dust Collection: Plan Your Workshop for Efficiency — covering workshop layout, dust collection systems, and shop organization.
Step 1: Understand the Two Types of Dust Control
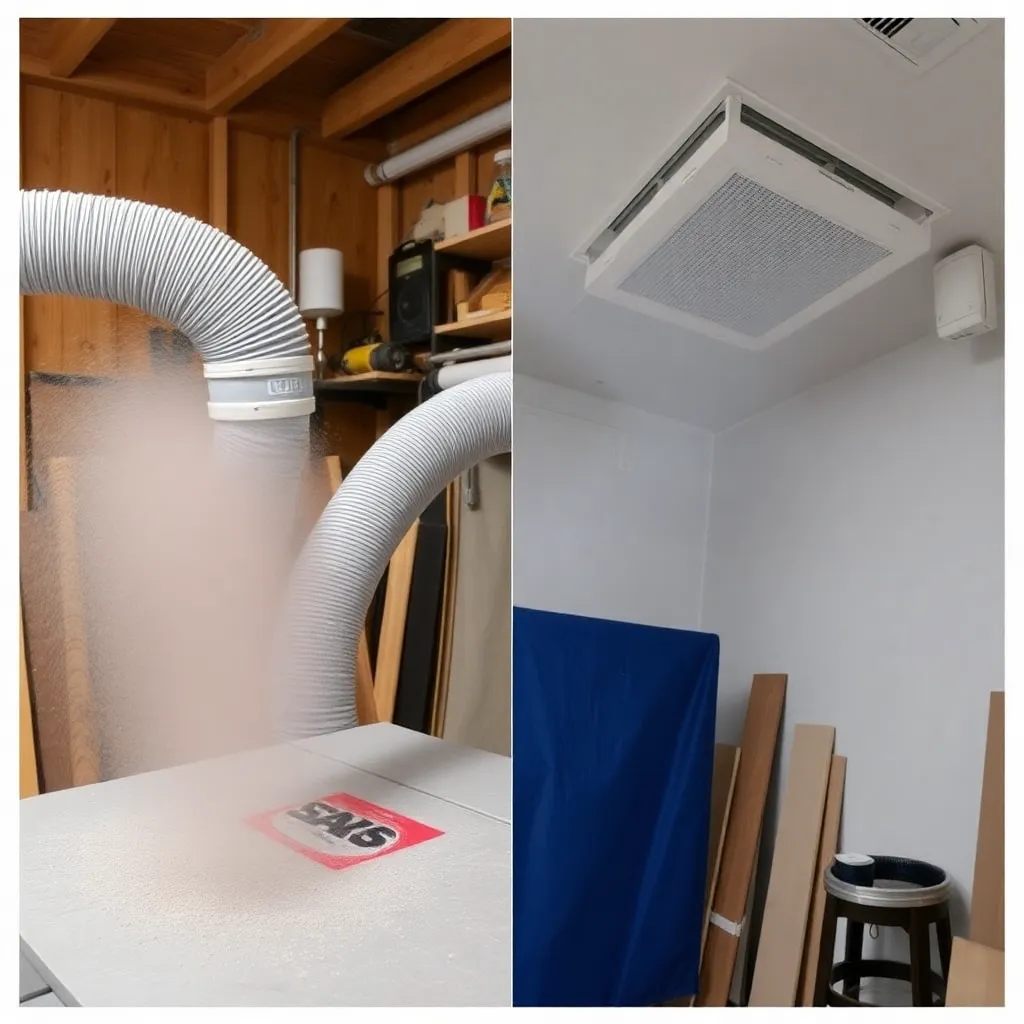
Goal: Know the difference between dust collection and ambient air filtration — you need both.
Dust collection captures chips and dust at the source — at the machine — before it becomes airborne. A hose connects each machine to the dust collector. The collector uses a fan (impeller) to create suction that pulls chips and dust away from the cut as it’s generated. This is the primary defense against wood dust.
Ambient air filtration cleans fine dust that has already become airborne and is floating in the shop. A ceiling-mounted or wall-mounted unit pulls air through a filter (typically 1 micron or finer) and returns cleaned air to the shop. This handles the fine fraction of dust that escapes even a good dust collection system.
Why you need both: a well-set-up dust collector captures 90–95% of chips and coarse dust at the machine. But sanding and routing still release fine particles that bypass the collection system. An ambient air filter running during and after machining cleans this fine fraction. Without ambient filtration, fine dust accumulates in your shop air and in your lungs across every session.
Milestone: Assess your current shop for both dust collection (machine connections) and ambient filtration (ceiling unit or open windows with good cross ventilation).
Step 2: Calculate the CFM You Need
Goal: Determine the airflow (CFM) required to capture dust effectively at your machines.
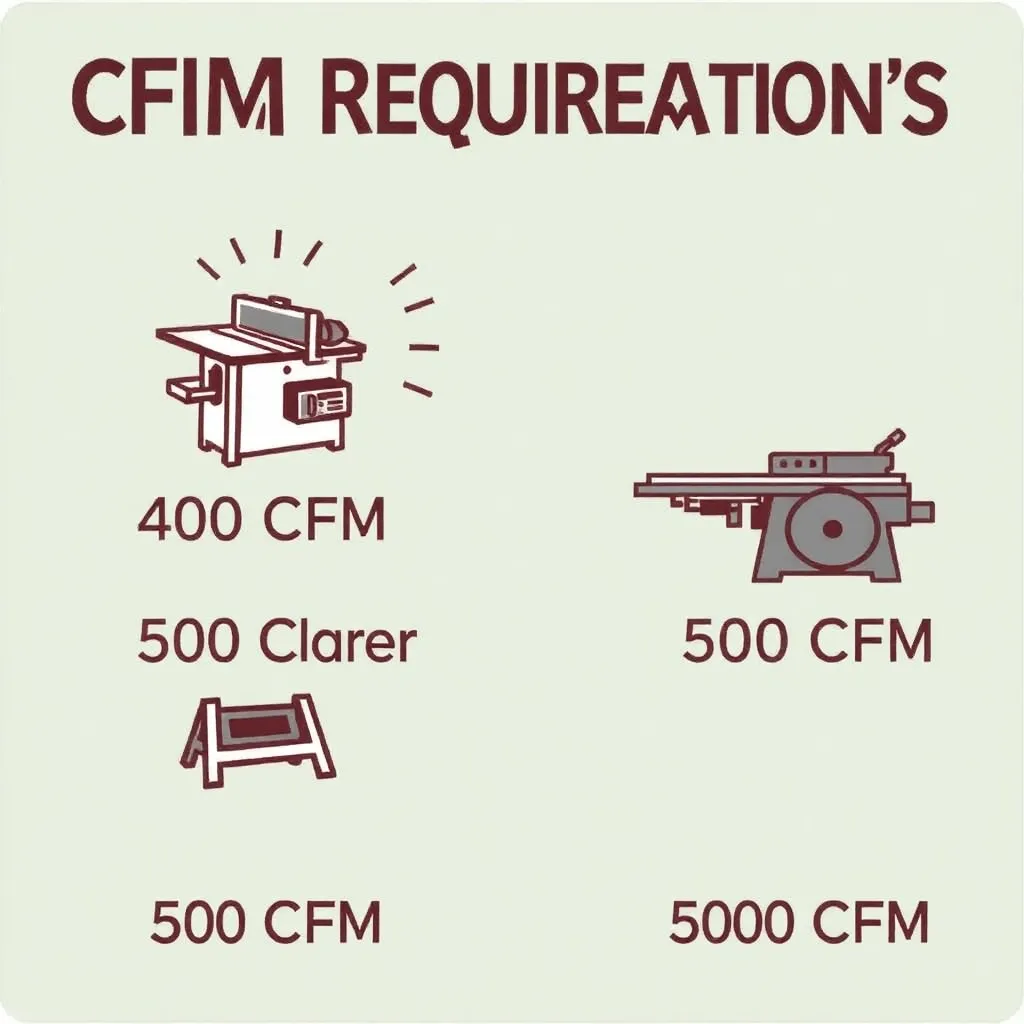
CFM (cubic feet per minute) is the volume of air the dust collector moves. More CFM means more dust-moving capacity. The minimum CFM to move chips and dust from each machine type:
| Machine | Minimum CFM |
|---|---|
| Table saw | 400–500 CFM |
| Jointer (6-inch) | 350 CFM |
| Jointer (8-inch) | 400 CFM |
| Thickness planer | 400–500 CFM |
| Band saw | 350 CFM |
| Router table | 350–400 CFM |
| Random orbital sander | 100–150 CFM |
| Miter saw | 350–400 CFM |
Sizing for a single machine at a time: if you use one machine at a time through blast gates (the standard approach for a home shop), size the collector to handle the highest-demand machine. For most shops: a 1.5 HP single-stage collector producing 650–750 CFM at the impeller delivers 400–500 CFM at the machine after duct losses. Adequate for table saw, jointer, and planer used one at a time.
Duct losses: every foot of duct, every elbow, and every blast gate reduces CFM. A 10-foot duct run with two 90-degree elbows may reduce the collector’s output by 30–40%. Size up to compensate.
Milestone: List all machines you’ll connect to dust collection and identify the highest-CFM machine. That machine sets the minimum collector size.
Step 3: Choose a Dust Collector
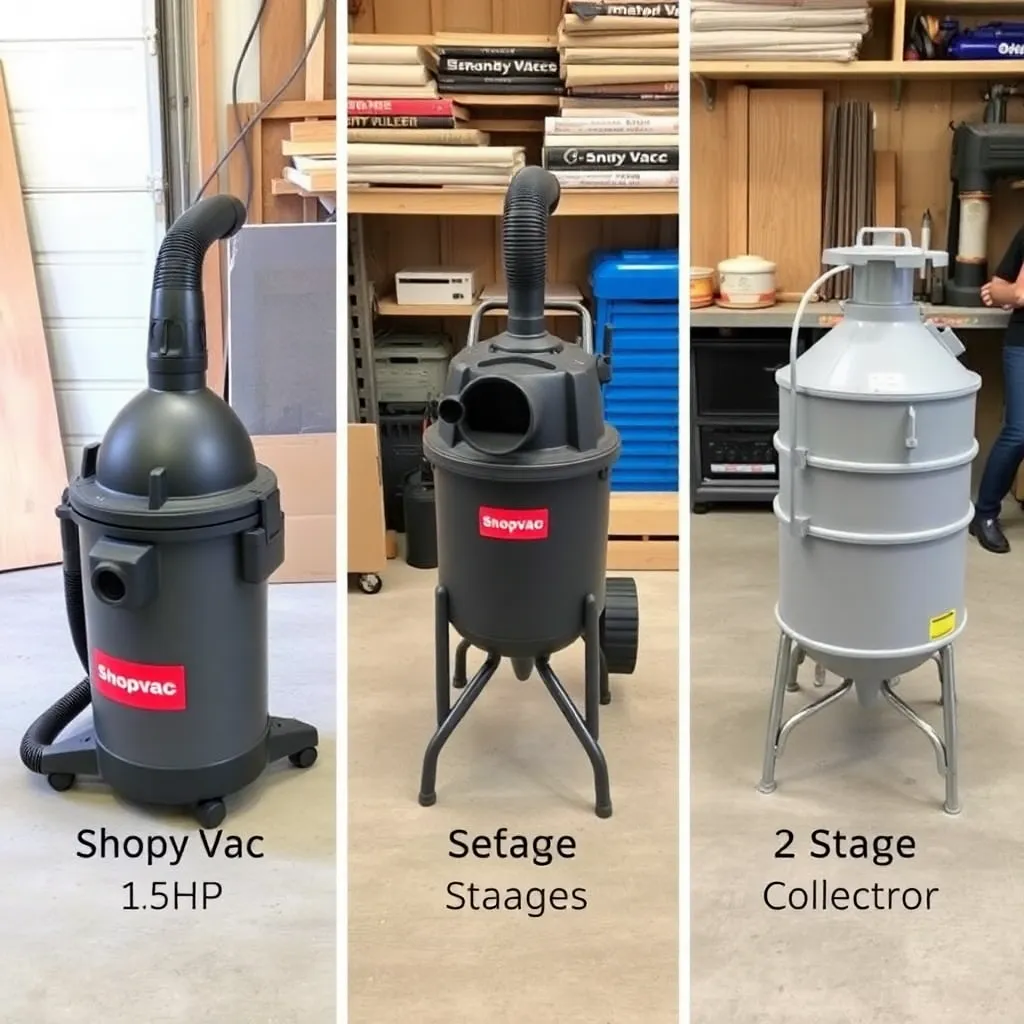
Goal: Select the right type and size of collector for your shop.
Shop vac (100–150 CFM): adequate for sanders and routers only. Too little airflow for table saw or planer. Use it for hand-held power tool dust collection. Filter upgrade (HEPA) is essential for fine dust protection.
Single-stage 1 HP collector ($150–$300): one impeller, one bag (chip and dust in the same bag). 400–500 CFM. Adequate for a table saw or jointer in a small shop. Limitation: when chips fill the bag, suction drops rapidly, and changing the bag while it’s full of fine dust releases a cloud of particles.
Single-stage 1.5 HP collector ($250–$450): 600–750 CFM. The sweet spot for most home shops — enough CFM for any single machine, affordable, and available from Jet, Grizzly, and Powermatic.
Two-stage collector ($350–$700): a cyclone pre-separator sits before the impeller and removes 99% of chips and coarse dust before they reach the filter bag. The bag only captures fine dust and lasts much longer between changes. Two-stage collection is cleaner and more efficient. The Jet DC-1100CK and Grizzly G0562 are popular examples.
Dedicated cyclone ($600–$2,000+): a large overhead cyclone (Oneida, ClearVue, Harvey) processes very high CFM with excellent separation. The professional choice for a serious shop with multiple machines. Requires overhead mounting and significant ductwork investment.
Milestone: Determine your budget and choose between single-stage, two-stage, or cyclone based on shop size and number of machines.
Step 4: Design the Ductwork
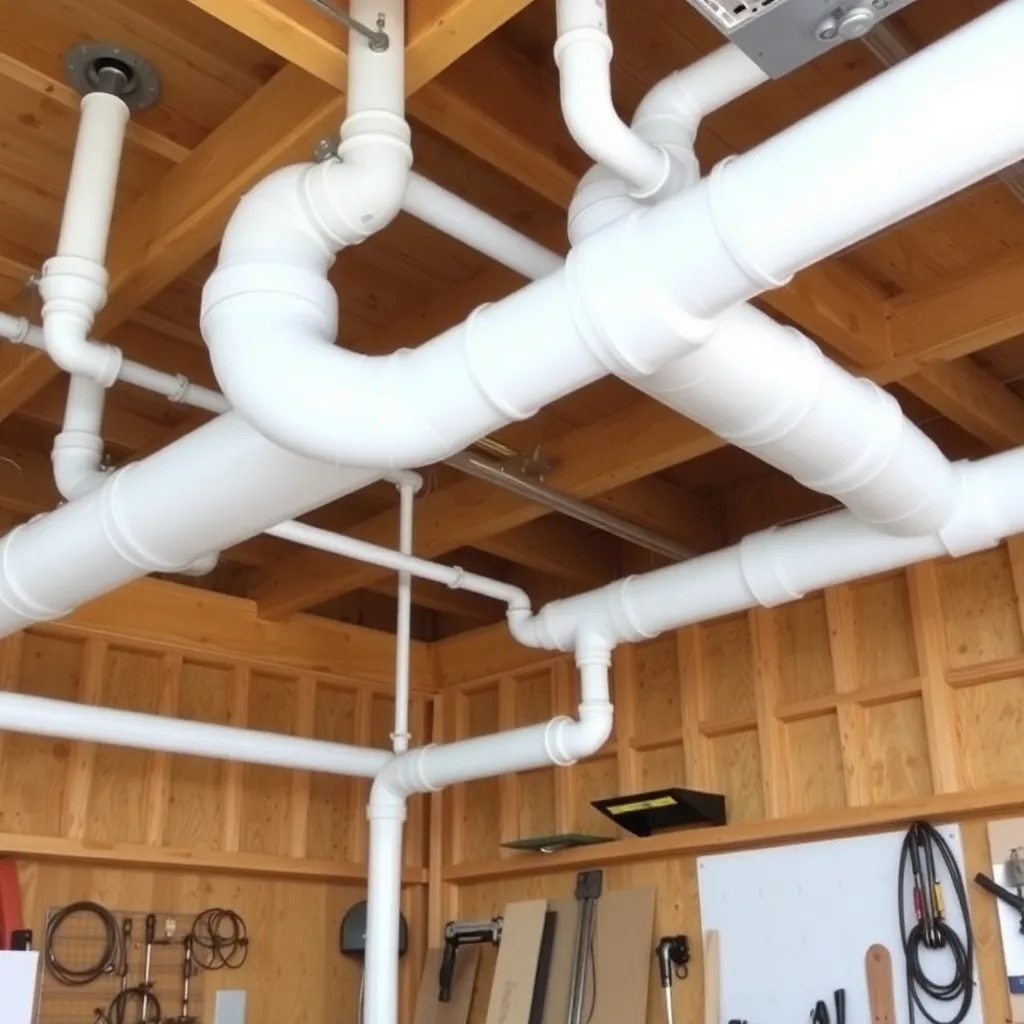
Goal: Plan and install a ductwork system that delivers adequate CFM to each machine.
Main duct sizing: the main duct (from collector to the farthest machine) should be 6 inches in diameter for a 1.5 HP+ collector. Undersized duct is the most common mistake — a 4-inch main duct chokes a 1.5 HP collector to 60% of its rated CFM.
Branch lines: 4-inch diameter for table saw, jointer, planer, and band saw. 2.5–3 inch for routers, sanders, and smaller tools.
Duct material:
- PVC pipe: inexpensive, smooth inside (low friction), widely available. Generates static electricity — ground all sections with a wire run through the duct and connected to an earth ground.
- Metal spiral duct: self-grounding, professional appearance, more expensive. The standard for permanent installations.
- Flexible hose: use only for the last 2–3 feet connecting to each machine (to allow machine adjustment). Never for long runs — the corrugated interior creates turbulence and CFM loss.
Blast gates: install a blast gate on every branch line. Open only the gate for the machine currently in use; close all others to concentrate full suction on one machine.
Milestone: Sketch the duct layout on the shop floor plan, calculating the total length of each branch and the number of elbows, then recalculate the expected CFM at each machine.
Step 5: Connect Each Machine
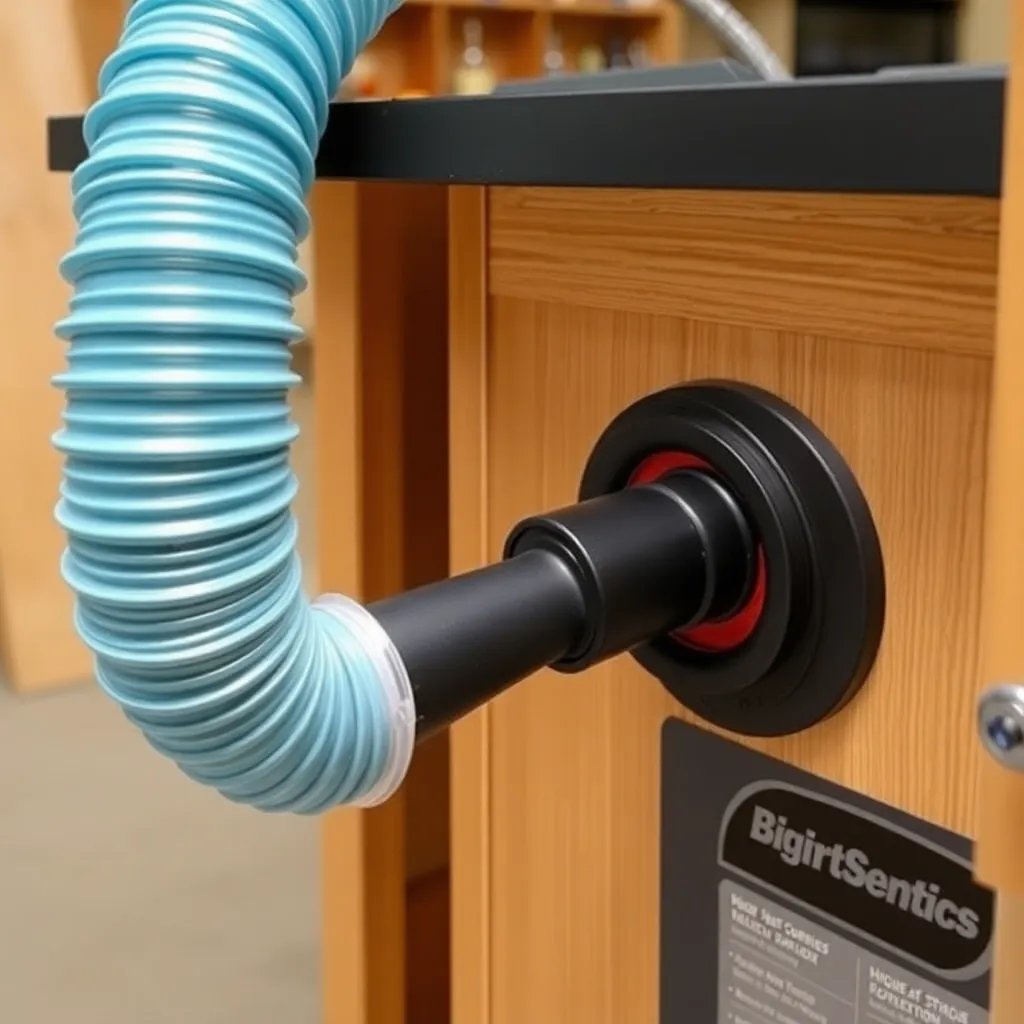
Goal: Connect every machine in the shop to the dust collection system.
Table saw: connect to the blade guard (most modern saws have a dust port on the guard) and the cabinet (a port at the base of the cabinet captures the dust that falls below the table). Two connections on a table saw provide the best capture.
Jointer: connect to the chip chute at the back of the machine. Many jointers need an adapter to convert the chip chute opening to a 4-inch hose.
Thickness planer: the planer’s chip ejection port is already 4-inch on most models — direct connection with a 4-inch hose.
Band saw: connect to the lower compartment door port. Band saw dust collection is imperfect — the blade cuts slowly and generates fine dust that escapes easily — but even partial capture is better than none.
Router table: the fence has a dust port on most models. Add a second connection at the bit level (through the table surface or lift) for better capture when routing profiles.
Miter saw: most miter saws have a built-in dust bag or port — replace the bag with a hose to the dust collector for dramatically better capture. A shop vac works well for miter saw dust since the tool is often positioned away from the main duct.
Milestone: Test each machine connection by running the tool with the dust collector on and observing where dust escapes — adjust hose position or add a second collection point if needed.
Step 6: Add Ambient Air Filtration
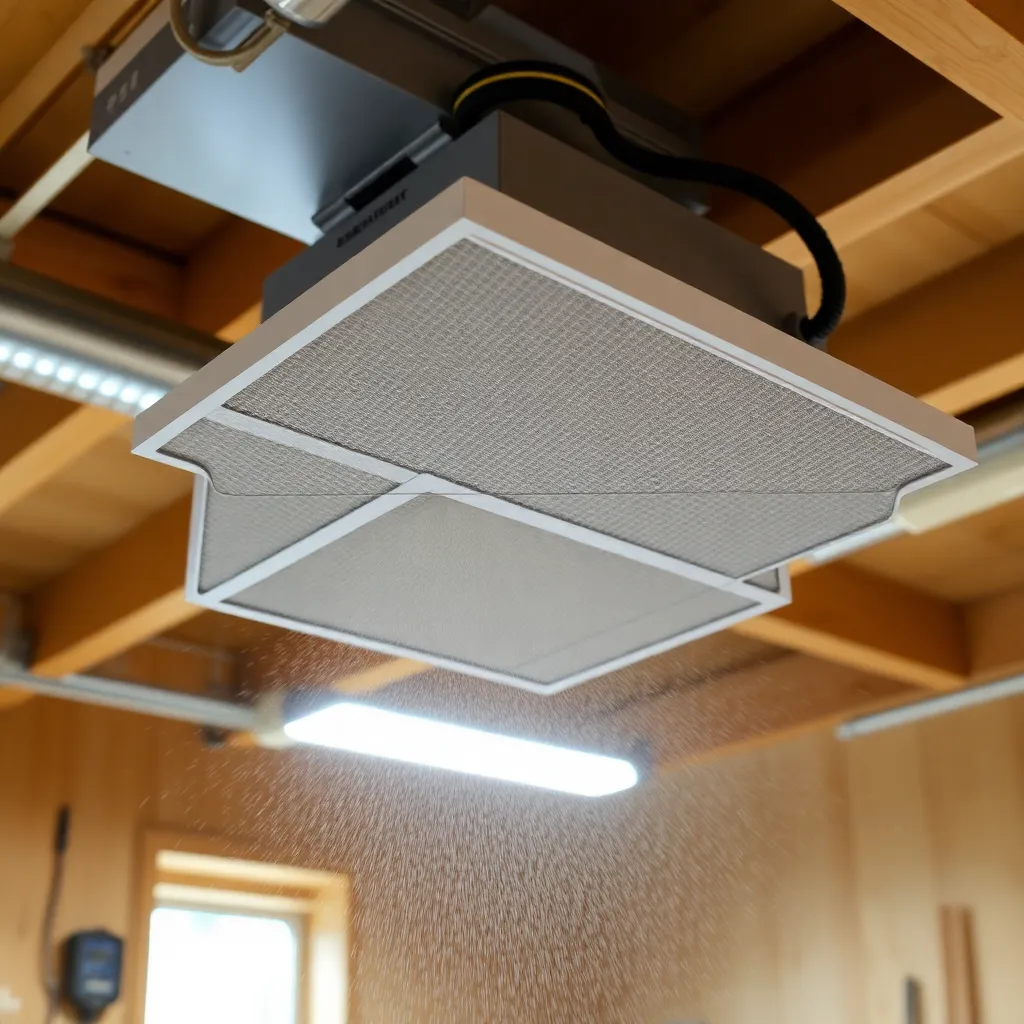
Goal: Install a ceiling-mounted air filter to capture fine dust that escapes the collection system.
A commercial ambient air filtration unit (JET AFS-1000B, Grizzly G0570, Powermatic PM1200) mounts to the ceiling and draws shop air through a series of filters. Most units have a 30-micron outer filter (for chips and coarse dust) and a 1-micron inner filter (for fine respirable dust). Run the unit during machining sessions and for 30–60 minutes after stopping to clean the air before you leave the shop.
DIY alternative: mount a 20″×20″ box fan to the ceiling and strap a MERV-13 or MERV-16 furnace filter to its intake face. Cost: $30–$50. Not as effective as a dedicated unit (furnace filters aren’t rated for continuous high-velocity air), but significantly better than no ambient filtration.
Positioning: mount the unit in the center of the shop ceiling, angled to create a circular air pattern that draws dust from all corners. Avoid mounting directly above machines — you want to capture escaped dust, not pull it away from the collection system at the machine.
Milestone: After installing ambient filtration, observe the shop air after a sanding session — the air should clear noticeably within 30 minutes of running the filtration unit.
Woodworking Shop Dust Collection FAQ
What is the difference between a dust collector and a shop vac for woodworking?
A dust collector moves high volumes of air (350–750+ CFM) at moderate suction — it’s designed to transport chips and coarse dust through ductwork from stationary machines. A shop vac moves lower air volumes (100–150 CFM) at high suction — it’s designed for close-range fine dust pickup from portable tools and cleanup tasks. For machines like table saws, jointers, and planers: a dust collector is required (shop vac airflow is insufficient to move the volume of chips generated). For sanders, routers, and general cleanup: a shop vac with HEPA filtration is ideal. Many shops use both: a dust collector for stationary machines and a shop vac for portable tools.
How do I prevent static buildup in PVC dust collection ductwork?
PVC pipe generates static electricity from the dust passing through it — in theory, a static discharge could ignite wood dust. In practice, most woodworkers use PVC ductwork without incident, but grounding eliminates the risk. The standard method: run a bare copper wire through the interior of all PVC duct sections, connecting each section with the wire, and attach the wire to a grounding point (a cold water pipe or a ground rod). The grounding wire drains static buildup to earth ground before it can discharge. Alternatively, use metal spiral duct (self-grounding) or ESD-safe PVC duct (conductive material mixed into the PVC).
What micron rating do I need for dust collection filters?
The most dangerous wood dust particles are under 10 microns — they stay airborne for hours and penetrate deep into lung tissue. Standard dust collector bags capture particles down to approximately 30 microns — they miss the most dangerous fine fraction. For health protection, filters rated at 1 micron or finer are needed. Options: (1) upgrade your dust collector bag to a 1-micron pleated filter bag or cartridge filter (available for most collectors, $50–$150); (2) add an ambient air filtration unit with a 1-micron filter as a second line of defense; (3) use a two-stage system where the cyclone removes coarse dust and the filter bag only handles fine particles (extending filter life while providing better fine-dust capture).
Do I need dust collection for a miter saw?
Yes — a miter saw generates significant fine dust, particularly when crosscutting hardwoods at high speed. The blade’s fast rotation launches dust forward and sideways, and most of the fine fraction (the dangerous particles) becomes airborne rather than landing in the dust bag. Connection options: (1) connect the miter saw’s dust port to a shop vac (usually 2.5-inch hose) — captures 70–80% of dust; (2) add a hood behind the blade (DIY or commercial) that captures the forward-ejected dust and connects to a larger hose; (3) use the miter saw outdoors or with a good face respirator as a compromise. A well-connected shop vac on a miter saw is a significant improvement over the built-in dust bag.

“DIY woodworking enthusiast who started with zero experience and a YouTube tutorial.
I build simple, practical projects for my home and share free plans
so other beginners can skip the guesswork.If I can build it, you can too.”