Part of: Wood Finishing Techniques →
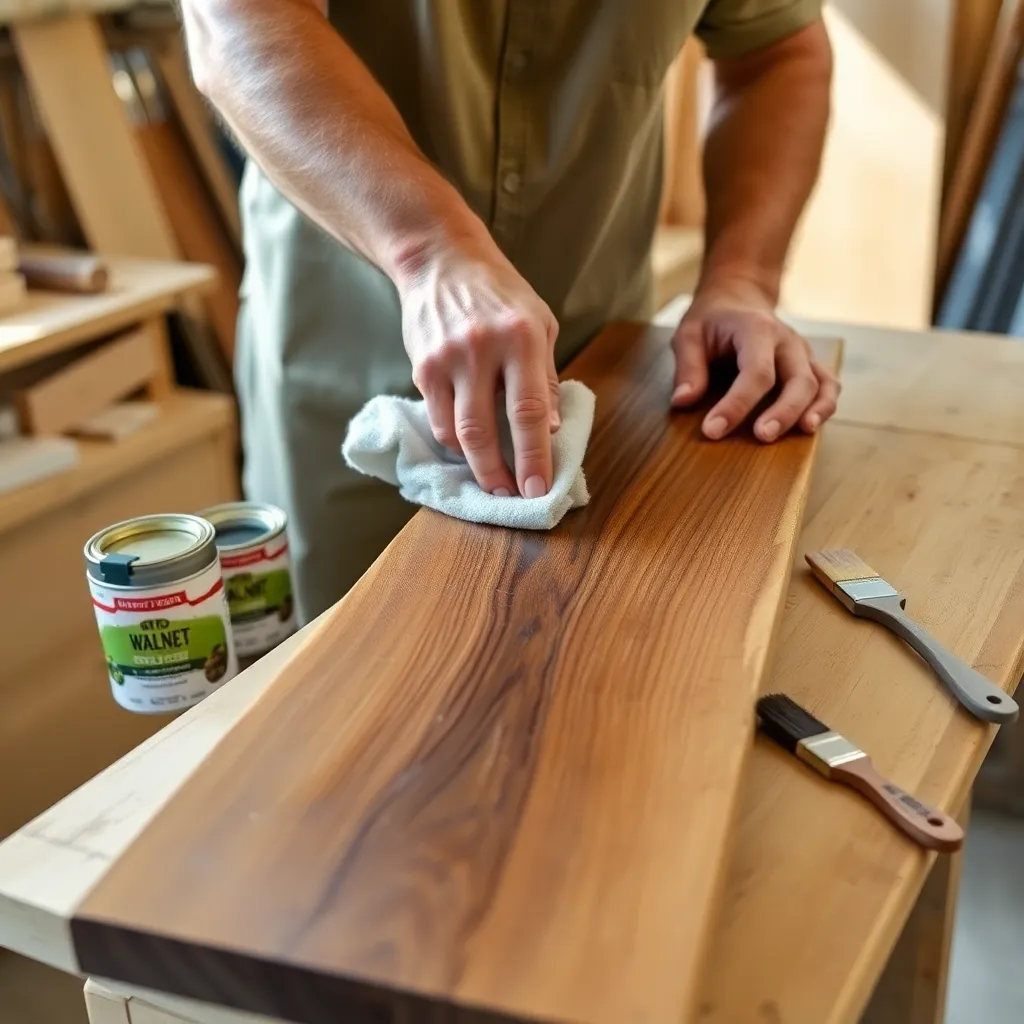
Wood stain adds color and depth to a woodworking project without concealing the grain — the difference between furniture that looks finished and furniture that looks flat. Stain penetrates wood fibers to color them from within, enhancing grain patterns and adding warmth or drama depending on the color chosen. But stain application is unforgiving: blotching on pine, streaking on oak, and uneven penetration on maple are common problems that require preparation and technique to avoid. This guide covers stain selection, surface preparation, application, and troubleshooting.
Ted’s Woodworking has 16,000+ plans with complete finishing specifications for every wood species. Browse Ted’s plans →
Step 1: Choose the Right Stain Type
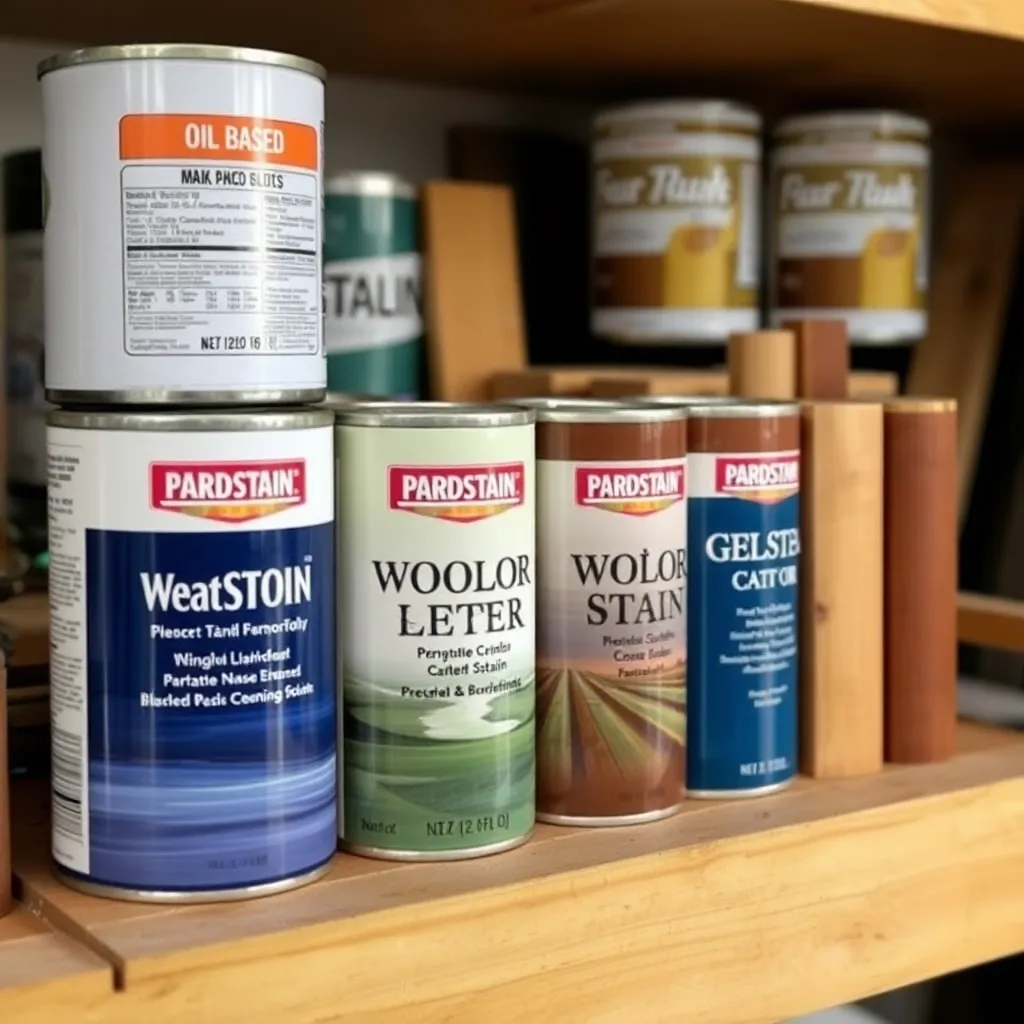
Goal: Select the stain formulation that suits the wood species and desired outcome.
Oil-based stains (most common):
Pigment suspended in oil carrier (linseed oil or similar). Penetrates wood fibers slowly, allowing time to work the stain in and wipe off excess. Produces rich, deep color. Requires mineral spirits for cleanup. Dry time: 8–24 hours before topcoat. Best for: oak, walnut, ash, pine (with conditioner), cherry.
Water-based stains:
Pigment suspended in water carrier. Faster dry time (2–4 hours), lower VOC, water cleanup. Raises grain (the water causes wood fibers to swell) — sand lightly with 220 grit after the first coat dries, before subsequent coats or topcoat. Slightly less depth than oil-based. Best for: projects where quick turnaround matters; any species.
Gel stains:
High-viscosity stain (similar to petroleum jelly in consistency) that sits on the wood surface rather than penetrating deeply. Doesn’t penetrate unevenly, making it the preferred choice for blotch-prone species (pine, birch, cherry). Also excellent for non-grain surfaces (end grain, fiberglass, metal) where liquid stains would create a “grain” pattern from the material’s surface texture. Best for: blotch-prone species, uniform color across mixed grain directions, end grain.
Dye stains:
Dye dissolved in water or alcohol (not suspended pigment). Dye molecules are much smaller than pigment particles and penetrate wood fibers more deeply. Produces more vivid, transparent color than pigment stains — the grain is more visible through a dye stain. UV-sensitive (may fade in direct sunlight). Best for: maximum grain visibility, vivid colors, figured woods where you want the figure to show dramatically.
Milestone: Identify the species you’re staining and whether it’s prone to blotching (pine, birch, cherry, maple, poplar) before selecting the stain type.
Step 2: Prepare the Surface
Goal: Sand to the correct final grit and address any blotch-prone species before staining.
Sanding sequence: finish sanding to 120–150 grit for most species. Don’t sand finer than 150 grit before staining — finer sanding burnishes the wood surface (closes the pores) and reduces stain penetration, resulting in a lighter, less consistent color. The exception: very coarse-grained species like open-pore oak, where you can sand to 180 grit without reducing penetration significantly.
End grain preparation: end grain is the most porous part of a board and absorbs stain 5–10 times faster than face grain, resulting in much darker end grain. Address this before staining: apply a diluted washcoat of finish (1 lb shellac or 10% diluted polyurethane) to the end grain only, let it dry, sand lightly, then stain. The partial seal reduces end grain porosity and produces a more even result.
Pre-stain conditioner for blotch-prone species:
Apply Minwax Pre-Stain Wood Conditioner (or equivalent) to pine, birch, cherry, maple, poplar. Brush on liberally, let absorb 15–30 minutes, wipe off excess. Apply stain immediately while the conditioner is still in the wood (within 2 hours). The conditioner partially fills the soft early wood pores, reducing differential absorption and minimizing blotching.
Milestone: Sand a test piece to the same grit as the actual project, apply stain without conditioner, evaluate for blotching. If blotching occurs, add the conditioner step before proceeding.
Step 3: Apply the Stain
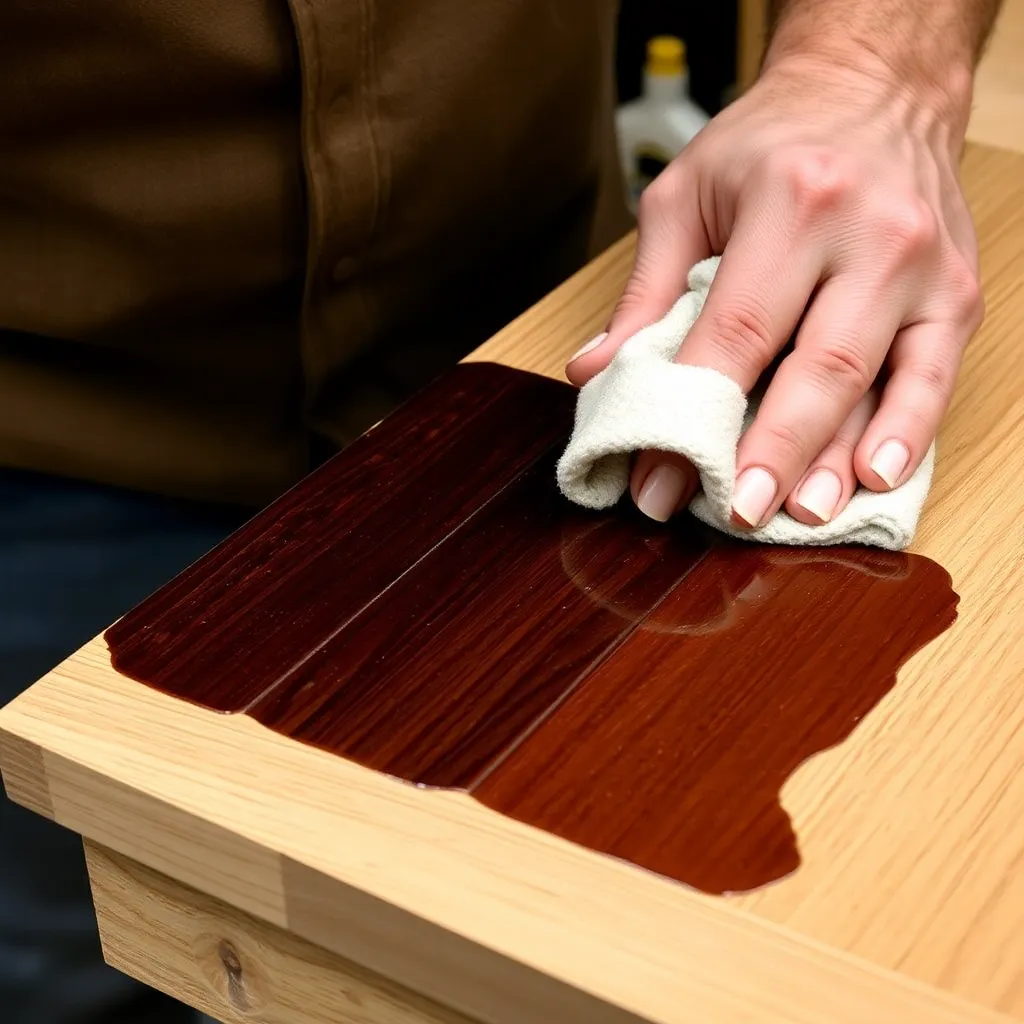
Goal: Apply stain evenly to achieve consistent color across the entire project.
Application tools: for liquid stains (oil-based, water-based), use a clean cotton rag, foam brush, or natural-bristle brush. Rags give the most control over application and excess removal. For gel stains, use a lint-free cloth or foam applicator — gel stain is too thick for a standard brush.
Application technique:
- Work in manageable sections — one panel or one face at a time
- Apply stain generously in the direction of the grain
- Work the stain into the grain with a brush or rag, ensuring complete coverage
- Wait the penetration time specified on the label (typically 1–5 minutes for liquid stains)
- Wipe off excess with a clean rag, wiping with the grain
- Work toward wet edges — don’t let stain dry on the surface before wiping; dried stain creates dark spots
Building color with multiple coats: a second coat of stain (after the first is dry) will deepen the color slightly. The first coat does most of the color work; additional coats add incrementally. Test the desired color on scrap by applying 1, 2, and 3 coats and evaluating after drying.
Wiping vs leaving: most liquid stains are designed to be wiped off — the color comes from the stain that penetrates the wood, not from stain sitting on the surface. Leaving excess stain on the wood produces a tacky, sticky surface when it dries. Always wipe off excess. The exception: some tinted oil finishes (Danish oil in a particular color) are designed to be left without wiping — check the manufacturer’s instructions.
Milestone: Apply stain to the entire project within a reasonable time window (within 30 minutes for most oil-based stains) so there’s no dry-edge line between sections applied at different times.
Step 4: Achieve Specific Effects
Goal: Use advanced techniques to achieve custom colors and effects beyond simple stain application.
Mixing stains for custom colors:
Mix stains from the same brand and formulation (oil-based with oil-based, water-based with water-based). Test ratios on scrap — a small amount of a dark stain dramatically shifts the color of a larger quantity of a lighter stain. Record ratios so you can reproduce the color if needed.
Layering different colors:
Apply a base coat in one color (lighter), let it dry fully, then apply a second coat in a different color. The second color modifies the first — a brown base with a gray second coat produces an aged, driftwood effect. The first coat must be dry before the second to avoid lifting.
Antiquing (glaze technique):
After the stain dries and the topcoat is applied (1 coat), apply a glaze (a slow-drying tinted medium) over the dried topcoat. Wipe the glaze into corners and recesses and off the flat surfaces. The glaze remains in the details, creating depth and an aged appearance. Let the glaze cure before applying the remaining topcoats.
Ebonizing with dye:
Black water-based dye applied full strength produces a deep black that doesn’t hide grain. Apply with a cloth or sponge, let dry, sand very lightly (220 grit) to remove any raised grain, apply a second coat, and topcoat. True ebonizing — especially on high-tannin species — produces an almost metallic depth that’s very different from black paint.
Milestone: Test any custom color or effect on scrap pieces of the exact species, in the exact grain direction, before applying to the actual project.
Step 5: Apply the Topcoat
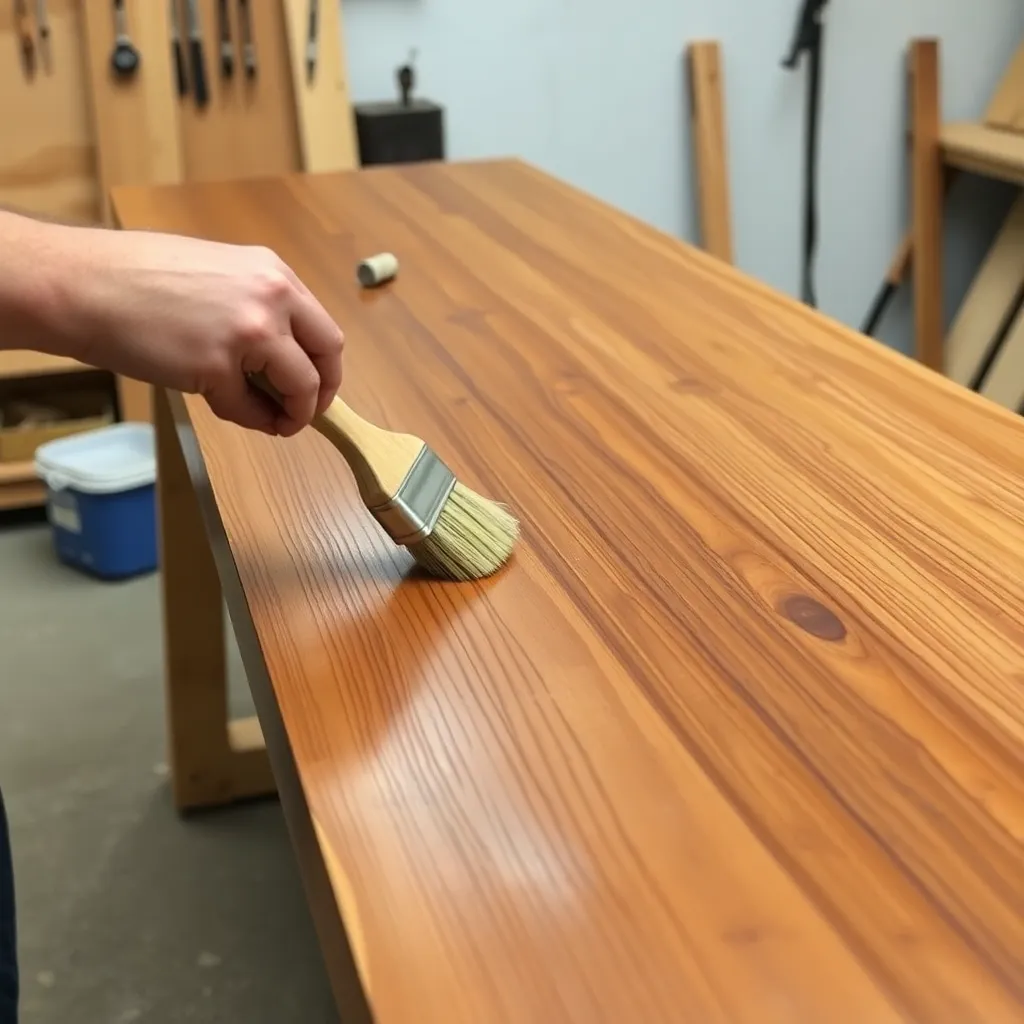
Goal: Seal and protect the stain with the appropriate topcoat.
Wait for the stain to dry completely: oil-based stains need 8–24 hours; water-based stains 2–4 hours. Test by pressing a clean white cloth against the stained surface — no color transfer means the stain is dry. In cold or humid conditions, allow additional drying time.
First topcoat over oil-based stain:
Oil-based polyurethane or oil-based varnish is fully compatible. Water-based topcoats are also compatible with oil-based stain once the stain is completely dry — but apply a test coat on scrap to check for adhesion and color shift (some water-based topcoats shift oil-based stain color slightly).
First topcoat over water-based stain:
Water-based topcoats are the natural choice and are fully compatible. Oil-based topcoats work but are not recommended — the oil in the topcoat can slightly lift the water-based stain if it’s not completely dry.
Sealing the stain with shellac:
A coat of dewaxed shellac (Zinsser SealCoat) over any dry stain seals the color before topcoating, prevents bleed-through, and provides excellent adhesion for any subsequent topcoat (shellac is compatible with all topcoats when dewaxed). This extra step produces a more consistent final result.
Milestone: Apply the first topcoat on a scrap piece with the same stain to verify compatibility and color accuracy before applying to the project.
Step 6: Troubleshoot Staining Problems
Goal: Identify and fix the most common staining problems.
Blotching (uneven dark patches):
Already happened: apply a darker overall stain on top to minimize the blotch contrast (blend it in), or apply an opaque colored glaze to even the color. Prevention (next time): pre-stain conditioner, gel stain, or washcoat.
Streaking:
Usually caused by brush or rag marks that weren’t wiped off uniformly. Fix: allow to dry, then apply a second coat and wipe more evenly; the second coat usually blends the streaks. Prevention: wipe consistently with the grain, use a clean cloth for each pass.
End grain too dark:
Already happened: sand the end grain back to bare wood (this is difficult on a finished piece), apply shellac washcoat, restain. Prevention: apply end-grain sealer (diluted shellac or finish) before staining.
Stain not drying/staying tacky:
Oil-based stain left too thick on the surface dries from the outside in — the surface skins over but the interior remains wet. Fix: wipe with a rag dampened with mineral spirits to remove the surface layer; the underlying stain will cure. Prevention: always wipe off excess stain; never leave a puddle.
Color looks different than the sample:
The sample was likely on a different wood species or at a different ambient temperature. Stain color varies significantly by species — the same stain produces different results on pine vs oak vs walnut. Always test on the actual species.
Milestone: Identify any staining problem on a test piece before finishing the actual project — it’s much easier to address on a scrap piece.
Woodworking Stains FAQ
What is the best stain for pine?
Gel stain is the best choice for pine — its thick consistency reduces the differential absorption that causes blotching in pine’s soft earlywood vs dense latewood. Minwax Gel Stain, General Finishes Gel Stain, and Old Masters Gel Stain all perform well on pine. If using a liquid stain on pine: apply Minwax Pre-Stain Wood Conditioner first and apply the stain while the conditioner is still in the wood. The conditioner reduces but doesn’t eliminate blotching. For uniform color on pine: consider painting instead of staining — paint covers the blotch-prone grain pattern entirely.
How long does wood stain take to dry?
Oil-based stains: 8–24 hours before topcoat under normal conditions (65–75°F, 40–60% humidity). Water-based stains: 2–4 hours. Gel stains: similar to oil-based (8–24 hours). In cold conditions (below 60°F) or high humidity (above 70%): oil-based stain may take 48+ hours to dry completely. The white cloth test is the definitive check: press a clean white cloth firmly against the stained surface. If color transfers, the stain isn’t dry. When the cloth stays clean, proceed with topcoat.
Can I stain over already-stained wood?
Yes — restaining over existing stain is possible if the wood hasn’t been topcoated. The new stain will darken the existing color (you can only go darker, not lighter, without sanding). Sand the existing stain lightly with 220 grit to scuff the surface, then apply the new stain. If the existing stain has been topcoated: sand through the topcoat to bare wood (or close to bare wood) before staining, since most stains don’t penetrate through a finish. Alternative: apply a glaze (tinted medium that goes over a finish) to shift the color slightly without sanding back to bare wood.
Does stain protect wood?
No — stain adds color but minimal protection. Stain alone leaves wood susceptible to water damage, staining, and abrasion. Always apply a protective topcoat over stain: polyurethane, lacquer, varnish, or a penetrating oil finish. The only stain products that provide some protection are combination stain-and-sealers (like Cabot Australian Timber Oil or similar) — these are one-step products that add color and some protection simultaneously. For most woodworking projects, a separate stain and then a dedicated protective topcoat produces better color and better protection than a combination product.

“DIY woodworking enthusiast who started with zero experience and a YouTube tutorial.
I build simple, practical projects for my home and share free plans
so other beginners can skip the guesswork.If I can build it, you can too.”