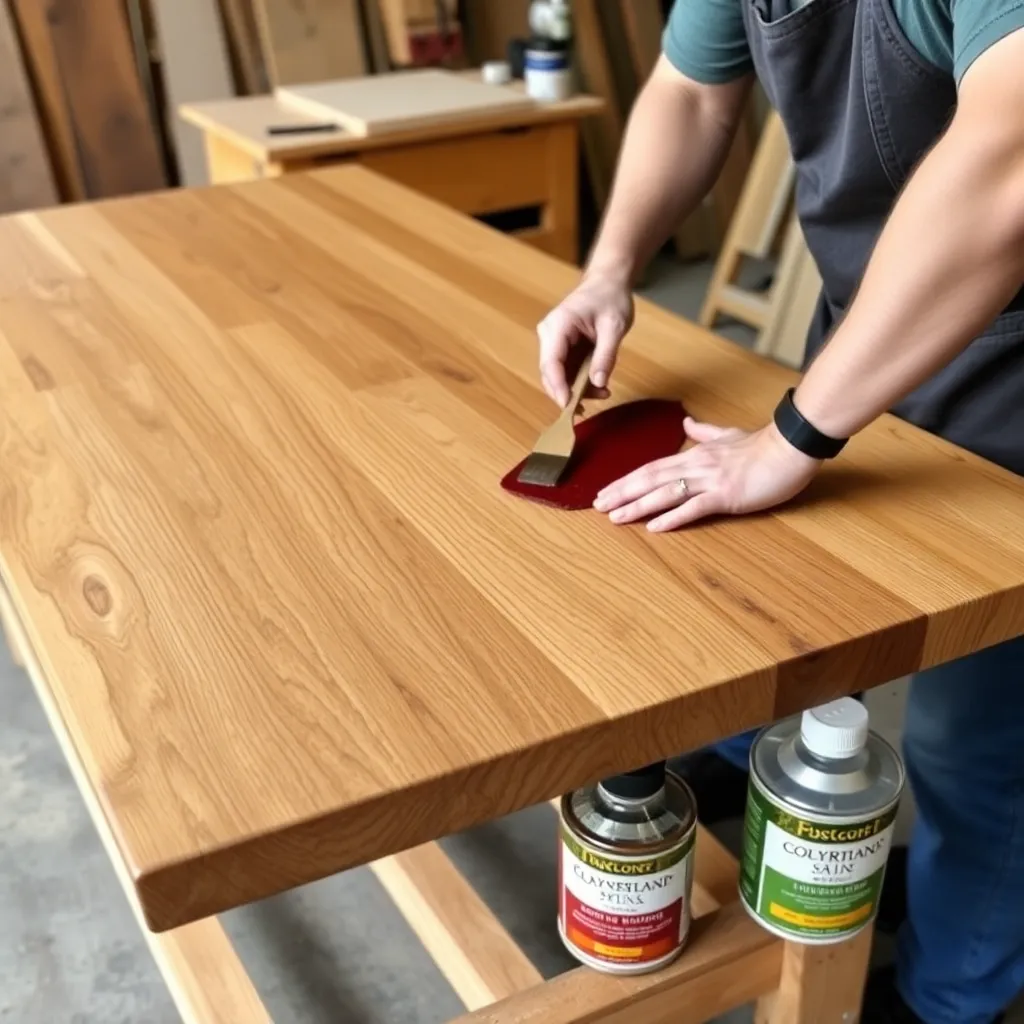
Part of: Woodworking Techniques →
Wood finishing is the final stage of any woodworking project — and the stage that determines how the piece looks and how long it lasts. A well-executed finish enhances the natural beauty of the wood, protects it from moisture and abrasion, and makes the surface easier to clean. A poorly executed finish reveals every defect, raises grain that should have been knocked down, and peels within a year. This guide covers the essential wood finishing techniques: surface preparation, stain application, topcoat selection, and specialized finishes.
Ted’s Woodworking has 16,000+ plans with complete finishing guidance for every project type. Browse Ted’s plans →
Finish Nail Gun
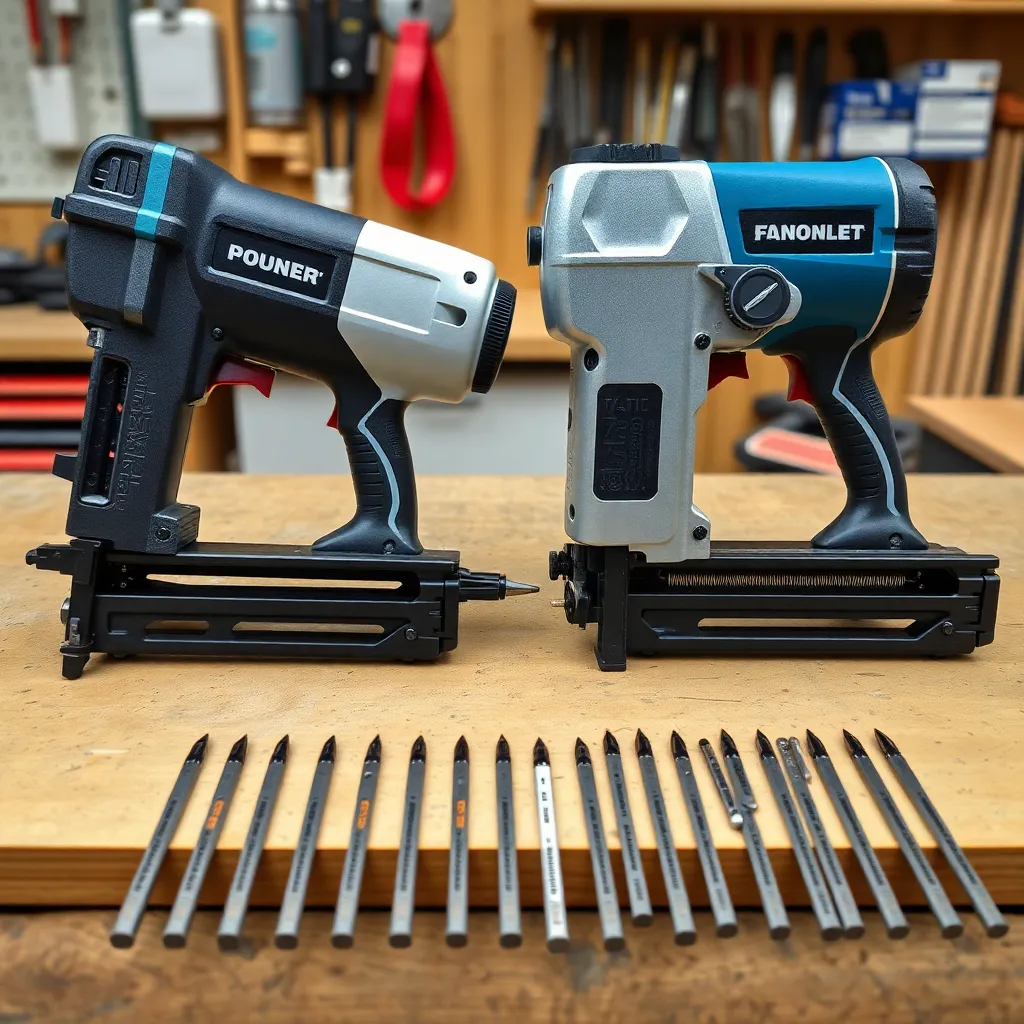
The finish nail gun is the essential power tool for attaching trim, moldings, and cabinet face frames — the final stage of woodworking where precision fastening without visible fastener heads matters. A finish nailer drives 15-gauge or 16-gauge nails that leave a small hole easily filled with wood putty, as opposed to framing nailers that leave a large, visible hole. The brad nailer is the smaller cousin, firing 18-gauge brads for lighter trim and delicate work.
What’s covered: the difference between brad nailers (18-gauge) and finish nailers (15/16-gauge), the applications each handles, compressor requirements, nail length selection, the technique for setting the nail head just below the surface (the countersink depth adjustment), filling the nail hole with matching wood filler, and the safety rules for working with nailers near finished surfaces.
The key distinction: use a 15-gauge or 16-gauge finish nailer for baseboard, door casing, crown molding, and cabinet face frames — the larger nail has holding power for these structural applications. Use an 18-gauge brad nailer for small trim pieces, thin stock, and applications where even a small nail hole would show — craft projects, small molding details, attaching back panels. The brad’s small hole is easier to conceal but its holding power is limited to lighter work.
Woodworking Stains
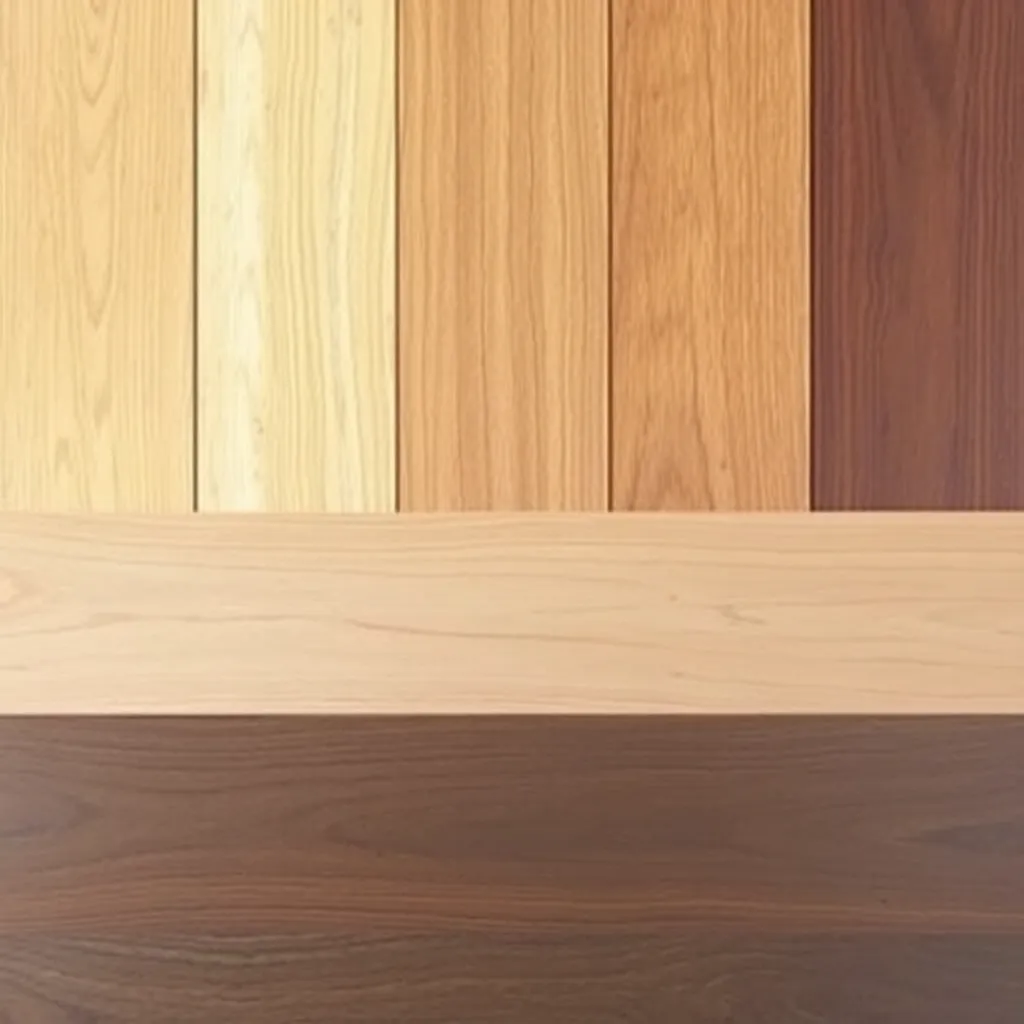
Woodworking stains add color and depth to wood without obscuring the grain — the stain penetrates the wood fiber and colors it from within, unlike paint that covers the surface. The right stain can unify mismatched boards, age a new piece to match antiques, or add dramatic contrast to figured grain. The wrong stain application — blotching on pine, streaking on oak, uneven color on maple — can ruin a project that took weeks to build.
What’s covered: oil-based stains vs water-based stains (oil-based: richer color, longer dry time, requires mineral spirits cleanup; water-based: faster dry, easier cleanup, slightly less color depth), gel stains for blotch-prone species (pine, birch, cherry), pre-stain wood conditioner and when it’s required, applying stain with a brush vs a cloth, wiping off excess vs leaving it to penetrate, layering stains for custom colors, and the critical importance of letting stain dry completely before topcoat.
Blotch prevention: softwoods (pine, fir) and some hardwoods (birch, cherry) absorb stain unevenly — the soft earlywood absorbs deeply, the dense latewood absorbs shallowly, producing a blotchy appearance. Prevent this with: a pre-stain conditioner (dilutes the stain slightly, produces more even penetration), gel stain (thick consistency that sits on the surface rather than penetrating unevenly), or a washcoat of diluted shellac (seals the soft areas partially before staining). Test on scrap before committing.
Wood Finishes
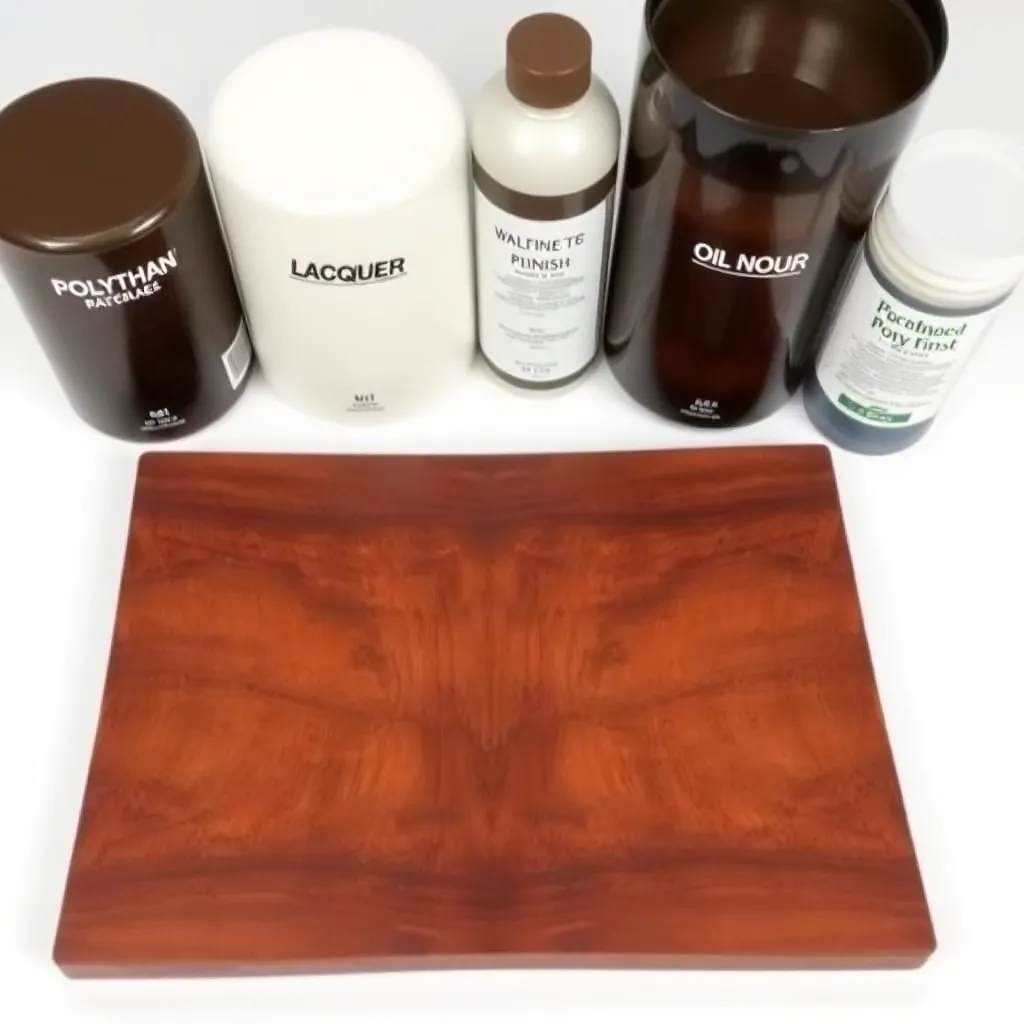
The topcoat finish protects the stained or natural wood from moisture, abrasion, UV, and handling — and determines the sheen level of the final piece. Choosing the right finish depends on the use of the piece (tabletop vs decorative only), the desired appearance (matte vs gloss), and the application method available (brush, spray, wipe-on). The most important finishes every woodworker should know: oil finishes, polyurethane, lacquer, shellac, and hard wax oil.
What’s covered: penetrating oil finishes (tung oil, Danish oil, linseed oil) — soak into the wood to provide a natural, low-sheen appearance; easy to apply and repair but minimal protection; polyurethane — the most common protective topcoat, available in oil-based (amber tone, durable, slow dry) and water-based (clear, fast dry, slightly less durable), applied by brush or spray; lacquer — fast-drying, clear, spray-applied, the professional standard for furniture; shellac — natural resin dissolved in alcohol, excellent adhesion, used as a sealer and standalone finish; hard wax oil — penetrating oil+wax blend for floors and tabletops that feeds the wood while providing protection.
Sheen levels: most finishes come in flat/matte (0-10 sheen), satin (20-40 sheen), semi-gloss (50-70 sheen), and gloss (85-100 sheen). Higher sheen shows more wood grain and clarity but also shows every scratch and fingerprint. Lower sheen hides imperfections but can look dull on figured wood. Satin (30-40 sheen) is the most versatile choice for most furniture.
Wood Warping
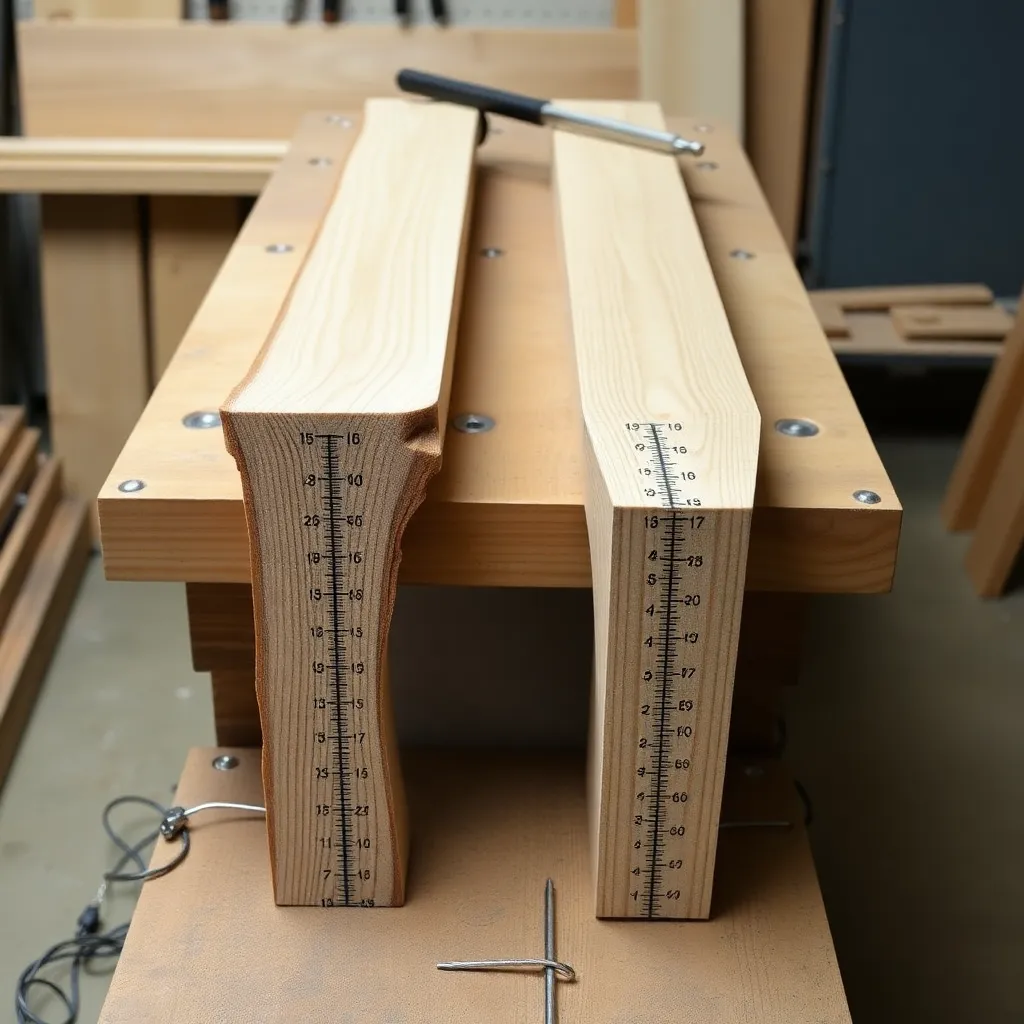
Wood warps when it absorbs or loses moisture unevenly — one face absorbs more than the other, and the differential expansion causes the board to cup, bow, twist, or crook. Understanding why wood warps is the first step to preventing it: always store wood flat on a level surface with adequate stickers (spacers) for airflow; bring wood into the shop and let it acclimate before working it; seal end grain on cut boards; and always finish both faces of a panel with equal finish coat count to equalize moisture exchange from both surfaces.
What’s covered: the four warp types (cup, bow, twist, crook), why they happen (moisture differential, grain direction, improper drying), flattening warped boards with hand planes or a jointer, preventing warp in finished pieces (finishing all surfaces, using wood movement allowances in joinery), and the relationship between wood species and warp tendency (flat-sawn lumber warps more than quartersawn; unstable species like pine, poplar, and flat-sawn oak warp more than stable species like quartersawn white oak, teak, or cedar).
The finishing rule for warp prevention: when applying a finish, coat both the front and back of a panel with the same number of coats. A panel finished only on the show face has unequal moisture exchange — the unfinished back absorbs and releases moisture freely; the finished face doesn’t. The differential movement causes the panel to cup toward the unfinished face in dry conditions and away in humid conditions. This is why quality furniture has finish on the underside, back, and interior faces — not just the visible surfaces.
How to Darken Wood
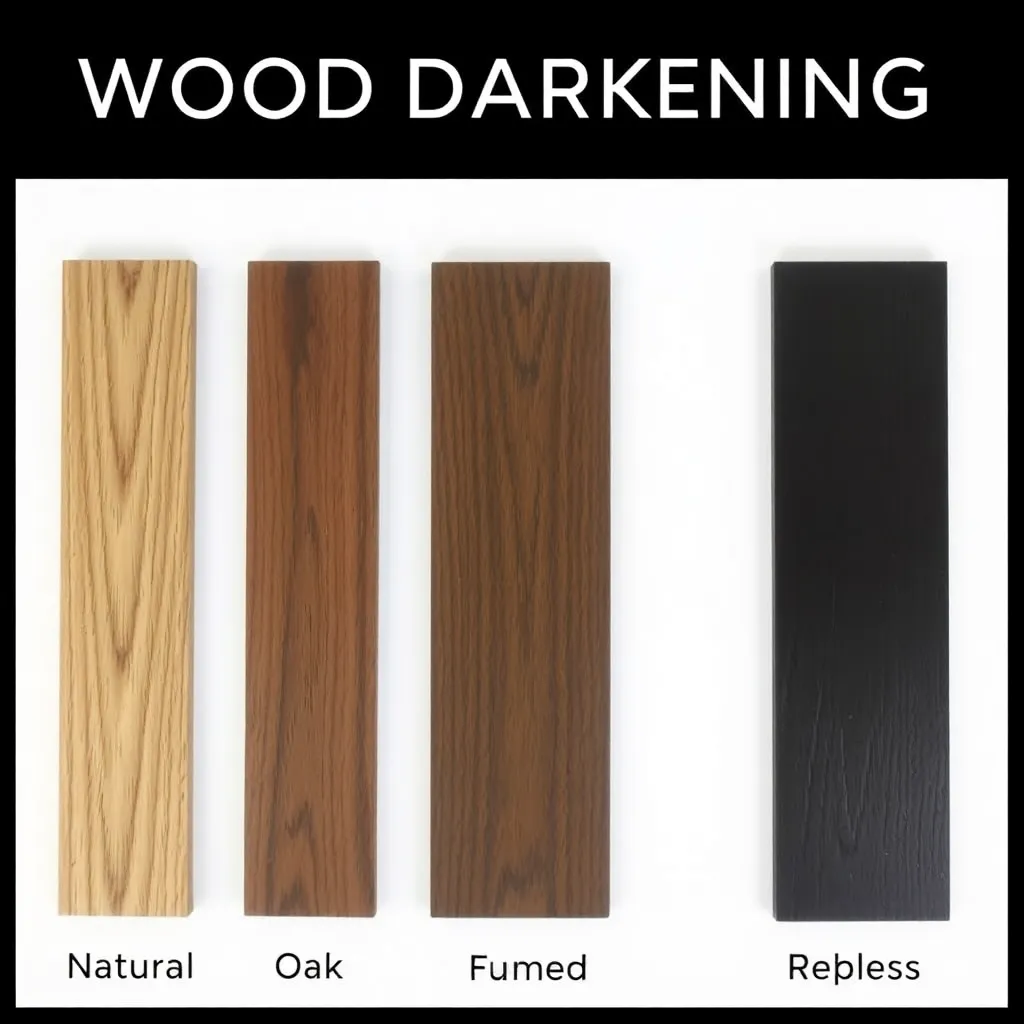
Darkening wood without painting it requires working with the wood’s natural chemistry or applying a penetrating colorant that adds depth without concealing the grain. The methods range from simple (adding more coats of an oil finish) to dramatic (fuming with ammonia to produce deep brown tones in oak and other tannic species) to easy (applying a gel stain or dark oil stain).
What’s covered: oil finishes and their natural darkening effect (linseed oil, Danish oil, and teak oil all darken wood as they penetrate — repeated coats deepen the effect), dark stains (ebony, dark walnut, expresso gel stain applied over prepared wood), chemical finishing (ammonia fuming for oak — the ammonia reacts with the tannins in oak to produce a rich tobacco-brown color without stain; requires a sealed fuming tent), iron/vinegar patina (steel wool dissolved in vinegar produces iron acetate; applied to wood, it reacts with tannins to produce a gray-brown patina that darkens with time), and scorching (light charring with a torch adds a depth of color; the charred surface is then burnished to remove the loose carbon, leaving a darkened, slightly textured surface).
Ebonizing: the extreme end of darkening — making wood appear black. Methods: black dye (water-based wood dye, not stain), ebonizing with iron acetate (the vinegar/steel wool solution on high-tannin woods), or India ink diluted in water. True ebonizing produces a deep black that enhances grain rather than concealing it — different from black paint, which sits on the surface and looks flat.
Lacquer Finish
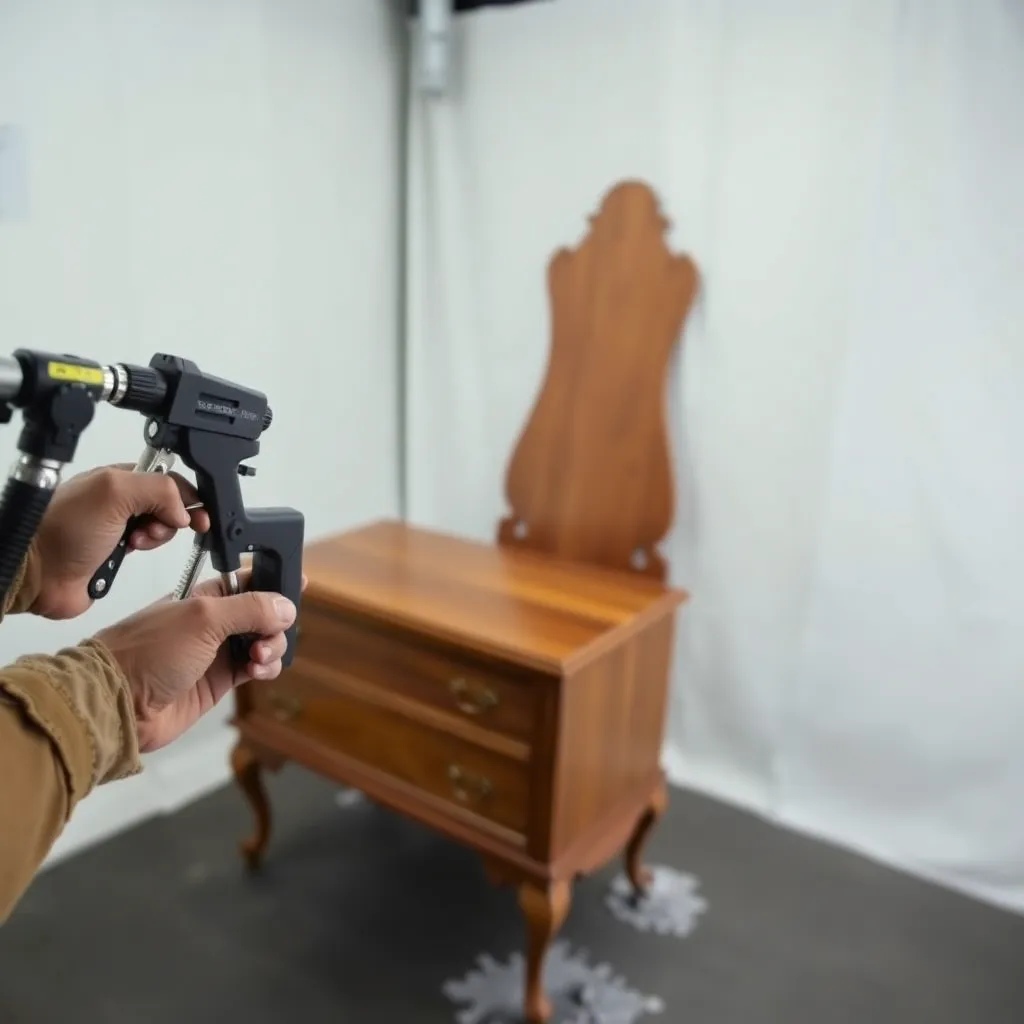
Lacquer is the professional standard finish for furniture — a fast-drying, clear, hard finish that builds quickly with multiple coats and produces an extremely smooth, plastic-like surface when sanded and buffed. Factory furniture and professional custom pieces are almost universally lacquered because it sprays easily, dries in 15–30 minutes, and produces a flawless surface when the technique is right. It’s also the most demanding finish for the amateur: lacquer requires spray equipment, good ventilation, and the correct technique to avoid runs, orange peel, and blushing.
What’s covered: the difference between nitrocellulose lacquer (the traditional standard — excellent sandability, fast dry, compatible with most substrates; very flammable), catalyzed lacquer (two-component system with a hardener, produces a much harder and more water-resistant film; used in commercial production), and water-based lacquer (low VOC, fast dry, slightly less clarity than nitrocellulose but appropriate for shops without spray booths); spray equipment options (HVLP spray guns, aerosol lacquer for small projects); setting up a proper spray area; the correct spray technique (overlapping passes, consistent distance, fluid speed); sanding between coats; and the final rub-out technique (sanding to 400-600 grit then buffing with rubbing compound to achieve a factory-smooth surface).
Brushing lacquer: a slower-evaporating formulation of nitrocellulose lacquer that allows time to brush before it sets. Produces a good film build without spray equipment, but brush strokes and bubbles require more careful technique. Sand between coats with 320-400 grit. Brushing lacquer is the accessible entry point for lacquer finishing without a spray booth.
Wood Finishing Techniques FAQ
What is the best wood finish for a tabletop?
For a dining table or work surface that will see heavy use: oil-based polyurethane (3–4 coats, sanded between coats) is the most durable DIY option. It resists water, heat (moderately), and abrasion better than most other finishes. Apply with a good brush, sand between coats with 320 grit, and allow full cure time (7 days) before heavy use. For a more refined appearance: catalyzed lacquer (requires spray equipment) or hard wax oil (requires reapplication every 1–2 years but is easy to repair and produces a beautiful natural appearance). Avoid straight oil finishes (linseed, Danish oil) on heavily used tabletops — they provide minimal protection against water rings and abrasion.
Do I need to sand between coats of finish?
Yes, for almost all finish types. Sanding between coats accomplishes three things: it levels any dust nibs or surface imperfections from the previous coat; it scuffs the surface so the next coat has mechanical adhesion (some finishes, especially water-based, don’t bond well to a very smooth previous coat without scuffing); and it removes any raised grain that wasn’t knocked down before finishing. Use 320-grit between coats — the goal is not to remove material but to scuff the surface. Wipe away the sanding dust completely before applying the next coat. Don’t sand after the final coat unless you’re planning a full rub-out.
How do I fix blotching on pine?
Apply a pre-stain wood conditioner (Minwax Wood Conditioner, General Finishes Pre-Stain) before staining. Brush it on, let it soak for 15–30 minutes, and wipe off the excess. Apply the stain immediately while the conditioner is still slightly damp — within 2 hours. The conditioner partially seals the soft earlywood (the part that causes blotching) while leaving the latewood relatively open, producing more even stain penetration. Alternatively: use a gel stain, which has a thick, paint-like consistency that sits on the surface rather than penetrating deeply — gel stains are much less prone to blotching. The most controlled approach: seal the entire wood surface with a wash coat of 1-lb-cut shellac (shellac flakes dissolved in denatured alcohol at 1 lb/gallon), let it dry, sand lightly, then stain — the washcoat ensures even stain penetration across the whole surface.
How long should I wait between stain and topcoat?
At minimum: the time specified on the stain manufacturer’s label — typically 8–24 hours for oil-based stains and 2–4 hours for water-based stains. In practice: longer is better. If you apply topcoat before the stain is fully dry, the solvent in the topcoat can reactivate the stain and cause it to bleed into the topcoat. A simple test: press a piece of white cloth firmly against the stained surface. If color transfers, the stain isn’t dry yet. When the cloth stays clean, the stain is dry enough for topcoat. In humid conditions or cold temperatures: allow 24–48 hours for oil-based stains regardless of the label — drying time is significantly extended when humidity is high or temperature is below 65°F.

“DIY woodworking enthusiast who started with zero experience and a YouTube tutorial.
I build simple, practical projects for my home and share free plans
so other beginners can skip the guesswork.If I can build it, you can too.”