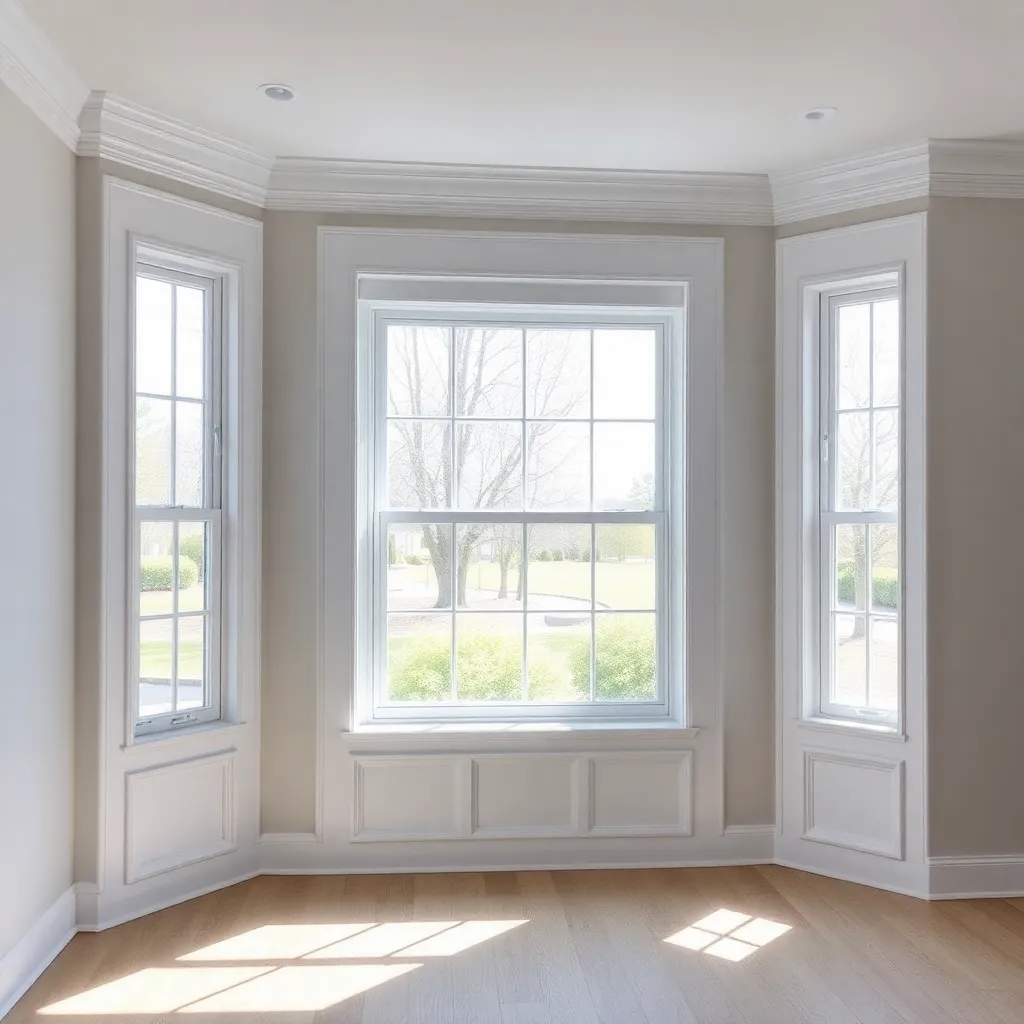
Part of: Woodworking Techniques →
Window trim and molding frames every window in the house — it covers the rough edge of the wall opening, creates a clean transition from the window unit to the finished wall surface, and adds architectural character to every room. The difference between windows that look bare and unfinished and windows that anchor a room’s design comes down to the trim: the profile chosen, the reveal consistency, the tightness of the miter joints, and the quality of the paint work. This guide covers everything from choosing the right molding style to achieving professional-quality results on installation and finishing.
Ted’s Woodworking has 16,000+ plans including complete interior trim and carpentry specifications. Browse Ted’s plans →
Window Trim
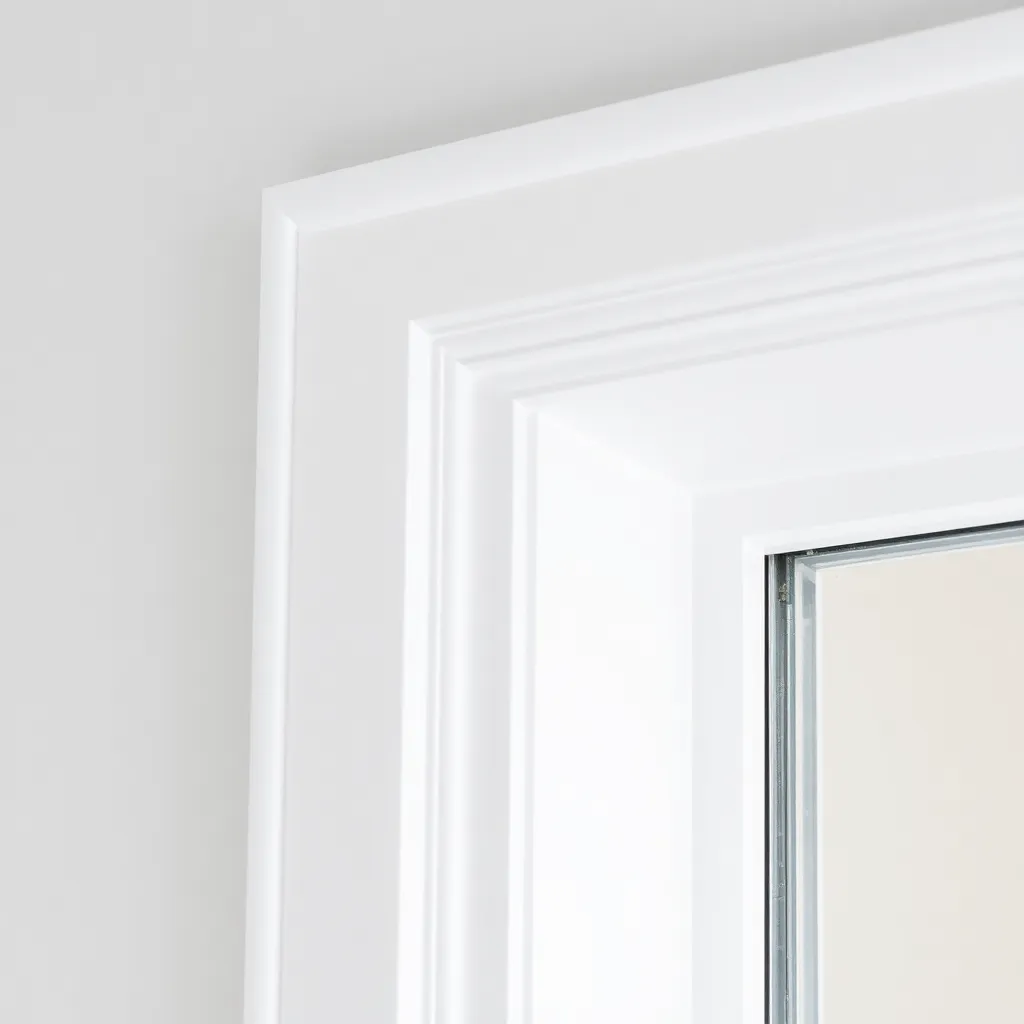
Window trim (the casing that frames a window opening) is the most visible finish carpentry element in most rooms — every person who enters the room sees all the windows simultaneously, which means any inconsistency in reveal, any visible joint gap, or any crooked line reads as a defect. Installing window trim professionally requires four things: a consistent reveal (3/16″ to 1/4″ on all sides), tight miter or butt joints at the corners, nails set and filled cleanly, and caulk along the perimeter before paint.
What’s covered: understanding the casing components (side casings, head casing, stool, apron), marking reveals with a combination square, cutting and installing side casings with correct length and reveal, cutting the head casing to fit tight corners, nailing sequence (inside edge first, then outside edge), setting nails, filling holes, caulking the perimeter, and painting for a sharp, clean result.
Key principle: install the inside edge (at the reveal) first — this locks the reveal position. Then pull the outside edge flat against the wall and nail into the framing. Never nail the outside edge first; you won’t be able to hold the inside edge at the correct reveal if the outside is already fixed.
Window Molding
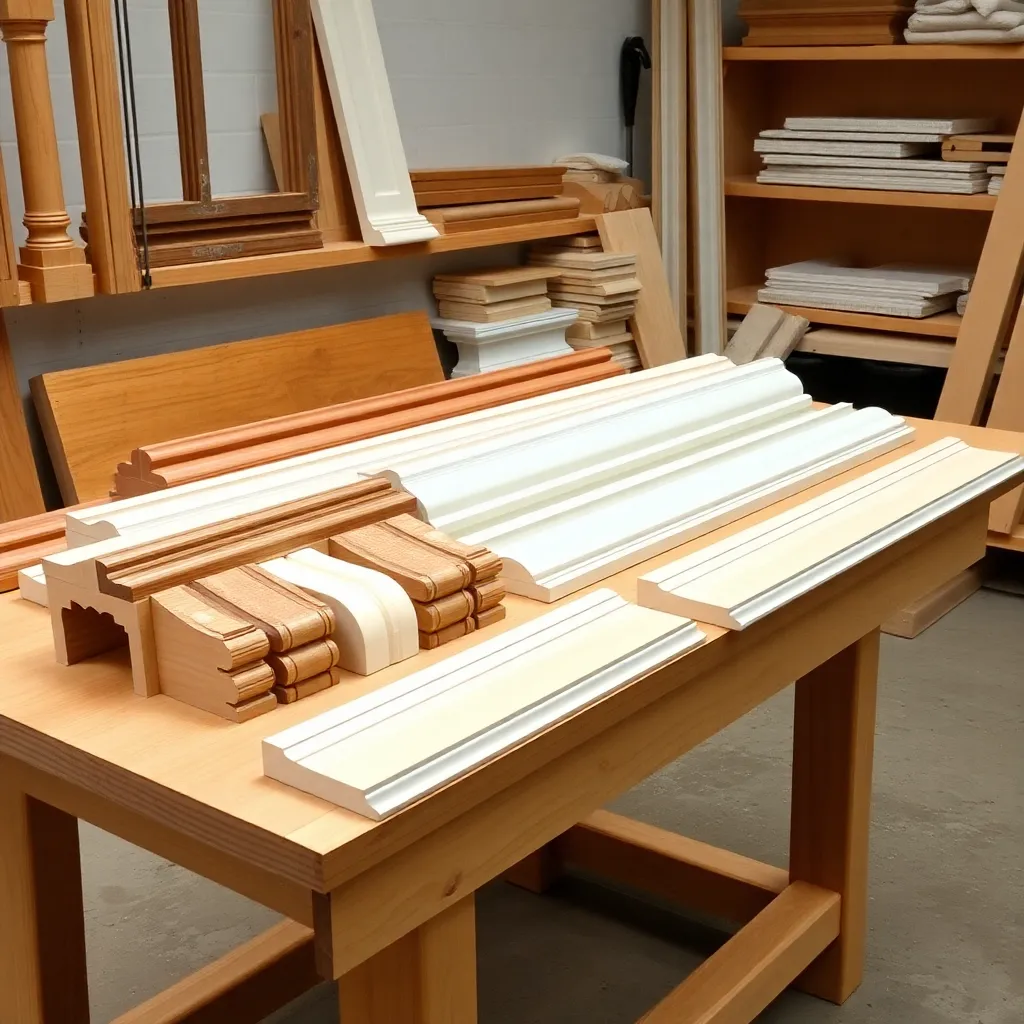
The molding profile chosen for a window determines the room’s architectural character. Simple flat colonial casing is forgiving to install and compatible with modern, craftsman, and transitional styles. Ogee profiles add traditional depth but require precise miter fitting. Craftsman-style installations with corner blocks eliminate miter joints entirely — the head and side casings butt squarely into square corner blocks, making the installation significantly more forgiving of imperfect walls and slightly out-of-square jamb corners.
What’s covered: choosing between flat/colonial casing, craftsman/mission with corner blocks, ogee/traditional profiles, and back-band combinations; calculating linear footage; selecting straight stock at the lumber yard; priming before installation; acclimating molding to the installation room; cutting accurate miter and butt joints; coping inside corners (superior to miters for movement-prone joints); installing in sequence (stool first if present, then sides, then head, then apron); finishing with fill, caulk, and paint.
The material choice: for painted trim in a climate-controlled home, MDF casing is the best value — it’s dimensionally stable (doesn’t expand or contract with humidity), paints beautifully, and is less expensive than finger-jointed pine. MDF’s weakness is moisture susceptibility — don’t use it in bathrooms or anywhere moisture is a factor.
Inside Window Trim

Interior window trim installation follows a specific sequence that ensures tight joints and consistent reveals: assess the jamb (is it flush with the wall? square at corners?), mark reveals on all sides, dry-fit all pieces before nailing, nail inside edge first, then outside edge into framing. The most common installation mistake is nailing the outside edge first — this locks the casing in a position where the inside edge may not align with the reveal line.
What’s covered: assessing the jamb condition (flush, square, needing extensions), choosing the trim style (three-piece standard, picture frame, craftsman with blocks), marking reveals, measuring and cutting side casings, measuring and fitting the head casing, the nailing sequence and fastener selection, dealing with gaps at miter joints, filling nail holes, caulking, and the two-coat paint process for professional results.
The out-of-square corner: windows in older homes rarely have perfectly square jamb corners. Measure the actual corner angle with a digital angle finder or bevel gauge, divide by 2, set the saw to half the measured angle. A 92-degree corner requires 46-degree cuts on both pieces rather than 45-degree. This small adjustment produces a tight joint; a 45-degree cut in a 92-degree corner produces a visible gap.
Choosing the Right Window Trim Style
The window trim style should match the home’s architectural period and the room’s design intent:
Colonial and traditional homes:
Standard three-piece installation with mitered corners, 2-3/4″ to 3-1/2″ flat or ogee casing. Optionally add a back-band molding around the outer edge for additional depth. Head casing often projects slightly past the side casings (an “ear” or “horn”) in the traditional colonial style.
Craftsman bungalows:
Corner blocks with flat, square-edged casing. The corner blocks are typically 3-1/2″ × 3-1/2″ and slightly thicker than the casing. No miter cuts — the head and side casings butt squarely into the blocks. The window stool (sill) is typically wide and prominent in craftsman windows, often extending 1.5″ past the casing face and supported by an apron with returns.
Contemporary and modern:
Simple flat casing with minimal profile, often 2-1/4″ wide, flush with the wall surface or with a very minimal reveal. Sometimes the “trim” is simply a drywall return (the drywall is wrapped into the window opening at a slight angle and finished without any wood trim at all). For wood trim in contemporary spaces: keep profiles simple and reveals tight.
Ranch and transitional:
Flat ranch-style casing (simple eased-edge board) 2-1/4″ to 2-3/4″ wide. Simple to install, widely available, appropriate for mid-century modern and transitional styles.
Window Trim Materials
Finger-jointed pine (most economical):
Short sections of clear pine joined end-to-end with finger joints. Paint-grade only — the joints are visible under any clear or stain finish. The standard choice for painted trim in production residential construction. Readily available at any home center in standard profiles.
Clear pine:
Single continuous lengths without finger joints. Can be stained or clear-finished, though pine’s grain is less attractive than hardwood for stained applications. More expensive than finger-jointed but can be used for clear finishes.
Poplar:
The best balance of cost, workability, and paint quality for hardwood trim. Machines and sands beautifully; takes paint very well; more stable than pine. Slightly more expensive than pine but worth the upgrade for high-visibility trim. Available in clear lengths from hardwood suppliers.
Oak:
The standard for stained natural wood trim in traditional and craftsman homes. Available in both red oak (slightly coarser grain, less expensive) and white oak (tighter grain, more uniform appearance, better for staining). Mills well; stains consistently with the right preparation.
MDF:
Medium density fiberboard — the flattest, most paint-receptive material available. No grain raise, no knots, no finger joints. Machines cleanly. Paint-grade only (no natural finish possible). The most dimensionally stable material for painted trim in climate-controlled spaces. Not suitable for moisture-exposed areas.
Window Trim and Molding FAQ
What is the standard reveal for window trim?
The standard interior window trim reveal is 3/16″ to 1/4″. This small margin between the inside edge of the casing and the face of the window jamb creates the visual step that makes the casing look deliberate rather than flush-mounted. The reveal must be consistent on all four sides of every window in the room — any variation is immediately visible and reads as an installation error. Set a combination square to the desired reveal depth and use it to draw pencil lines on the jamb before cutting any casing.
How do I get tight miter joints on window trim?
Four steps: (1) verify the miter saw is cutting at exactly 45 degrees (test cut + check with a framing square); (2) measure the actual jamb corner angle and adjust the saw if the corner isn’t exactly 90 degrees; (3) apply wood glue to both miter faces before final installation; (4) cut pieces 1/8″ long and sneak up on the final length with micro-adjustments until the joint closes with no gap. For corners that still won’t close tightly after adjustment: a single thin pin nail through the corner face holds the miter closed while the glue cures. Fill the nail hole, paint over it — the miter joint will be invisible.
How do I deal with a window where the jamb doesn’t extend flush with the drywall?
If the jamb is recessed behind the wall surface (common in walls with added insulation, or where drywall is thicker than expected): add jamb extensions — thin strips of the same wood as the jamb, ripped to the exact width needed to bring the jamb face flush with the wall. Glue and nail the extensions to the jamb edges. Allow the glue to cure before installing trim. If the extension material doesn’t exactly match the existing jamb: prime and paint before installing the casing, which will cover the joint between the extension and the original jamb.
How long does window trim installation take?
For an experienced installer: 30–45 minutes per window for a standard three-piece installation (not including painting). For a DIY installer on the first few windows: 1–2 hours per window as you learn the reveal marking, miter fitting, and nailing sequence. With practice, the process becomes much faster — by the third or fourth window, most DIY installers are completing each window in under an hour. Painting adds time: allow 4–6 hours per room including drying time between coats for two full paint coats on all windows.

“DIY woodworking enthusiast who started with zero experience and a YouTube tutorial.
I build simple, practical projects for my home and share free plans
so other beginners can skip the guesswork.If I can build it, you can too.”