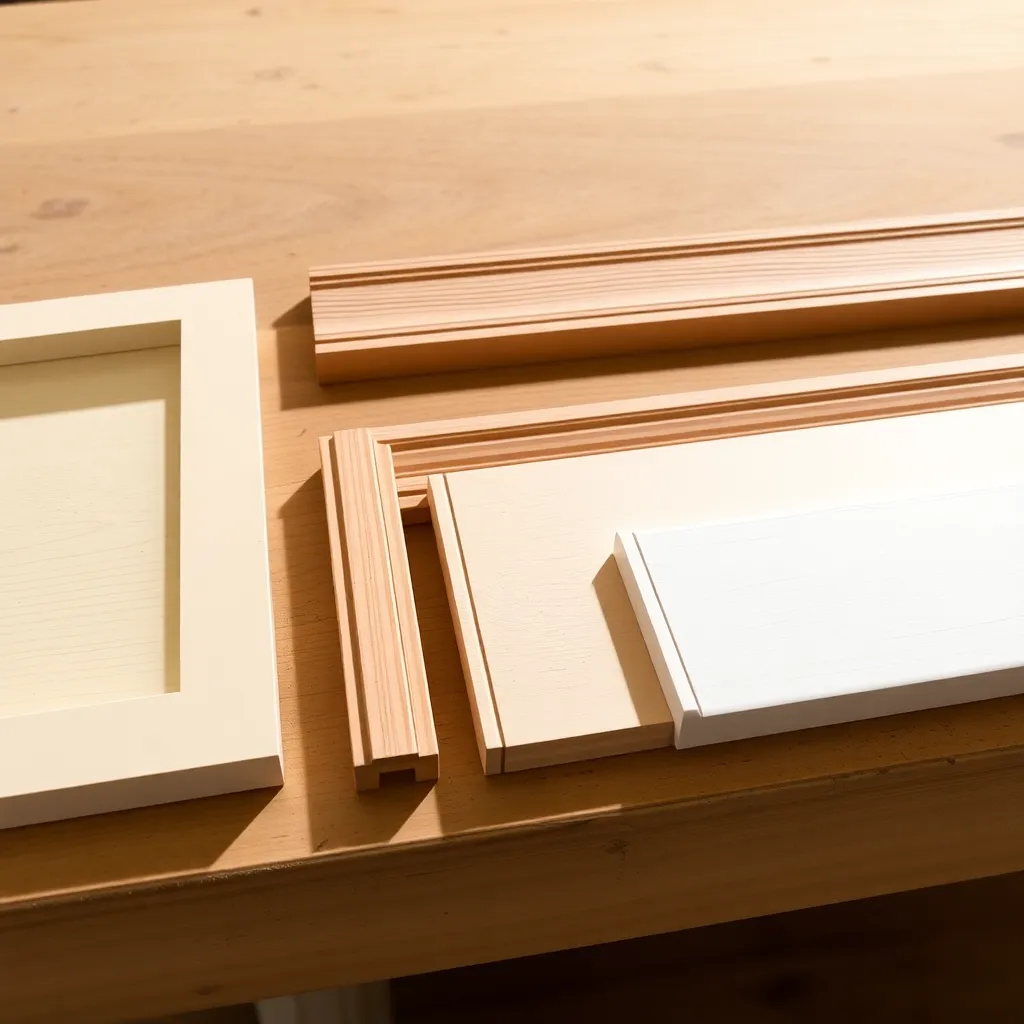
Part of: Window Trim and Molding →
Window molding is the shaped trim that frames a window opening — and the molding profile chosen defines the room’s architectural character more than almost any other finish detail. A simple flat colonial casing reads as clean and contemporary; an ornate ogee profile with backband and rosette blocks places a room firmly in Victorian territory. The molding profile also determines the difficulty of installation: simple profiles with square edges are forgiving of minor imperfections; complex profiles with multiple curves require precision cutting and fitting to look right.
Ted’s Woodworking has 16,000+ plans including complete trim carpentry specifications for every style. Browse Ted’s plans →
Step 1: Choose the Right Molding Profile
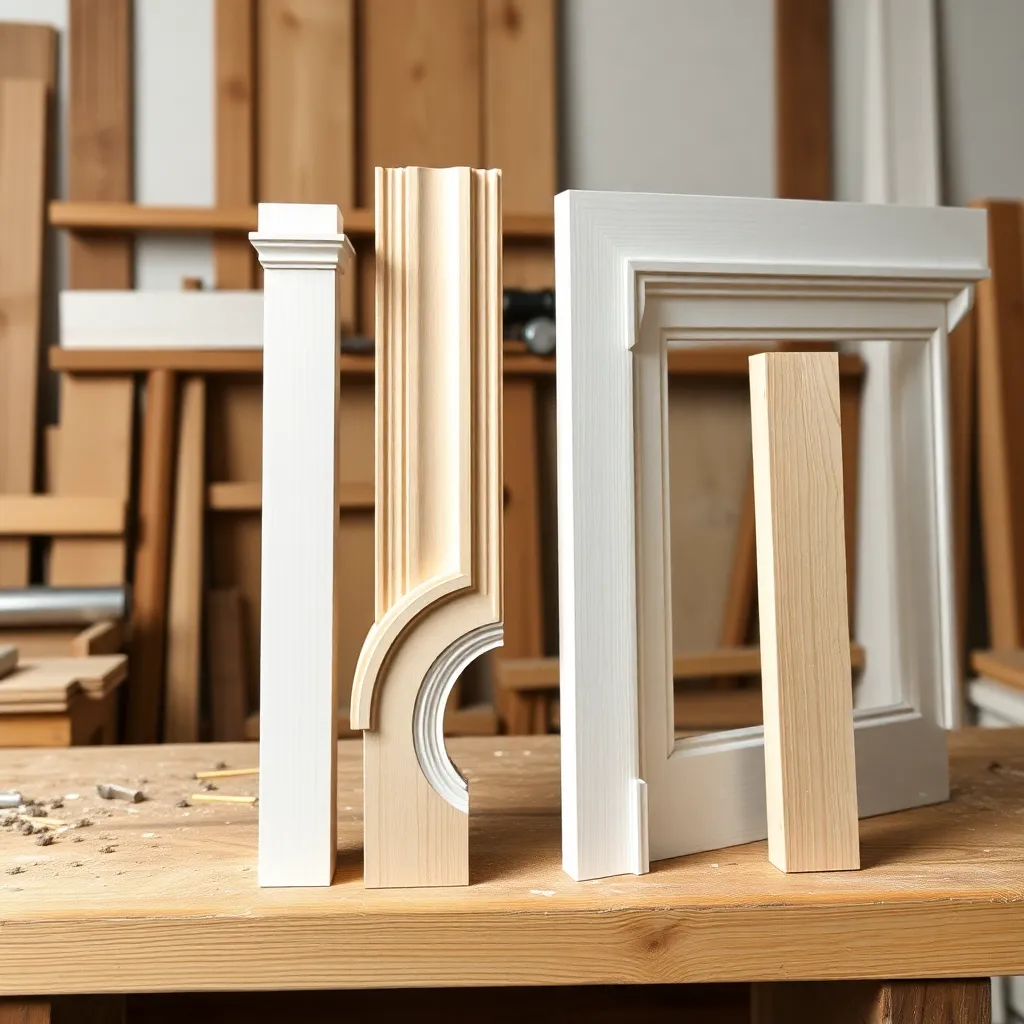
Goal: Select a window molding profile that matches the room’s architectural style and the installer’s skill level.
Flat/colonial casing:
The simplest and most widely used profile — a flat board with a slightly beveled front face and eased edges. Available in widths from 2-1/4″ to 3-1/2″. The most forgiving profile to install: flat faces produce tight miter joints even when the wall surface isn’t perfectly flat. The go-to choice for any interior renovation where simplicity and clean lines are desired. Compatible with contemporary, craftsman, ranch, and transitional styles.
Craftsman/mission casing:
A flat, square-edged profile typically installed with corner blocks (square blocks at the corners rather than miter joints) and a back-band molding (a small profile wrapped around the outer edge of the main casing). The corner blocks eliminate the need for miter joints — the horizontal head casing and vertical side casings butt squarely into the corner blocks, and any slight error in the blocks’ squareness isn’t visible. Ideal for craftsman bungalow and mission-style interiors.
Ogee/traditional casing:
Features an S-curve profile (the ogee) that adds shadow lines and visual depth. More elegant than flat profiles but requires more precise installation — the ogee curve must align at the miter joint or the joint is very obvious. Standard in traditional colonial, Georgian, and Federal-style homes.
Base cap / back band combination:
A flat main casing with a back-band molding wrapped around its outer edge. The back-band adds a step detail that makes the overall assembly look thicker and more architectural. The main casing is nailed as a flat profile; the back-band is mitered at the outer edge separately. The two-piece assembly is more forgiving than a single complex profile.
Fluted casing:
Vertical grooves (flutes) routed into the casing face add classical character. Used in formal traditional interiors. Typically installed with pilaster caps at the top and plinth blocks at the base. The flutes must run perfectly vertical and be consistently spaced — errors are very visible.
Milestone: Before purchasing molding, sketch the window as it will look with the chosen profile and visit a showroom or lumber yard with physical samples — profiles look very different as small sample pieces vs installed on a full-size window.
Step 2: Calculate Materials and Prepare Stock
Goal: Purchase adequate material and prepare it for installation.
Calculating linear footage:
For each window: measure the window opening height (typically 4′ to 5′ for standard windows) and width (typically 2′ to 3′). For a standard three-piece installation (two side casings + one head casing, no sill): linear footage = (2 × height) + width + 15% waste. For picture-frame installation (all four sides): linear footage = (2 × height) + (2 × width) + 15% waste. Multiply by the number of windows and add 10% for mistakes.
Selecting straight stock:
At the lumber yard, sight down each piece of molding before purchasing. Molding that’s cupped, bowed, or twisted will be difficult to install flat against the wall. Reject any piece with significant warp — it’s better to pay slightly more for straight stock than to fight a twisted piece during installation.
Priming before installation:
Pre-primed molding (available at most home centers) is ready to install. For unprimed solid wood molding: apply a coat of primer to all faces before installation, including the back face. Priming the back face slows moisture exchange and reduces the warping that causes joints to open over time. Allow primer to dry before cutting.
Acclimation:
Store molding in the room where it will be installed for 48–72 hours before installation. Molding stored in an unheated warehouse may have higher moisture content than the conditioned interior space — it will shrink slightly after installation, opening joints. Acclimation allows the molding to reach the room’s equilibrium moisture content before it’s cut and nailed.
Milestone: After purchasing, stack molding flat with stickers (small spacing strips) for airflow and store in the installation room for 48 hours before cutting.
Step 3: Cut Molding for Clean Joints

Goal: Cut accurate miter and butt joints for tight, gap-free installations.
The miter saw setup:
Window molding installation requires a quality 10″ or 12″ compound miter saw — the saw must cut precisely at 45 degrees and 90 degrees. Check the miter saw’s accuracy: cut two pieces at 45 degrees and hold them together as a corner; the corner should be exactly 90 degrees and the joint should be perfectly tight. If not: adjust the miter saw’s detent stops or the miter angle adjustment.
Test cuts in scrap:
Before cutting actual project molding, make test cuts in scrap material of the same profile. Dry-fit the corners and evaluate: is the miter tight with no gap? Is the reveal consistent? Are the pieces the right length? Make any adjustments to the saw settings before cutting project material.
Coping inside corners (alternative to miters):
For inside corner joints (where molding meets a wall corner inside a room), a coped joint is superior to a miter in most cases. Coping: one piece runs full-length to the corner (square cut at the corner end); the second piece is cut to follow the profile of the first. To cope: cut the second piece at 45 degrees to reveal the profile, then use a coping saw or jigsaw to cut along the profile line revealed by the miter. The coped piece fits over the first piece. Advantages: coped joints don’t open up with seasonal movement (miters do); they’re more forgiving of out-of-square corners.
Outside corners:
For outside corners (where molding wraps around a projecting wall corner): both pieces are cut at 45 degrees meeting at the corner. Outside corner miters are visible from both sides — they must be cut precisely. Use backing blocks (small wood triangles glued to the wall) to support the molding at an outside corner if the wall corner is slightly off 90 degrees.
Milestone: Cut one complete window’s casing pieces and do a complete dry fit before nailing. Every joint should be tight and every reveal line consistent before the first nail goes in.
Step 4: Install the Molding
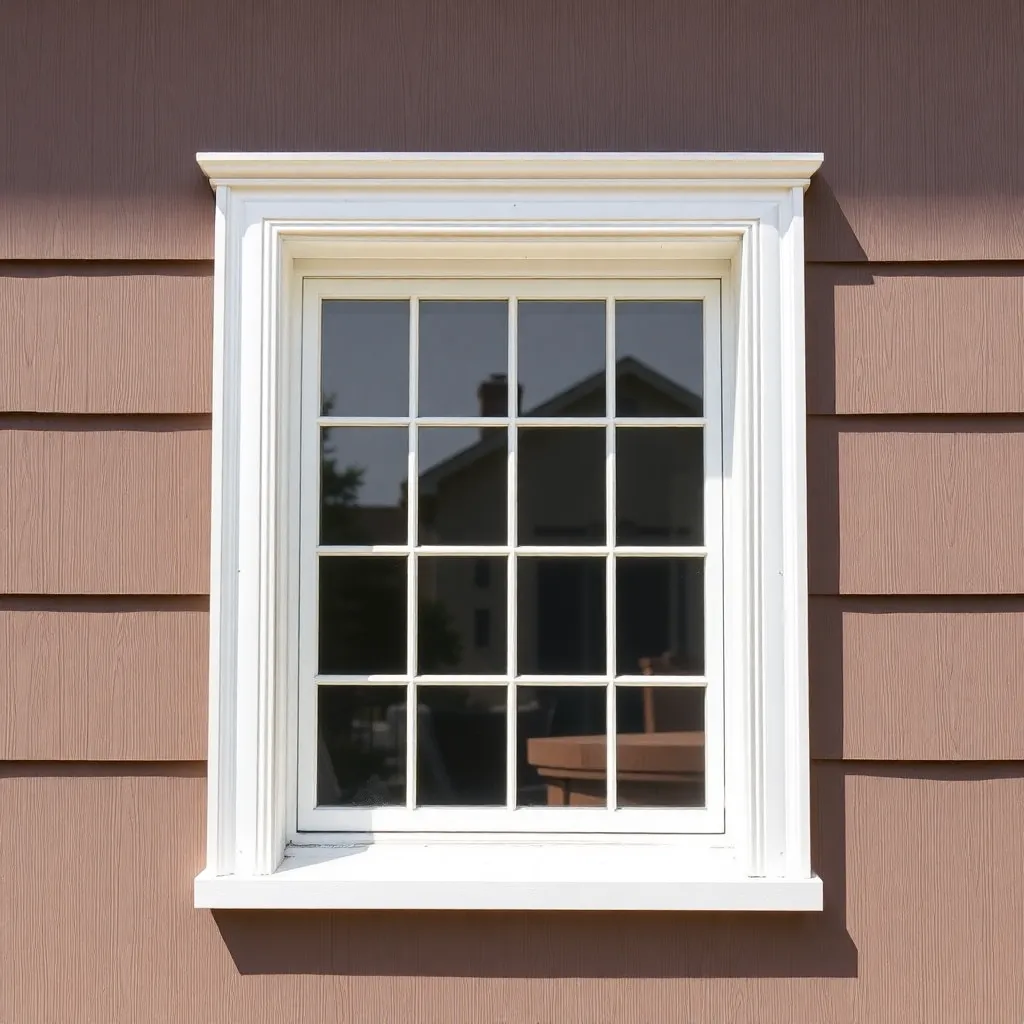
Goal: Nail the molding in the correct sequence with consistent reveals and tight joints.
Installation sequence:
1. Install the stool (sill board) if applicable — the stool is the reference point for all other trim heights
2. Install the side casings — left side first, then right side, set to the reveal line
3. Install the head casing — test fit before nailing, adjust miters if needed
4. Install the apron — below the stool, if a stool is present
Nailing technique:
Use a finish nailer (15-gauge or 16-gauge) with 2″ nails for the inside edge (into the jamb) and 2.5″ nails for the outside edge (into the framing). For hand-nailing: use 2″ and 2.5″ finish nails. Nail spacing: every 12-16″ along the inside edge; every 16″ along the outside edge at stud locations (mark stud locations with a pencil before nailing).
The inside edge:
The inside edge of the casing (the edge closest to the window) must be nailed first to hold the reveal position. Once the inside edge is nailed at the correct reveal, the outside edge can be pulled flat against the wall and nailed. Don’t nail the outside edge first — if the wall surface isn’t flat (which it usually isn’t), the inside edge won’t sit at the correct reveal after pulling the outside edge flat.
Gluing miter joints:
Apply a small amount of wood glue to miter faces before assembly for long-term joint integrity. The glue holds the joint tight as the wood moves seasonally and the nails hold the pieces in position while the glue cures.
Milestone: After installing all three pieces on one window, stand back and evaluate: are both reveals equal and consistent? Is the head casing level? Are the miter or butt joints tight? Make any needed corrections on the first window before proceeding to the rest.
Step 5: Finish and Paint
Goal: Fill, caulk, sand, and paint the molding for a crisp finished appearance.
Fill nail holes:
Use painter’s putty or lightweight spackling for painted molding. Press into the nail hole with a fingertip, slightly overfill, allow to dry (15–30 minutes), sand flush with 220-grit. For stained or clear-finished wood molding: use a matching stainable wood filler or wax fill stick.
Caulk the perimeter:
Apply a thin bead of paintable acrylic caulk along the outer edge of the casing where it meets the wall. Also caulk any gap where the inside edge meets the jamb face (not the reveal gap — only any actual crack or gap). Tool the caulk smooth with a wet finger. Allow 24 hours to cure before painting.
Sanding:
Light sanding with 220-grit across all casing faces before the final paint coat produces the smoothest result. This removes any small fuzz raised by the primer coat and ensures the finish paint adheres uniformly. Wipe off all sanding dust.
Painting:
Apply two coats of semi-gloss or gloss paint for standard window trim. First coat: thin application, allow to dry completely (1–2 hours for latex), sand lightly with 220-grit, wipe clean. Second coat: full application. The second coat’s sheen reveals any remaining imperfections — a third coat over sanded second coat produces a very smooth, professional result.
Milestone: After the final paint coat, check all miter and butt joints for any gap that has appeared during painting (paint can reveal gaps that weren’t visible before). Fill with caulk, touch up with paint if needed.
Window Molding FAQ
What is the difference between window trim and window molding?
The terms are used interchangeably in most contexts. “Window trim” is the broader term for any decorative framing around a window opening; “window molding” typically refers specifically to shaped (profiled) trim pieces as distinct from simple flat boards. In practice: flat colonial casing is both “window trim” and “window molding”; a simple flat board nailed to a window frame would be “window trim” but not usually “window molding.” For ordering purposes at a lumber yard or home center: ask for “window casing” — this is the trade term that will get you the right product category.
What wood should window molding be made from?
For painted trim: finger-jointed pine (economy), solid pine (better), or MDF (medium density fiberboard — very smooth, takes paint well, doesn’t expand or contract with humidity). MDF is the most cost-effective choice for painted window trim in a climate-controlled house; it paints beautifully and doesn’t move with the seasons (no joint gaps). For stained or clear-finished trim: select solid hardwood in the species matching the floors or other woodwork — oak, cherry, maple, or poplar (the most economical and one of the most paint-receptive hardwoods).
How do I install window molding on an uneven wall?
Walls in older homes are rarely perfectly flat — the drywall or plaster surface has bumps, waves, and irregularities that prevent the back of the casing from sitting flat. Strategies: (1) for minor unevenness: apply a bead of caulk behind the casing before nailing, let it compress and fill the voids; (2) for moderate unevenness: back-cut the casing (shave the back face at a slight angle with a hand plane) so the front and inside edges contact the wall while the middle is free; (3) for severe unevenness: shim the casing away from the wall at high spots, then caulk the resulting gap at the outer edge. Caulking the perimeter (after installation) is always the final step regardless of wall flatness.
Should window molding match baseboards?
In the same room: yes, window casing and baseboard should be from the same family of profiles. They don’t need to be identical (and usually aren’t — casings are typically thinner than baseboards) but they should share the same basic design language: both flat and simple, both with the same ogee curve, or both craftsman-style with square edges. Mixing a traditional ogee casing with a simple flat baseboard in the same room looks like an installation error. When purchasing, buy sample pieces of both and hold them together — if they look like they belong to the same family, they work together.

“DIY woodworking enthusiast who started with zero experience and a YouTube tutorial.
I build simple, practical projects for my home and share free plans
so other beginners can skip the guesswork.If I can build it, you can too.”