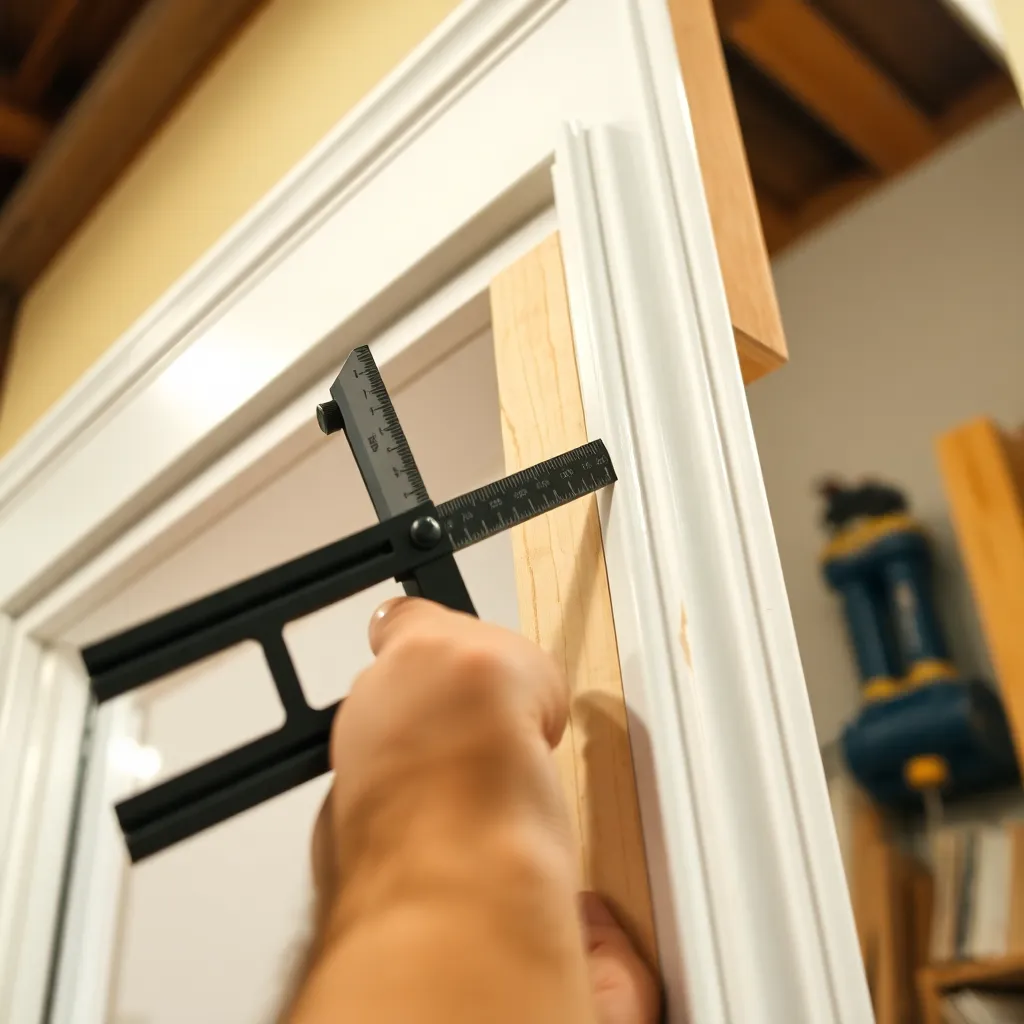
Part of: Window Trim and Molding →
Inside window trim — the casing installed on the interior face of a window opening — is one of the most visible finish details in a home. It frames the window, covers the gap between the window frame and the wall, and sets the architectural tone for the room. Installing it cleanly requires accurate measuring, precise miter cuts, consistent reveals, and careful nailing. This guide covers the complete installation process for interior window trim, from removing old casing to finishing the new installation.
Ted’s Woodworking has 16,000+ plans with complete interior trim specifications. Browse Ted’s plans →
Step 1: Assess the Window and Prepare for Installation
Goal: Evaluate the window condition and prepare the opening for new trim.
Check the jamb extension:
The jamb is the wooden frame surrounding the window unit inside the wall. It should be flush with or very slightly proud of the drywall surface — if the jamb is recessed behind the drywall face, the casing will span a gap and won’t sit flat. A jamb that’s recessed more than 1/8″ needs jamb extensions (thin strips of matching wood added to the jamb edges to bring them flush with the wall surface) before trim installation.
Check for square:
Place a framing square inside the window opening at each corner. The jamb corners should be at 90 degrees. If a corner is significantly out of square (more than 2 degrees), the miter angles will need to be adjusted to compensate — the saw must be set to an angle other than 45 degrees for each corner.
Removing old trim:
If replacing existing trim: use a utility knife to score the paint/caulk along the casing edges (prevents tearing the wall surface when the casing is pried off). Slide a stiff putty knife between the casing and the wall, then use a flat pry bar against the putty knife (to protect the wall) to lever the casing away. Remove all old nails from the jamb and the wall — either pull them through from the back with pliers or drive them deep with a nail set.
Patching:
Repair any drywall damage from the old trim removal. Apply joint compound to dents and holes, allow to dry, sand smooth, prime. The area under the new casing doesn’t need to be perfect (it will be covered), but the area visible at the reveal must be painted or the old paint mark from the previous casing will show.
Milestone: Before cutting any new trim, verify the jamb is flush with the wall and square at the corners. Problems found now take 30 minutes to fix; problems discovered after installation take much longer.
Step 2: Choose the Trim Style and Mark Reveals
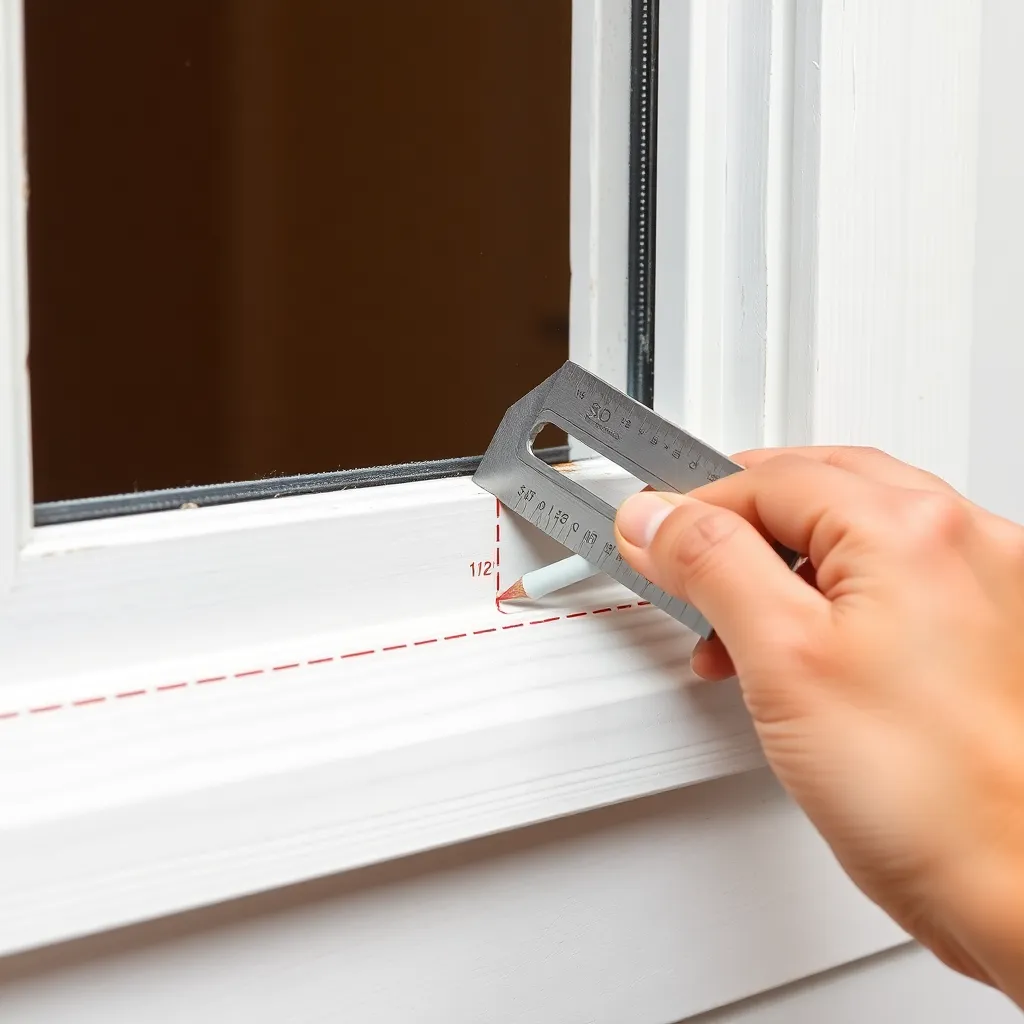
Goal: Select the trim installation style and mark the reveal on all jamb faces.
Trim installation styles:
Standard three-piece (most common):
Two vertical side casings + one horizontal head casing across the top. The side casings butt against the underside of the head casing (butt joint) or meet with a 45-degree miter. No trim at the bottom — the bottom of the side casings sits on the floor or on the window stool if present.
Picture frame:
All four sides trimmed identically, with 45-degree miter joints at all four corners. Creates a symmetrical, framed appearance. More difficult to install (four precise miters instead of two or three) but visually elegant, especially on windows above a radiator or in a position where a stool isn’t practical.
Craftsman with corner blocks:
Square corner blocks at each corner where the head meets the sides. The side and head casings butt squarely into the corner blocks — no miter cuts required. The blocks are typically 1/4″ thicker and 1/4″ wider than the casing, creating a stepped reveal at the corners. Easiest style to install well; very forgiving of imperfect corners and slightly off-square jambs.
Marking the reveal:
Set a combination square to 3/16″ or 1/4″ (the standard reveal). Run the square along the inside edge of each jamb face, marking a pencil line that parallels the jamb edge at the reveal distance. Do this on all four sides of the jamb for a picture-frame installation; on the two sides and the top for a standard installation.
Milestone: Mark reveals on the window before any cuts. Step back and sight along the jamb — the reveal mark should be a consistent pencil line running parallel to each jamb edge.
Step 3: Measure and Cut the Side Casings
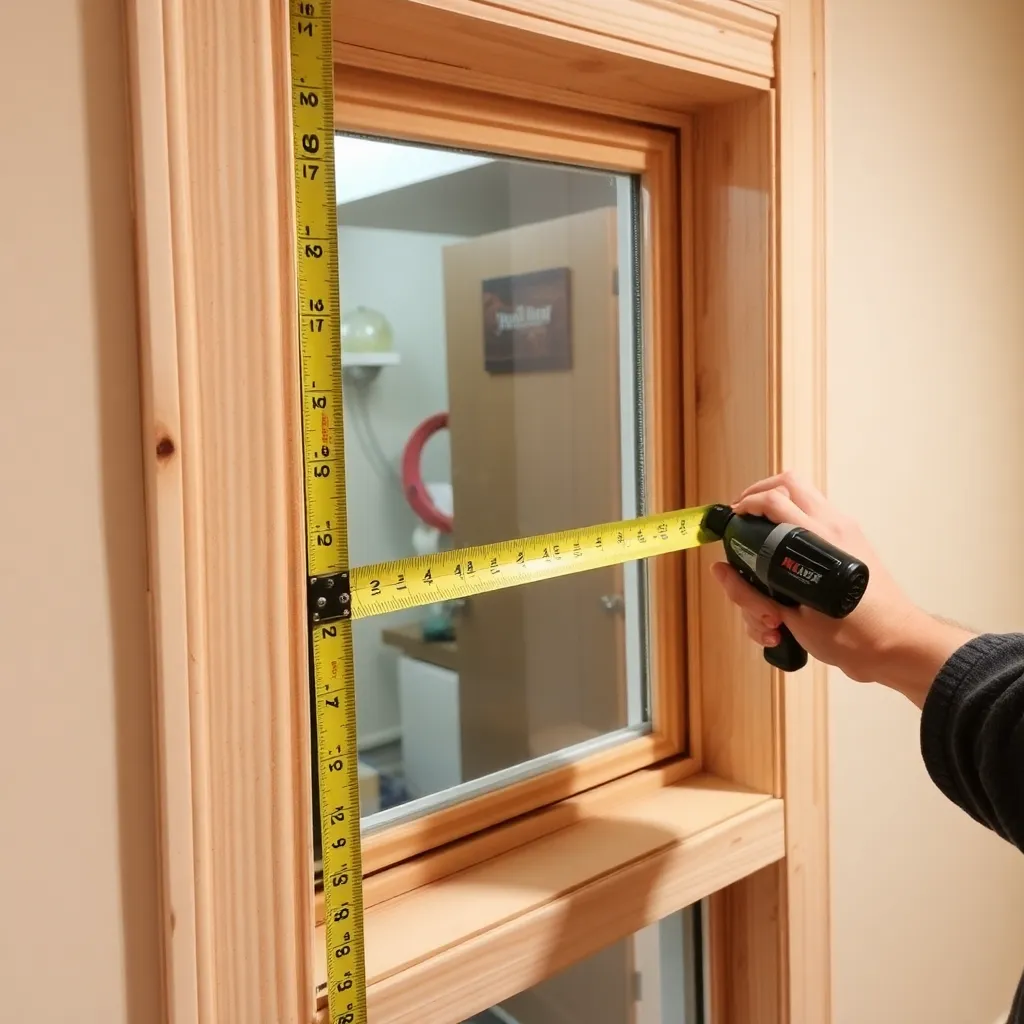
Goal: Cut the side casings to the correct length for a tight, properly positioned fit.
Measuring side casing length:
For a standard three-piece installation (no stool, head casing on top): measure from the floor (or the top of the stool if present) to the top of the reveal mark on the side jamb. This is the cut length of the side casing with a 90-degree cut at both ends.
For mitered corners at the top:
The top end of the side casing is cut at 45 degrees (the miter angle for a square corner). The short point of the miter should hit the reveal line when the casing is positioned correctly. Measure from the floor or stool to the short point location, then cut the 45-degree miter at that position.
Dry fit before nailing:
Hold the side casing in position (inside edge aligned with the reveal mark) and verify: the bottom sits flat on the floor or stool; the top end meets the head casing correctly; the casing face is flat against the wall (not bowing or lifting at any point). If the casing bows away from the wall in the middle: the wall behind may be proud at that point — plane or sand the back of the casing slightly to fit.
Cutting sequence:
Cut both side casings before moving to the head casing. This allows verifying the head casing length accurately after the sides are dry-fit in position.
Milestone: With both side casings dry-fit in position (not nailed), the reveals on both sides should look identical from across the room. Any difference in reveal is visible and should be corrected before nailing.
Step 4: Measure and Cut the Head Casing
Goal: Cut the head casing to the correct length so it fits tightly against the side casings at the corners.
Measuring head casing length (butt joint):
With both side casings dry-fit in position: measure from the outside face of the left side casing to the outside face of the right side casing. This is the head casing length (cuts are square at both ends). The head casing will sit on top of the two side casings, with its bottom face resting on the top cut of the side casings.
Measuring head casing length (mitered corners):
With side casings dry-fit: measure from the outside long point of the left miter to the outside long point of the right miter. This is the long-point-to-long-point measurement of the head casing (both ends cut at 45 degrees, opening outward).
Test fitting and adjusting:
For miter corners: cut the head casing 1/8″ long on the first cut, then make micro-adjustments until the miter joint closes tightly with no gap. The miter is right when a business card can’t fit into the joint. For butt joints: test fit the head casing in position between (or on top of) the side casings — the corner joint should be tight with no visible gap.
The miter saw angle:
For a perfectly square corner: 45 degrees on both pieces. For an out-of-square corner: the two miter angles must add up to 90 degrees, but neither will be exactly 45 degrees. Measure the actual corner angle with a digital angle finder or a bevel gauge, divide by 2, and set the saw to half the measured corner angle.
Milestone: Test fit all three pieces in position before nailing. All reveals should be consistent; all joints should be tight or have gaps small enough to close with a light push.
Step 5: Nail the Trim in Position
Goal: Nail all three casing pieces securely in the correct order.
Nailing order:
1. Left side casing — nail inside edge to jamb first, then outside edge to framing
2. Right side casing — same sequence
3. Head casing — test fit, apply glue to miter faces if mitered, nail inside edge to head jamb, then outside edge to header framing
Nail placement:
- Inside edge (into jamb): 2″ finish nails, every 12-16″ along the length, positioned 3/4″ from the inside edge of the casing. These nails hold the reveal position.
- Outside edge (into framing): 2.5″ finish nails, every 16″ at stud/header locations. These nails pull the casing flat against the wall.
Using a finish nailer:
A 15-gauge or 16-gauge finish nailer is the most efficient tool for window casing. Set the depth so the nail head is just below the surface (1/32″). For the inside edge: angle the nailer very slightly toward the jamb to ensure the nail hits the jamb rather than shooting into the gap between the jamb and the rough framing.
Dealing with miter joint gaps:
If a miter joint has a small gap after nailing: apply wood glue to the gap, press the joint closed by hand, and nail a 1.5″ finish brad through the corner to hold it while the glue cures. The brad can be set below the surface and filled. For a larger gap: remove the head casing, adjust the miter angle by 0.5–1 degree, recut, and reinstall.
Milestone: After nailing, run your finger across every nail location — all nail heads should be below the surface. Check all reveal lines — they should be consistent. Check all joints — they should be tight.
Step 6: Fill, Caulk, and Finish
Goal: Prepare the installed trim for paint.
Fill nail holes:
Use lightweight spackling or painter’s putty. Press into each nail hole with a fingertip, slightly overfill, allow 15–30 minutes to dry, sand flush with 220-grit. Don’t sand until fully dry — wet filler smears rather than sanding.
Caulk the trim perimeter:
Apply a thin bead of paintable acrylic caulk (DAP Alex, GE Paintable) along the outer edge of the casing where it meets the wall. Also caulk the joint between the inside edge of the casing and the jamb face if there’s any gap. Tool smooth with a wet finger, wipe excess with a damp cloth, allow 24 hours to cure before painting.
Sand lightly:
Sand all trim faces with 220-grit to remove any grain raise from the primer coat and smooth any rough spots. Wipe off all dust.
Prime bare spots:
Spot-prime any areas of bare wood (where you sanded through the factory prime coat) and all filled nail holes. Allow to dry.
Paint:
Apply two coats of semi-gloss or gloss trim paint. Apply with a good 2.5″ angled sash brush for straight lines at the reveal and at the wall edge. First coat: allow to dry, sand lightly with 220-grit, wipe dust. Second coat: final finish. Step back after the second coat and evaluate in good light — the trim should look sharp, clean, and uniform.
Milestone: After the final coat dries, check the reveal from across the room. Both reveals should appear identical; all joints should be tight; the trim should look like it grew there.
Inside Window Trim FAQ
How much reveal should window trim have?
The standard interior window trim reveal is 3/16″ to 1/4″. The reveal creates a visual step that makes the casing look intentional rather than flush. Less than 3/16″ is difficult to maintain consistently and makes the trim look like it’s trying to be flush; more than 1/4″ starts to look like the trim isn’t quite reaching where it should be. 3/16″ is the most common and produces the crispest appearance. The most important thing is consistency — whatever reveal you choose, it must be exactly the same on all four jamb faces of every window in the room.
Can I install window trim without a miter saw?
Yes, but only for certain styles. Craftsman-style with corner blocks requires only square (90-degree) cuts — a circular saw with a square guide or even a hand saw with a miter box can produce adequate 90-degree cuts for this style. For any style that requires 45-degree miter joints (standard butt-and-miter, picture frame): a miter saw is effectively required. Hand-cutting accurate 45-degree miters in molding profiles is a skill that takes significant practice; for a DIY installation, renting or borrowing a miter saw produces far better results than attempting hand-cut miters.
Why does my window trim have a gap at the corner after installation?
Gap at miter corners typically has one of three causes: (1) the miter angle was cut at exactly 45 degrees but the corner isn’t exactly 90 degrees — measure the actual corner angle and cut to half that measurement; (2) the wood moved after installation (dried out in a heated house) — fill with flexible paintable caulk; (3) the miter faces weren’t glued during installation — the nail pulled the pieces apart slightly. Fix: remove the head casing, apply wood glue to both miter faces, reinstall, and nail. For gap-free miters going forward: always glue miter faces and always acclimate the molding to the room’s humidity before installation.
Should I use nails or screws for window trim?
Finish nails (either hand-driven or from a finish nailer) are standard for window trim. Screws are stronger but leave a larger hole that’s harder to fill invisibly. For painted trim: nails are adequate — the trim doesn’t carry structural load, and finish nails with properly filled holes are completely invisible after painting. The exception: if the wall framing is steel stud (commercial construction or some modern residential), screws are required — finish nailers won’t penetrate steel studs. For steel stud walls: use 1-5/8″ drywall screws with pan heads, countersink with a washer-head setter, and fill with wood filler.

“DIY woodworking enthusiast who started with zero experience and a YouTube tutorial.
I build simple, practical projects for my home and share free plans
so other beginners can skip the guesswork.If I can build it, you can too.”