Part of: Woodworking Techniques →
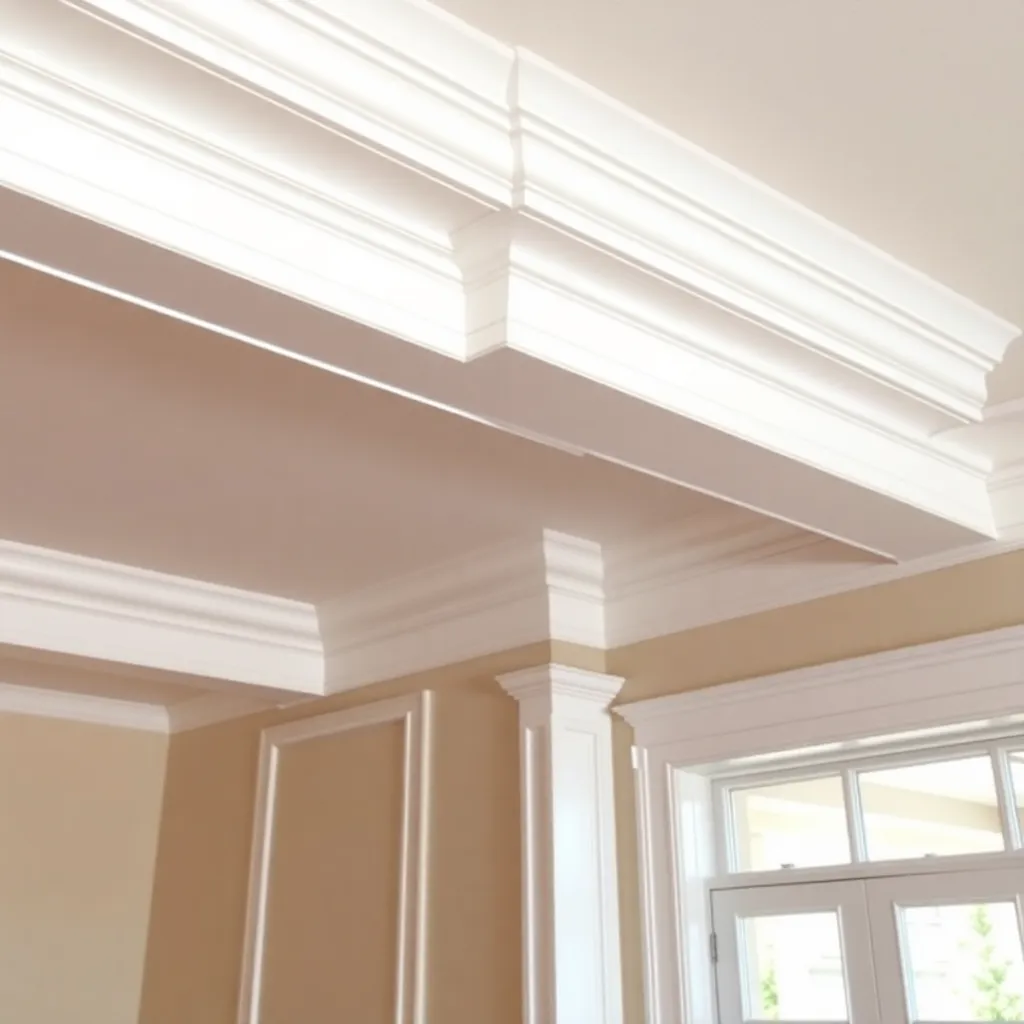
Crown molding transforms a room. The transition from wall to ceiling that’s simply painted drywall becomes an architectural feature — and the quality of the result depends almost entirely on the technique used to cut and install it. Crown molding is more challenging than flat casing because it sits at a compound angle: tilted away from the wall and tilted away from the ceiling simultaneously. Every corner cut involves both a miter and a spring angle. Understanding these angles — and working methodically with test cuts before touching project material — produces tight corners that look professional.
Ted’s Woodworking has 16,000+ plans including complete crown molding installation guides. Browse Ted’s plans →
Crown Molding Miter Cut
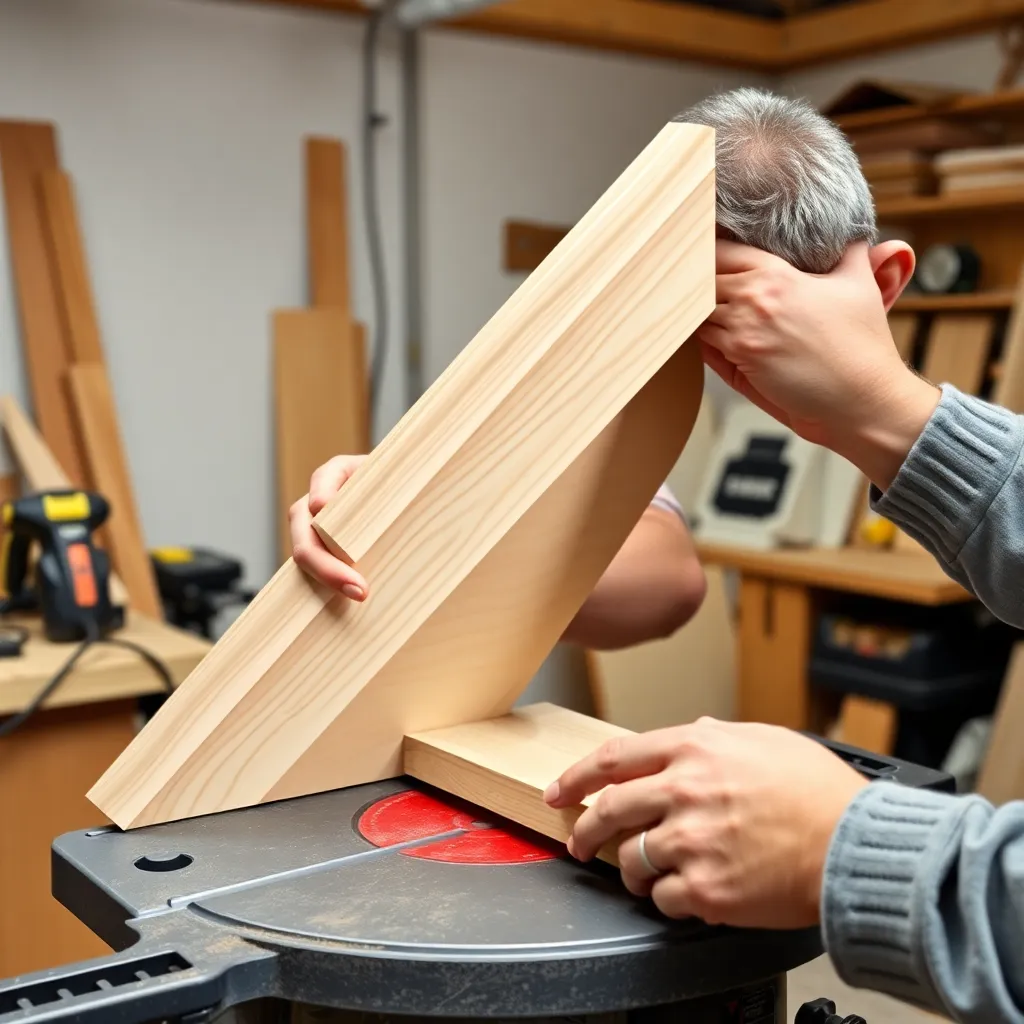
The miter cut is the defining challenge of crown molding installation. Crown sits at a spring angle (typically 38 or 45 degrees off the wall), which means a simple flat 45-degree miter doesn’t produce tight corners. There are two cutting methods: the nested method (crown held upright at its spring angle against the saw fence, saw set to 45-degree miter only) and the flat/compound method (crown lays flat on the table, saw set to both a miter angle and a bevel angle simultaneously).
What’s covered: understanding the spring angle and why it matters; nested vs compound cutting methods and when to use each; setting up a crown stop for consistent positioning; cutting inside corners with the nested method (left 45-degree miter, right 45-degree miter); the coped joint alternative for inside corners and when it’s superior; cutting outside corners (reversed miter direction); compound miter settings for 38-degree and 45-degree spring angles; installing crown with correct spring angle and nail placement.
Key principle: always make test cuts in scrap crown before cutting project material. Verify the test corner is tight before committing to project pieces. The spring angle makes errors less obvious at the saw but very obvious once pieces are held at the correct installation angle.
Choosing Crown Molding
Profile selection:
Crown molding profiles range from simple coves (a concave quarter-round profile) to elaborate built-up assemblies with multiple layers of molding. For most residential installations: a simple cove or ogee profile in 3-1/2″ to 5-1/2″ width is appropriate. Wider crown (5″ and above) makes a stronger architectural statement but is more challenging to install because the longer spring makes corner fitting less forgiving.
Spring angle matters:
Most home center crown has a 38-degree spring angle (marked as 38/52 on the back). Decorative and custom crown often has a 45-degree spring angle. The spring angle determines the miter and bevel settings — mixing crown with different spring angles in the same room won’t work. Verify the spring angle of any crown before cutting: hold the crown flat on a table, stand it at the spring angle, and use a digital angle finder to confirm.
Material:
Finger-jointed pine: the standard for painted crown in most residential applications. Economical, widely available in standard lengths (8′, 12′, 16′). Takes paint well. For long runs (over 12′): buy 16′ lengths to minimize the number of scarf joints.
MDF crown: very smooth, excellent paint finish, no grain raise. Available in standard profiles. More prone to chipping at inside corners than solid wood or finger-jointed pine. Best for painted applications in climate-controlled spaces.
Polyurethane foam crown: lightweight, no cutting required at corners (corners are separate pre-formed pieces). Installs with adhesive rather than nails. The easiest crown to install, but looks less authentic and doesn’t accept paint as well as wood. Good option for very high ceilings where a ladder is required for installation — the light weight reduces safety risk.
Solid wood (poplar, oak, cherry): for stained or clear-finished crown. More expensive and requires coped inside corners (mitered inside corners open up visibly in natural-finish wood). Poplar is the best value for painted or clear-finished crown — it machines cleanly and stains reasonably well with the right preparation.
Planning the Installation
Calculate linear footage:
Measure the perimeter of the room (add all four wall lengths). Add 15% for waste from corner cuts and mistakes. For a 12′ × 14′ room: perimeter = 52′, with 15% = 60 linear feet. Buy the next standard length up to minimize joints.
Identify corner types:
Walk the room and label each corner: inside or outside. In a standard rectangular room: all four corners are inside corners. Any projecting wall, fireplace surround, or soffit creates outside corners. Outside corners require glued joints and careful fitting — plan extra time for them.
Locate framing:
Crown molding must nail into solid wood. Use a stud finder to locate ceiling joists and wall top plates. Mark the joist locations on the ceiling with light pencil marks 2″ back from where the crown will sit (so the marks are hidden). Knowing joist direction matters: joists running parallel to a wall mean there’s no ceiling nailing support along that wall — blocking must be installed in the attic or space above before crown installation.
Installing blocking:
When ceiling joists run parallel to a wall and there’s no attic access: nail wood triangles (cut from 2×6 at 45 degrees) to the wall’s top plate. These triangles support the crown at the spring angle and provide a nailing surface. Blocking eliminates the “no nail” problem on walls running parallel to joists.
Sequence planning:
Work around the room in one direction. The first piece installed is the one that all other pieces cope or miter against. In most rooms: start with the wall opposite the main entrance (it’s the most visible) and work from left to right.
Cutting Techniques
The nested method step-by-step:
Position the crown upside down on the saw table — the edge that touches the ceiling goes flat on the table; the edge that touches the wall presses against the saw fence. The molding leans at its spring angle between the table and the fence. Set the miter saw to 45 degrees (no bevel). For an inside corner left piece: miter left. For an inside corner right piece: miter right.
Coping inside corners:
Coping produces inside corners that stay tight over time. Step 1: install the first piece with a square cut at the corner end (it butts into the corner). Step 2: cut the second piece at a 45-degree miter to reveal the profile. Step 3: use a coping saw to cut along the revealed profile line, undercutting slightly (angling the cut back) so only the front face contacts the adjacent piece. Step 4: test fit — the coped profile should slip over the face of the installed piece with no gap.
Scarf joints for long runs:
When a wall run exceeds the available molding length, a scarf joint connects two pieces end-to-end. Cut both ends at a 45-degree miter so the joint is diagonal (not a square butt). The scarf should land on a ceiling joist so both pieces nail into solid wood at the joint. Apply wood glue to the scarf faces; nail both pieces before the glue sets so the joint closes under clamping pressure from the nails.
Non-90-degree corners:
Older homes frequently have corners that aren’t exactly 90 degrees. Measure the actual corner angle with a digital angle finder or bevel gauge. For the nested method: divide the corner angle by 2 and set the miter saw to that half-angle. For a 92-degree corner: set the saw to 46 degrees. For the compound method: use a crown molding angle chart with the actual corner angle as the input.
Installation
Ledger strip for solo installation:
A ledger strip (thin strip of wood nailed to the wall at the bottom-of-crown height) acts as a shelf for the crown while you nail it in place. Mark the crown position on the wall (the bottom edge height — typically 2″ to 4″ down from the ceiling depending on crown size). Nail a thin strip of wood to the wall at this mark. When installing crown: rest the bottom edge on the ledger strip, nail the top edge into the ceiling, then nail the bottom edge through the ledger area into the wall top plate and remove the ledger strip after installation.
Nailing sequence:
Top edge first — nail into ceiling joists with 2.5″ finish nails. Bottom edge second — nail into wall top plate with 2.5″ finish nails. Nail every 16″ along the run. At corners: before final positioning, apply a thin bead of wood glue to the miter or cope faces and nail within 2-3 minutes before the glue sets.
Finishing:
Fill nail holes with painter’s putty (painted crown) or stainable wood filler (natural finish). Fill any small corner gaps with paintable acrylic caulk — apply with a fine tip, tool smooth with a wet finger. Caulk the top edge (crown-to-ceiling joint) and bottom edge (crown-to-wall joint) with a fine bead of paintable caulk for a seamless finished appearance. Prime, then two coats semi-gloss paint.
Crown Molding Techniques FAQ
Is crown molding hard to install?
Crown molding is the most technically challenging standard interior trim installation. The difficulty comes from the spring angle: every corner cut involves compound geometry that’s less intuitive than flat casing cuts. However, the nested cutting method (crown upside down on the saw at the spring angle, saw set to simple 45-degree miter) makes the cuts manageable for a patient DIY installer. The key is test cuts in scrap material before cutting project pieces, working slowly around the room, and coping inside corners rather than mitering them for a forgiving, tight joint.
What size crown molding looks best?
Crown molding size should be proportional to the ceiling height. A general guide: 8′ ceilings — 2-1/2″ to 3-1/2″ crown; 9′ ceilings — 3-1/2″ to 4-1/2″ crown; 10′ ceilings — 4-1/2″ to 6″ crown; above 10′ — 6″ or built-up assemblies. Crown that’s too small for the ceiling height looks like an afterthought; crown that’s too large looks heavy and overpowering. When in doubt: hold a piece of crown in the corner and stand back to evaluate before purchasing for the whole room.
How do I cut crown molding without a compound miter saw?
Using the nested method with a standard (non-compound) miter saw: the crown sits upside down at its spring angle against the fence, and the saw is set to a simple 45-degree miter with no bevel. A standard miter saw (not compound) works perfectly for this. The nested method was developed specifically to avoid the compound angle math — it’s the traditional method used before compound saws existed. A basic 10″ miter saw with a good blade is all that’s required.
How do I deal with crown molding that won’t lie flat on the wall?
Crown that bows away from the wall between nailing points has one of two causes: (1) the wall surface is slightly bowed out — use a straightedge to identify the high spot and sand or plane it slightly; or (2) the crown itself is bowed — check the back of the crown for straightness before installation. Fix: add an intermediate nail at the bowing section, driving it at a slight angle so it pulls the crown toward the wall. If the gap at the wall is minor (under 1/8″): caulk it after installation and paint — the caulk will fill the gap and the painted result will look tight.

“DIY woodworking enthusiast who started with zero experience and a YouTube tutorial.
I build simple, practical projects for my home and share free plans
so other beginners can skip the guesswork.If I can build it, you can too.”