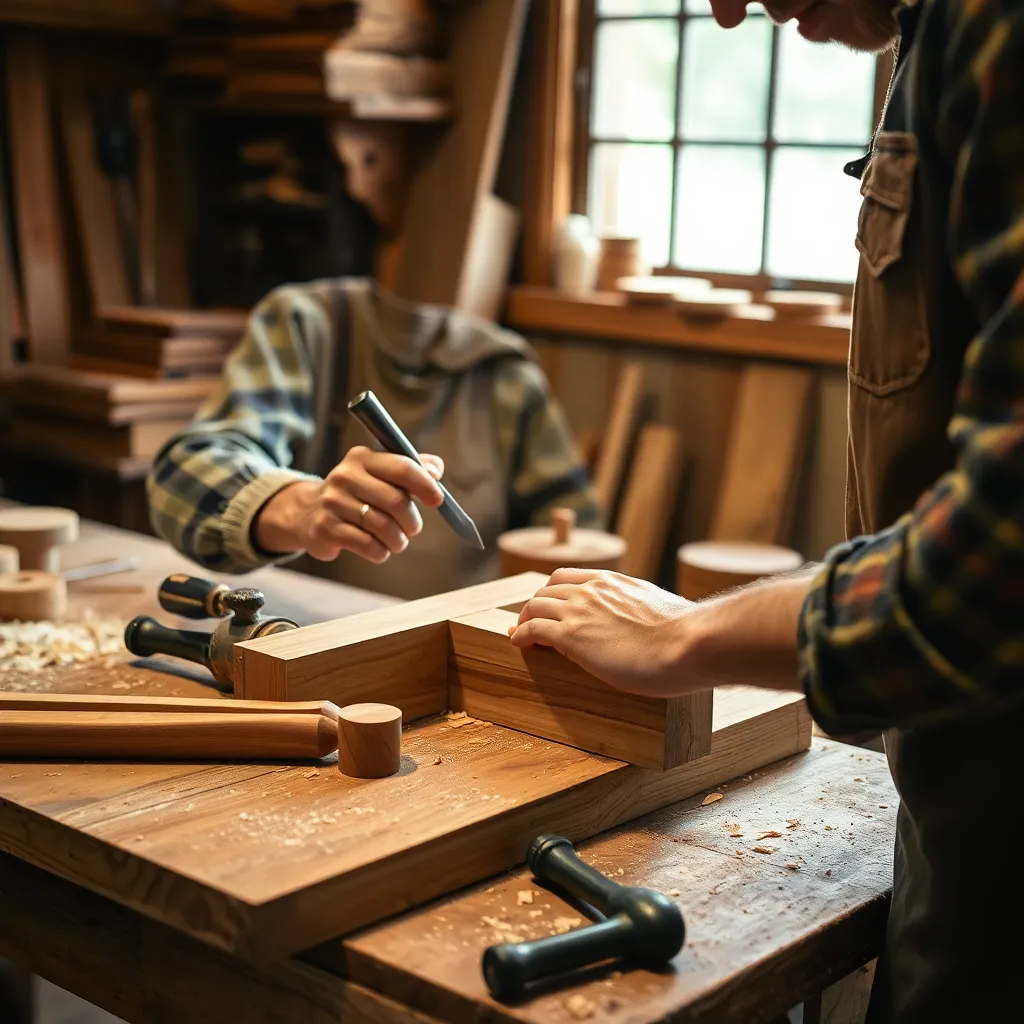
Woodworking techniques are the core skills that separate a project that lasts a generation from one that falls apart in a year. The joint that holds a chair together, the finish that protects a dining table from water and heat, the molding that transforms a bare room into an architectural space — each of these depends on specific techniques applied correctly. This guide covers the full range of essential woodworking skills: joinery, wood finishing, adhesives, pocket hole joinery, trim installation, and crown molding. Whether you’re building your first box joint or finishing your first piece with an oil-varnish blend, the techniques here form the foundation of competent woodworking.
Ted’s Woodworking has 16,000+ plans covering every skill level, from first-time builders to experienced craftsmen. Browse Ted’s plans →
Joinery Techniques
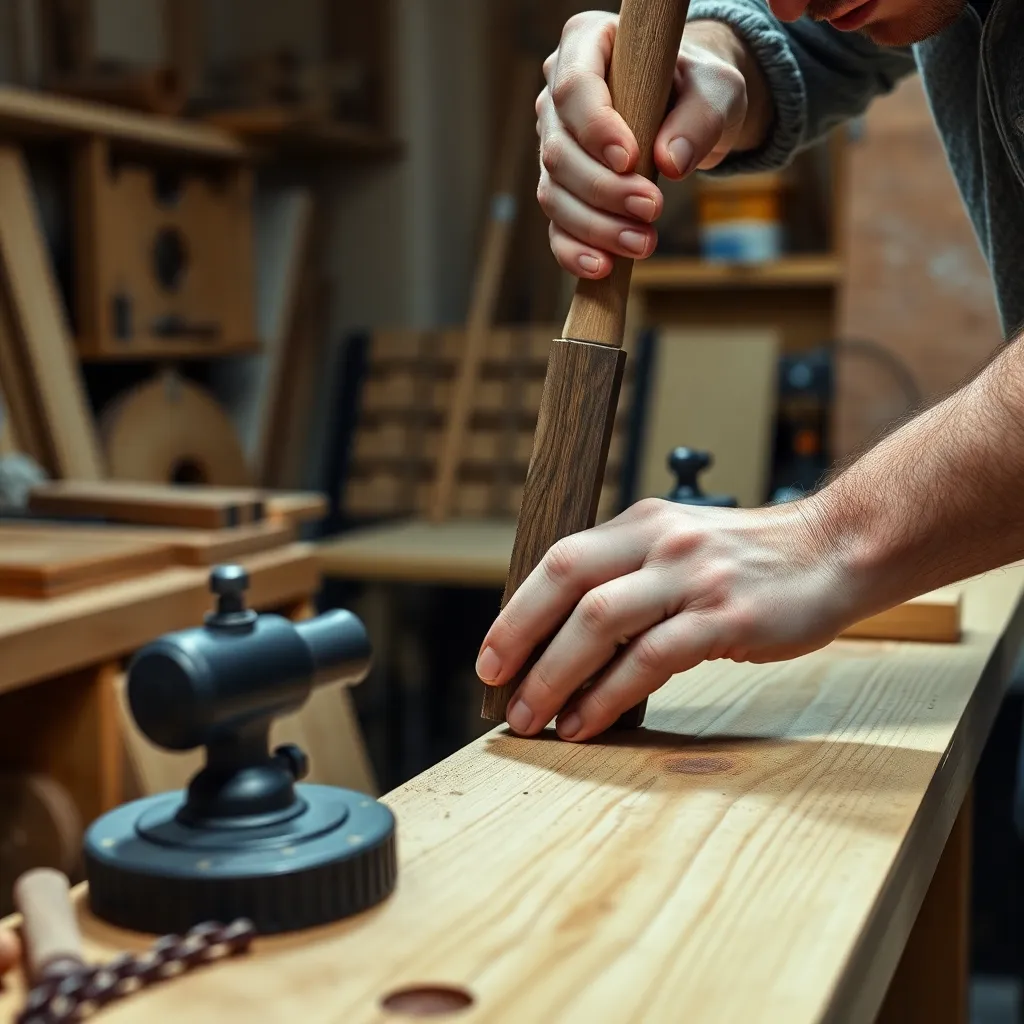
Joinery is the art of connecting pieces of wood without mechanical fasteners — or with fasteners reinforced by precise wood-to-wood contact. The strength of a piece of furniture comes almost entirely from its joints. A mortise-and-tenon joint in a chair leg has held for centuries in pieces made before metal screws existed; a butt joint held by screws alone fails when the screw pulls through. Understanding which joint to use — and why — is the single most important technical skill in woodworking.
What’s covered: butt joints, dado joints, rabbet joints, mortise-and-tenon joints (the cornerstone of furniture joinery), box joints and dovetail joints for drawer construction, biscuit joints for alignment and light reinforcement, dowel joints, and half-lap joints. The guide covers when each joint is appropriate, how to cut it accurately, and how to clamp and glue for maximum strength.
Key principle: joint strength comes from long-grain-to-long-grain glue surface. End grain absorbs glue rather than bonding with it. Any joint that relies on end-grain gluing — a simple butt joint at the end of a board — is weak. Joints designed for strength always maximize the long-grain contact area between the mating pieces.
Wood Finishing Techniques
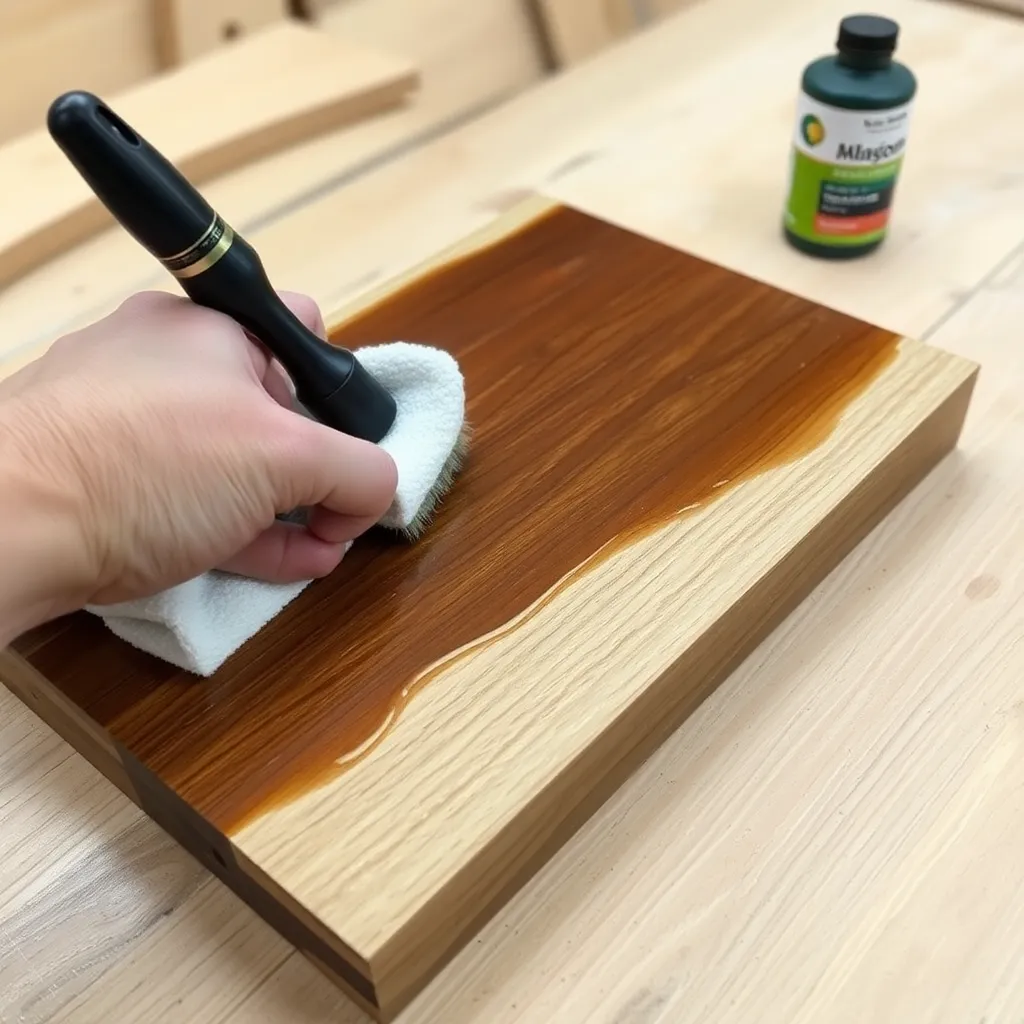
A wood finish does two things: it protects the wood from moisture, abrasion, and damage; and it enhances or changes the wood’s appearance. Getting both right requires choosing the correct finish for the application, preparing the surface properly before any finish is applied, and applying in thin coats with correct drying time between coats. A surface that looks beautiful in the shop can fail within months if the finish was chosen poorly or applied incorrectly.
What’s covered: surface preparation (the foundation of any good finish), wood stains and how to apply them evenly without blotching, the main finish types (polyurethane, lacquer, shellac, oil finishes, wax), how to avoid common finishing problems (brush marks, runs, blush, fish-eye), sanding between coats, and the finishing sequence for different project types. Separate coverage for oil-based vs water-based products and when each is appropriate.
Key principle: the finish can only be as good as the surface beneath it. Sand through 120, 150, 180, and 220-grit before any stain or finish. Stain and finish amplify surface imperfections — scratches invisible in raw wood become obvious under a gloss finish. Raise the grain with water before final sanding to eliminate grain raise after the first coat.
Pocket Hole Joinery
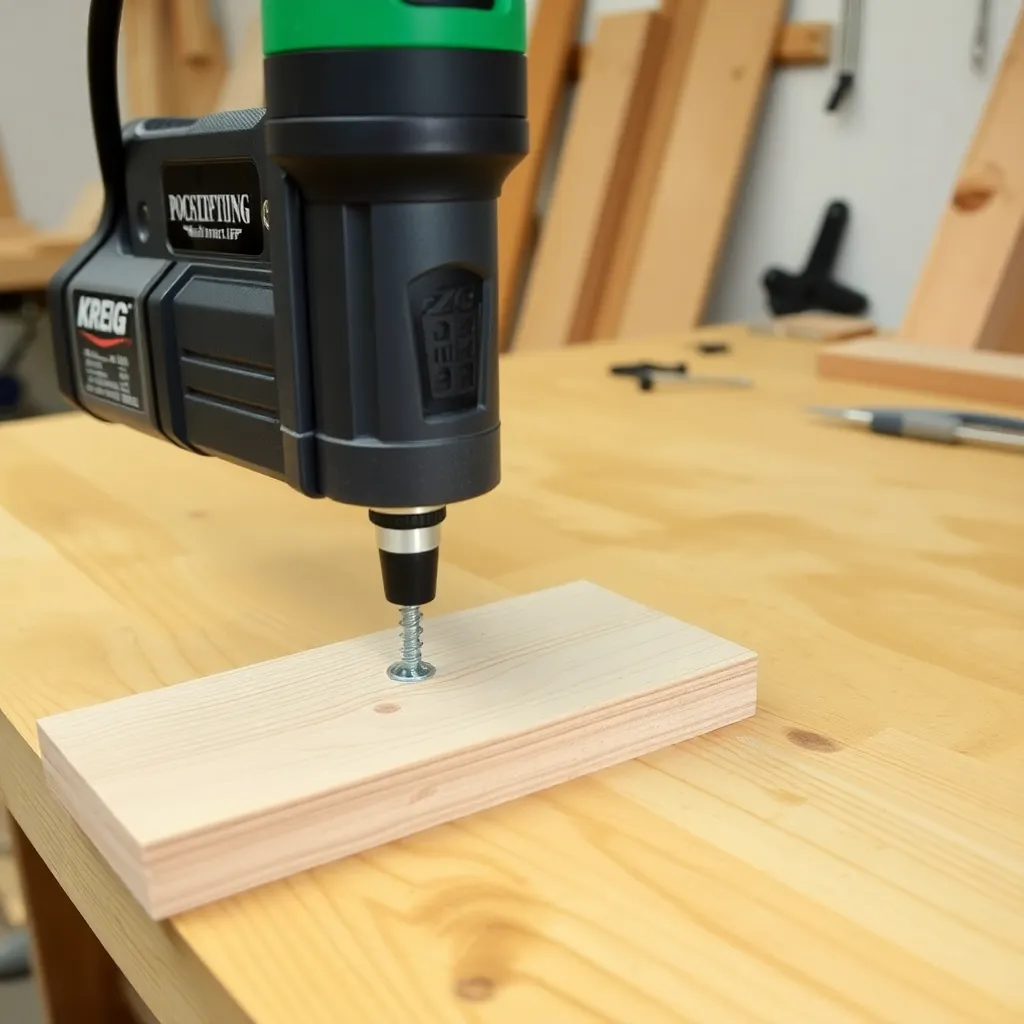
Pocket hole joinery is the fastest reliable joining method in woodworking. A pocket hole jig drills an angled pilot hole into one board; a specially designed screw drives through the pocket hole into the mating board, pulling the joint tight. The entire process takes under two minutes per joint and requires no clamps, no complex layout, and no specialized cutting tools beyond the jig itself. Pocket holes are the reason hobby woodworkers can build solid face-frame cabinets, bed frames, and workbenches without the years of practice that traditional joinery requires.
What’s covered: how pocket hole joinery works and when it’s appropriate; setting up the Kreg jig for different material thicknesses; choosing the right screw length and type; clamping technique to prevent joint shifting during driving; face frame construction; pocket hole joints in plywood vs solid wood; and the limitations of pocket hole joinery (it’s not appropriate for heirloom furniture or joints under tension).
Key principle: pocket hole joinery excels in compression and shear but is weak in tension — pulling the joint apart along the screw axis. Use it for face frames, carcass assembly, and connections where the joint is loaded in compression. Don’t rely on it for tabletop attachments or chair rungs where the joint is under repeated tension loads.
Wood Glues and Adhesives
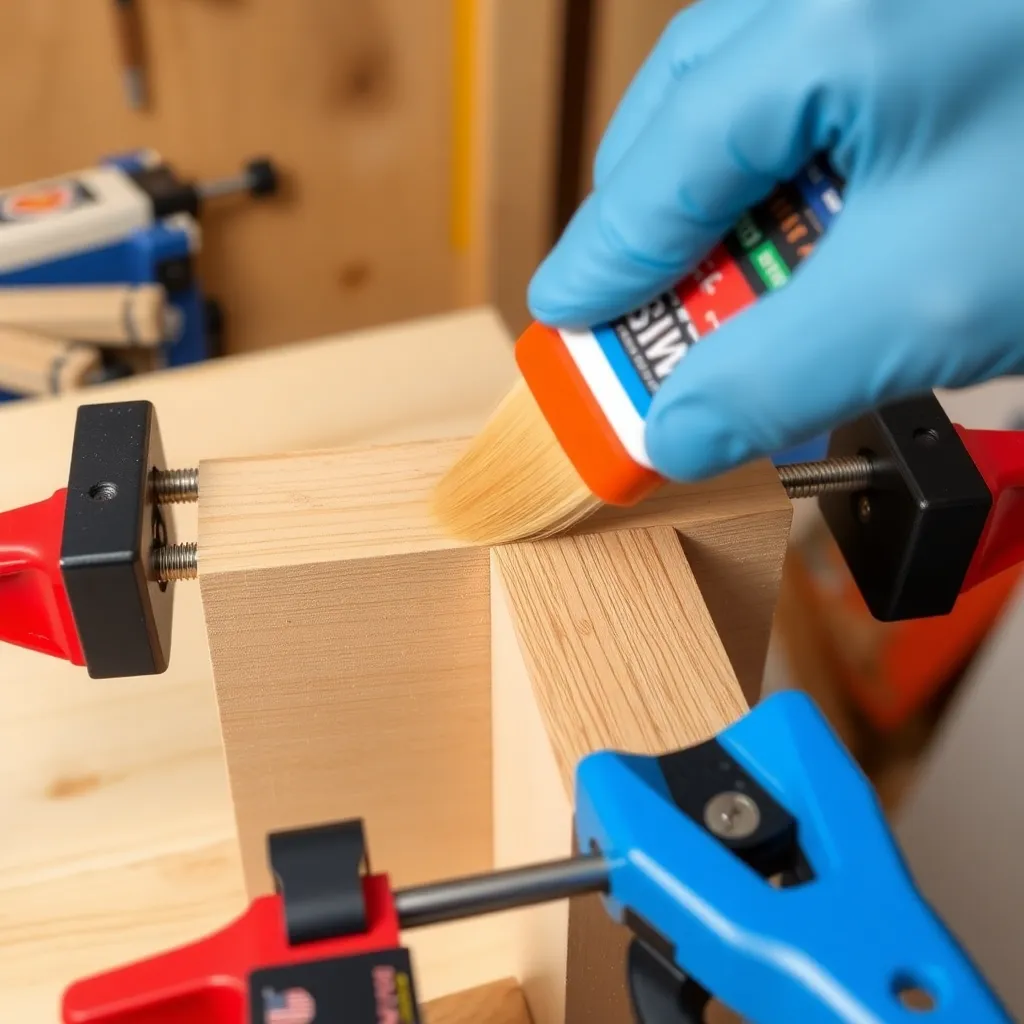
The right adhesive for a woodworking joint is almost always PVA wood glue (yellow or white carpenter’s glue). It’s strong enough that a well-glued long-grain joint is stronger than the wood itself — the wood will fail before the glue line. But PVA isn’t right for every situation: exterior projects need waterproof glue; gap-filling situations need epoxy; non-porous materials need CA glue or construction adhesive. Understanding which adhesive works for which application — and how to use each correctly — prevents failed joints and wasted projects.
What’s covered: PVA wood glue (yellow and white), waterproof PVA (Type II and Type III), polyurethane glue, epoxy (two-part), cyanoacrylate (CA/super glue) and its woodworking uses, hide glue (traditional and liquid), construction adhesives. Application technique, open time, clamp time, and temperature requirements for each. Wood filler vs wood putty — when to use each for repairs. How to fix common wood damage: gouges, cracks, loose joints.
Key principle: more glue is not better. Squeeze-out is waste — it means you applied more than the joint surfaces could absorb. Apply a thin, even film to both mating surfaces, spread with a brush or finger, assemble, clamp, and wipe squeeze-out immediately with a damp cloth. Clean squeeze-out before it cures; cured glue resists stain and finish differently than bare wood.
Window Trim and Molding
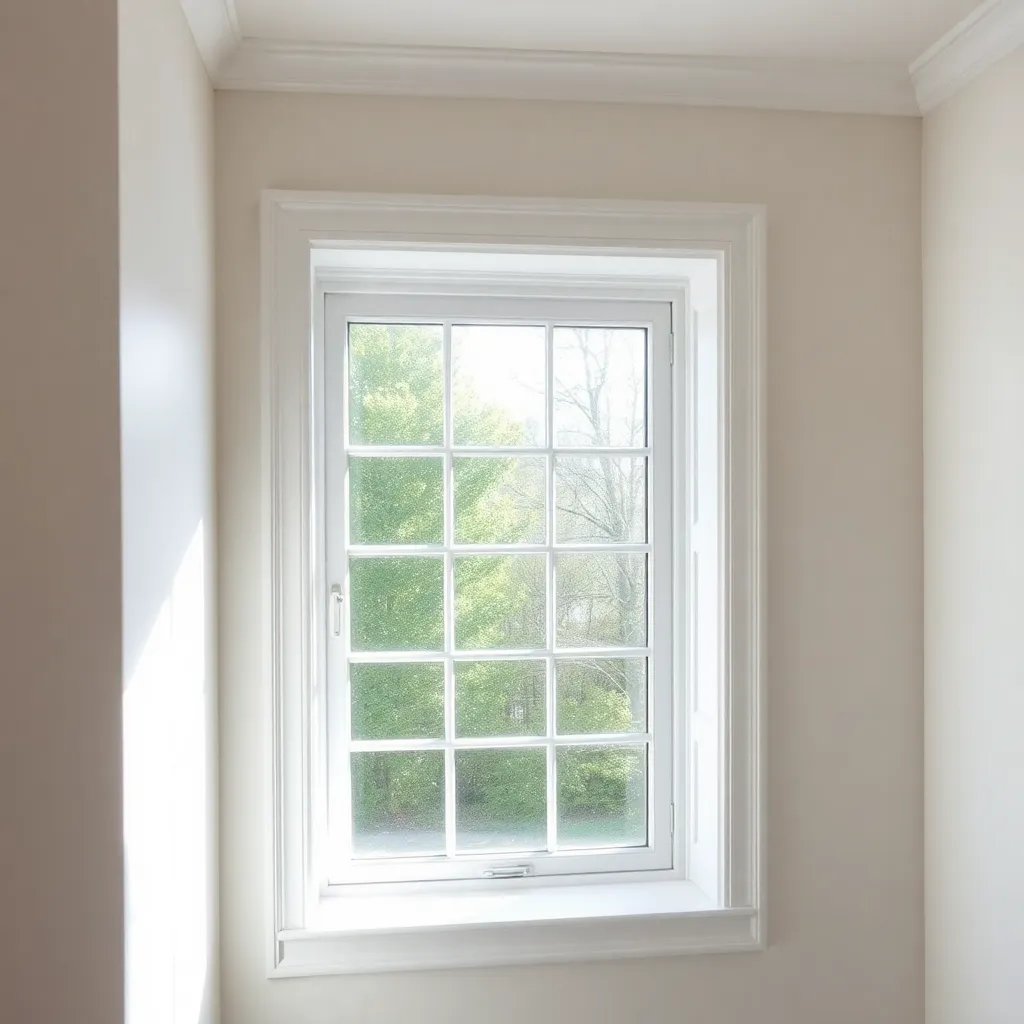
Window trim is the most visible finish carpentry work in a house — every person who enters a room sees all the windows simultaneously. The reveal (the small margin of the jamb visible between the casing edge and the jamb face) must be perfectly consistent on all sides of every window in the room. The miter joints at the corners must be tight with no visible gap. The casing must sit flat against the wall with no gaps along its outer edge. When all three conditions are met, the trim disappears into the architecture; when any one fails, it dominates the room’s appearance.
What’s covered: window trim profiles and how to choose among colonial, craftsman, ogee, and back-band styles; marking and maintaining consistent reveals; cutting and installing side casings; fitting the head casing for tight miter or butt joints; installing a window stool and apron; nailing sequence (inside edge before outside edge); filling nail holes, caulking the perimeter, and painting for a crisp finished result.
Key principle: nail the inside edge first. Once the inside edge is nailed at the reveal line, the outside edge can be pulled flat against the wall and nailed into the framing. Nailing the outside edge first locks the casing in position before the reveal is set — if the wall surface isn’t flat (it rarely is), the inside edge won’t sit at the correct reveal.
Crown Molding Techniques
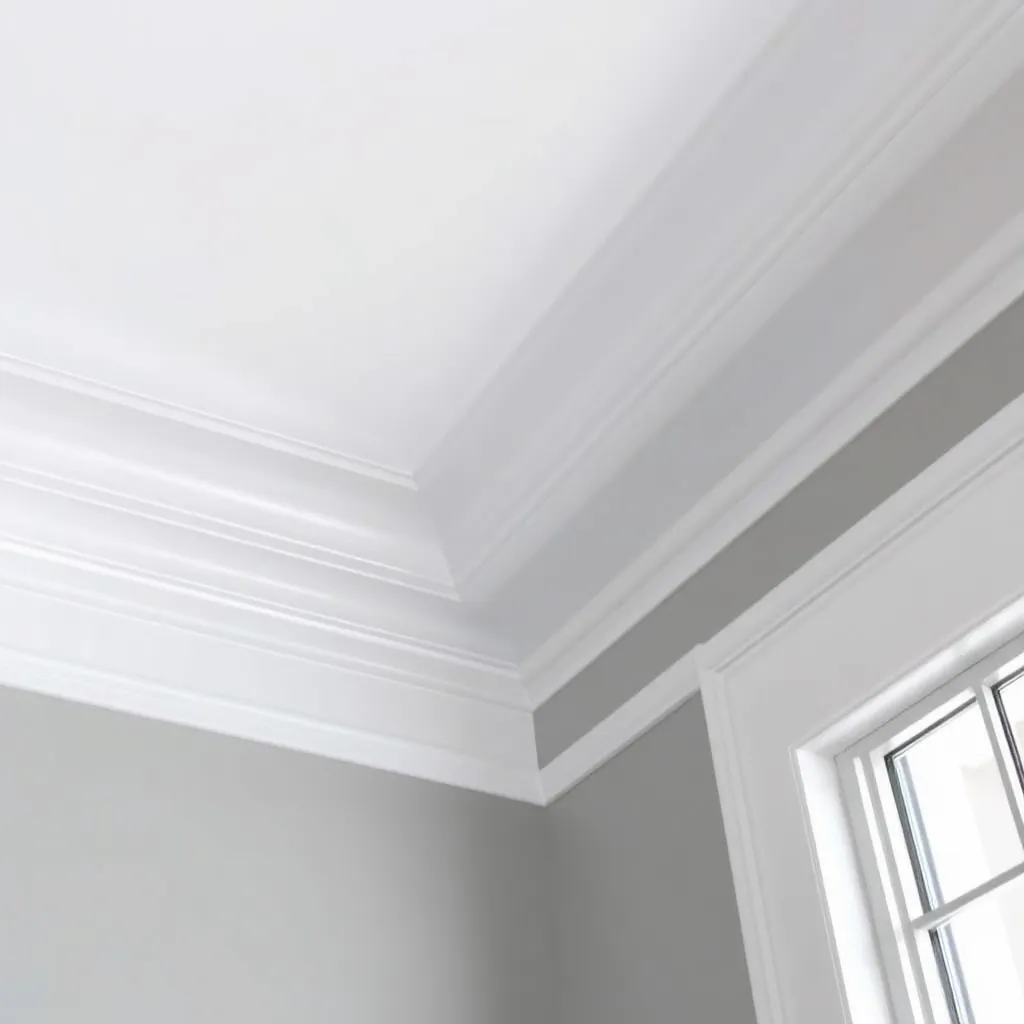
Crown molding sits at a compound angle — tilted away from the wall and tilted away from the ceiling simultaneously. This spring angle is what makes crown molding cuts different from flat casing cuts: a simple 45-degree flat miter doesn’t produce tight corners. The nested cutting method resolves this: hold the crown upside down on the miter saw table at the spring angle (top edge on the table, bottom edge against the fence), set the saw to 45-degree miter only, and cut. The spring angle is built into the setup, and the cut is as simple as any flat molding cut.
What’s covered: the spring angle and why it determines cut angles; the nested method vs the compound (flat) method; inside corner cuts (left miter and right miter); coping inside corners for joints that don’t open with seasonal movement; outside corner cuts and the reversed miter direction; compound miter settings for 38-degree and 45-degree spring angles; planning the installation sequence; locating nailers; scarf joints for long runs; nailing, caulking, and painting.
Key principle: cope inside corners. Mitered inside corners open up as the wood moves seasonally and the house settles — the gap that appears at a painted inside corner miter is one of the most common complaints after crown installation. A coped joint fits over the face of the adjacent piece and stays tight even as the wood moves. The coping takes 10 extra minutes per corner and produces results that last indefinitely.
Woodworking Techniques FAQ
What woodworking techniques should a beginner learn first?
Start with three fundamentals: accurate measuring and marking, straight crosscuts (using a miter saw or circular saw with a guide), and PVA wood glue joints with proper clamping. These three skills are used in every project from a simple box to a complex cabinet. After mastering these, add: pocket hole joinery for fast assembly, basic surface preparation and finishing (sanding through grits, applying a wipe-on oil-varnish), and one hand-cut joint (a simple dado or rabbet). This sequence takes a new woodworker from “cutting wood” to “building furniture” in roughly six to twelve months of regular shop time.
What is the strongest woodworking joint?
The mortise-and-tenon joint is the strongest mechanical joint in traditional woodworking. A well-cut mortise-and-tenon with adequate glue surface holds chairs, tables, and frames together for centuries — many pieces from medieval Europe are still structurally sound today. The joint works because it maximizes long-grain-to-long-grain contact and resists both tension and racking. For modern shop woodworking where routing or cutting precise mortises isn’t practical: a Domino joint (a floating tenon made with the Festool Domino machine) produces mortise-and-tenon strength with the convenience of a biscuit joiner. Box joints and dovetails are the strongest joints for drawer and box corners.
How do I get a smooth finish on wood?
Surface preparation is more important than the finish itself. Sand through progressive grits — 80 or 100 grit to remove mill marks and defects; 120, 150, 180 grit to remove previous scratch patterns; 220 grit final sand. Raise the grain with a damp cloth after the 220-grit sand, allow to dry, and sand lightly with 220 to knock off raised grain fibers (this prevents grain raise after the first coat of water-based finish). Apply the first finish coat thin, allow full cure time, sand lightly with 320-grit, wipe off dust, apply second coat. Two or three thin coats produce a smoother, more durable result than one heavy coat.
Do I need expensive tools to learn woodworking techniques?
No — the most valuable woodworking techniques are skill-dependent, not tool-dependent. Hand tools (chisels, hand planes, hand saws) are less expensive than power tools and teach precision that power tools don’t require. A $30 set of chisels, a $60 hand plane, and a $20 marking gauge are sufficient to cut mortise-and-tenon joints as strong as any machine-cut version. For power tools: a miter saw and a random-orbit sander cover the majority of project needs and are available for under $300 combined. Add a router when you need dadoes and rabbets. The skills matter more than the tools — a skilled woodworker produces better work with modest tools than a beginner with expensive equipment.

“DIY woodworking enthusiast who started with zero experience and a YouTube tutorial.
I build simple, practical projects for my home and share free plans
so other beginners can skip the guesswork.If I can build it, you can too.”