Part of: Woodworking Techniques →
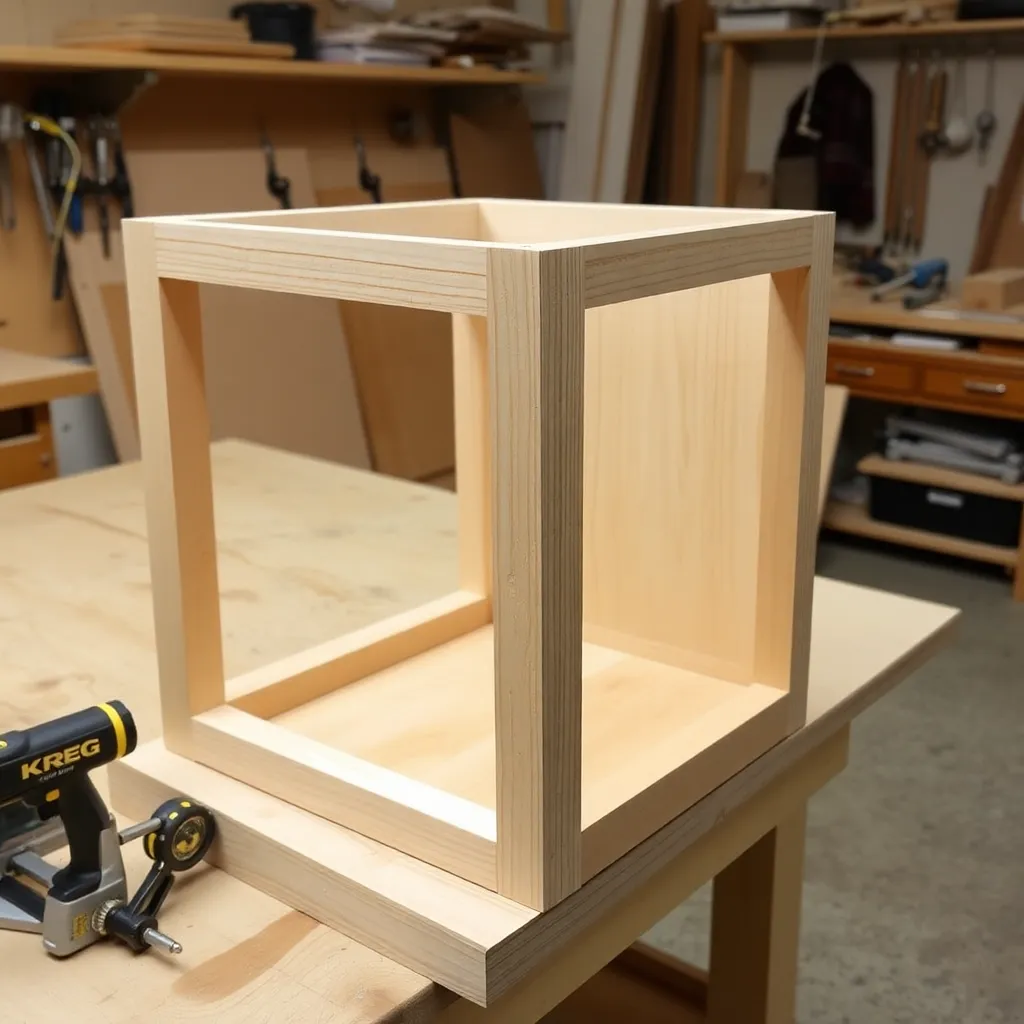
Pocket hole joinery is the most accessible woodworking joint technique available — it requires one specialized tool (a pocket hole jig), uses widely available screws, and produces a strong joint that’s ready for the next step without waiting for glue to cure. The pocket hole joint consists of a precisely angled hole drilled into one piece of wood and a self-tapping screw that drives through that hole into the mating piece, pulling the joint tight. In 30 seconds, two pieces of wood that were separate are now a solid joint. It’s used by professionals for face frames and cabinet carcasses and by beginners for their first furniture project — the technique scales with the application.
Ted’s Woodworking has 16,000+ plans with full joinery specifications and pocket hole placement guides. Browse Ted’s plans →
Pocket Hole Jig
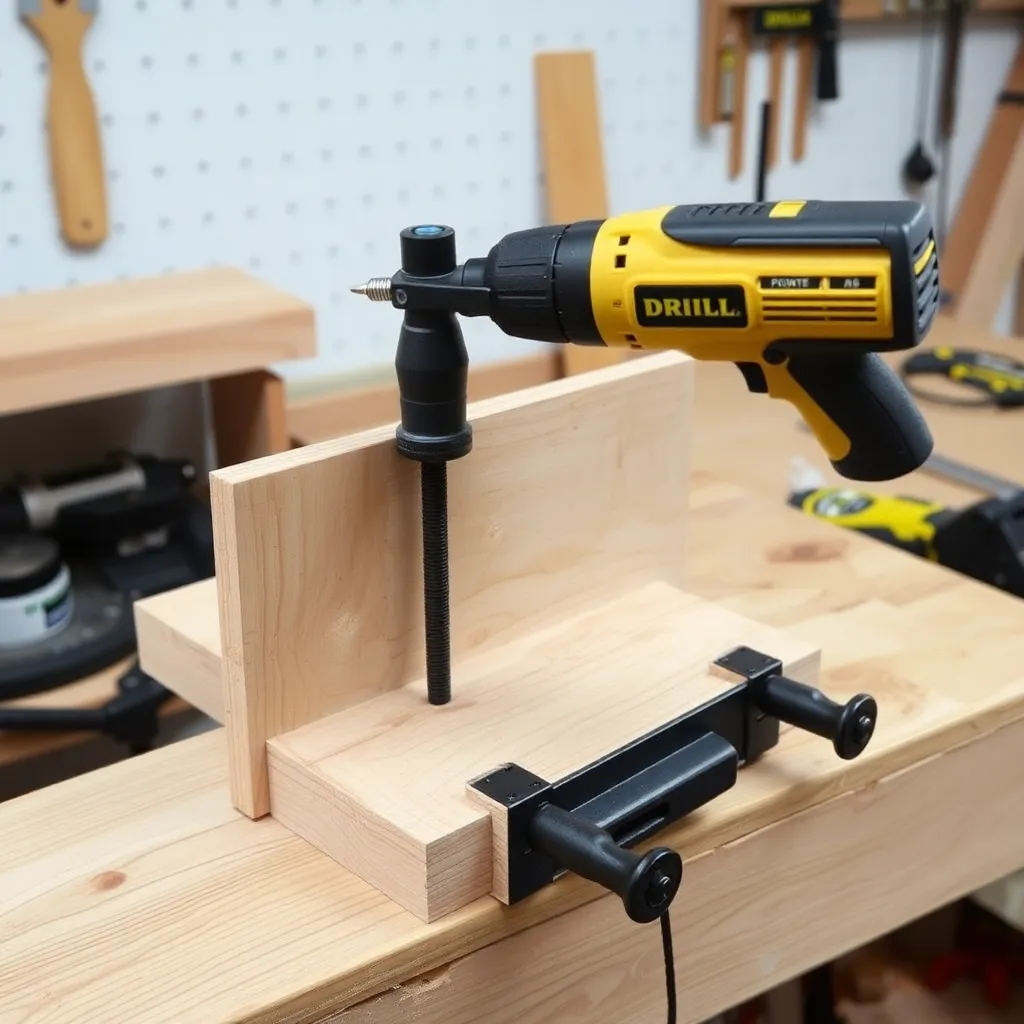
The pocket hole jig is the only tool required for pocket hole joinery beyond a standard drill. The jig does three things: it holds the stepped drill bit at the precise 15-degree angle required for the pocket geometry; it controls the depth of the pocket through a collar on the drill bit; and it clamps the workpiece in position during drilling so the hole position is consistent and repeatable. Without the jig, duplicating the 15-degree angle and consistent pocket depth by hand is nearly impossible — with the jig, anyone with a drill can drill pocket holes in under a minute.
What to look for: an integrated clamp (faster than using separate clamps), two-hole drilling capability (most joints need two pockets), and clear thickness adjustment markings. The Kreg 720Pro and K5 have all three; import jigs have the geometry but lower build quality.
Setting up: adjust the guide block and drill bit collar to match the material thickness before drilling. This is the only adjustment required per material thickness. Once set, the jig produces identical holes until the setting is changed. Test in scrap of exactly the same thickness before drilling project parts.
Kreg Pocket Hole Jig
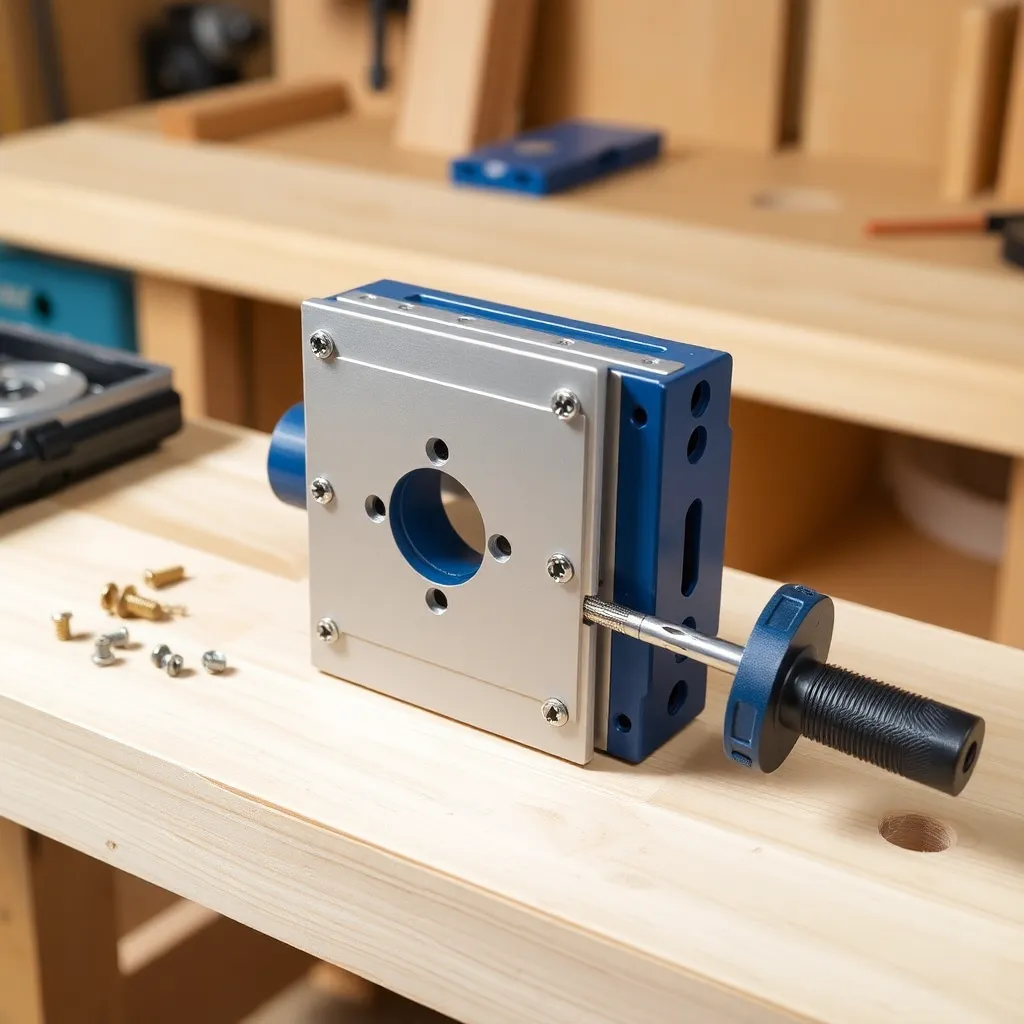
Kreg is the brand that made pocket hole joinery mainstream — their jig system, pocket hole screws, and assembly clamps are the industry standard for this technique. The Kreg 720Pro (current model) and K5 (previous flagship) both feature an integrated workpiece clamp, a precision guide that drills two pocket holes simultaneously, and an adjustment system that sets both the guide and the drill bit collar when the material thickness dial is turned.
Why Kreg specifically: the Kreg system includes the complete ecosystem — jig, stepped drill bit, #2 square drive bit, and the correct pocket hole screws in coarse and fine thread, in lengths from 1″ to 2-1/2″. The screw geometry (flat-bottom maxi-loc head) is designed to seat perfectly in the Kreg pocket hole geometry. Using standard wood screws or drywall screws in a Kreg pocket doesn’t produce the same result — the head geometry doesn’t match the pocket seat.
Screw selection: coarse thread for softwoods (pine, poplar, MDF, plywood); fine thread for hardwoods (oak, maple, cherry). Screw length: 3/4″ material → 1-1/4″ screws; 1-1/2″ material → 2-1/2″ screws. The Kreg screw selector chart matches every material thickness to the correct screw length and thread type.
When to Use Pocket Hole Joinery
Pocket hole joinery is the right choice in several categories of woodworking applications:
Face frames:
The original and most common pocket hole application. A face frame (the solid wood front frame of a cabinet) consists of vertical stiles and horizontal rails. Pocket holes are drilled into the ends of the rails and screwed into the stiles, producing a flat, square frame in minutes that can be attached to the cabinet box immediately. Traditional face frames were built with biscuits, dowels, or dominos; pocket holes are faster without sacrificing strength for this application.
Cabinet carcass assembly:
Attaching shelves, bottom panels, and tops to cabinet sides uses pocket holes drilled into the shelf ends, driven into the cabinet side panels. The screws hold the shelf in position while the glue cures, eliminating the need for long clamps spanning the cabinet width. For a base cabinet: pocket holes attach the bottom panel to the sides, the back cleat to the sides, and the top rail to the sides — the entire carcass can be assembled in 20 minutes.
Furniture frames:
Bed frames, table bases, and chair frames all use pocket holes effectively. The technique is particularly valuable for attaching table aprons to legs — pocket holes in the inside face of the apron (angled into the leg) don’t require the complex setup of mortise-and-tenon and produce a joint that’s strong enough for most residential furniture use.
Workbench and shop furniture:
Shop furniture is an ideal application because appearance matters less and strength matters more. Pocket holes work faster than any other joinery method for shop jigs, stands, and benches — and they can be assembled with construction lumber that’s not as precisely milled as furniture wood.
Pocket Hole Joinery Strength and Limitations
What pocket holes resist:
Pull-apart force (the joint pulling apart along the screw axis) — excellent; this is what the screw excels at. Shear force (the joint sliding parallel to the mating face) — very good, particularly with glue. Bending (one piece bending away from the other across the joint) — good for furniture-scale loads.
What pocket holes don’t resist well:
Racking (the joint rotating in the plane of the assembly — a rectangle trying to become a parallelogram). A single pocket hole joint, without glue and without a panel to stabilize it, is weak in racking. This is why cabinet back panels are important — they prevent the cabinet from racking. A face frame with pocket hole joints and no back panel would rack easily without glue.
The glue rule:
Always use wood glue on structural pocket hole joints. Without glue, the joint relies entirely on the screw for all forces including racking. With glue, the glued surface area handles shear and racking, and the screw handles pull-apart — the combination is strong enough for production furniture.
Comparing to other joints:
Pocket hole joints are not as strong as mortise-and-tenon for heavy structural loads (a timber-frame joint, a rocking chair leg) but are stronger than most people expect and significantly faster to make. For cabinet and interior furniture work where loads are moderate: pocket holes with glue are completely adequate. For heirloom furniture where longevity matters and speed doesn’t: traditional joinery produces joints that outlast the wood around them.
Pocket Hole Plugs and Concealment
The pocket hole — the visible angled pocket — must be concealed on any visible surface. Strategies:
Pocket hole plugs:
Pre-made plugs that fit the exact pocket hole geometry. Available from Kreg and other suppliers in common species (oak, cherry, maple, pine, walnut) and paint-grade. Press in with glue, allow to cure, sand flush. The plug is visible but much less obvious than the open pocket — grain direction alignment matters for the most invisible result.
Wood filler (painted surfaces):
Fill with lightweight spackle or wood filler, allow to dry, sand flush, prime, paint. The filled hole is completely invisible after painting.
Strategic placement (best approach):
Plan pocket hole locations so they face an interior (the inside of a cabinet, the underside of a shelf, the back face of a frame component). Hidden pockets require no filling — the assembled piece simply doesn’t show them. This is how professional cabinet makers use pocket holes: the pockets are drilled on faces that will never be visible in the finished piece.
Pocket Hole Joinery FAQ
Is pocket hole joinery strong enough for chairs?
Yes, with important caveats. Chair joints must resist heavy dynamic loads — someone sitting down hard, leaning back, rocking. Pocket holes work for chair seats and back frames where the joint is supported by surrounding structure. For the critical leg-to-seat-rail joint that must resist both pull-apart and racking: use pocket holes with glue, and add either a corner block (a triangular reinforcement block in the corner of the frame) or pocket holes from multiple angles. The most demanding chair joints — continuous rocker chairs, children’s rocking chairs, any joint that will be stressed repeatedly over years — benefit from mortise-and-tenon for the primary load path with pocket holes for secondary attachments. Many commercial furniture makers use pocket holes for all chair joints with glue and produce furniture with acceptable longevity for residential use.
Can I use pocket hole joinery for outdoor furniture?
Yes, but use exterior-rated hardware and materials. Standard Kreg pocket screws are zinc-plated and will rust over time when exposed to weather. Use stainless steel pocket hole screws (Kreg makes them) or hot-dipped galvanized screws for outdoor use. The wood must also be an exterior-rated species (cedar, teak, pressure-treated pine) or finished with an exterior-rated topcoat. The joint geometry is no different for exterior work — the same jig, same setup, same screw length. The critical differences are in material specification: exterior screws, exterior wood, exterior finish.
What wood glue should I use with pocket holes?
Standard yellow woodworking glue (PVA — Titebond Original, Elmer’s Wood Glue) is correct for most interior applications. For outdoor or moisture-exposed applications: Titebond II (water-resistant) or Titebond III (waterproof). Apply glue to both mating surfaces, drive the pocket screws immediately (before the glue sets), and allow to cure 1 hour before handling. Don’t use construction adhesive (too thick, doesn’t bond wood fiber effectively) or CA glue (too fast-setting to allow alignment correction). Wood glue specifically designed for woodworking is always the correct choice for pocket hole assembly.
How do I hide pocket holes in furniture?
The most effective methods, in order of best result: (1) plan pocket hole locations to face hidden areas — this is the professional approach and produces no visible pocket whatsoever; (2) pocket hole plugs in matching wood species, sanded flush — works well for stained projects; (3) wood filler, sanded and painted — works perfectly for painted projects; (4) pocket hole plugs in a contrasting species, sanded flush — a design choice that makes the pocket holes a visible feature rather than hiding them. For high-end furniture where any visible plug is unacceptable: plan all pocket holes to face inward (cabinet interiors, drawer bottoms, underside of tabletops) and use traditional joinery for all visible joints.

“DIY woodworking enthusiast who started with zero experience and a YouTube tutorial.
I build simple, practical projects for my home and share free plans
so other beginners can skip the guesswork.If I can build it, you can too.”