Part of: Wood Glues and Adhesives →
Wood glue is one of the most important consumables in woodworking — when used correctly, a glued joint is stronger than the wood around it. The right adhesive, applied correctly to properly prepared surfaces, creates a bond that won’t fail before the wood does. The wrong adhesive (or the right adhesive applied incorrectly) produces a joint that fails under load, in moisture, or simply pulls apart with hand pressure. This guide covers the main woodworking adhesives, their appropriate uses, and how to get a reliable bond every time.
Ted’s Woodworking has 16,000+ plans with complete joinery and assembly specifications. Browse Ted’s plans →
Step 1: Choose the Right Woodworking Adhesive
Goal: Match the adhesive type to the application’s requirements.
PVA (polyvinyl acetate) — yellow wood glue:
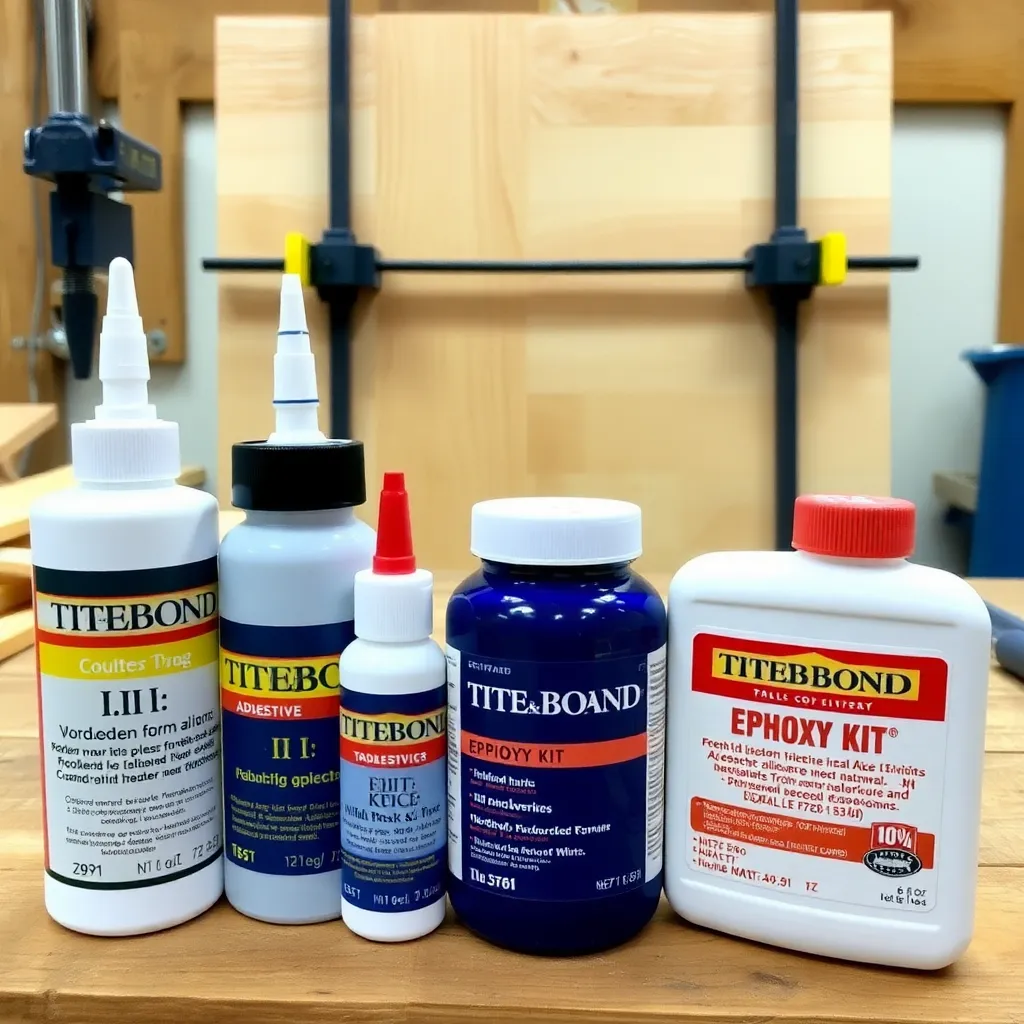
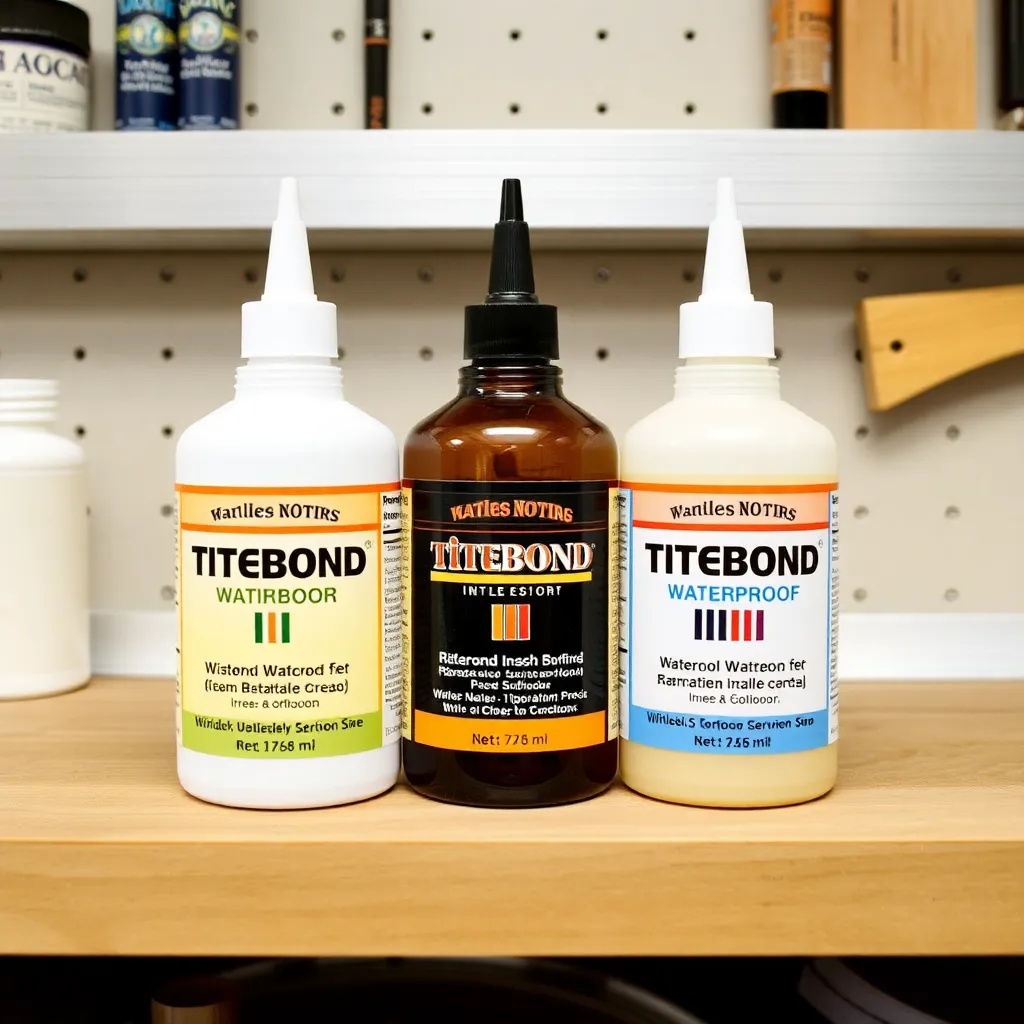
The standard woodworking adhesive for interior furniture and cabinet work. Titebond Original (Titebond I) is the most widely used. Strong bond, slightly flexible when cured, easy water cleanup while wet. Open time: 5–10 minutes (time to adjust parts before the glue grabs). Full cure: 24 hours. Not water-resistant — not appropriate for exterior use or anything that will get wet repeatedly.
Titebond II (water-resistant PVA):
Passes ANSI/HPVA Type II water resistance test. Use for cutting boards, outdoor furniture that stays covered, and anywhere the joint will see occasional moisture. Still not fully waterproof — don’t use for joints that will be continuously submerged or wet. Open time: 3–5 minutes (shorter than Titebond I). Full cure: 24 hours.
Titebond III (waterproof PVA):
Passes ANSI/HPVA Type I waterproof test. Use for outdoor furniture, marine applications, and cutting boards that will be washed repeatedly. Slightly more flexible than Titebond I and II. Open time: 8–10 minutes. Full cure: 24 hours. More expensive than Titebond I and II — don’t use for interior work where standard PVA is adequate.
Polyurethane glue (Gorilla Glue):
Expands as it cures (foams), filling gaps. Useful for gluing dissimilar materials (wood to metal, wood to stone). Requires moisture to cure — dampen one surface before applying. Very strong, fully waterproof. Difficult to clean up (requires solvent while wet, scraping when dry). The foaming action can push parts out of alignment in clamps. Best for: repair applications on irregular surfaces, gluing mixed materials. Not a first choice for clean furniture joints.
Epoxy:
Two-part adhesive (resin + hardener) that cures by chemical reaction. Waterproof, extremely strong, gap-filling. Available in slow cure (longer open time, stronger bond) and fast cure (5-minute epoxy, weaker but convenient). Use for: repair of wood where gaps exist and can’t be re-cut, gluing to non-porous materials (metal inserts, stone), situations where the joint won’t be clamped adequately. Not a first choice for standard wood-to-wood joints (PVA is stronger on tight-fitting joints and much easier to use).
Cyanoacrylate (CA glue / super glue):
Instant-bonding, no open time. Use for: quick repairs, temporary assembly while layout is checked, edge banding, applying small inlays. Available in thin (penetrates tight joints), medium (general purpose), and thick (gap-filling). Accelerator spray produces instant cure. Not for structural joints — CA glue is strong in shear but brittle; it shatters under impact. Best for: hobby applications, small repairs, situations where clamps can’t be used.
Milestone: For every glue-up, write down the adhesive type, whether water resistance is needed, the expected open time, and whether the glue will be visible in the finished piece (some glues stain when topcoated differently than wood).
Step 2: Prepare the Surfaces
Goal: Create the correct surface condition for maximum bond strength.
The fundamental rule: glue bonds wood fiber to wood fiber. Any contamination between the surfaces (oil, wax, dust, loose fiber) reduces bond strength by preventing the adhesive from contacting the actual wood surface.
Surface preparation:
- Sand to 120–150 grit: finer than 180-grit burnishes the wood surface and closes pores, reducing glue penetration. Coarser than 80-grit leaves a rougher surface with more fiber tear-out — adequate for rough construction but not for clean furniture joints.
- Remove all dust: vacuum the glue surfaces and wipe with a dry cloth or compressed air. Dust mixed into glue prevents fiber-to-fiber contact.
- No wax or oil: surfaces contaminated with wax, oil finish, or silicone won’t bond. Clean with naphtha and allow to dry before gluing.
- Fresh surfaces: wood that has been cut or planed recently glues better than wood that has been sitting exposed for weeks. The surface oxidizes and develops a thin layer of less-reactive wood fiber. If gluing wood that has been sitting, take a light pass with a hand plane or sand lightly with 120-grit before gluing.
End grain gluing:
End grain is porous and absorbs glue like a sponge — the first glue application soaks in without providing much bonding. For end grain joints: apply a thin “sizing” coat of diluted PVA (10% water added) to the end grain, allow to absorb for 5 minutes, then apply full-strength glue and assemble. This pre-fills the pores so the second coat stays on the surface where it bonds.
Oily exotic woods (teak, rosewood, cocobolo, teak):
The natural oils in these species interfere with PVA bonding. Wipe the glue surfaces with naphtha 30 minutes before gluing and allow to dry completely. The naphtha removes the surface oil layer. Then glue immediately — the oil seeps back to the surface over time. Alternatively: use an epoxy adhesive, which bonds to oily surfaces more reliably than PVA.
Milestone: After preparing glue surfaces, wipe with a clean white cloth — the cloth should stay clean. Any color transfer indicates contamination.
Step 3: Apply the Glue
Goal: Apply an adequate, even glue layer to both mating surfaces.
Coverage:
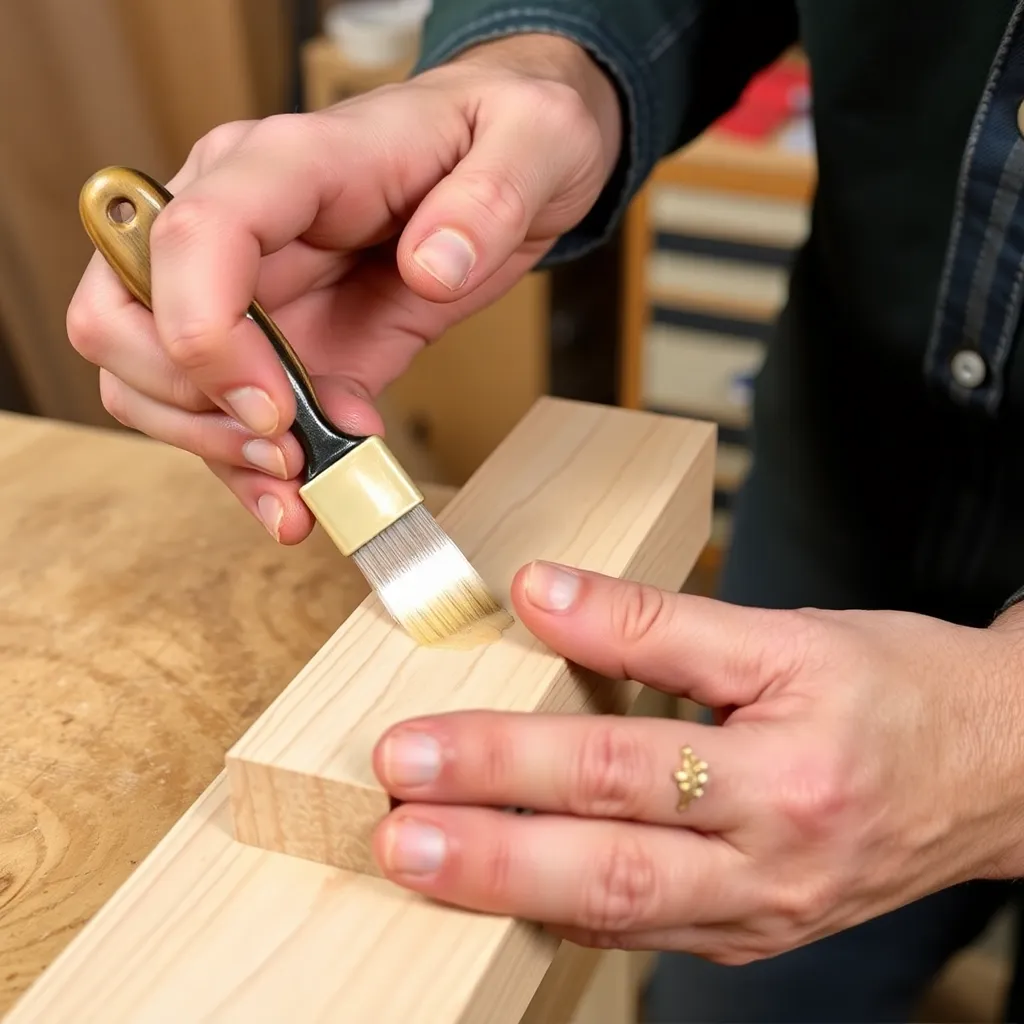
PVA glue should be applied to both surfaces when possible — one thin, even coat per surface. The goal is complete coverage without excess. Excess glue squeezes out of the joint under clamping pressure and must be cleaned up. Insufficient glue produces dry spots (areas with no glue contact) that are weak points in the joint.
Application tools:
- Brush (disposable acid brush or chip brush): best for even application on flat surfaces
- Roller (small foam roller): fastest for wide panels
- Finger: adequate for small joints but wastes glue and is hard to control quantity
- Glue bottle with a brush nozzle: the Titebond glue bottle has a nozzle designed for direct application; spread with a brush or finger immediately after applying
Glue amount:
The right amount produces a small, consistent bead of squeeze-out along the full length of the joint when clamped — not a flood of glue, not a dry joint. Too much glue: excessive squeeze-out wastes glue and requires more cleanup; the joint is no stronger than with the correct amount. Too little glue: dry spots, weak joint.
Open time:
Work within the adhesive’s open time — the time from application to when the glue becomes too dry to form a good bond. For Titebond Original: 5–10 minutes at 70°F. Hot, dry conditions reduce open time significantly — in a hot shop (above 85°F), open time may be 3–4 minutes. For complex glue-ups with many parts: use a slower-setting adhesive (Titebond Extend has 15+ minute open time) or plan the assembly sequence to get everything together within the available open time.
Milestone: Time your next practice glue-up — from first glue application to final clamp — and verify it fits within the adhesive’s open time before attempting a complex production glue-up.
Step 4: Clamp the Joint
Goal: Apply adequate clamping pressure to close the joint and hold it while the glue cures.
Clamping pressure:
PVA wood glue requires moderate clamping pressure — enough to close the joint fully and produce a thin, continuous glue line. The goal is a glue line that’s nearly invisible when the joint is viewed from the end. Insufficient pressure leaves a thick, visible glue line that’s weaker than a tight joint. Excessive pressure squeezes all the glue out of the joint — also weaker.
Clamp types and their uses:
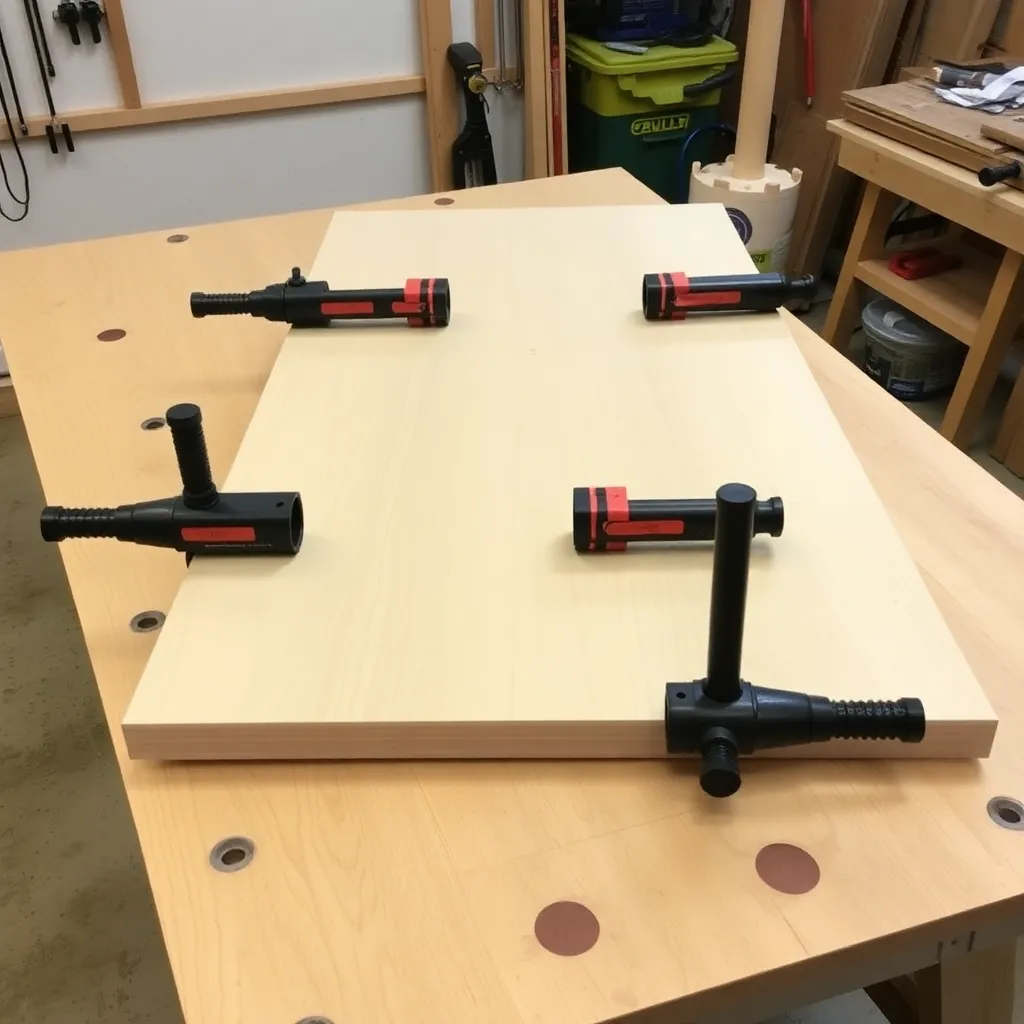
- F-clamps (bar clamps): the workhorse for most furniture joints. Apply pressure across the joint width. Use with clamping cauls (stiff pads that distribute pressure evenly) when clamping wide panels.
- Pipe clamps: for wide panels and long spans. The pipe length is adjustable — one set of clamp hardware fits multiple pipe lengths.
- Cauls: stiff straight boards placed between the clamp and workpiece to distribute pressure. Without cauls, clamp pressure concentrates at the clamp pad and the joint bows away from flat in the center.
- Rubber bands, tape, and spring clamps: for small parts, miters, and irregularly-shaped assemblies where F-clamps can’t reach.
Checking for square:
After clamping, check the assembly for square before the glue sets. Measure diagonals — if they’re equal, the assembly is square. If one diagonal is longer, apply a clamp across that diagonal to close the square. A glue-up that’s slightly out of square is difficult to correct after the glue cures; catching it in the first 5 minutes is easy.
Cure time:
PVA glue can be removed from clamps after 30–60 minutes (the joint is handling-strength). Don’t use the piece for full load until the full cure: 24 hours. In cold conditions (below 55°F): PVA doesn’t cure properly — glue in a warm environment.
Milestone: After the glue cures, try to pull the joint apart by hand. A properly glued joint should feel solid — there should be zero movement. If there’s any movement, the glue didn’t bond adequately (usually due to contamination or insufficient clamp pressure).
Step 5: Clean Up Squeeze-Out
Goal: Remove glue squeeze-out before it cures, or after, depending on the finishing plan.
Before topcoat: glue squeeze-out that isn’t removed will prevent stain and most finishes from penetrating the wood — producing a visible ghost of the joint line in the finish. This is the most common finishing problem in woodworking.
Wet cleanup (within 5–10 minutes of clamping):
Wipe squeeze-out with a damp (not wet) cloth while the glue is still wet. This is the fastest cleanup but requires care — spreading wet PVA glue into the surrounding wood can contaminate a larger area than just the squeeze-out bead, creating a larger stain-resistant zone. Wipe precisely, then dry immediately with a dry cloth.
Dry cleanup (after full cure):
Allow the glue to cure fully (24 hours), then pare off the squeeze-out bead with a sharp chisel, scraper, or card scraper. Dried PVA is relatively easy to pare. This method produces a cleaner result on complex joinery where wet wiping would spread the glue into inaccessible areas. The risk: if glue has already contaminated the wood around the bead, the stain-resistant zone is wider than the visible bead.
For stained projects:
The safest approach for stained work: apply painter’s tape on both sides of the joint before gluing (removing after clamping but before the glue cures), so any squeeze-out occurs on the tape rather than on bare wood. Remove the tape before the glue fully cures (about 20–30 minutes after clamping). The glue bead comes off with the tape.
Milestone: After cleanup and before finishing, apply a dampened cloth across the joint area. Any glue contamination shows up as a slightly shinier, smoother area compared to the surrounding wood. Sand to remove, then wipe again to confirm.
Step 6: Troubleshoot Glue Joint Failures
Goal: Diagnose why a glue joint failed and prevent recurrence.
Joint failed at the glue line (adhesive failure):
The glue itself didn’t bond — the fracture runs along the glue line and the surfaces appear smooth and uncontaminated. Causes: glue was applied to contaminated surfaces; glue dried before assembly (exceeded open time); the joint was not clamped with adequate pressure; the glue was old (PVA glue has a 1-2 year shelf life; expired glue bonds poorly).
Joint failed in the wood (cohesive failure):
The fracture runs through the wood fiber, not along the glue line — the wood broke rather than the glue. This is the correct failure mode: it means the glue bond was stronger than the wood. No repair needed to the technique; this is success.
Joint creeps over time:
The glue line develops a slight gap after months or years. Causes: PVA glue (especially Titebond I) has some creep under sustained load; the joint is under constant tension or compression. Prevention: use Titebond III (lower creep than I or II) for joints under sustained load; add mechanical fasteners (pocket screws, dowels) for joints that will be loaded continuously.
Glue stain in finish:
The area around the glue line won’t accept stain. Cause: glue was spread on the wood surface, either during wet cleanup or from an overly applied bead. Prevention: tape before gluing; dry cleanup; sand after cleanup and test with damp cloth.
Milestone: When a joint fails, examine the fracture surface: wood fiber on both faces = correct failure, good bond; smooth glue faces = adhesive failure, investigate contamination or application error.
Woodworking Adhesive FAQ
What is the strongest woodworking glue?
For wood-to-wood joints on properly fitting (tight) surfaces: PVA wood glue (Titebond Original) produces the strongest bond — the bond is stronger than the wood itself when applied correctly. Epoxy is often perceived as stronger, but on tight wood joints PVA outperforms epoxy because PVA penetrates the wood fibers while epoxy primarily bonds to the surface. Epoxy is stronger than PVA in gap-filling situations (where the joint doesn’t fit tightly) and on non-porous surfaces. For outdoor applications requiring waterproofing: Titebond III (waterproof PVA) or epoxy.
How long does wood glue take to dry?
PVA wood glue (Titebond I, II, III) reaches handling strength (safe to remove from clamps) in 30–60 minutes at room temperature. Full cure (maximum bond strength) requires 24 hours. Don’t use the piece under load until fully cured. In cold conditions (below 55°F) or with very thick glue applications: extend the cure time. CA glue (super glue) reaches handling strength in 30–60 seconds; full cure in 24 hours. Epoxy cure time depends on the formulation: 5-minute epoxy reaches handling strength in 5–10 minutes; slow-cure (24-hour) epoxy reaches maximum strength after 24+ hours.
Can I use Gorilla Glue for woodworking?
Gorilla Glue (polyurethane glue) works for woodworking but is not the best choice for most applications. PVA wood glue (Titebond) produces a stronger bond on tight wood-to-wood joints, doesn’t foam, cleans up with water, and is easier to apply. Gorilla Glue’s advantages — waterproofing, gap-filling, bonding to non-porous materials — only matter in specific situations. Use Gorilla Glue when you need to bond wood to a non-porous material (stone, metal, ceramics), when the joint has gaps that PVA won’t bridge adequately, or when you need a waterproof bond and Titebond III isn’t available. For standard furniture joinery, cabinet building, and most woodworking: Titebond PVA is better.
What is the difference between Titebond I, II, and III?
All three are PVA-based wood glues that are stronger than wood on properly fitting joints. The differences: Titebond I (Original): highest strength on indoor joints, longest shelf life, not water-resistant. Best for interior furniture. Titebond II: water-resistant (Type II test), adequate for outdoor furniture in covered applications and cutting boards that will be washed. Slightly lower dry strength than Titebond I. Titebond III: waterproof (Type I test), lowest creep rate of the three, safe for indirect food contact (cutting boards), longest open time (8–10 minutes). Best for outdoor use, cutting boards, and joints under sustained load. Use the simplest product that meets the application requirements — Titebond I for interior work, Titebond II for occasional moisture, Titebond III for outdoor/waterproof.

“DIY woodworking enthusiast who started with zero experience and a YouTube tutorial.
I build simple, practical projects for my home and share free plans
so other beginners can skip the guesswork.If I can build it, you can too.”