Part of: Woodworking Techniques →
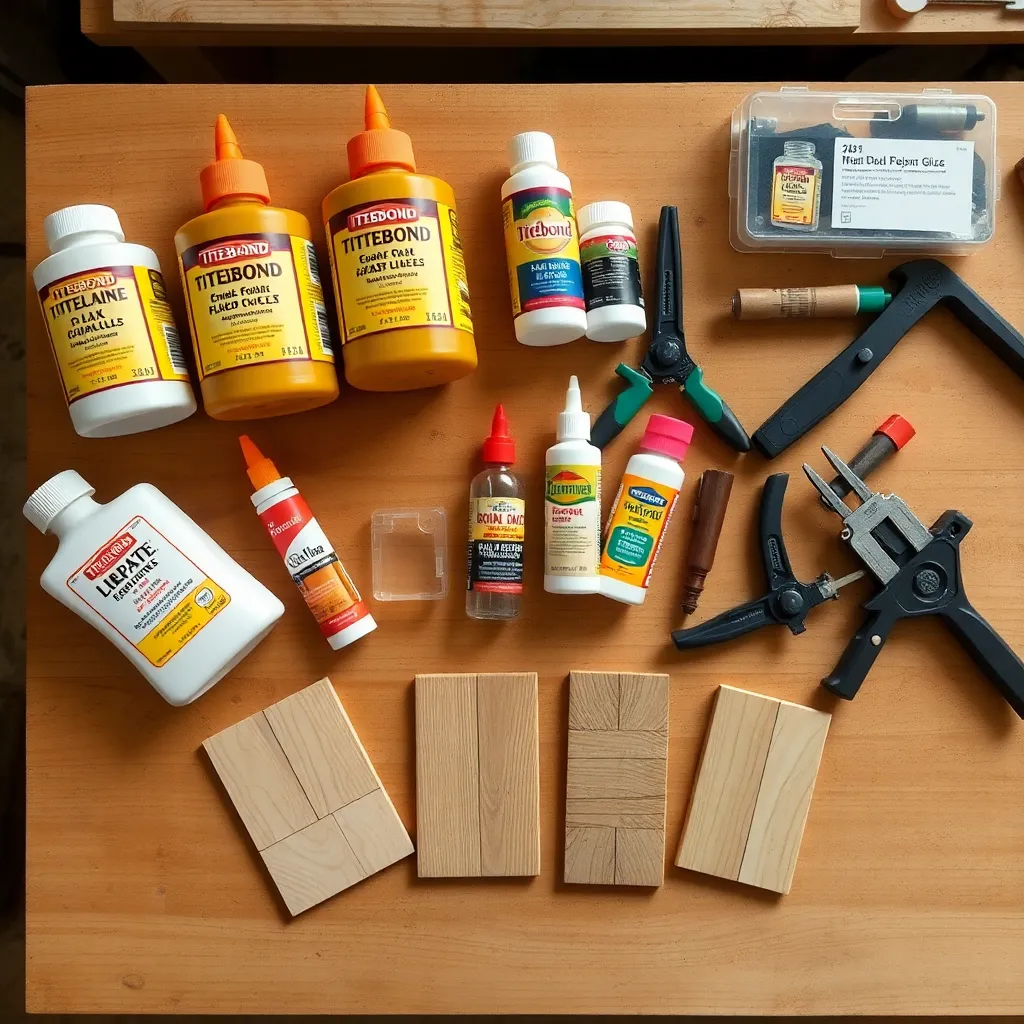
Wood glue is what makes furniture last — a glued joint, when done correctly, is stronger than the wood fibers themselves. The range of wood glues and adhesives available to woodworkers spans from the yellow PVA glue that’s been the standard for generations to modern CA glues, polyurethane adhesives, and two-part epoxies that can bond wood to metal, stone, or plastic. Choosing the right adhesive, preparing surfaces correctly, and clamping effectively determines whether a joint lasts decades or fails on the first stress test.
Ted’s Woodworking has 16,000+ plans with complete glue-up and assembly specifications for every project. Browse Ted’s plans →
Woodworking Adhesive
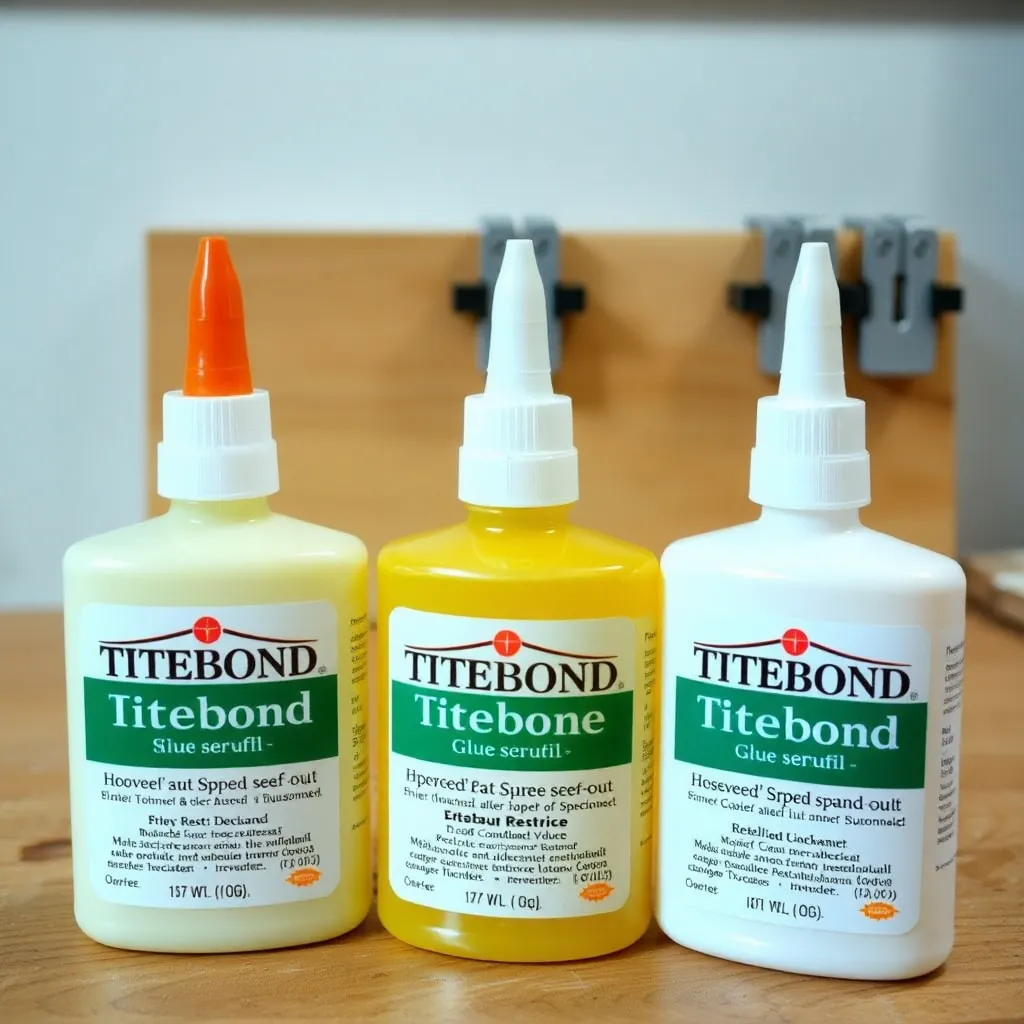
PVA wood glue (polyvinyl acetate) is the foundation of woodworking — Titebond Original, Titebond II, and Titebond III are the most widely used adhesives in furniture and cabinet construction. The PVA bond is stronger than the wood itself when applied correctly to tight-fitting, clean surfaces. The range of PVA products covers nearly every woodworking scenario: Titebond I for interior furniture, Titebond II for moisture-resistant applications, and Titebond III for waterproof outdoor work and cutting boards.
What’s covered: choosing between PVA formulations, preparing surfaces for maximum bond strength, applying glue to both surfaces, working within open time, clamping pressure and technique, cleanup methods, and diagnosing glue joint failures. The most critical skill: recognizing when a joint failure is adhesive failure (the glue didn’t bond) vs. cohesive failure (the wood broke) — only the latter indicates a successful glue-up.
Key principles: apply to both surfaces; keep within open time; use moderate clamping pressure (enough to close the joint, not squeeze all glue out); clean up before the glue cures; don’t use glue-up joints below 55°F.
Wood Filler vs Wood Putty
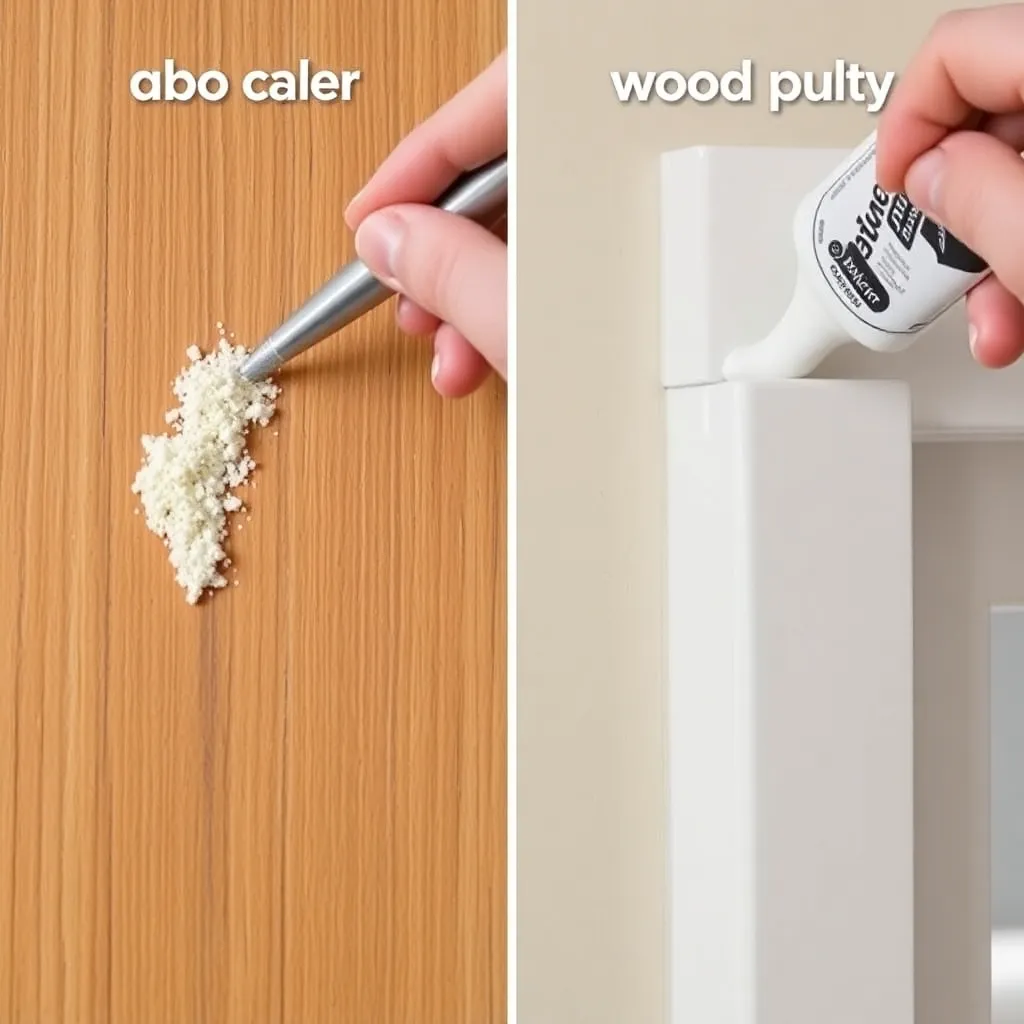
Wood filler and wood putty solve the same cosmetic problem — a visible hole or void in wood — but they’re designed for different stages of the finishing process. Wood filler goes on bare wood before finishing: it hardens, sands flush, and (if stainable) accepts stain before topcoat. Wood putty goes on finished surfaces: it stays flexible, comes in pre-mixed colors matched to common stain colors, and fills nail holes in already-stained and topcoated trim.
What’s covered: the fundamental rule (bare wood before finish → filler; finished surface → putty), choosing the right filler for stained vs painted projects, stainable filler and its limitations, two-part epoxy filler for large voids, application technique for nail holes and larger voids, wood putty color selection and application, and alternatives including wax fill sticks, burn-in sticks, and the sawdust-CA glue method for color-matched fills.
The staining trap: almost all pre-finishing wood fillers are visible after staining — the filled area absorbs stain differently than the surrounding wood, creating a visible patch. Stainable fillers improve this but don’t eliminate it. Test on scrap with the actual stain before using on the project.
How to Fix Wood Mistakes
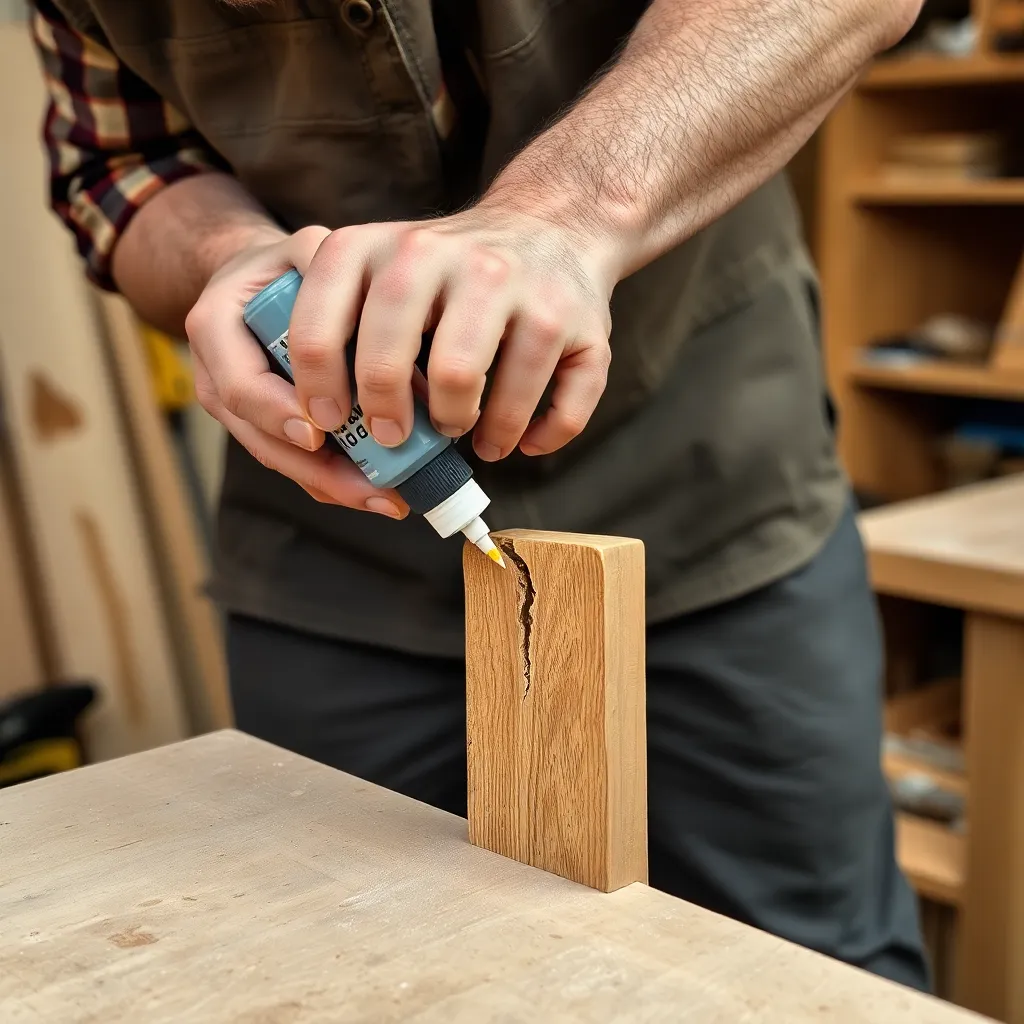
Every woodworking project involves repairs — a misplaced hole, a crack that appeared after drying, a joint that opened up, a finishing run. The skill isn’t avoiding mistakes; it’s fixing them invisibly. A hairline crack stabilized with thin CA glue and sanded flat becomes invisible. A wrong-location hole filled with a grain-matched dowel plug disappears after finishing. A blotched stain on pine can be corrected with a darker glaze coat. Most woodworking mistakes are fixable at the stage they’re caught.
What’s covered: diagnosing the repair type (crack, gap, misplaced hole, warping, finishing defect) and matching the repair method to the defect; repairing cracks with CA glue and glue+sawdust paste; fixing joint gaps with caulk, wood filler, and Dutchman patches; filling misplaced holes with grain-matched dowel plugs; rescuing finishing mistakes (drips, brush marks, blotching, dust nibs); and the epoxy repair techniques for large structural damage.
The repair mindset: view every mistake as a repair opportunity rather than a project failure. Professional furniture restorers routinely make repairs that are completely undetectable — the techniques are learnable, and most repairs are simpler than they appear.
Selecting Glue and Adhesive for Specific Applications
Interior furniture joints (tables, chairs, cabinets):
Titebond Original (Titebond I). Strongest PVA bond; easy cleanup; not water-resistant. Standard for all interior furniture. Apply to both surfaces; clamp within 5–10 minutes of application; remove clamps after 30–60 minutes; allow 24-hour cure before use.
Cutting boards and food-prep surfaces:
Titebond III (waterproof, FDA-approved for indirect food contact). The only PVA glue rated for cutting boards that will be washed. Apply to both surfaces; clamp 30–60 minutes; full cure 24 hours. For a cutting board that will see heavy washing: two-part epoxy (System Three SilverTip or similar food-safe epoxy) provides complete waterproof protection.
Outdoor furniture:
Titebond II or Titebond III depending on exposure level. For furniture under a covered porch with occasional rain exposure: Titebond II is adequate. For furniture fully exposed to weather: Titebond III or epoxy for the joints; the wood species and finish matter as much as the glue for outdoor longevity.
Oily exotic hardwoods (teak, rosewood, cocobolo):
Standard PVA bonds poorly to oily species. Options: (1) wipe glue surfaces with naphtha 30 minutes before gluing (removes surface oil temporarily), then glue immediately with PVA; (2) use a two-part epoxy (West System, System Three) — epoxies bond to oily surfaces more reliably than PVA.
Repairs and gap filling:
CA glue (thin viscosity) for hairline cracks and tight-fitting repairs — penetrates the crack and bonds on contact. Epoxy for gap-filling repairs where the surfaces don’t fit tightly — epoxy bridges gaps; PVA doesn’t. Wood filler (not glue) for large voids that don’t require structural strength.
Veneer application:
Contact cement (not PVA) for large veneer sheets — both surfaces get a coat; allowed to dry; then the veneer is pressed onto the substrate (bonds instantly on contact). PVA for small veneer patches and edge banding where clamps or a roller can apply pressure during cure.
Wood Glues and Adhesives FAQ
What wood glue is best for beginners?
Titebond Original (Titebond I) in the standard squeeze bottle is the best starting point for any woodworker — it’s widely available, easy to apply, works on all common wood species, has an adequate open time (5–10 minutes) for learning, cleans up with water, and produces a bond stronger than the wood when used correctly. The bottle has a brush nozzle that makes application straightforward. Buy the large (16 oz) bottle — it’s more economical and PVA has a 1–2 year shelf life at room temperature, so you’ll use it before it expires.
Does wood glue work on all types of wood?
PVA wood glue works on all common domestic hardwoods and softwoods. It’s less effective on oily tropical species (teak, rosewood, cocobolo, ipe) because the surface oils prevent fiber-to-fiber contact. For oily species: wipe the glue surfaces with naphtha before gluing, or use a two-part epoxy. PVA also bonds MDF and plywood effectively. PVA doesn’t bond well to non-wood materials — for wood to metal, stone, or plastic, use epoxy or construction adhesive.
How do I prevent glue squeeze-out from staining the wood?
Three methods: (1) Apply slightly less glue — the right amount produces a small, thin bead of squeeze-out, not a flood; (2) Apply painter’s tape to both sides of the joint before gluing; remove the tape 20–30 minutes after clamping (while the glue is still rubbery) and the squeeze-out comes off with the tape; (3) Allow the squeeze-out to cure fully (24 hours), then pare it off with a sharp chisel — cleaner than wet wiping but requires ensuring no glue has spread beyond the bead onto the surrounding surface. For stained projects where invisible glue-up is critical: use the tape method, and after tape removal, lightly sand the joint area and test with a damp cloth before staining.
Can I use wood glue to repair cracked or broken furniture?
Yes — PVA wood glue is excellent for repairing broken furniture joints where the original surfaces are still present. Clean both surfaces with naphtha to remove old finish, wax, and oil. Apply PVA to both surfaces. Clamp firmly across the break (use rubber bands, tape, or clamps depending on the geometry). Allow 24-hour cure before using. For furniture that has been glued with old hide glue: the new PVA bonds to the residual hide glue adequately; you don’t need to remove all the old glue. For furniture repair where the break is irregular and surfaces don’t fit tightly: two-part epoxy is better than PVA because it fills gaps.

“DIY woodworking enthusiast who started with zero experience and a YouTube tutorial.
I build simple, practical projects for my home and share free plans
so other beginners can skip the guesswork.If I can build it, you can too.”