Part of: Wood Glues and Adhesives →
Every woodworker makes mistakes — a joint that’s slightly off, a crack that appears after drying, a misplaced hole, a split that runs down the middle of a board. The difference between an amateur and an experienced woodworker isn’t that the experienced woodworker never makes mistakes; it’s that they know how to fix them invisibly. Most wood mistakes can be repaired so completely that the repaired area is indistinguishable from the original — with the right material, technique, and patience.
Ted’s Woodworking has 16,000+ plans with material specifications and repair guidance for every project type. Browse Ted’s plans →
Step 1: Diagnose the Problem
Goal: Identify the type of defect and select the appropriate repair method before buying materials.
Nail holes and small fastener holes:
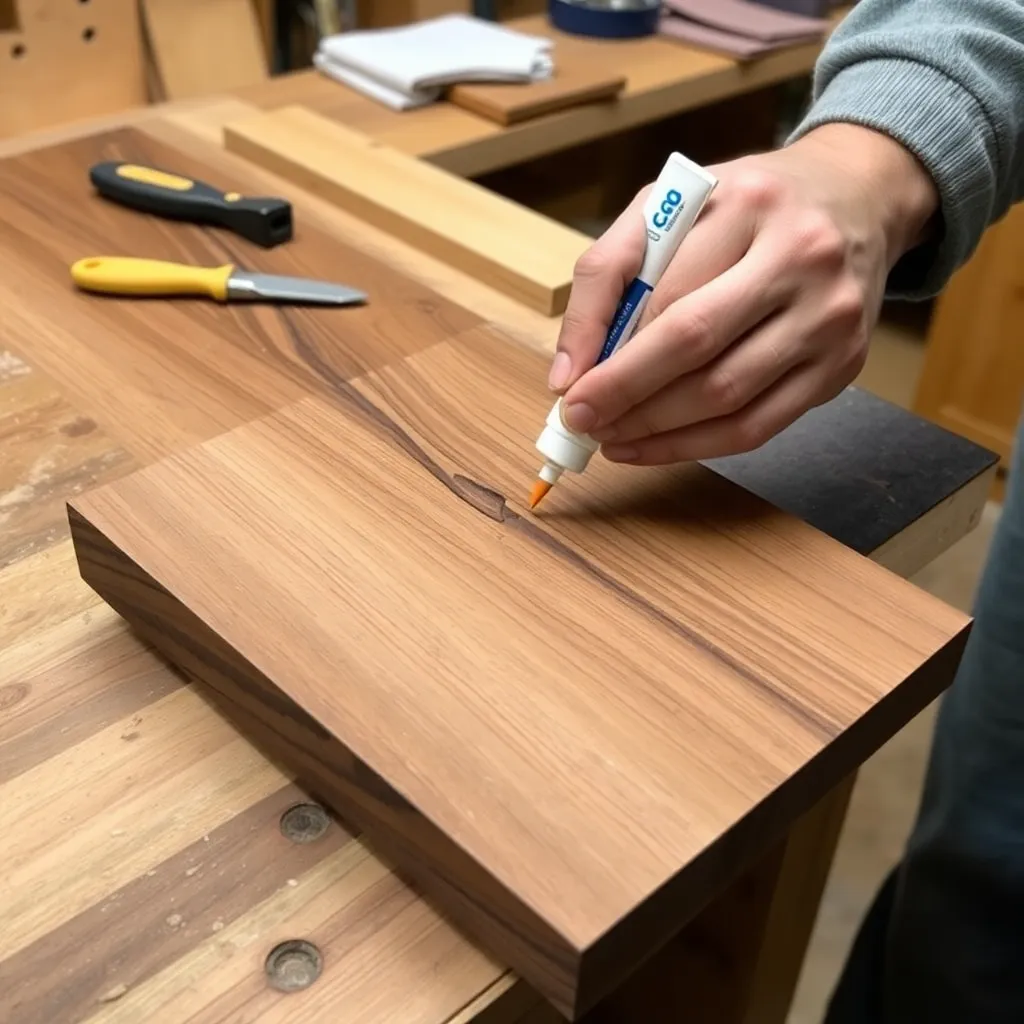
The most common repair — a small cylindrical hole from a nail, brad, or small screw. Before finishing: fill with stainable wood filler, sand flush, proceed with finishing. After finishing: fill with wood putty or a wax fill stick in a matching color. These repairs are routine and virtually invisible when done correctly.
Cracks and splits:
A crack runs along the grain of the wood and can range from a hairline (barely visible) to a full-depth split that separates the board into two pieces. Hairline cracks can be filled with thin CA glue (super glue) that wicks into the crack by capillary action; after curing, sand flush. Larger cracks: open the crack slightly with a chisel, work wood glue into the crack with a thin tool (a credit card or palette knife), clamp closed, allow to cure. If the crack is too wide to close: fill with matching wood filler or an epoxy filler.
Gaps in joints:
A joint that doesn’t fit tightly — a gap at a miter corner, a visible gap in a glued-up panel. If the joint hasn’t been assembled yet: re-cut for a tighter fit. If already assembled: fill with a mixture of fine sawdust + CA glue (match-colored) or a colored epoxy filler. For miter corners: colored caulk or wood putty in a matching color.
Wrong hole in the wrong location:
A drill hole or pocket hole that was placed incorrectly. Fill with a dowel of the same species (or contrasting species as a design feature): cut a dowel to length, apply wood glue, tap into the hole, allow to cure, trim flush with a flush-cut saw, sand smooth. The repaired hole will be nearly invisible if the dowel species and grain direction match.
Torn grain or chipout:
Grain that tore out while routing, jointing, or planing. For shallow tearout: sand with progressive grits to blend the depression into the surrounding surface. For deep tearout: fill with a Dutchman patch (a precisely fitted piece of matching wood) or epoxy filler, then sand.
Warped or twisted components:
A panel or component that warped after milling. If not yet assembled: re-mill (joint and plane) if there’s sufficient material thickness; or wet and press flat (for thin panels). If already assembled: assess whether the warp affects function or appearance; minor warp on a non-show face is often acceptable.
Milestone: Photograph the defect and identify which repair category it falls into before purchasing materials — the wrong material for the defect type produces a visible, frustrating repair.
Step 2: Repair Cracks and Splits
Goal: Stabilize and fill cracks so they don’t propagate and are invisible after finishing.
Hairline cracks (under 1/32″):
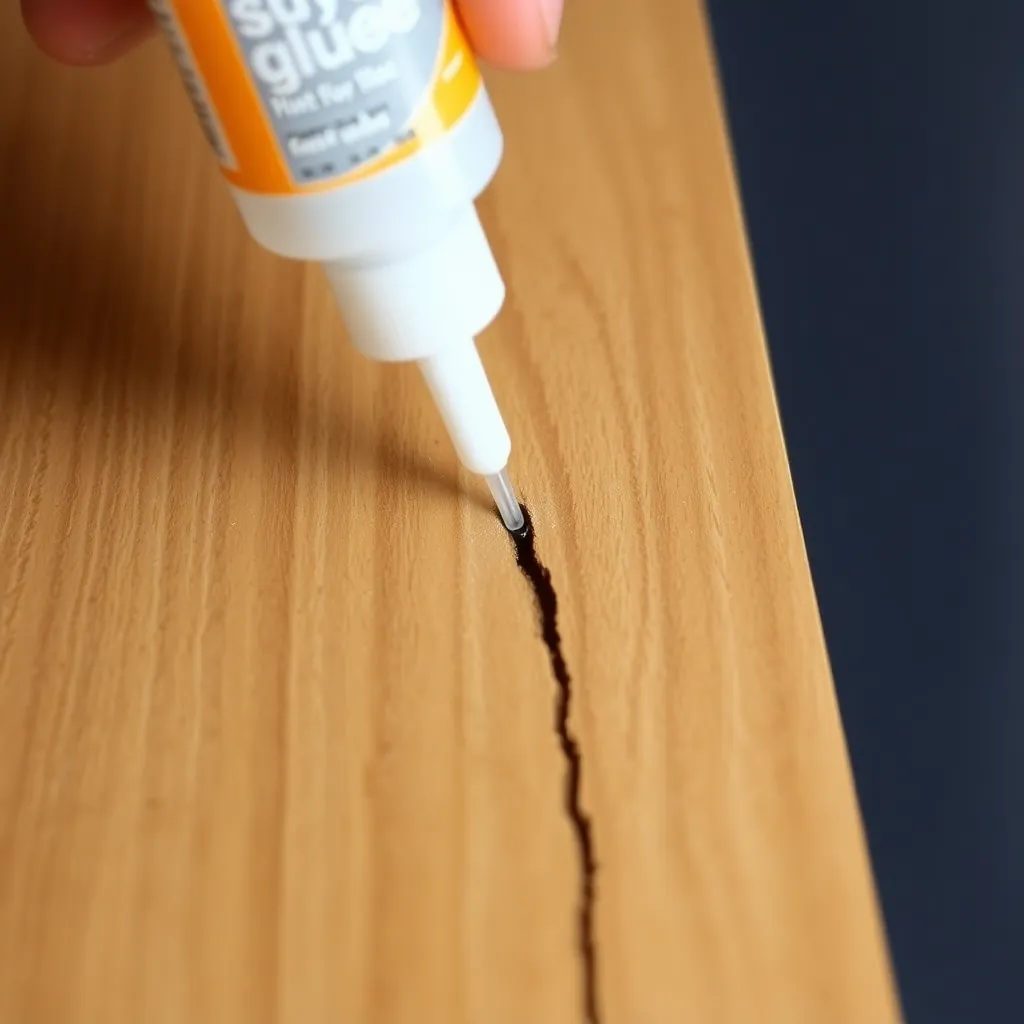
Apply thin CA glue (super glue) directly to the crack. The thin viscosity wicks into the crack by capillary action — don’t spread it; let it flow in. Mist with CA accelerator to speed cure, or allow 60 seconds for air cure. The glue stabilizes the crack and prevents it from spreading. Sand the surface after cure (the CA glue and any glue residue on the surface will sand off). Apply thin CA in multiple passes if the crack is deep — each pass wicks a little deeper.
Open cracks (1/32″ to 1/8″):
Work medium-viscosity CA glue or PVA wood glue into the crack with a thin flexible tool (a credit card, palette knife, or brush). If the crack can be closed: clamp the crack closed after applying glue and allow to cure. If the crack is stable and can’t be closed: fill with glue + fine sawdust mixed to a paste, pack into the crack, allow to cure, sand flush.
Splits (crack runs full depth):
A full-depth split in a board produces two separate pieces that must be rejoined as a glue joint. Clean both faces with naphtha (remove any contaminants from the split faces), apply PVA wood glue to both faces, clamp tightly across the split, and allow 24-hour cure. Check for square before the glue sets. A properly glued split is as strong as uncracked wood.
Live edge cracks (intentional character):
Many woodworkers treat natural cracks in live-edge slabs as features to highlight rather than defects to hide. Fill with colored epoxy (black, gold, turquoise, or a contrasting color) for a “river table” effect, or fill with clear epoxy to stabilize the crack while maintaining its natural appearance. Apply painter’s tape under the slab to prevent the epoxy from draining through, pour the mixed epoxy into the crack, allow to cure (48+ hours for most deep pours), sand flush with the slab surface.
Milestone: After repairing a crack, allow full cure time, then flex the piece gently. No crack movement, no creaking, no visible opening at the repair — the repair is solid.
Step 3: Fix Joint Gaps
Goal: Repair gaps in assembled joints so they’re invisible in the finished piece.
Miter corner gaps:
The most common joint gap — the two faces of a 45-degree miter corner don’t meet perfectly, leaving a V-shaped gap at the corner. For painted finishes: fill with paintable caulk (acrylic latex caulk). Smooth with a wet fingertip. Paint over after 24-hour cure. For stained or clear finishes: color-matched wood putty pressed into the gap. The flexible wood putty accommodates wood movement across the seasons.
Panel glue-up gaps:
A glued panel where one joint has a visible gap. If the gap is at the surface: mix fine sawdust from the same species with CA glue or PVA into a paste, press into the gap, sand flush after cure. If the gap is deep: apply thin CA glue to wick in and stabilize the gap first, then fill the surface depression with sawdust paste.
Face frame gaps:
A face frame joint (pocket holes) that has a slight step (one rail is proud of the stile or vice versa). If caught before glue cures: loosen the screw slightly and realign. After glue cure: carefully plane or sand the proud piece flush (protect the surrounding surface with tape). For a slight step that’s otherwise square: a cabinet scraper removes small amounts precisely without affecting the surrounding surface.
Gaps between trim and wall:
Not a woodworking repair — caulk (paintable acrylic latex) fills the gap between trim and wall. Applied with a caulk gun, smoothed with a wet finger. Painted after 24-hour cure. Don’t use wood filler or putty for trim-to-wall gaps — they’re too rigid for the differential movement between wood trim and a plaster or drywall wall.
Milestone: Before filling any gap, confirm that the structural integrity of the joint is sound — filling a gap doesn’t fix a joint that’s pulling apart. If the joint is loose, disassemble, clean the surfaces, re-glue, and re-clamp before worrying about the cosmetic gap.
Step 4: Fix Misplaced Holes
Goal: Fill incorrectly placed holes so they’re invisible and can be refinished.
Small holes (nail-gun brads, small screws):
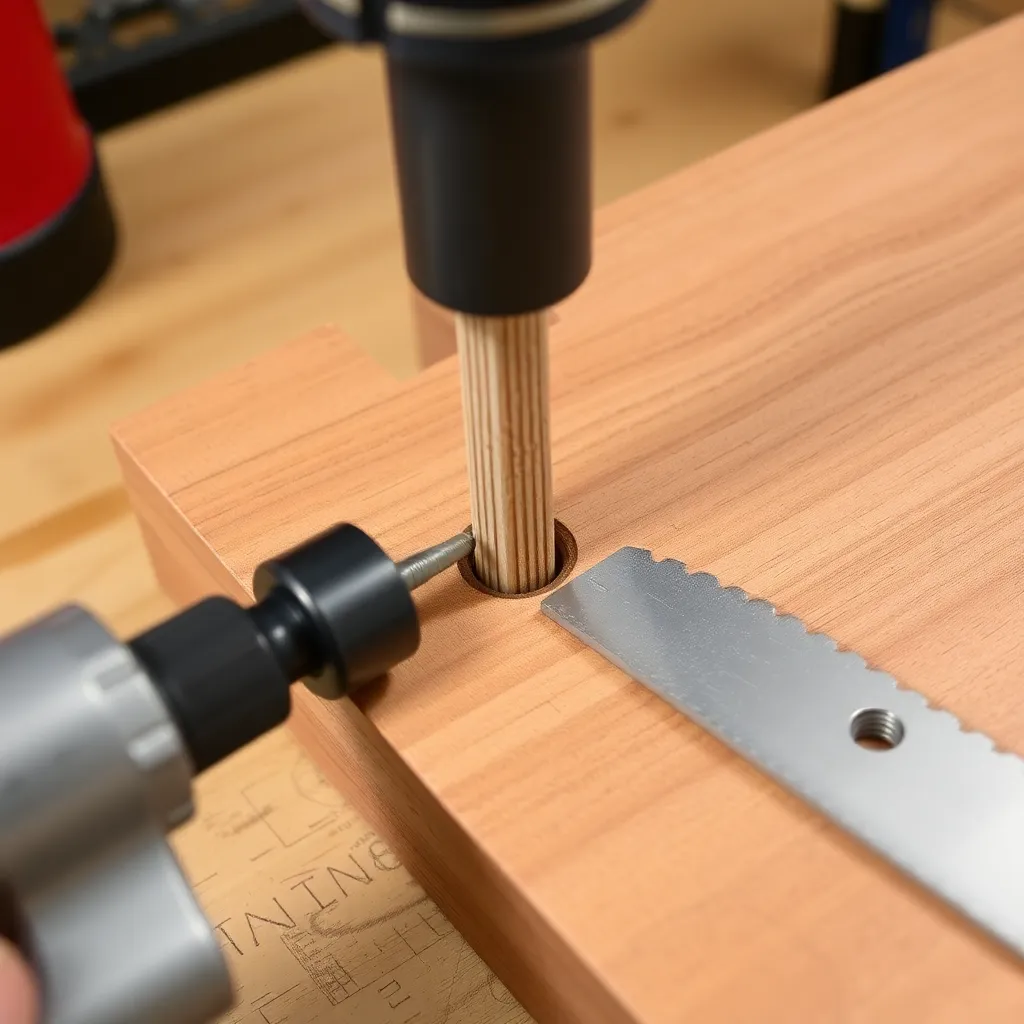
Drill a hole of the smallest available dowel diameter that still encompasses the entire defect (1/4″ dowel for most nail holes). Dry-fit a dowel to check diameter. Apply a thin film of PVA glue to the dowel. Tap the dowel into the hole (flush or slightly proud). Allow to cure. Trim flush with a flush-cut saw (the type with no set on the teeth — a Japanese Gyokucho or Western flush-cut saw). Sand smooth with 120-grit, then 150-grit. For stained work: the dowel will be visible (a small round patch in the wood) unless the dowel species and grain match precisely. For painted work: the repaired hole is invisible.
Large holes (drill press accidents, pocket holes in wrong location):
Larger holes require a plug. Using a plug cutter in a drill press: cut a plug from the same species, matching the grain direction as closely as possible. Glue the plug into the hole, trimming flush after cure. The grain direction match is critical for an invisible repair — a plug cut with grain running at 90 degrees to the surrounding wood is very obvious even after finishing.
Through-holes in panel sides:
A hole drilled through a cabinet side or panel face that’s in the wrong location. Fill from the back with a glued patch of the same species (a Dutchman inserted from the back). The front face shows a grain-matched patch rather than a hole. After sanding: the repair is difficult to see if the species and grain match.
Milestone: Before gluing any dowel or plug, do a dry fit and view the grain from the angle it will be seen in the finished piece. Rotate the dowel or plug until the grain direction most closely matches the surrounding wood before gluing.
Step 5: Rescue Finishing Mistakes
Goal: Fix common finishing errors without stripping and starting over.
Drips and runs in polyurethane:
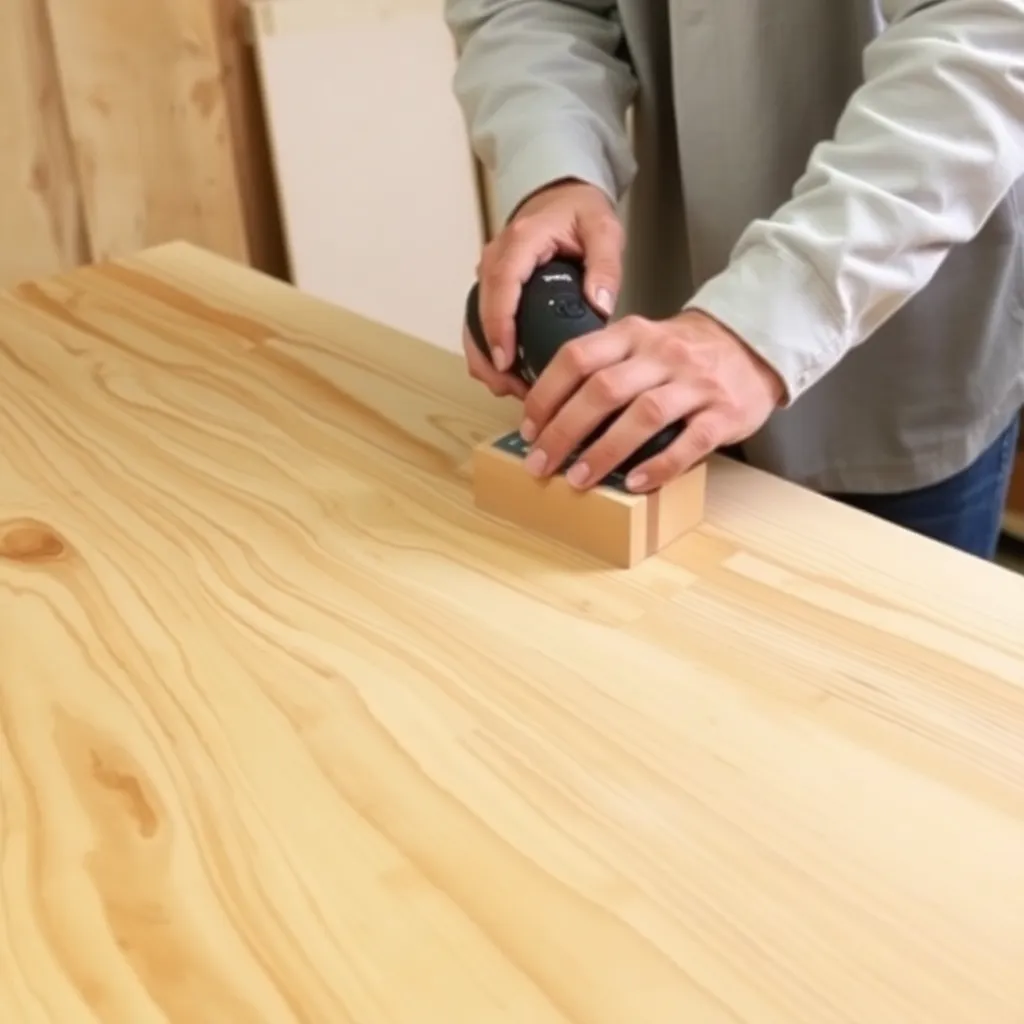
Allow the run to cure completely (24 hours). Sand the run flat with 220-grit — the goal is to bring the raised run down to the level of the surrounding finish without sanding through to bare wood in the surrounding area. Work carefully with a sanding block. After leveling, apply one more coat of finish to blend the sanded area back to a uniform sheen.
Brush marks in polyurethane:
Allow to cure completely. Sand with 320-grit wet/dry paper (dry) to level the ridges from the brush marks. Wipe dust, apply one more coat with a quality brush, flowing the finish on slowly without overbrushing (dragging through the setting finish creates brush marks). Alternatively: thin the finish 5–10% with mineral spirits (oil-based) or water (water-based) to improve flow.
Blotching on pine (stain):
After the fact (already stained and blotched): apply a darker stain over the blotched areas to minimize the contrast — the darker color reduces the visual difference between the darker blotched areas and lighter areas. Alternatively: apply a glaze (a tinted medium over a sealed surface) to even the color. Prevention next time: pre-stain conditioner or gel stain.
Dust in the finish:
Visible dust nibs in the dried finish: sand lightly with 400-grit to remove the nibs, wipe clean, apply one more thin coat of finish. For a glass-smooth result: rub the final coat with 0000 steel wool or 400-grit wet/dry paper after full cure, then buff with automotive rubbing compound.
Milestone: Before starting any finish repair, assess whether the repair will blend seamlessly or draw more attention than the original defect. Sometimes the original defect (a small dust nib) is less visible than a sanded patch that goes through to bare wood in an unintended area.
How to Fix Wood Mistakes FAQ
Can you fix a crack in wood after it’s been finished?
Yes — the repair method depends on the crack size and finish type. For hairline cracks in a clear-finished surface: apply thin CA glue to the crack (it wicks through most clear finishes into the crack), allow to cure, sand lightly, and reapply finish over the sanded area. For larger cracks in painted surfaces: fill with flexible paintable caulk, sand smooth when dry, re-paint. For larger cracks in stained/clear-finished surfaces: use a matching-color wax fill stick or burn-in stick (shellac stick melted with a heat tool). Accepting the crack as a natural feature of the wood and leaving it unfilled is also a valid choice for live-edge or rustic work.
How do you fix a gap in a wood joint after gluing?
For small gaps (under 1/8″): mix fine sawdust from the same species with a small amount of CA glue into a paste and press into the gap. Sand flush after cure. The sawdust-CA mix matches the species color better than any commercial filler. For larger gaps: color-matched wood filler pressed into the gap and sanded flush (for painted projects), or epoxy tinted with wood dye for stained projects. For miter joint gaps specifically: the most professional approach is to disassemble (cut the joint apart), re-cut for a tighter fit, and re-glue — a filled miter corner gap is usually still visible at close range.
How do you hide a screw hole in wood?
Three approaches depending on the situation: (1) Plug it: use a plug cutter to cut a plug from matching wood, glue it in, trim flush — nearly invisible when grain matches. (2) Fill it: wood filler for painted work; stainable wood filler or sawdust-CA mix for stained work. (3) Design around it: position screws where a wood button or decorative plug becomes a design feature rather than a repair. Flat-head screws recessed below the surface with a countersink and filled with wood filler are the easiest to conceal on painted projects; plugs from matching species are the best approach for stained projects.
What is the best way to fix scratches in wood furniture?
Shallow scratches that don’t go through the finish: buff with paste wax or automotive polishing compound — the wax fills the scratch and blending compound removes the micro-scratches that make the scratch appear white. Through-finish scratches (down to the bare wood): use a touch-up marker (Mohawk, Old Masters) in the matching color to color the exposed wood, allow to dry, then apply a tiny amount of clear topcoat over the repair. Deep scratches with wood fiber damage: fill with a wax fill stick or burn-in stick in the matching color, level flush, buff with wax. For scratch patterns covering large areas (from moving furniture, pet damage): consider stripping the finish in that area, re-sanding, and re-finishing rather than attempting numerous small spot repairs.

“DIY woodworking enthusiast who started with zero experience and a YouTube tutorial.
I build simple, practical projects for my home and share free plans
so other beginners can skip the guesswork.If I can build it, you can too.”