Part of: Window Trim and Molding →
Window trim (also called window casing) is the decorative molding that frames a window opening on the interior wall — it covers the gap between the window frame and the drywall, creates a finished transition from the rough opening to the living space, and adds architectural character to the room. A well-installed window casing looks crisp and tight; a poorly installed one shows gaps, uneven reveals, caulk filling where there should be a tight joint, and corners that don’t meet cleanly. This guide covers the complete window trim installation process from marking reveals to nailing the final piece.
Ted’s Woodworking has 16,000+ plans including detailed trim carpentry specifications. Browse Ted’s plans →
Step 1: Understand Window Trim Components
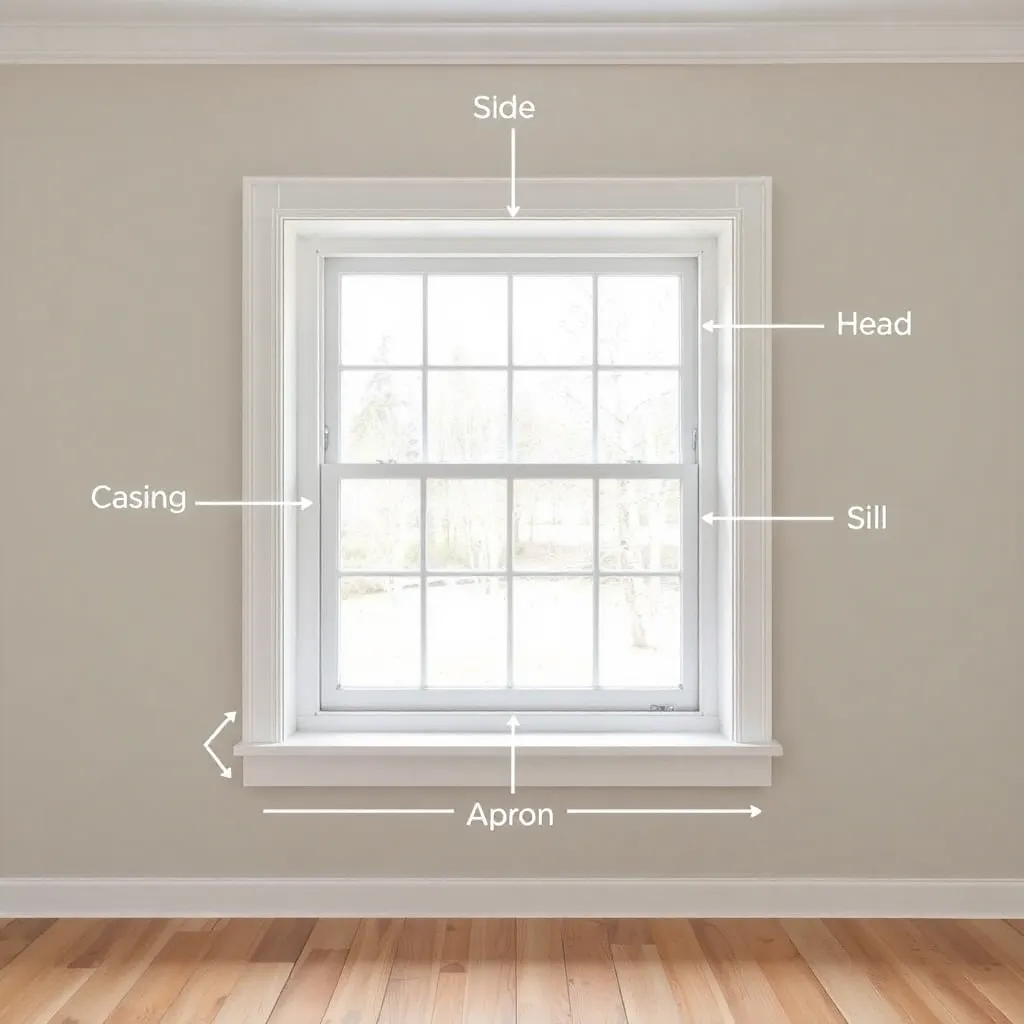
Goal: Know the names and positions of each component before starting.
The reveal:
The reveal is the small margin of the window jamb (the frame surrounding the window unit) that shows between the edge of the casing and the face of the jamb. Standard reveal is 3/16″ to 1/4″. The reveal creates a visual step — without it, the casing would be flush with the jamb edge and any imperfection would be immediately obvious. Consistent reveal is the most visible mark of professional trim work; inconsistent reveal is the most common sign of amateur installation.
Casing components:
- Side casings (legs): the two vertical pieces that run from the floor (or sill) to the top of the window opening
- Head casing: the horizontal piece across the top that sits on top of the two side casings
- Sill (stool): the horizontal piece at the bottom of the window that projects into the room — not always present; some windows are trimmed without a sill (picture frame style)
- Apron: a piece of trim below the sill, if a sill is used
Casing profiles:
Casing molding comes in dozens of profiles — from simple flat colonial casing (a beveled flat board) to ornate ogee profiles. The profile choice determines the room’s style. Simple profiles (colonial flat, craftsman square edge, ranch casing) look modern and are easier to install; ornate profiles (ogee, bead, fluted) require more precise miter work but add traditional character.
Milestone: Before purchasing casing, count all windows in the room, measure the perimeter of each (add the two heights + the width for a full picture-frame installation; add the two heights + the width + apron for a sill installation), multiply by the profile width to estimate linear footage, and add 15% for waste.
Step 2: Mark the Reveals
Goal: Mark consistent reveal lines on all four sides of the window jamb before cutting any casing.
The reveal gauge:
A combination square set to 3/16″ or 1/4″ is the standard reveal gauge. Set the blade depth to the reveal dimension and use the body of the square against the jamb face to draw pencil lines along all four sides of the jamb. These lines mark exactly where the inside edge of the casing will sit.
Why consistent reveal matters:
The reveal must be the same on all four sides of the window. If the side reveals are 3/16″ and the head reveal is 1/4″, the inconsistency is obvious where the side casing meets the head casing at the corner. Before drawing lines: verify the jamb itself is flat and the window was installed square. A twisted or bowed jamb makes consistent reveal difficult — the jamb problem should be corrected before trim installation.
Marking all windows before cutting:
If trimming multiple windows in the same room, mark all reveals on all windows before cutting any casing. This allows cutting all pieces to length efficiently and ensures consistent reveal throughout the room.
Milestone: After marking reveals on all four sides, stand back and sight along the jamb face — the pencil line should be perfectly parallel to the jamb edge and consistent in width all the way around.
Step 3: Cut and Install the Side Casings
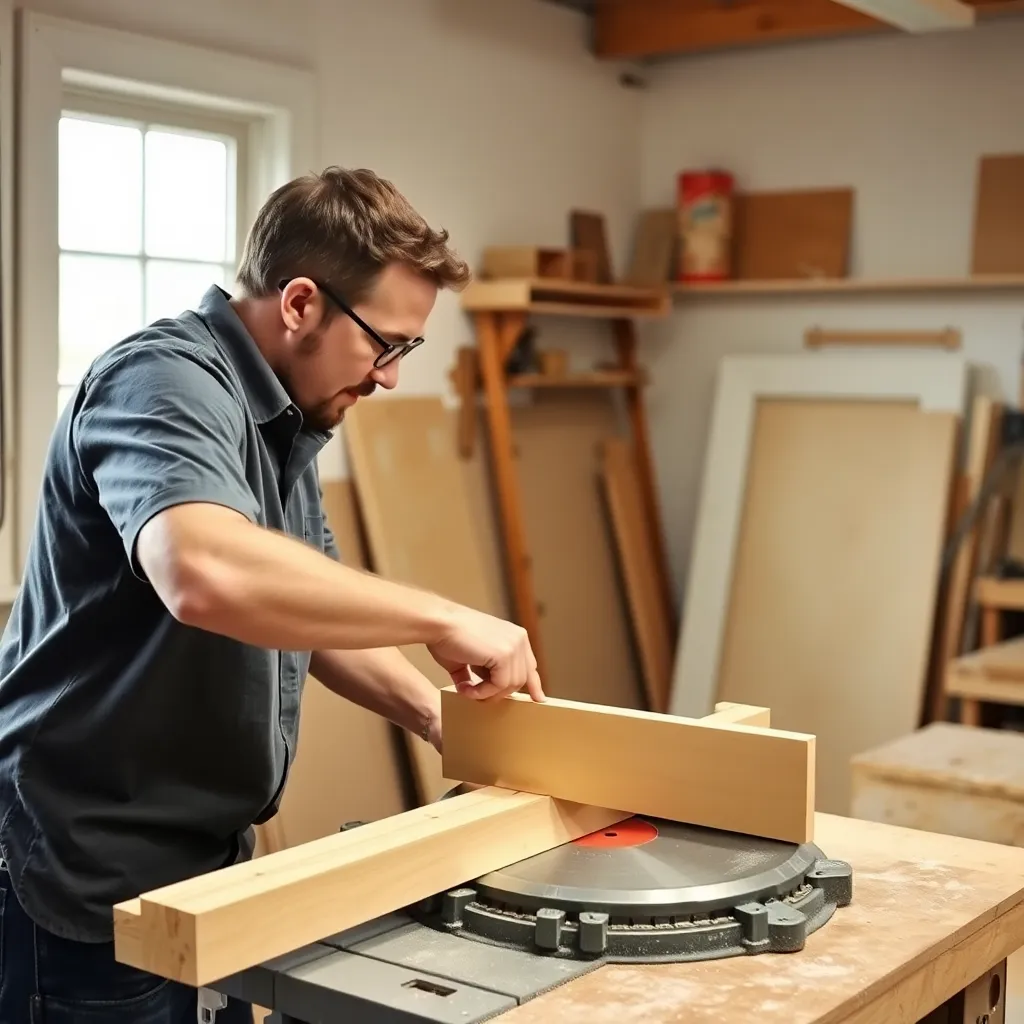
Goal: Cut the two vertical side casings to the correct length and install them at the correct reveal.
Measuring side casing length:
For a butt-joint head (head casing sits on top of side casings): measure from the floor (or sill top surface) to the top of the reveal line on the side jamb. Cut the side casing to this length with a square 90-degree cut at both ends. The side casing sits on the floor or sill and its top end butts against the underside of the head casing.
For mitered corners (head and sides meet at 45-degree miters):
The side casing’s top end is cut at 45 degrees, pointing inward. Measure from the floor (or sill) to the point where the miter starts at the top of the side reveal line. This measurement determines where to start the miter cut.
Nailing:
1. Hold the side casing at the reveal line — inside edge aligned with the pencil mark
2. Check that the casing is sitting flat against the wall (no rocking or gaps)
3. Nail through the casing into the jamb with 2″ finish nails — nail 3/4″ from the inside edge, into the jamb every 12-16″
4. Nail through the outer edge of the casing into the wall framing (stud) with 2.5″ finish nails — the outer edge of most casings is 1.5-2″ from the wall, hitting the jack stud or trimmer stud around the window opening
5. Set all nail heads just below the surface with a nail set
Checking plumb:
Before nailing the second nail, hold a level against the casing face — it should be plumb (vertical). Adjust if needed. A casing that’s slightly out of plumb will affect the head casing joint.
Milestone: After nailing both side casings, run a straightedge across the face of each to check for any bowing — the casing should be flat against the wall with no gaps between the drywall and the casing back.
Step 4: Cut and Install the Head Casing
Goal: Cut the head casing to the correct length and fit it tightly against the side casings at the corners.
For butt joints (head sits on top of sides):
Measure from the outside edge of the left side casing to the outside edge of the right side casing. Cut the head casing to this length with square cuts at both ends. The head casing will overhang the side casings by the same amount on each side — creating what’s called a “horn” or “ear.” This is the traditional craftsman or colonial style — the head casing is slightly wider than the space between the side casings. Alternatively: cut the head casing to fit exactly between the outside edges of the side casings for a flush look.
For mitered corners:
Both ends of the head casing are cut at 45 degrees (opening outward). The length is measured between the short points of the miters (the inside measurement). The miters must be cut precisely — a slightly off miter produces a visible gap at the corner that’s difficult to fix cleanly.
Nailing the head:
Nail the head casing at the reveal line (into the head jamb) and through the outer edge into the header framing above the window (typically a double 2×6, 2×8, or LVL header). Use 2″ nails at the jamb and 2.5″ nails at the header.
Checking the miter joint:
A tight miter corner on window casing is the mark of skilled trim work. To get the tightest joint: cut both pieces, test fit dry (no glue), identify any gap, and adjust with a block plane or miter saw micro-adjustment. A 1-degree adjustment in the miter saw changes the angle enough to close a small gap. Apply a thin film of wood glue to the miter faces before final installation for long-term joint integrity.
Milestone: After nailing the head casing, check the miter corners — run a fingernail across the joint. Any step between the two pieces will be obvious; a flat joint means the miter is tight and the reveals are consistent.
Step 5: Install Sill and Apron (If Applicable)
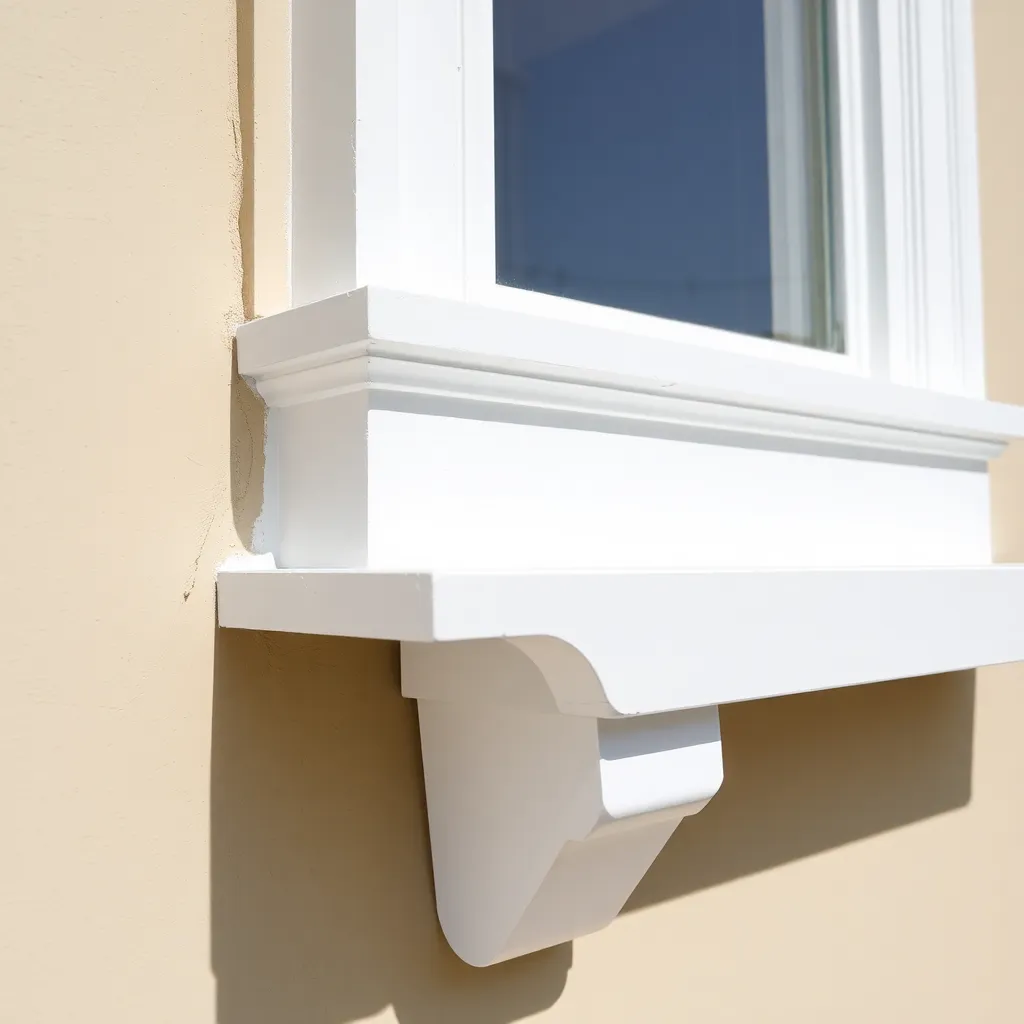
Goal: Install a window stool and apron for windows trimmed with a traditional sill detail.
Window stool (sill):
The stool is a flat board that sits on the window sill and projects 3/4″ to 1″ into the room past the face of the casing. It has “horns” — the ends extend past the outer edge of the side casings by the same amount as the projection. The stool’s inside face is notched to fit over the window sill’s sloped surface (most window sills slope outward for drainage).
Cutting the stool:
1. Measure the window opening width
2. Add the horn length on each side (match the projection depth — typically the stool projects 3/4″ past the casing face, so the horns extend 3/4″ past the outer edge of the side casings)
3. Mark and cut the notches at each end to fit over the window stool slope
4. Test fit — the stool should fit snugly against the window and sit level
Installing the stool:
Nail through the stool into the window sill and the rough framing below with 2.5″ finish nails. Apply a thin bead of paintable caulk between the stool back and the window unit to seal the joint.
Apron:
The apron is a piece of trim below the stool, same profile as the casing. It sits against the wall below the stool, its length matching the outer edge of the side casings (same width as the stool including horns, or trimmed to fit between the side casings depending on style). Cut the ends with a 45-degree return or a square cut. Nail through the apron into the rough framing below the window rough opening.
Milestone: After installing stool and apron, verify the stool is level — place a level on the stool surface. Any tilt in the stool will be obvious and should be corrected before the apron is nailed.
Step 6: Finish and Fill
Goal: Set nail heads, fill holes, caulk gaps, and prepare the trim for paint or stain.
Set nail heads:
Use a nail set (a pointed punch) and a hammer to drive each nail head 1/16″ below the wood surface. Don’t crush the wood around the nail — one firm tap with a nail set is usually sufficient. All nail heads must be set before filling.
Fill nail holes:
For painted trim: lightweight spackling or painter’s putty. Press into the hole with a fingertip, slightly overfill, allow to dry, sand flush with 120-grit. Prime and paint — the filled hole disappears.
Caulk gaps:
Apply paintable acrylic caulk (not silicone — silicone can’t be painted) to: the joint between the casing’s outer edge and the wall drywall (this gap is inevitable as the wall surface isn’t perfectly flat); the joint between the stool and the window unit; any visible gap at the butt joint between head and side casings. Tool the caulk with a wet finger for a smooth, narrow bead. Wipe excess with a damp cloth. Allow 24 hours before painting.
Priming and painting:
Window trim takes paint better than almost any other surface in a house because it’s smooth, clean, and factory-primed (most trim comes pre-primed). Apply one coat of primer to any bare wood or filled areas. Apply two finish coats of semi-gloss or gloss paint — these sheens are standard for trim because they’re easy to clean and highlight the crisp lines of the casing.
Milestone: Before painting, run a raking light across the face of all casing pieces (hold a flashlight at a very low angle against the surface). Any imperfection — a nail hole that wasn’t filled flush, a dent, a caulk line that’s not flat — shows up clearly and can be corrected before paint locks it in.
Window Trim FAQ
What size casing should I use for windows?
Standard window casing width is 2-1/4″ to 3-1/2″ for most residential applications. Narrower (2-1/4″) looks more contemporary and modern; wider (3″ to 3-1/2″) looks more traditional. The correct size depends on the scale of the window, the ceiling height, and the room’s architectural style. A general rule: taller ceilings can handle wider casing; 8′ ceilings look best with 2-1/4″ to 2-3/4″ casing; 9′ to 10′ ceilings can use 3″ to 3-1/2″. Don’t use casing wider than 4″ for standard residential windows — it looks disproportionate.
Should window trim be the same as door trim?
Yes — window and door casing should match throughout a room and ideally throughout a floor of the house. Matching trim creates visual continuity; mismatched trim (even slightly different profiles) is immediately noticeable and looks like a mistake. Buy all the casing for a project from the same batch at the same time to ensure consistent profile and color matching. If you need to match existing trim from a renovation: take a sample piece to a millwork supplier — most profiles can be custom-milled to match.
Do I need to caulk window trim?
Yes — caulk the outer edge of window casing where it meets the wall. The joint between the back of the casing and the wall surface is never perfectly tight because the wall surface (drywall) is not perfectly flat. A fine bead of paintable acrylic caulk along this edge, tooled smooth and painted, produces a crisp line that looks like the casing is growing out of the wall. Without caulk: there will be a visible shadow line or gap along the outer edge of the casing that collects dust and looks unfinished. Don’t caulk the inner edge (the reveal) — that gap between the casing and the jamb is intentional and should remain visible.
How do I fix window trim gaps at the corners?
For miter joint gaps: apply wood glue to the miter faces, press together, and clamp or nail immediately; wipe excess glue; allow to cure. If the gap is too large for glue alone: fill with color-matched caulk (for painted trim) or matching wood filler. The correct fix depends on why the gap appeared: if the miter angles were cut incorrectly, the best fix is to recut and replace the head casing; if the wood shrank after installation (common in new construction), fill with flexible paintable caulk that can accommodate future movement.

“DIY woodworking enthusiast who started with zero experience and a YouTube tutorial.
I build simple, practical projects for my home and share free plans
so other beginners can skip the guesswork.If I can build it, you can too.”